
Jump to Recipe
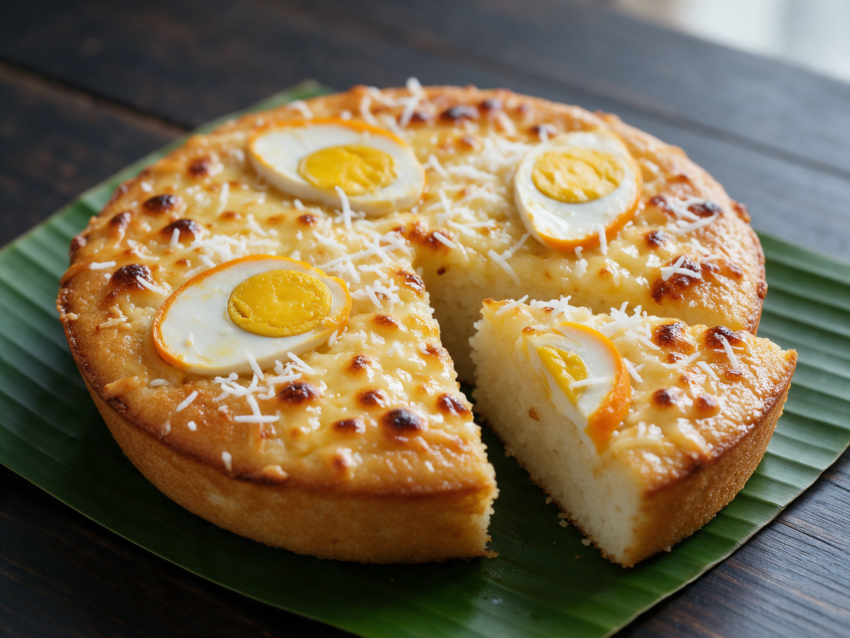
Oven-baked Filipino bibingka is a coconut rice cake made from glutinous and regular rice flour, coconut milk and eggs. This version bakes in a 23 cm / 9-inch pan and takes about an hour, including a 10-minute cool.
There’s something about the smell of bibingka. Banana leaf, warm coconut, cheese going golden. In the Philippines it’s a Christmas-season treat sold hot outside churches after the early Simbang Gabi masses, traditionally cooked in clay pots with coals above and below.
I skip the coals. A regular oven and a broiler give you the same spotted top.
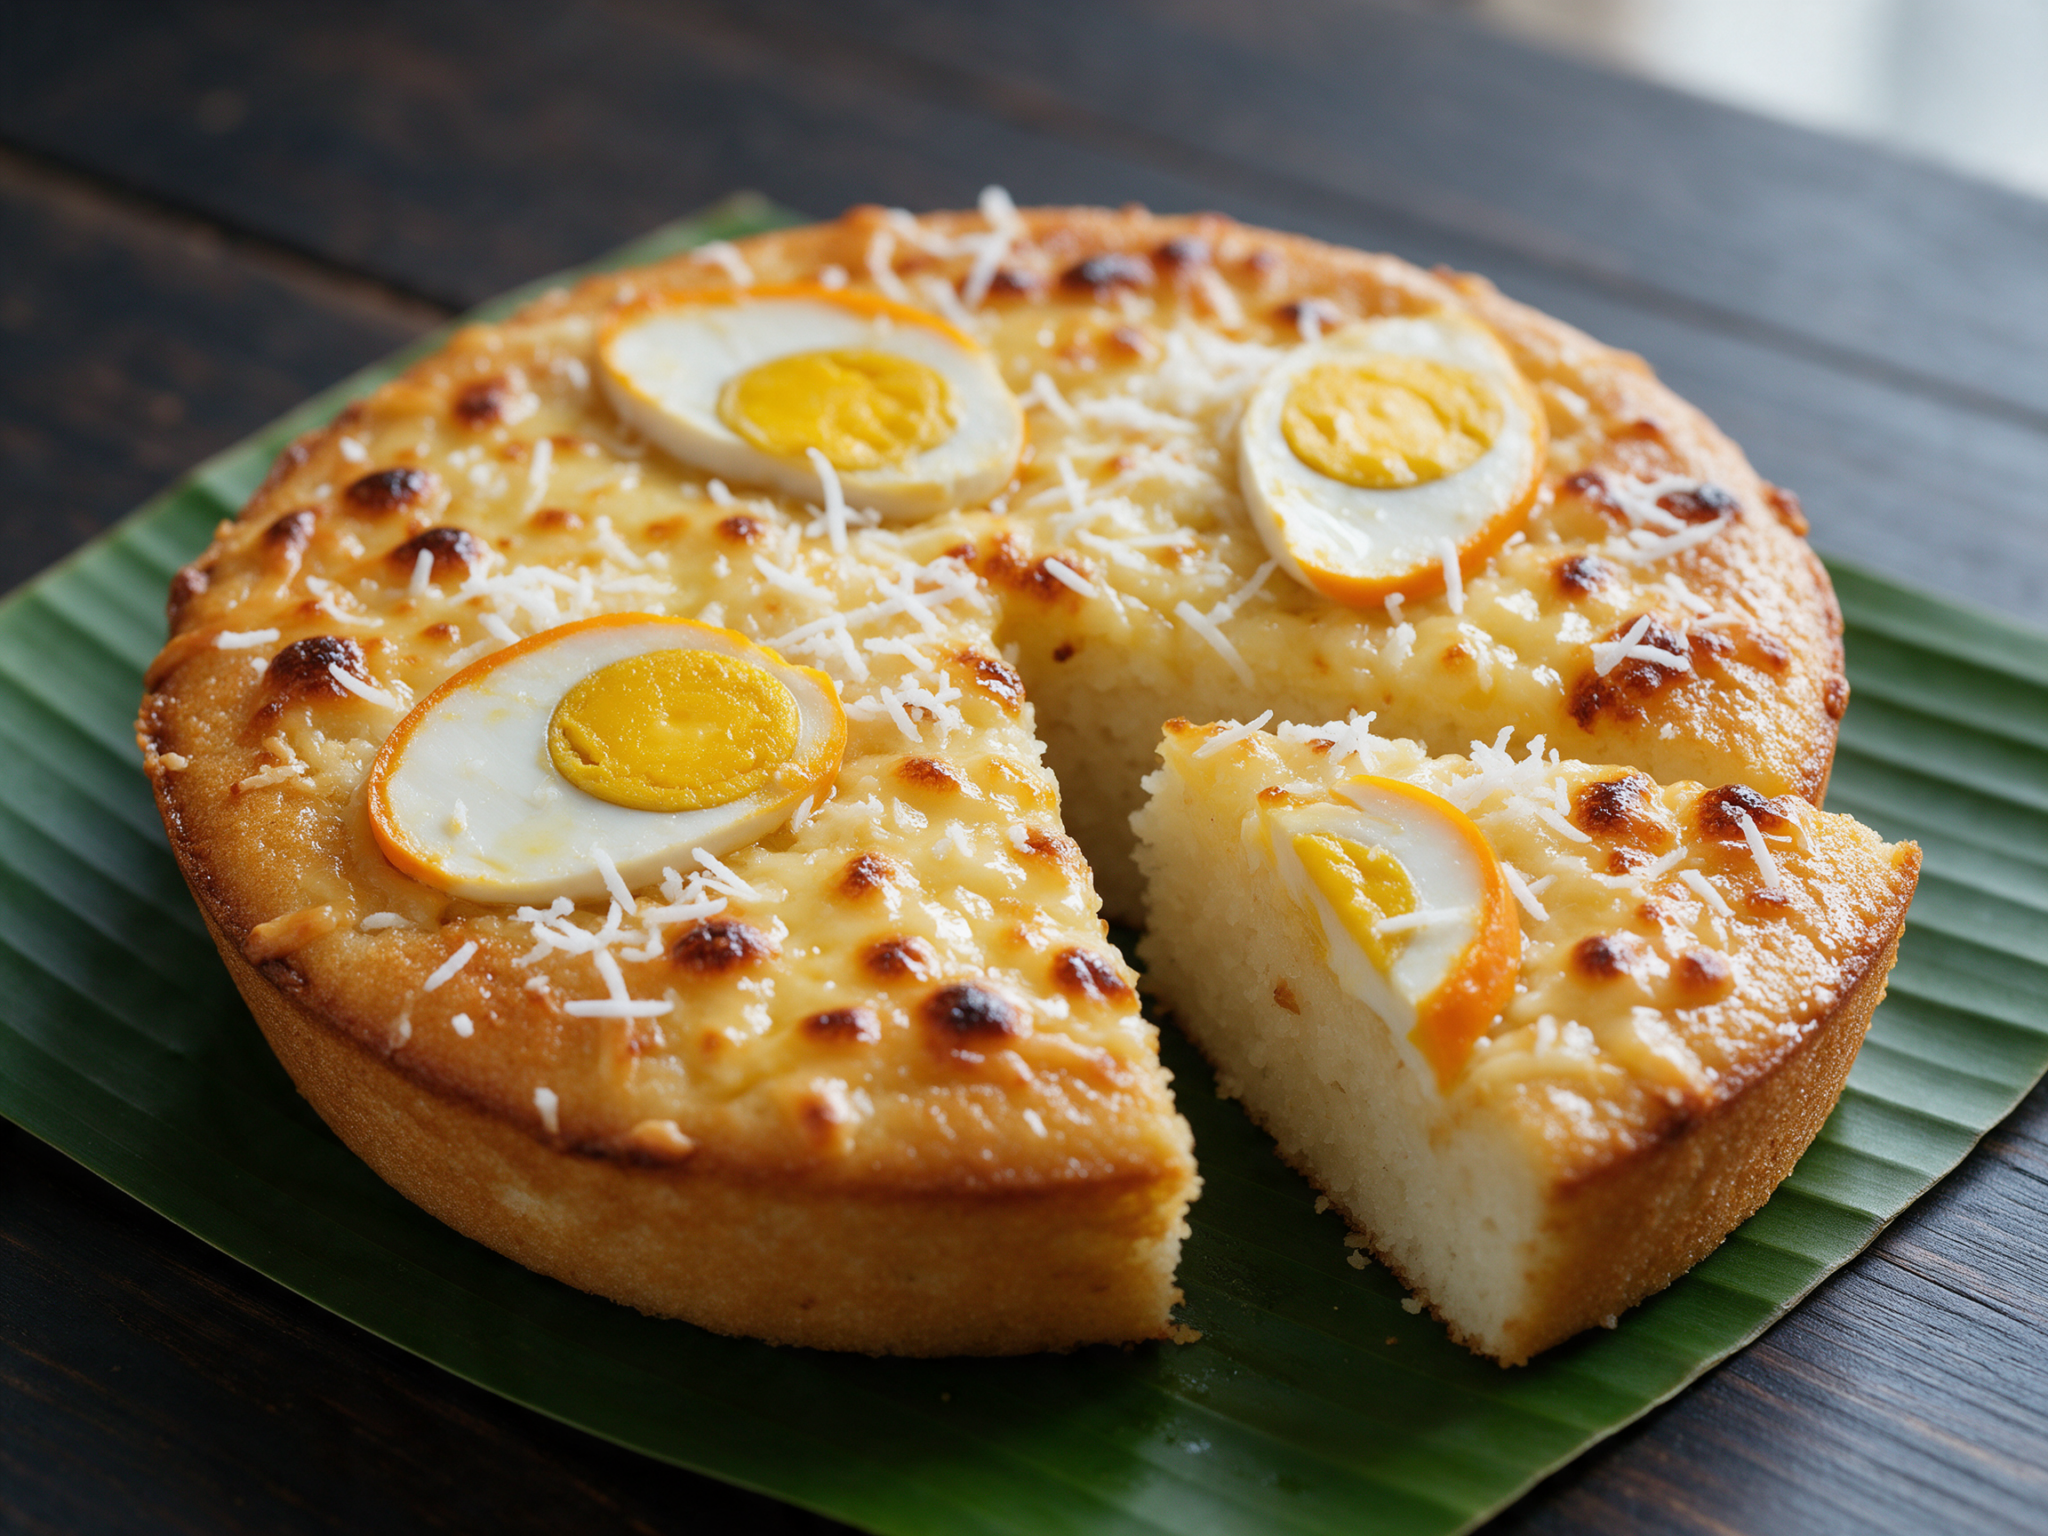
The crumb is soft and a little chewy. Salted duck egg and cheddar bring the salt, and the sugared top brings the sweet.
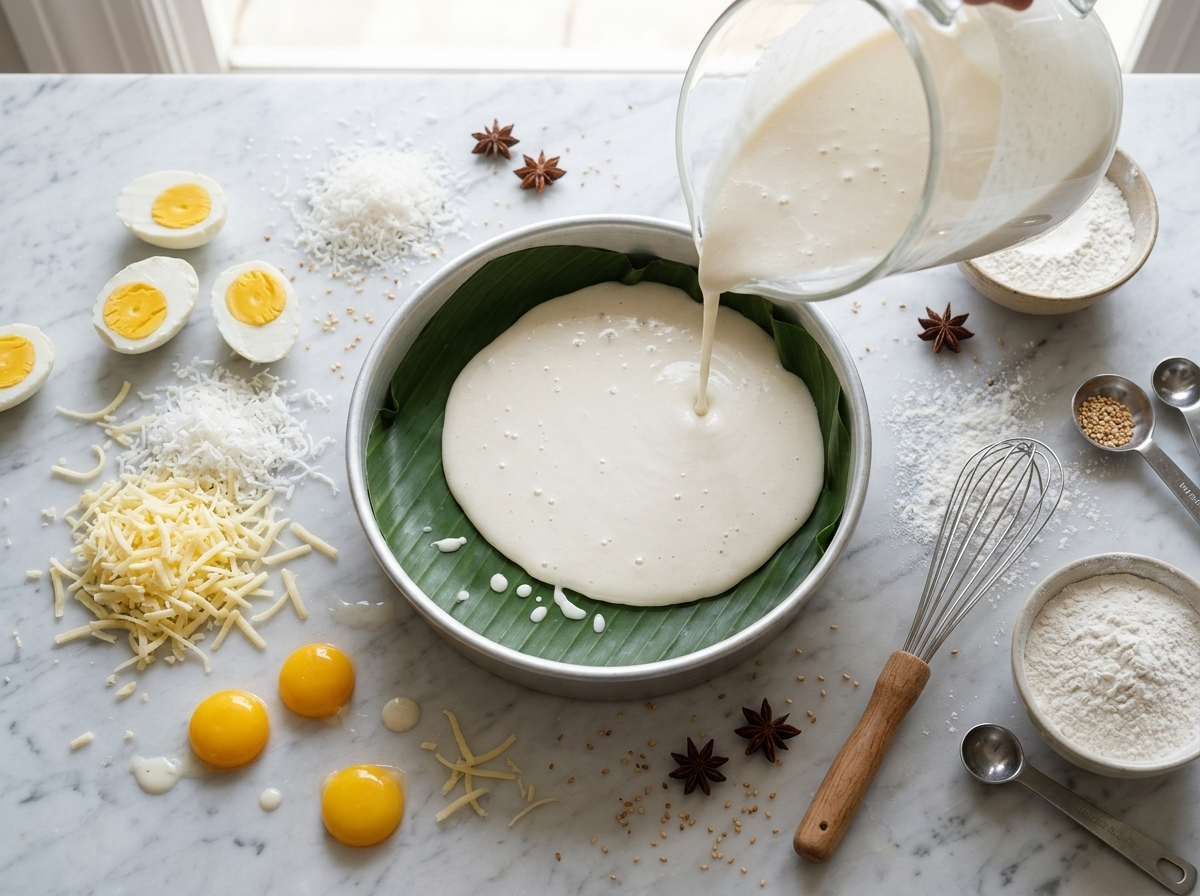
The batter is one bowl and a whisk. Pour, bake, done.
Why You’ll Love This Recipe
- One bowl and a whisk, no stand mixer needed
- Naturally gluten-free thanks to the rice flour base
- Chewy crumb with a salty egg and cheese top
- Freezes well, and leftovers reheat in 10 minutes
Ingredient Notes
- glutinous rice flour: Sold as sweet rice flour or Mochiko. It has no gluten, the name just means sticky. It gives bibingka its chew.
- full-fat coconut milk: Use canned, not the carton kind. Shake the can hard before opening so the cream and water blend.
- salted duck eggs: Find them at Asian grocery stores, often already boiled and dyed red. If yours are raw, boil them for 10 minutes first. No duck eggs? Use 2 hard-boiled eggs and add a pinch of flaky salt.
- cheddar: Queso de bola is the traditional choice. A sharp cheddar gives the same salty edge and melts well.
- banana leaf: Sold frozen at Asian markets. It adds a grassy, tea-like aroma. Parchment paper works if you can’t find it, though you’ll lose that scent.
Oven-Baked Filipino Bibingka Rice Cake with Salted Egg
Ingredients
Method
- Heat the oven to 190 C / 375 F with a rack in the middle. Pass the banana leaf over a low gas flame for a few seconds per side, or dip it in hot water for 30 seconds, until glossy and pliable. Trim it to a 30 cm / 12-inch round, press it into a 23 cm / 9-inch round cake pan (5 cm / 2 inches deep) and brush with 1 tablespoon of the melted butter.
- Whisk the glutinous rice flour, regular rice flour, 120 g sugar, baking powder and salt in a large bowl. In a jug, whisk the coconut milk, whole milk, eggs and 60 g melted butter until smooth.
- Pour the wet ingredients into the dry and whisk until no lumps remain. The batter should be thin and pourable, about the consistency of heavy cream. Pour it into the pan and tap the pan on the counter twice to knock out large bubbles.
- Bake for 25 minutes, until the top is set and the edges look pale gold and pull slightly from the pan.
- Arrange the salted egg slices on top, then scatter the cheddar and shredded coconut. Bake for 8 more minutes until the cheese melts. Switch the oven to broil and broil for 3 minutes, watching closely, until the top is spotted golden brown. Insert a toothpick in the center. It should come out clean. If it's wet with batter, bake 5 more minutes at 190 C / 375 F, because a cake pulled too early turns gummy in the middle.
- Brush the top with the remaining 1 tablespoon melted butter and sprinkle with 2 tablespoons sugar. Cool in the pan for 10 minutes, lift out, cut into 8 wedges and serve warm.
Notes
- Weigh both rice flours for a consistent, chewy crumb.
- Pat salted egg slices dry before arranging them on the cake.
- Cool the cake in the pan for 10 minutes before cutting.
- Use parchment in place of banana leaf if you can't find it.
Tips for Success
- Shake the coconut milk can hard, or whisk it smooth, so the fat doesn’t separate and leave greasy streaks in the batter.
- Whisk the batter again right before pouring, because rice flour sinks to the bottom within a few minutes of resting.
- Pat the salted egg slices dry with a paper towel before placing them, so they brown on top instead of weeping onto the cheese.
- Keep the oven light on during the broil and pull the cake the moment the top is spotted gold.
- Wipe your knife with a buttered paper towel between cuts, since glutinous rice flour leaves the blade sticky.
Variations
- Stir 3 tablespoons of ube halaya into the batter for a purple bibingka with a mellow, nutty sweetness.
- Bake in a greased 12-cup muffin tin for 18 to 20 minutes at 190 C / 375 F for individual cakes.
- Swap the butter for virgin coconut oil, replace the milk with more coconut milk, and skip the cheese for a dairy-free version.
Storage and Reheating
Oven-baked bibingka keeps in the fridge for 3-4 days. Cool it completely, then store wedges in an airtight container. Refrigerate within 2 hours of baking.
Cold bibingka turns firm and dense because the rice starch tightens up. Reheat wedges at 160 C / 320 F for 10 minutes, loosely covered with foil. In the microwave, 20 seconds per wedge works. Brush the top with a little melted butter afterward.
For longer storage, wrap each wedge in parchment and seal in a freezer bag for up to 1 month. Thaw overnight in the fridge, then reheat the same way. To get ahead, whisk the dry ingredients together a day early and mix the wet ingredients the morning you bake.
Serving Suggestions
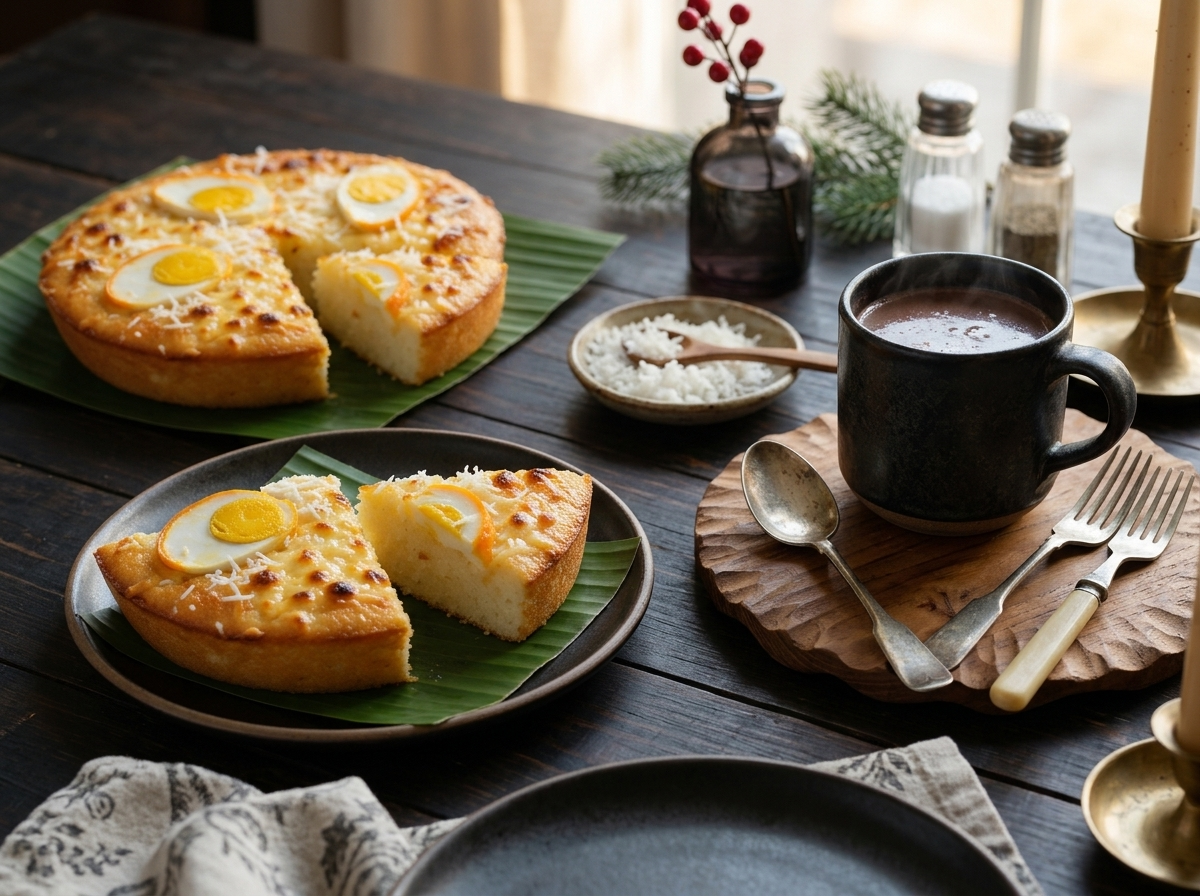
Serve bibingka warm, within 1 hour of coming out of the oven. That’s when the cheese is soft and the crumb is at its chewiest. Cut it into 8 wedges and eat with your hands.
Hot chocolate (tsokolate), ginger tea (salabat) or black coffee are the classic partners. The salty egg and cheese work well against something sweet and bitter.
For a brunch spread, add sliced ripe mango and a small bowl of extra shredded coconut for sprinkling on top.
FAQ
Why is my bibingka gummy in the middle?
A gummy center means the cake needed more time or the batter was too thick. Bake until a toothpick in the middle comes out clean, adding 5 minutes at a time and tenting with foil if the top is already spotted gold. Weigh both flours, because scooped cups can run heavy.
Can I use all-purpose flour instead of rice flour in bibingka?
Not for the classic texture. All-purpose flour makes a fluffy cake, not the soft, chewy crumb that glutinous rice flour gives bibingka. If you only have one rice flour, use 250 g glutinous for a denser, mochi-like cake, or 250 g regular rice flour for a lighter, more crumbly one.
Can I freeze bibingka, and how do I reheat it?
Yes, bibingka freezes well for up to 1 month. Wrap each wedge in parchment, then seal in a freezer bag. Thaw overnight in the fridge and reheat at 160 C / 320 F for 10 minutes, loosely covered with foil. Brush with a little melted butter before serving.
What do you serve with bibingka at a Filipino Christmas breakfast?
Hot chocolate (tsokolate), ginger tea (salabat) or black coffee are the usual partners. The salty egg and cheese cut through a thick, sweet chocolate well. Add sliced fresh mango or extra shredded coconut if you want something fresh on the plate.
What is the difference between bibingka and puto bumbong?
Bibingka is a baked rice flour cake, while puto bumbong is steamed purple glutinous rice cooked in bamboo tubes. Both are Christmas-season snacks sold near churches during Simbang Gabi. Puto bumbong is served with butter, muscovado sugar and grated coconut, and bibingka usually gets salted egg and cheese.
Is bibingka gluten free, and can I make it dairy free?
Bibingka is naturally gluten free because it uses rice flours, and glutinous only means sticky. Check that your baking powder is labeled gluten free. For dairy free, use coconut oil for the butter, replace the milk with more coconut milk and skip the cheese.
Loved this? Try these next
- the Kuih Talam: Steamed Pandan Coconut Rice Layer Cake
- Baked Calamansi Coconut Bars with Shortbread Crust recipe
- our Homemade Cupavci: Croatian Coconut Chocolate Cake Cubes
- Baked Madlouka: Lebanese Semolina Cake in Syrup
