
Jump to Recipe
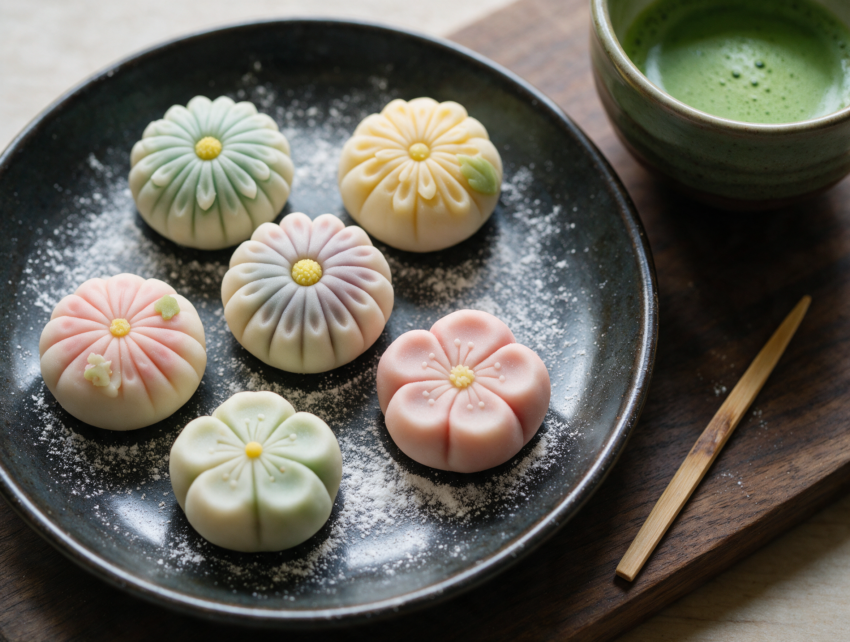
There’s something meditative about pressing a ball of pastel dough between your palms and watching it turn into a tiny chrysanthemum.
Nerikiri wagashi is the confection Japanese tea ceremonies build around. It’s made from shiro-an, sweetened white bean paste, kneaded with a small amount of cooked mochi dough called gyuhi so it holds a shape without cracking.
I first tried shaping these at a wagashi workshop in Kyoto, and my first three attempts looked more like lumpy potatoes than plum blossoms. The dough forgives a lot though, as long as you keep your hands lightly dusted with cornstarch and don’t overwork it.
This version uses store-bought shiro-an and koshi-an so you can skip a day of bean-cooking and go straight to the fun part, shaping.
You’ll need a few tools most kitchens already have, plus a wooden skewer or two for the petal details.
Why You’ll Love This Recipe
- No oven or fryer, just careful hand-shaping
- Naturally gluten-free and vegan with pantry-friendly ingredients
- Each piece looks different, so mistakes still look pretty
- Ready to shape and chill in under an hour
Ingredient Notes
- shiratamako: Glutinous rice flour made for mochi. Regular rice flour won’t turn glossy and elastic the same way.
- shiro-an: Sweetened white bean paste, usually from white kidney beans. Look for it at Japanese grocery stores or make your own from scratch.
- koshi-an: Smooth strained red bean paste for the center. Chunky tsubu-an works too if you don’t mind visible bean skins.
- cornstarch: Dusts your hands and the dough so it doesn’t stick. Potato starch, katakuriko, is the traditional choice in Japan.
- food coloring: A little goes a long way. Natural powders like matcha or strawberry give softer, more traditional shades than liquid gel dye.
Nerikiri Wagashi: Soft, Hand-Shaped Japanese Sweets
Ingredients
Method
- In a heatproof bowl, whisk the shiratamako, sugar, and water together until smooth with no lumps.
- Set the bowl over a 1.5-quart / 1.4 L saucepan of gently simmering water. Stir constantly with a silicone spatula for 5 to 6 minutes, until the cloudy mixture turns glossy, translucent, and pulls together into a soft, sticky mass.
- Remove from the heat and let it cool for 2 to 3 minutes, until warm but safe to handle.
- Add the shiro-an to the warm gyuhi in the same bowl. Knead with the spatula, then with cornstarch-dusted hands, for 3 to 4 minutes until the two doughs merge into one smooth, pliable paste that doesn't stick to your fingers.
- Divide the dough into portions for coloring. Keep one portion white, and knead a few drops of natural food coloring into each of the others, one color at a time, until the shade looks even.
- Divide the koshi-an into 20 g balls, about 8 total, and roll each one smooth between your palms.
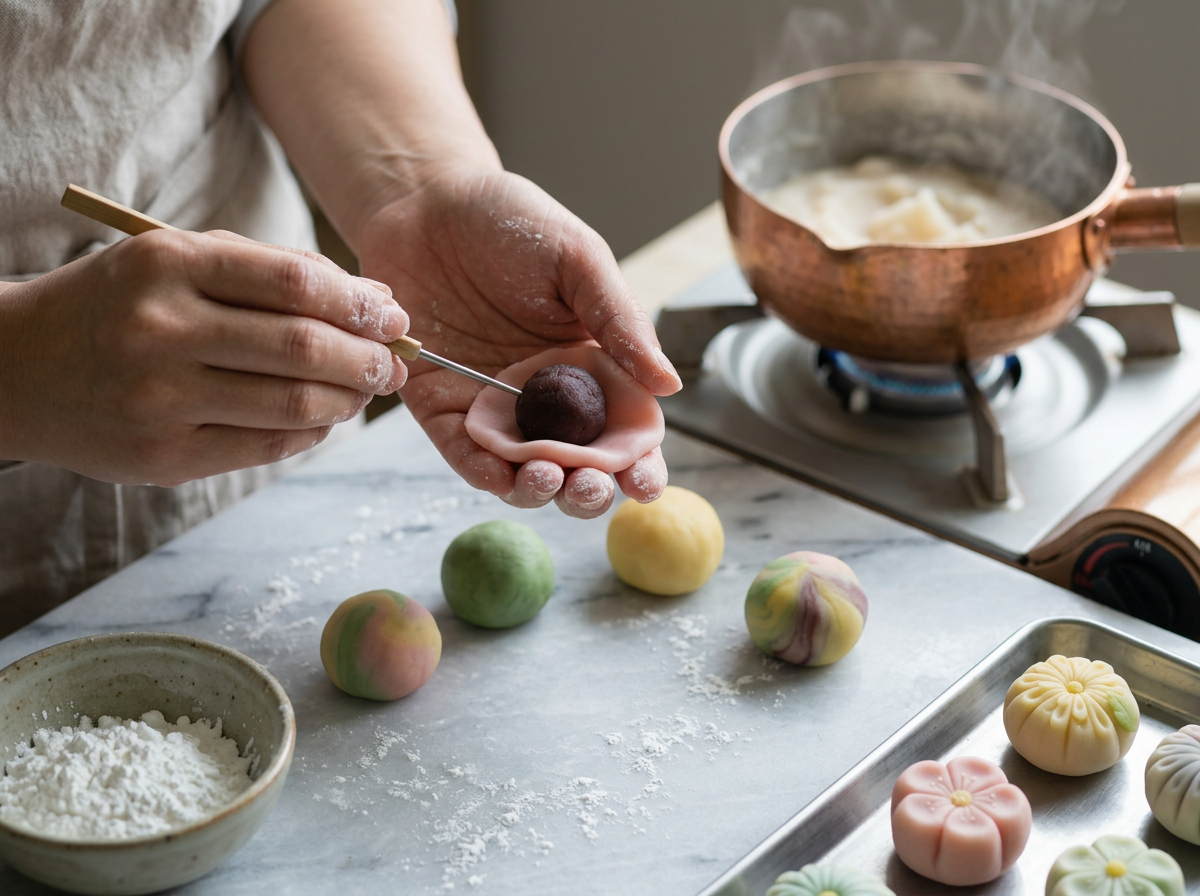
- Flatten a 44 g piece of colored dough into a disc in your palm. Place an anko ball in the center and stretch the dough up and around it, pinching and rotating to seal completely with no cracks.
- Roll the wrapped ball briefly between your palms to smooth the seam, keeping the seam side facing down.
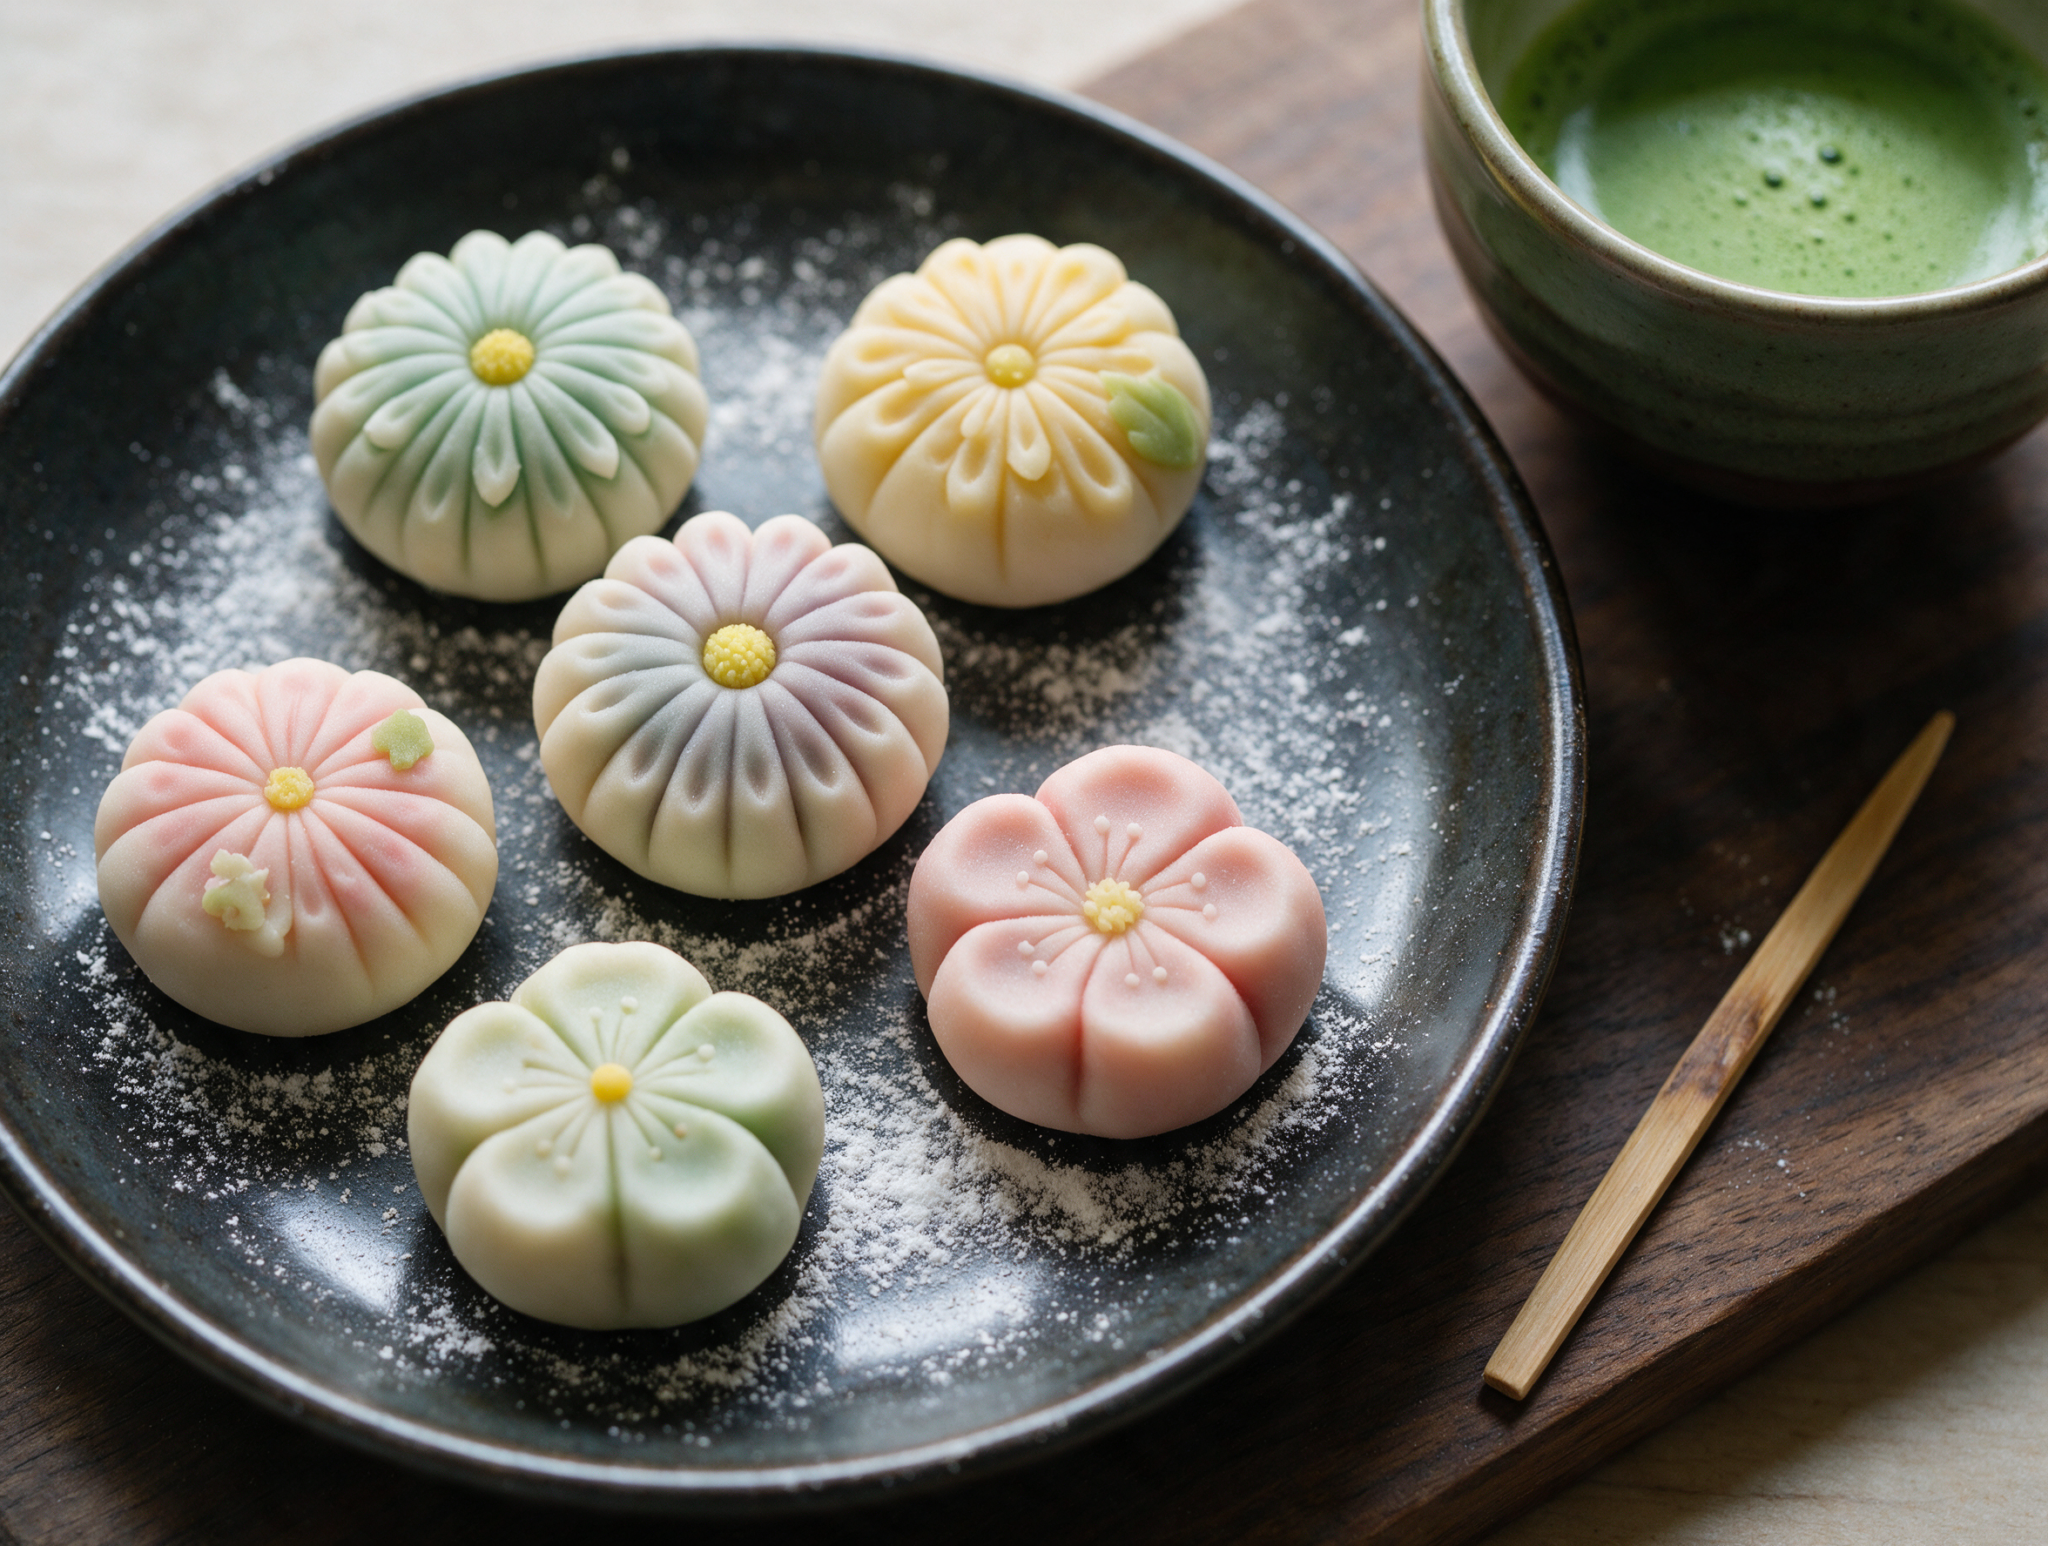
- Shape each ball into a seasonal motif. Cup it in a folded tea towel and twist gently for spiral petal lines like a chrysanthemum, or press a wooden skewer into the sides at intervals to define individual petals for a plum blossom.
- Use the tip of the skewer to add a center dimple or vein detail to each piece.
- Set the finished pieces seam-side down on a parchment-lined tray, dusting your palms and work surface with cornstarch as needed to prevent sticking, and chill for 10 minutes to firm up before serving.
Notes
- Work with cornstarch on your hands, not flour, or the dough turns pasty.
- Color dough one shade at a time to avoid muddy, overworked color mixing.
- Chill shaped pieces only 10 minutes, longer and the surface turns tacky.
- Anko balls should be fully sealed before shaping, or filling shows through.
Tips for Success
- Dust your hands with cornstarch every few pieces so the dough stays smooth instead of sticking and tearing.
- Knead the gyuhi into the shiro-an while it’s still warm, since cold gyuhi turns stiff and won’t blend evenly.
- Keep unused dough covered with plastic wrap while you shape, since exposed nerikiri dries out and cracks within minutes.
- Work in small batches of 2 to 3 pieces at a time if your kitchen is warm, since the dough softens fast.
- Seal the anko ball completely before shaping petals, or the filling will peek through once you press in the details.
Variations
- Swap koshi-an for sweetened chestnut paste in autumn for a nuttier center that pairs well with darker colors.
- Use matcha powder kneaded straight into the dough instead of just coloring it, for green tea flavor throughout.
- Shape the dough into simple round mochi balls instead of flowers if you want a quicker, beginner-friendly version.
Storage and Reheating
Nerikiri wagashi tastes best within a few hours of shaping, while the surface is still soft and slightly moist.
Store leftover pieces in an airtight container in the fridge for up to 2 to 3 days, with each piece wrapped separately in plastic wrap so they don’t dry out or stick together. Let them sit at room temperature for about 10 minutes before serving so the dough softens back up.
I don’t recommend freezing this one. The bean paste and mochi dough separate slightly and turn grainy once thawed, so it’s better to make a fresh batch than plan on freezer storage.
Serving Suggestions
Nerikiri wagashi is traditionally served with matcha, since its light sweetness balances the tea’s bitterness.
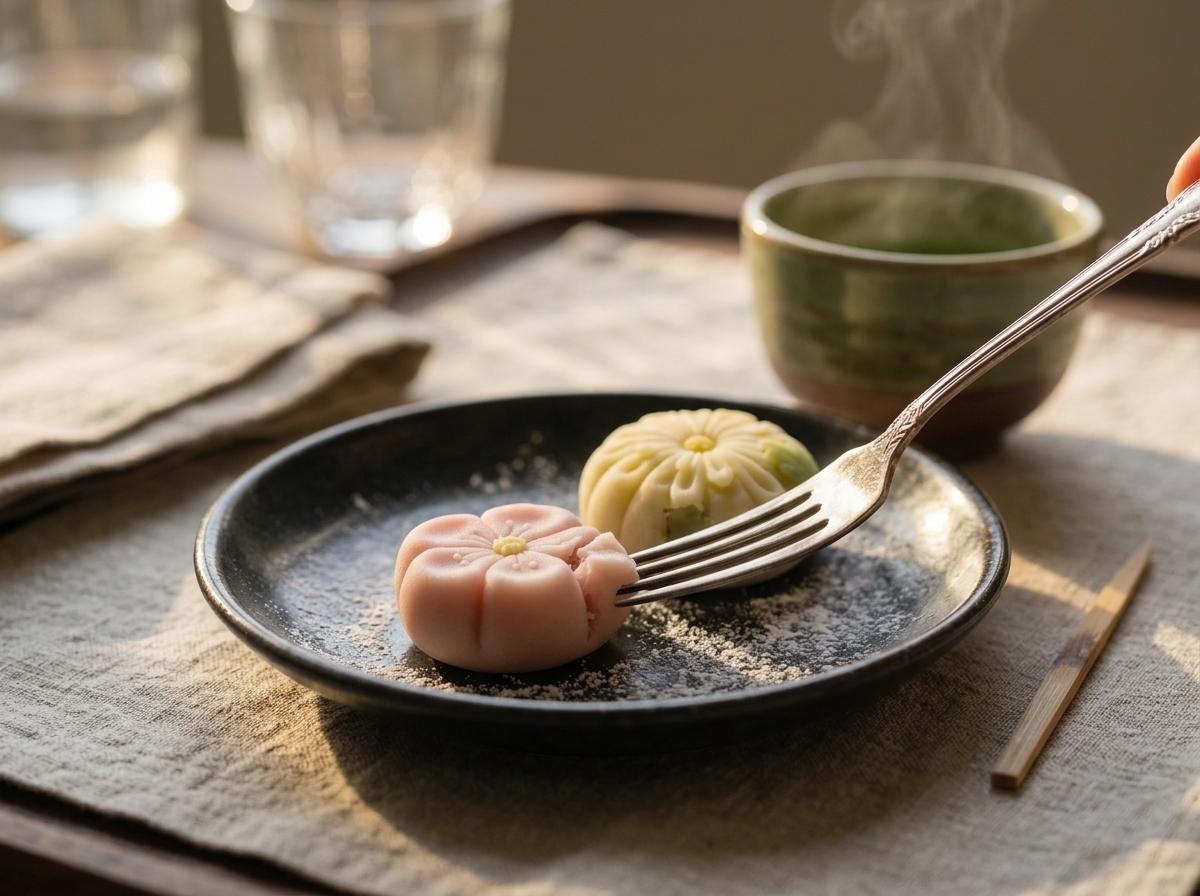
Set two or three pieces on a small plate with a fork or wagashi pick, the way you’d see them at a tea ceremony. They also make a nice, not-too-sweet finish after a Japanese meal.
For a gift or a party, arrange a mixed box of colors and shapes. Cherry blossoms and green leaves look especially nice together on a dark plate.
FAQ
Why does my nerikiri dough keep cracking when I shape it?
Cracking usually means the dough is too dry or you’re working it too long. Knead the gyuhi into the shiro-an while both are still warm, and keep any dough you’re not using wrapped in plastic. If cracks still show up, wet your fingertip slightly and smooth the surface before adding petal details.
Can I use store-bought shiro-an instead of making it from scratch?
Yes, store-bought shiro-an works fine and saves a full day of soaking and cooking white beans. Look for it at Japanese or Asian grocery stores, usually sold near mochiko and shiratamako. Just make sure it’s the sweetened paste, not plain bean puree.
How long does nerikiri wagashi last, and can I make it ahead?
Nerikiri keeps for 2 to 3 days in the fridge, wrapped individually in plastic wrap inside an airtight container. It’s best eaten within a few hours of shaping though, since the surface dries out over time. Freezing isn’t recommended, the dough turns grainy once thawed.
What tea goes best with nerikiri wagashi?
Matcha is the classic pairing, since its bitterness balances the sweetness of the bean paste. A plain sencha or hojicha works too if you want something lighter. Either way, serve the wagashi first and sip the tea alongside so the flavors meet in the middle.
Is nerikiri wagashi gluten free and vegan?
Yes, this recipe is naturally gluten-free and vegan as written. Shiratamako is glutinous rice flour, which despite the name has no wheat gluten, and both shiro-an and koshi-an are just bean paste and sugar. Double-check your food coloring brand if you’re strict about additives.
What’s the difference between nerikiri and other wagashi like mochi?
Nerikiri is a moldable paste shaped by hand into detailed seasonal motifs, while mochi is pounded glutinous rice served as a chewy wrapper or ball. Nerikiri uses only a small amount of mochi-like dough to bind the bean paste, so the texture is denser and smoother, closer to marzipan than chewy mochi.
If you enjoyed this, try
