
Jump to Recipe
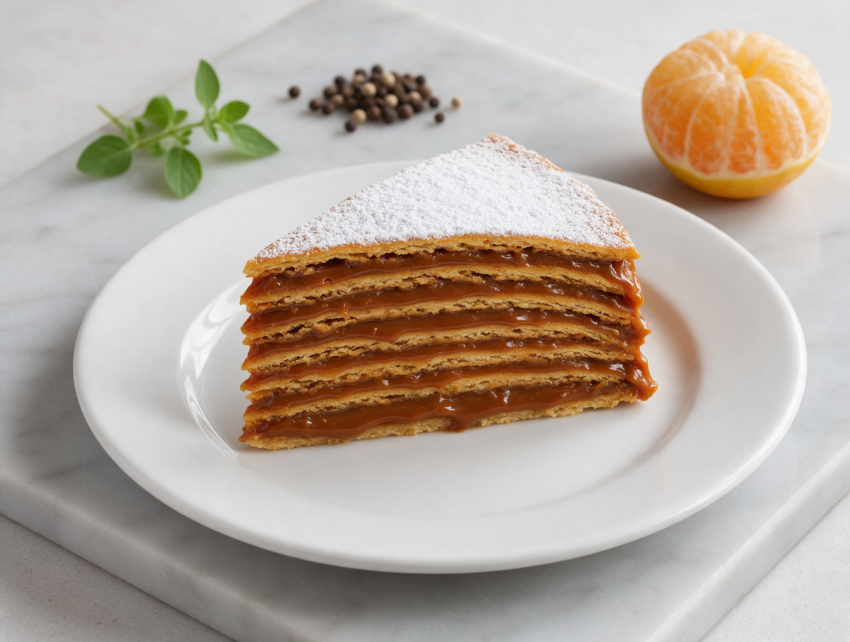
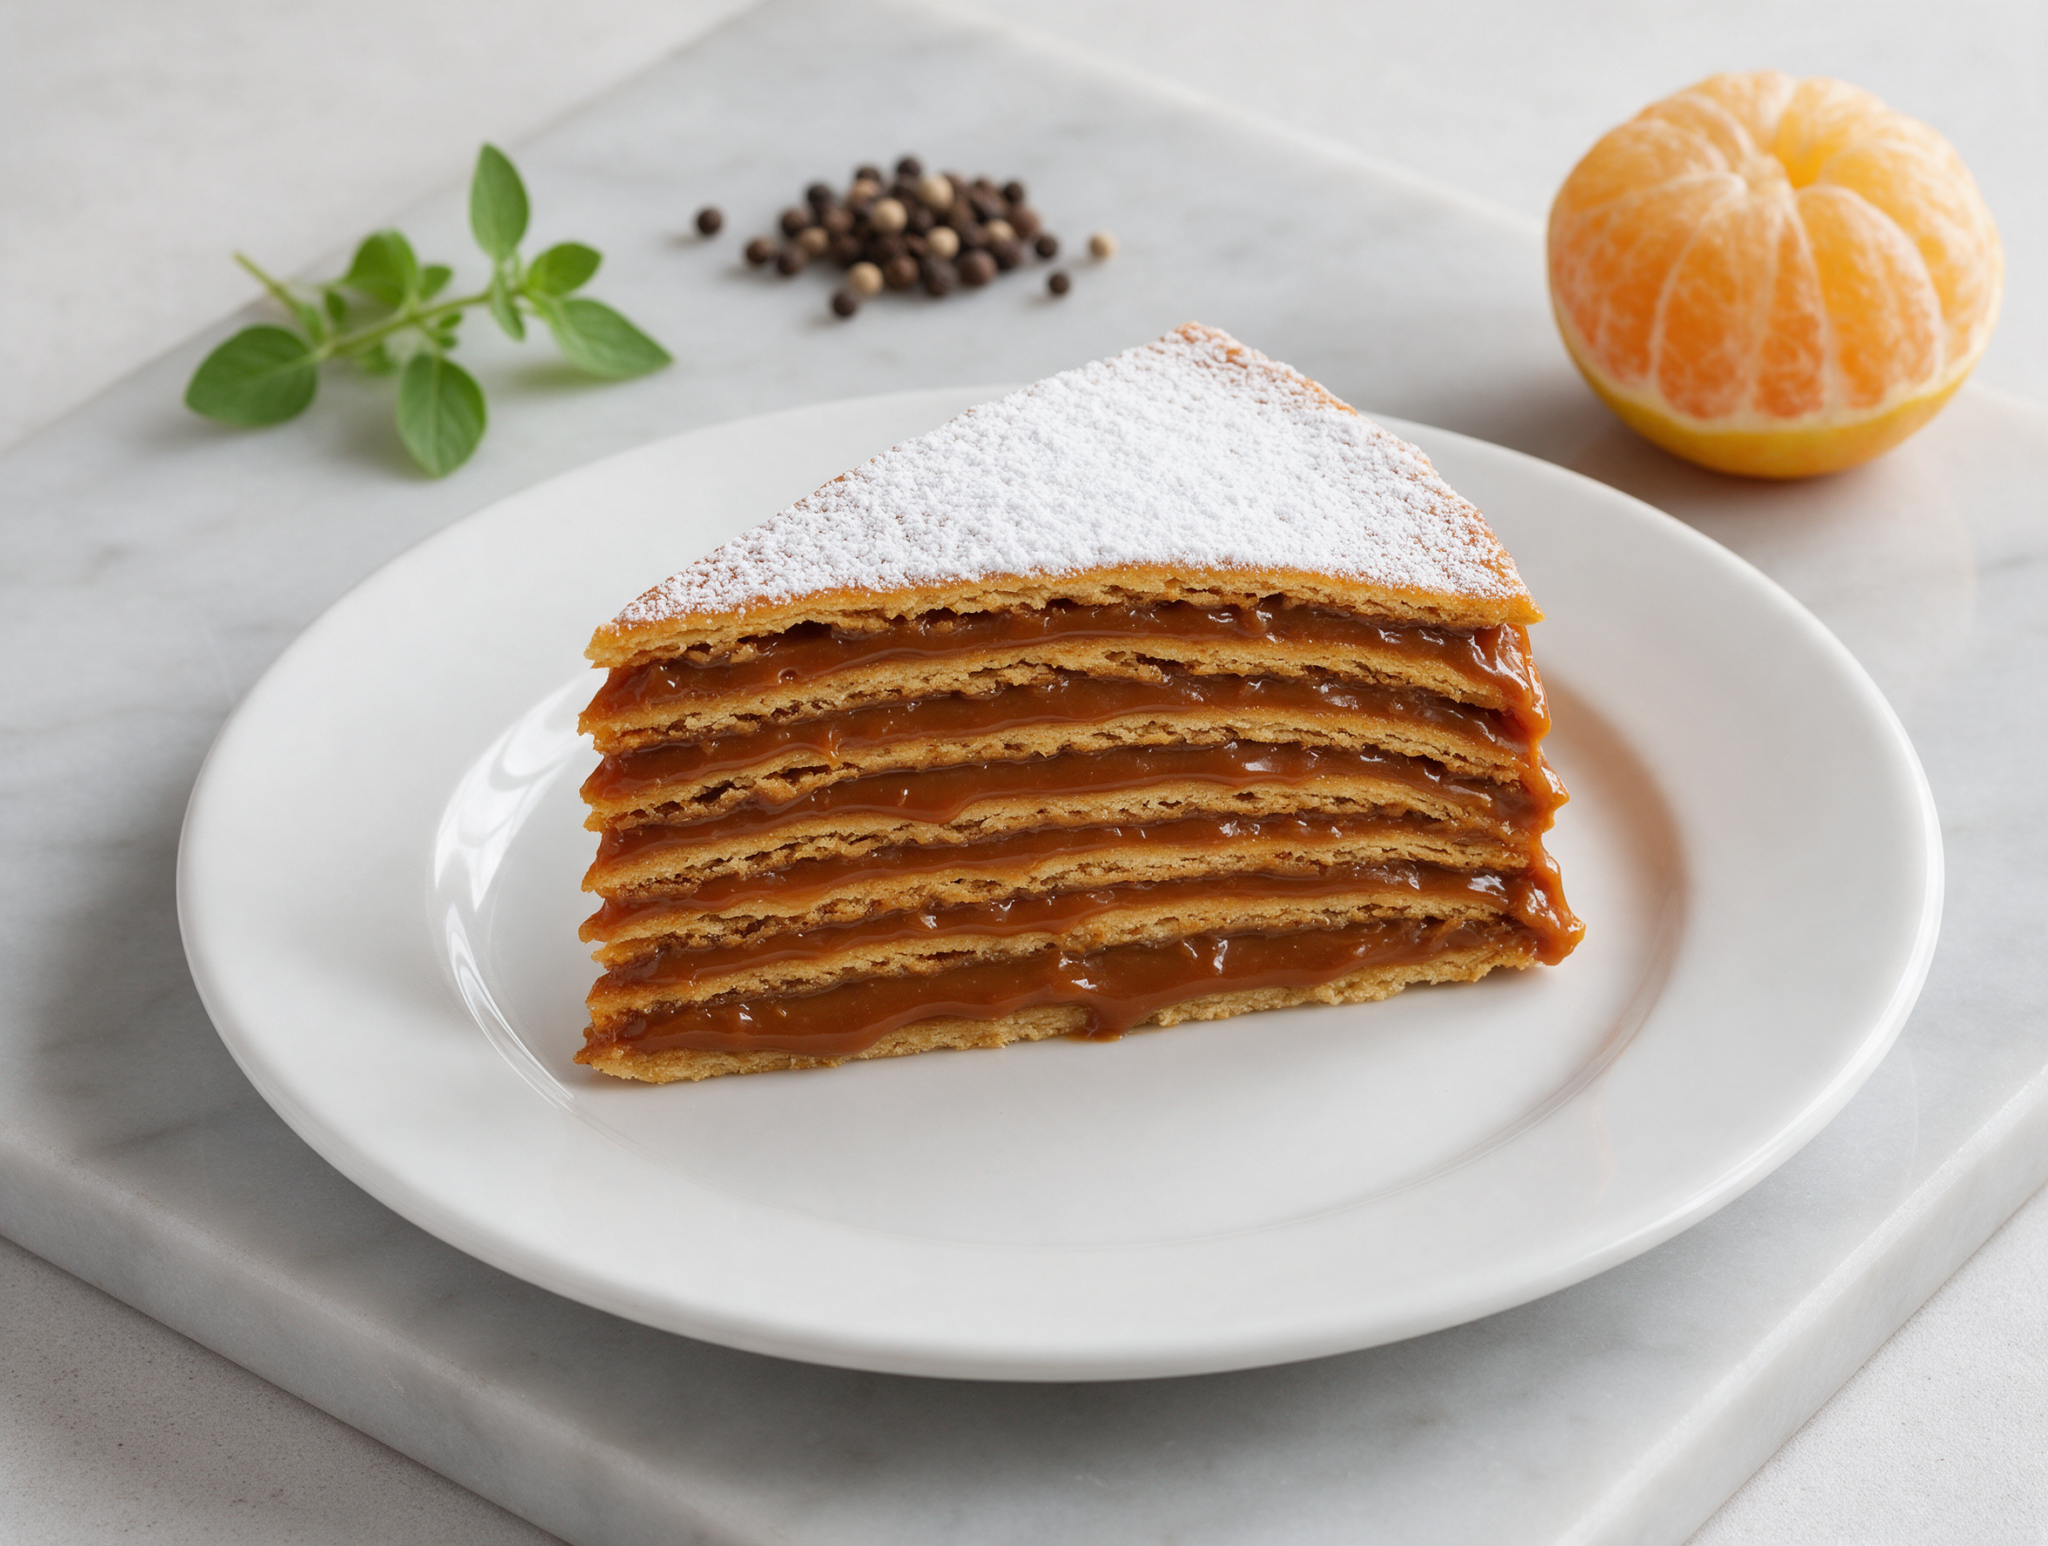
There’s something about torta chilena that surprises people the first time they cut into it. Thin, crackly layers of baked dough, stacked eight high, glued together with dulce de leche. No frosting, no fuss, just caramel and crumb.
I first tried this in a small bakery in Alajuela, Costa Rica, where wedges of it sit stacked in the glass case next to the coffee pot. It looked plain. It wasn’t.
The dough itself isn’t fussy. It’s a firm, buttery dough you roll paper-thin and bake in just a few minutes a batch. The real trick happens after baking: you have to let the stacked cake sit overnight so the layers soften into the dulce de leche instead of staying cracker-crisp.
Despite the name, torta chilena has nothing to do with Chile. It’s a Costa Rican bakery classic, especially around Alajuela, and nobody’s fully sure why the name stuck.
Why You’ll Love This Recipe
- No frosting needed, just dulce de leche and patience
- Make it a full day ahead of serving
- Crackly baked layers turn soft and rich overnight
- A real taste of Costa Rican bakery tradition
Ingredient Notes
- flour: Standard all-purpose flour works fine here, no need for bread flour or cake flour.
- butter: Keep it cold and cubed so the dough stays firm enough to roll paper-thin.
- dulce de leche: Look for jarred manjar or dulce de leche, or simmer your own from a can of sweetened condensed milk.
- orange juice: Fresh juice adds a light citrus note and helps the dough come together, bottled juice works too.
- lemon zest: Optional, but it brightens the dough against the sweetness of the caramel filling.
- powdered sugar: Dust it on right before serving so it doesn’t melt into the dulce de leche underneath.
Layered Costa Rican Torta Chilena with Dulce de Leche
Ingredients
Method
- Whisk the flour, baking powder, and salt together in a large mixing bowl.
- Cut the cold, cubed butter into the flour with your fingertips until the mixture looks like coarse crumbs.
- Add the sugar, eggs, orange juice, and lemon zest. Mix with your hands until the dough comes together into a firm ball, then knead for 2 to 3 minutes until smooth.
- Cover the dough and let it rest at room temperature for 20 minutes.
- Divide the dough into 8 equal pieces, about 100 g each. Roll each piece on a lightly floured surface into a thin round, about 20 cm / 8 inches across and 2 mm thick.
- Heat the oven to 190 C / 375 F and line a 13 x 18-inch / 33 x 46 cm sheet pan with parchment.
- Bake the dough rounds two at a time for 5 to 6 minutes each batch, until light golden with small brown blisters across the surface. You'll need about 4 batches for all 8 rounds. Watch closely near the end, thin dough goes from golden to burnt fast.
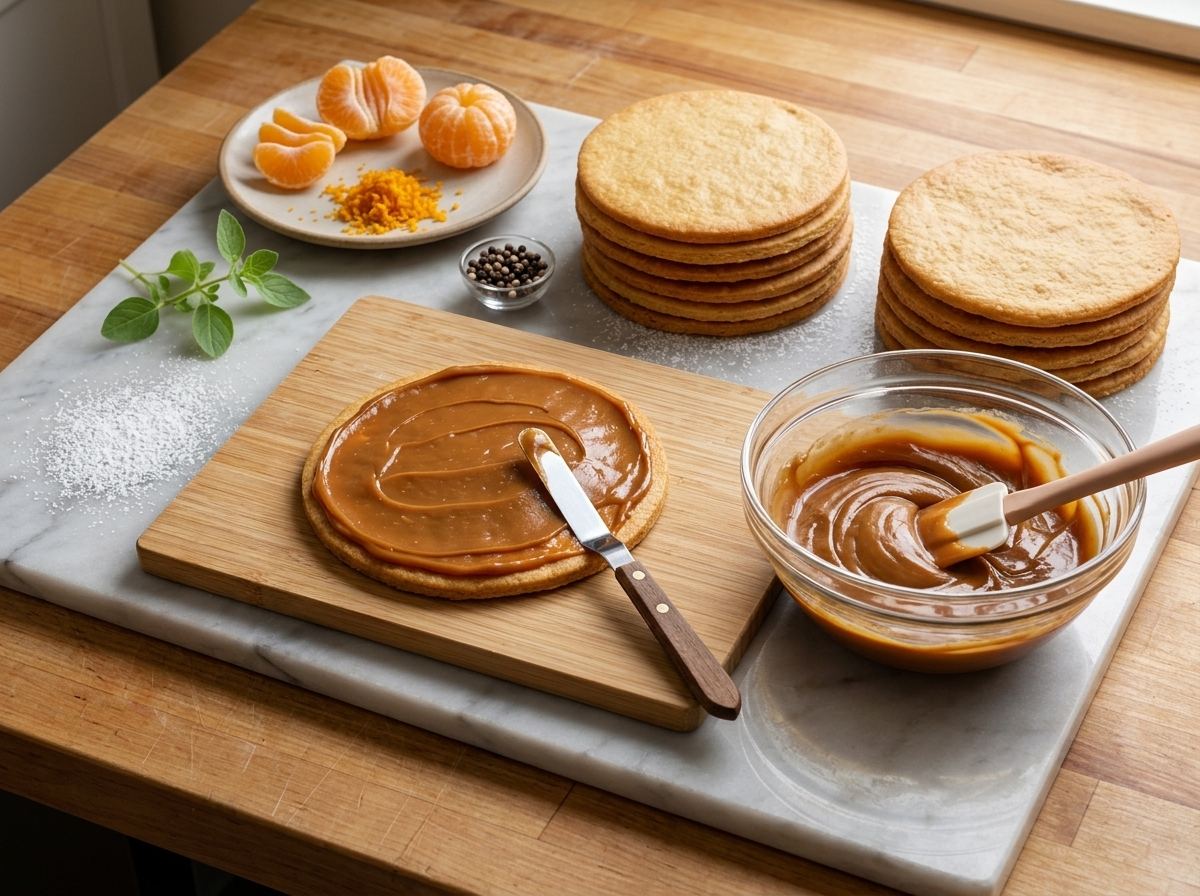
- Cool each baked layer completely on a wire rack, about 10 minutes, before stacking. Warm layers crack when you spread the filling.
- Set one baked layer on a cake stand and spread 3 to 4 tablespoons of dulce de leche evenly to the edges. Repeat with the remaining layers, ending with a plain layer on top.
- Cover the stacked cake loosely and let it rest at room temperature for at least 4 hours, preferably overnight, so the layers soften into the filling.
- Dust the top with powdered sugar just before serving. Slice into wedges with a warm, dry knife.
Notes
- Make the dough a day ahead, it rolls out easier once fully chilled.
- Bring dulce de leche to room temperature before spreading so it doesn't tear the dough.
- Uneven dough thickness means uneven baking, roll each round with the same pressure.
- The overnight rest is not optional, it's what turns crackly layers into a proper cake.
Tips for Success
- Roll each dough round to an even 2 mm thickness so every layer bakes at the same rate.
- Watch the oven closely during the last minute of baking, thin rounds go from golden to burnt fast.
- Cool every baked layer completely on a rack before stacking, warm dough cracks when you spread dulce de leche.
- Rest the assembled cake overnight covered at room temperature so the layers soften into the caramel filling.
- Slice with a warm, dry knife for clean wedges through the sticky dulce de leche layers.
Variations
- Stir 1/2 teaspoon of cinnamon into the dough for a warmer, spiced version of torta chilena.
- Swap dulce de leche for guava paste between a few layers for a tangy Costa Rican twist.
- Bake the dough rounds smaller, about 10 cm each, and stack mini tortas for individual servings.
Storage and Reheating
Torta chilena keeps well covered at room temperature for 4 to 5 days, or up to a week in the fridge. It actually improves over the first day as the layers keep softening into the dulce de leche.
This cake is best served at the temperature it rests at, not reheated. Warming it melts the dulce de leche and turns the layers soggy instead of soft. If you’ve refrigerated it, just let a slice sit out for 15 to 20 minutes before eating.
Skip the freezer here. The layers pull in moisture from the dulce de leche as they thaw and lose the texture that makes this cake work.
Serving Suggestions
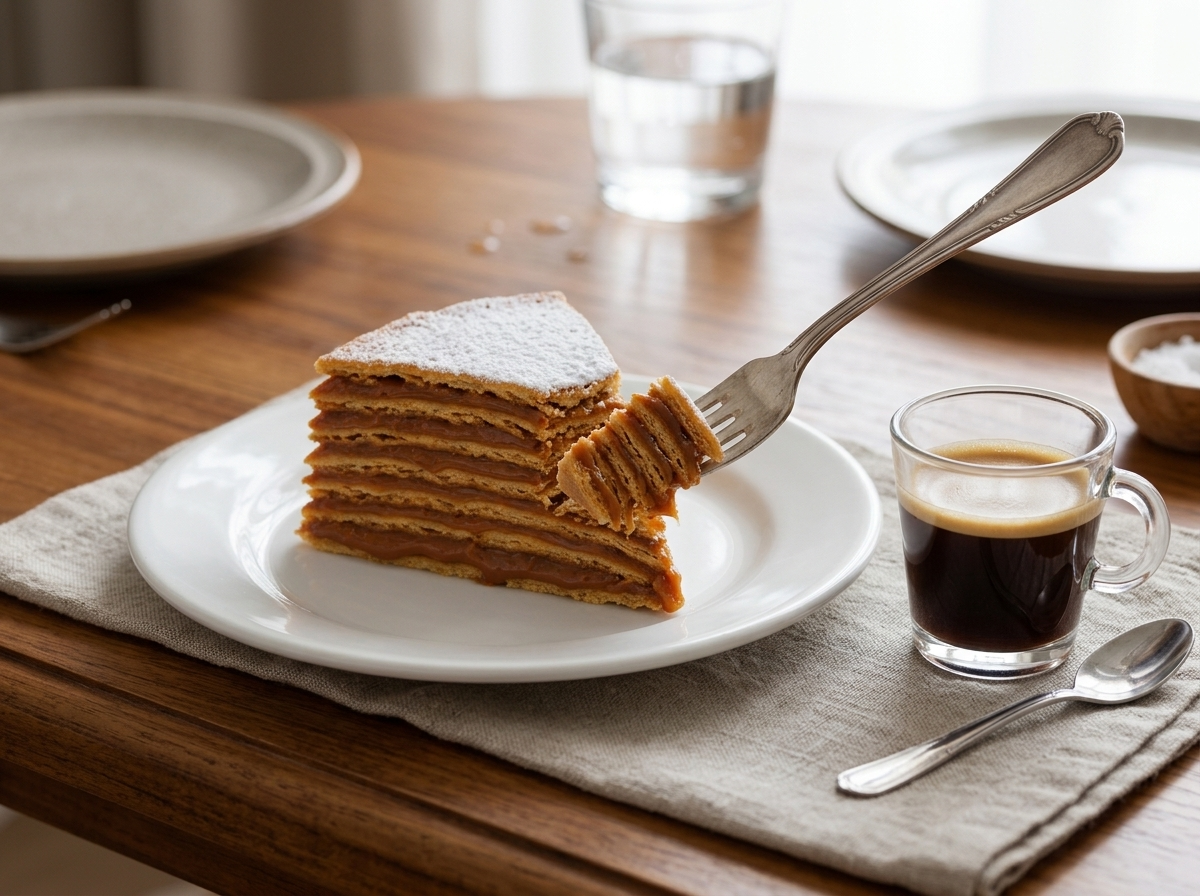
Torta chilena is traditionally served with a strong cup of coffee, the way you’d find it in a bakery in Alajuela. The bitterness cuts through the sweetness of the dulce de leche.
A plate of fresh pineapple or mango on the side gives you something lighter to balance the richness.
Cut it into thin wedges for a dessert table, it’s sweet enough that a small slice goes a long way.
FAQ
Why is my torta chilena still hard and crunchy after I cut it?
It usually means the cake hasn’t rested long enough. Torta chilena needs at least 4 hours, ideally overnight, for the dulce de leche to soak into the baked layers and soften them. Slicing it right after stacking gives you something closer to a cracker than a cake, so cover it and give it more time.
Can I use condensed milk instead of dulce de leche for torta chilena?
Yes, you can simmer sweetened condensed milk on the stove to make your own dulce de leche. Pour an unopened can into a pot, cover with water, and simmer 2 to 3 hours, topping up water as needed, until thick and caramel-colored. Cool it fully before spreading between the layers.
How long does torta chilena keep after it’s assembled?
Torta chilena keeps 4 to 5 days covered at room temperature, or up to a week in the fridge. Skip the freezer, the layers absorb moisture from the dulce de leche as they thaw and turn soggy instead of soft. Bring refrigerated slices to room temperature before serving.
What goes well with a slice of torta chilena?
Torta chilena pairs well with a strong cup of coffee, the way it’s traditionally served in Costa Rican bakeries. The bitterness balances the sweetness of the dulce de leche. Fresh pineapple or mango on the side also works if you want something lighter alongside it.
Is torta chilena gluten-free?
No, traditional torta chilena is made with all-purpose wheat flour, so it isn’t gluten-free as written. A 1:1 gluten-free flour blend can work, but the dough gets more fragile to roll thin and the baked layers may crack more when you stack and rest them.
Why is a Costa Rican cake called torta chilena if it’s not from Chile?
Nobody has a fully confirmed answer, but the name is tied to a Chilean-style recipe that took root in Alajuela, Costa Rica, generations ago and never let go of the name. Torta chilena is considered a Costa Rican bakery classic today, especially around Alajuela’s older pastry shops.
If you enjoyed this, try
