
Jump to Recipe
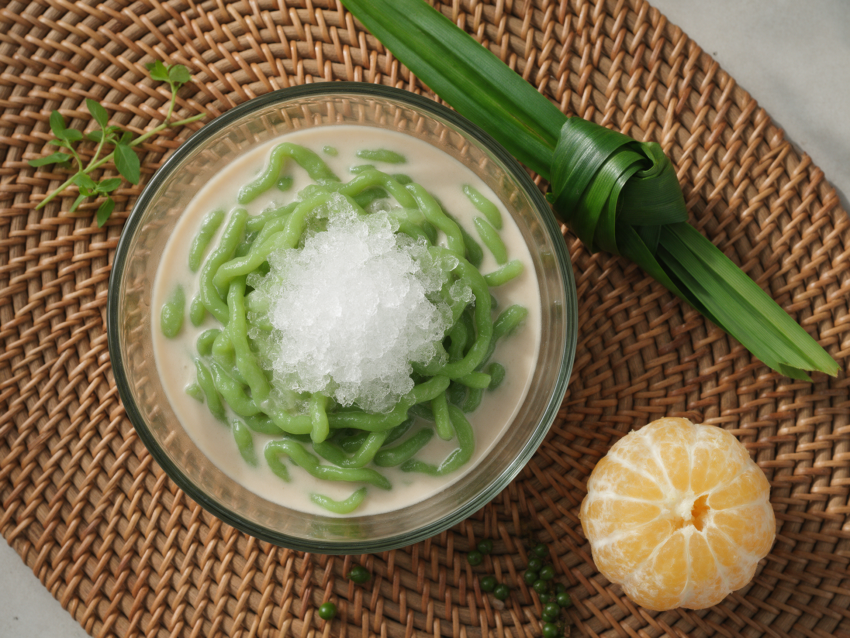
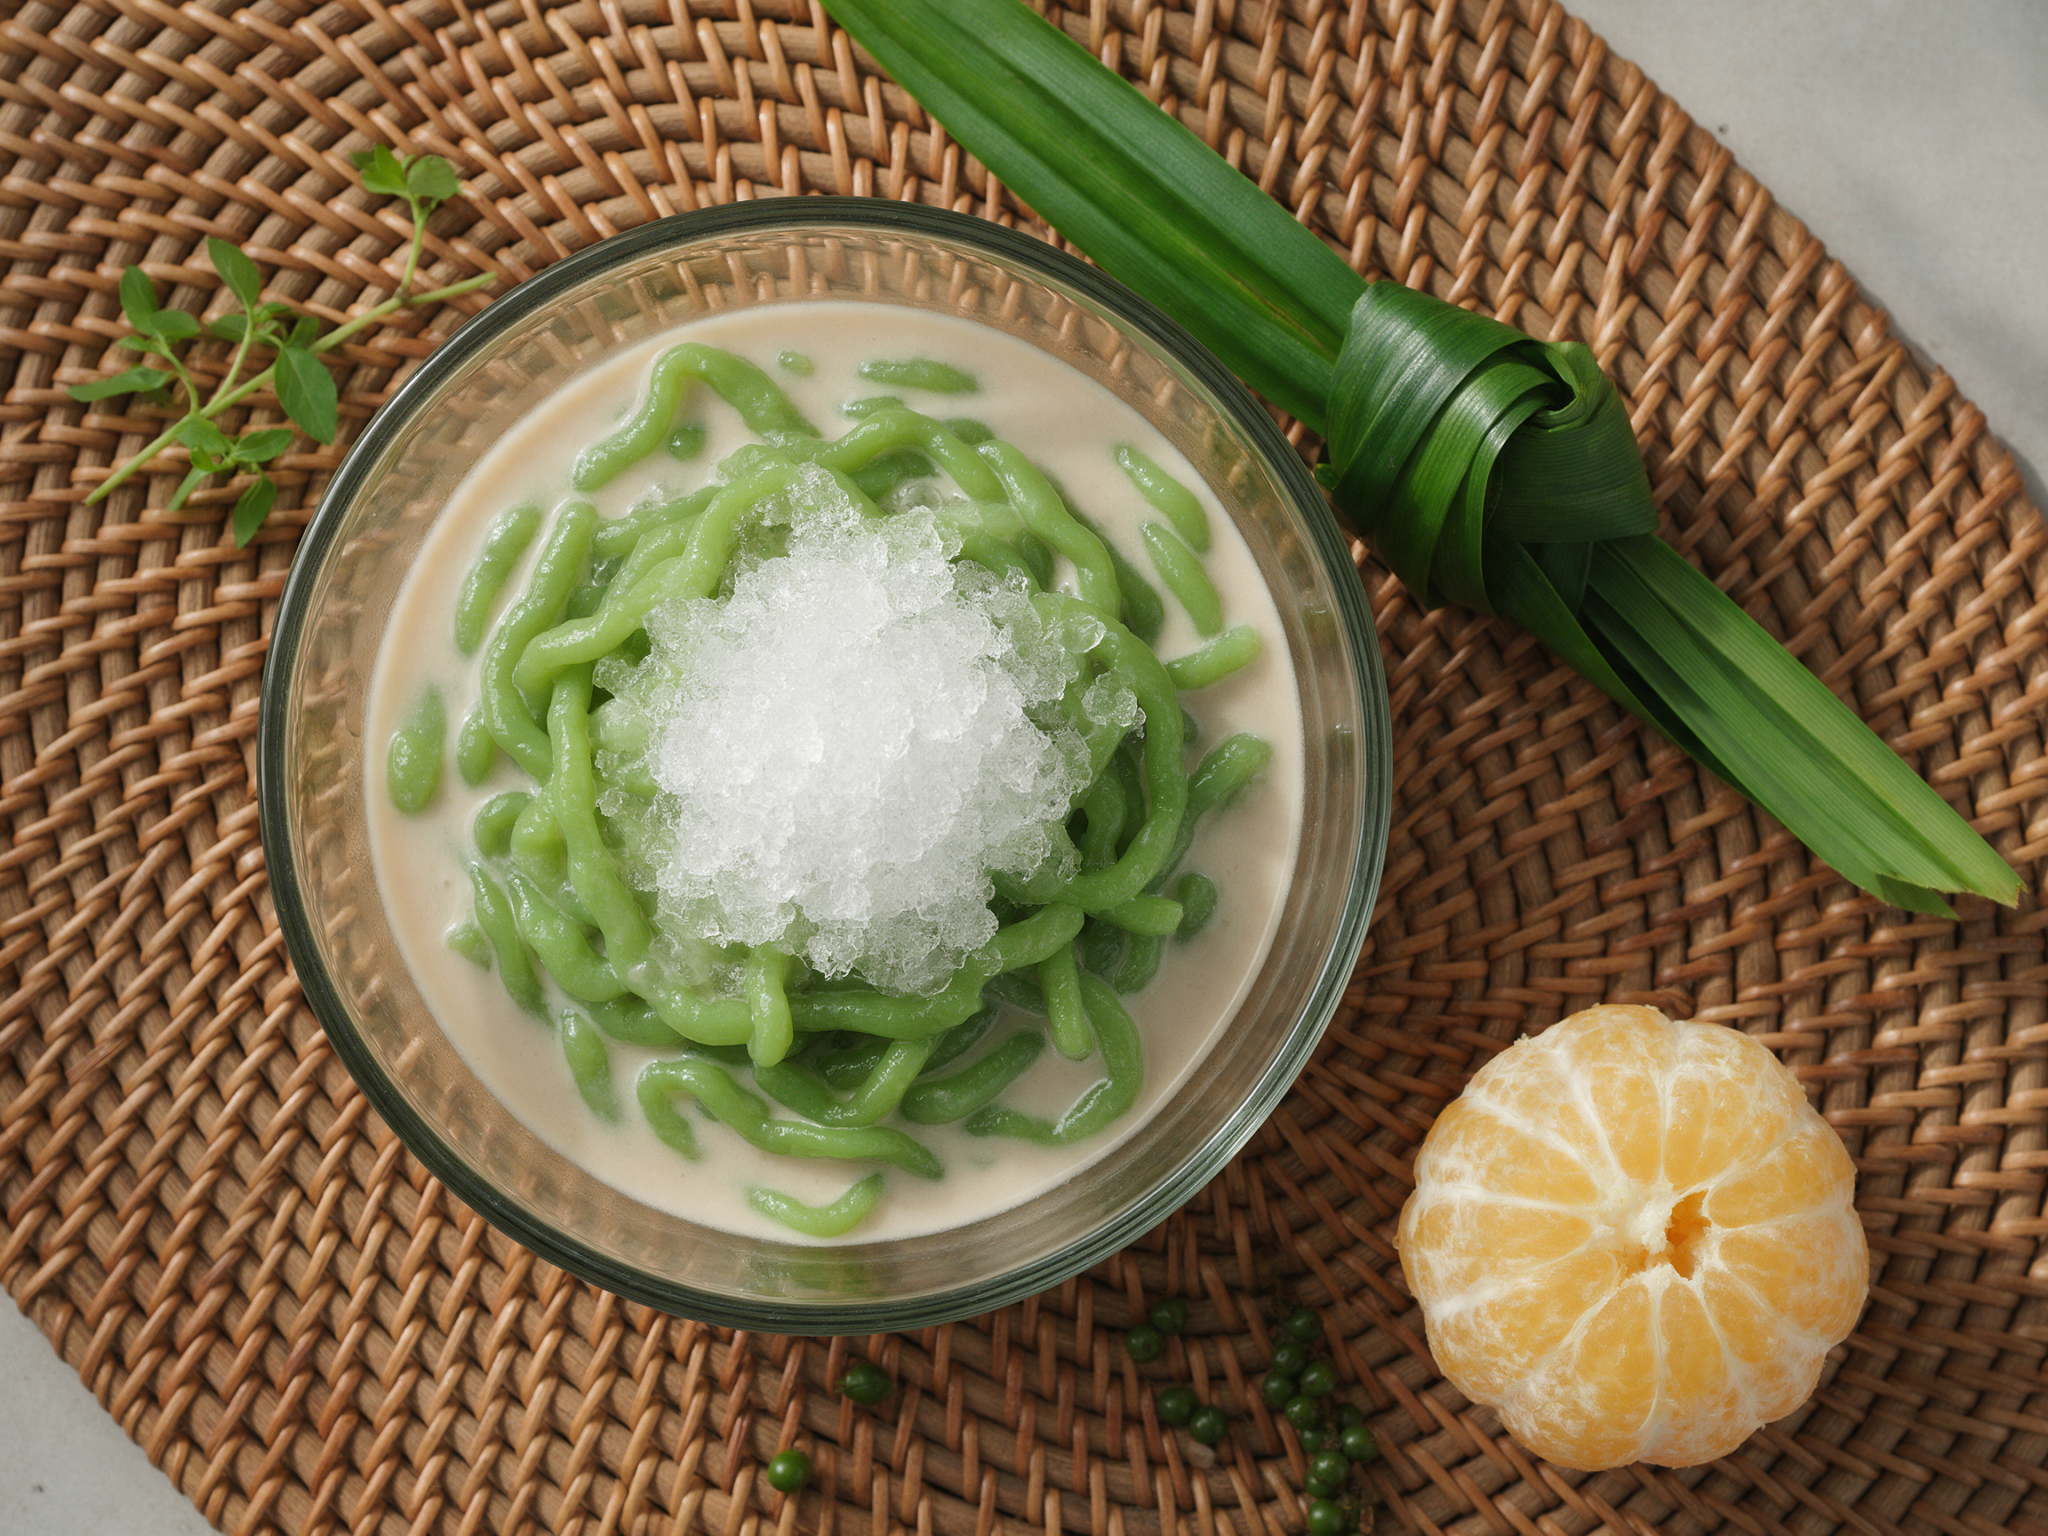
There’s something hypnotic about watching pale green dough turn into short curly noodles the second it hits ice water. That’s lod chong, a Thai dessert built from rice flour, pandan and coconut milk.
I first ate it from a street cart in Chiang Mai, served in a plastic cup with a spoonful of crushed ice on top. The noodles were slippery and cool, with a mild grassy sweetness under all that coconut cream.
Making it at home isn’t hard, but it takes patience with the dough. Cook it too briefly and the noodles turn to mush in the water. Cook it right and you get a spring in every bite.
This version uses fresh pandan juice for real flavor and color, a simple palm sugar coconut sauce, and a colander in place of a specialty lod chong press if you don’t own one.
Why You’ll Love This Recipe
- Chewy pandan noodles you shape yourself at home
- Only five ingredients, no oven required
- Naturally vegan, gluten-free, and dairy-free dessert
- Cool, refreshing finish after a spicy Thai meal
Ingredient Notes
- pandan leaves: Fresh leaves give the best color and grassy flavor. If you can’t find them, mix 1/2 tsp pandan paste with 350 ml water and add a drop of green food coloring.
- rice flour: Use plain rice flour, not glutinous rice flour, or the noodles turn gummy instead of springy.
- tapioca starch: This is what gives lod chong its chewy bite. Don’t leave it out even if you’re tempted to use all rice flour.
- palm sugar: Adds a caramel depth that plain sugar can’t match. Light brown sugar is the closest substitute if palm sugar isn’t sold near you.
- coconut milk: Use full-fat canned coconut milk. Light versions make a thin, watery sauce that won’t coat the noodles.
Lod Chong: Chewy Thai Pandan Noodles in Coconut Milk
Ingredients
Method
- Combine the pandan leaves and 400 ml water in a blender. Blend on high for 1 minute until fully broken down and bright green.
- Strain through a fine-mesh strainer into a bowl, pressing on the solids to squeeze out all the liquid. You should have about 350 ml of pandan juice, top up with water if you're short.
- In a 2-quart / 2L saucepan, whisk the rice flour, tapioca starch and 1/4 tsp salt with the pandan juice until smooth with no lumps.
- Set the pan over medium heat and cook, stirring constantly with a spatula, for 8 to 10 minutes. The dough turns from thin and cloudy to thick, glossy, and translucent green, pulling away from the sides of the pan. Don't stop early, an undercooked dough falls apart the moment it hits the ice water.
- While the dough cooks, fill a large bowl with the cold water and ice cubes and set it next to the stove.
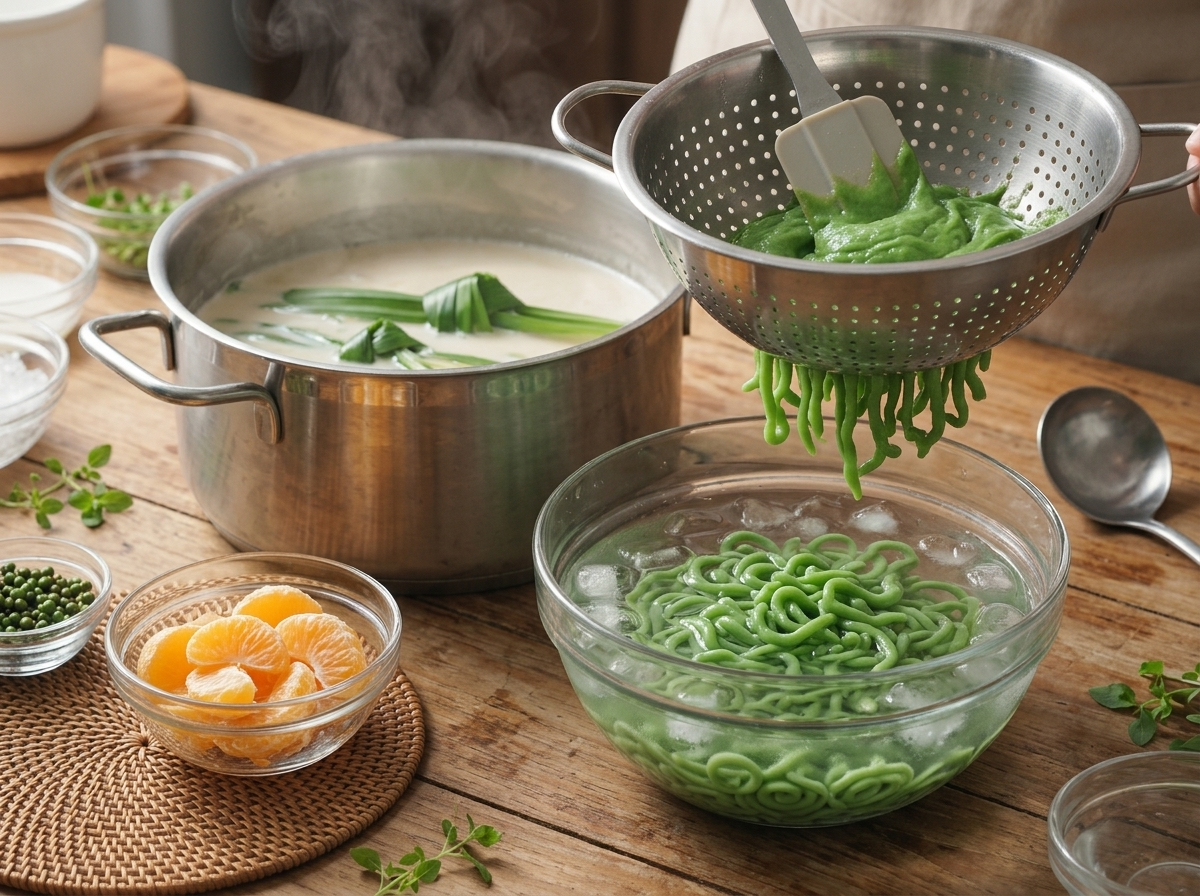
- Working quickly while the dough is still hot, spoon it into a lod chong press or a colander with 5-6 mm holes held over the ice water. Press the dough through with a spatula so it drops into the water in short noodle strands.
- Let the noodles sit in the ice water for 2 to 3 minutes until firm, then drain in a colander. Repeat with any remaining dough.
- In a 1.5-quart / 1.4L saucepan, combine the coconut milk, palm sugar, granulated sugar, the remaining 1/4 tsp salt, and the knotted pandan leaves.
- Warm over medium-low heat, stirring occasionally, for 4 to 5 minutes until the sugars dissolve. Keep it below a hard boil, high heat can split the coconut milk and turn the sauce grainy. Remove from heat and discard the pandan leaves.
- Divide the drained noodles among 6 serving bowls or glasses.
- Ladle the coconut sauce over the noodles and top each bowl with a handful of crushed ice. Serve right away.
Notes
- Have the ice water bath ready before the dough finishes cooking.
- A potato ricer or piping bag works if you don't own a lod chong press.
- Palm sugar sweetness varies by brand, taste the sauce before pulling it off heat.
- Noodles keep best stored separately from the sauce in the fridge.
Tips for Success
- Cook the dough until it turns glossy and pulls from the pan sides, undercooked dough dissolves in the ice bath.
- Press the dough into ice water while it’s still hot, it stiffens fast and gets harder to push through cold.
- Strain the pandan juice well so leaf fiber doesn’t clog the holes of your press or colander.
- Keep the coconut sauce below a hard boil, high heat splits the milk and turns the sauce grainy.
- Assemble bowls right before serving, the noodles turn soft if they sit in the sauce too long.
Variations
- Split the dough in half and leave one portion uncolored for a two-tone green and white noodle bowl.
- Stir chopped young coconut meat or ripe jackfruit strips into the bowls for extra texture and natural sweetness.
- Swap palm sugar for coconut sugar if palm sugar isn’t available, the sauce turns slightly less caramelized but still sweet.
Storage and Reheating
Lod chong is best served freshly assembled, but you can prep both parts ahead. Store the cooked noodles in a container with a splash of water in the fridge for up to 2 days, so they don’t clump together. Keep the coconut sauce in a separate sealed jar in the fridge for the same length of time.
When you’re ready to serve, warm the sauce gently in a small saucepan over low heat for 2 to 3 minutes if you prefer it less cold, then pour it over the chilled noodles with fresh crushed ice. Don’t freeze the noodles, the texture turns mealy once thawed.
Serving Suggestions
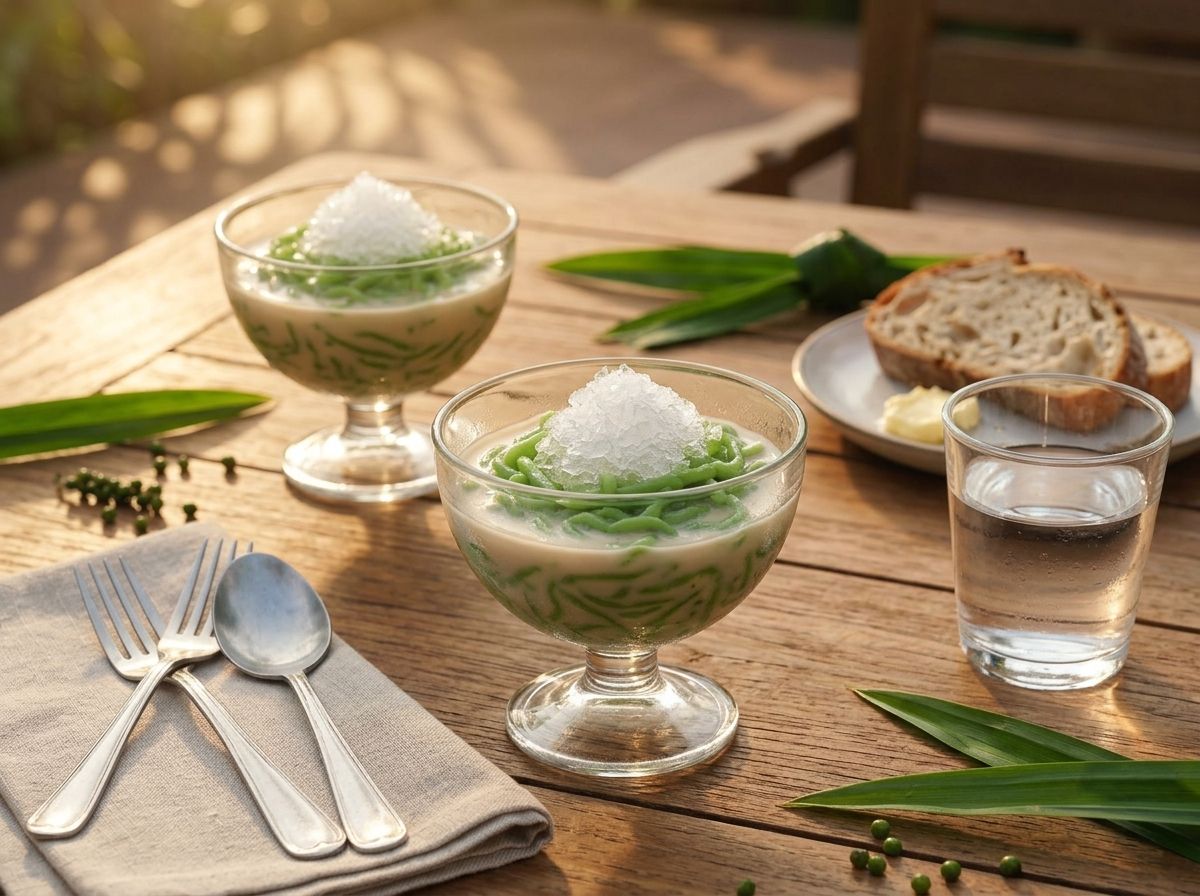
Lod chong is street-food fare in Thailand, scooped into a plastic cup or bowl straight off a cart, so keep the serving simple. Pour the noodles into short glasses so the green strands show through the coconut milk.
Add a small pile of crushed ice on top right before eating, that’s what keeps the whole bowl cold as you work through it. A few strips of young coconut or jackfruit on the side turn it into a fuller dessert plate.
Serve it after a spicy meal like som tam or larb, the cold coconut milk cools your mouth down fast.
FAQ
Why did my lod chong noodles fall apart in the ice water?
Your dough was undercooked before pressing. Lod chong dough needs to cook for the full 8 to 10 minutes over medium heat until it turns thick, glossy, and pulls away from the pan sides. If you press it while it’s still thin and cloudy, the strands won’t hold together and dissolve in the ice bath.
Can I use cornstarch instead of tapioca starch in lod chong?
You can, but the texture changes. Tapioca starch gives lod chong its springy, chewy bite, while cornstarch makes the noodles softer and a bit gummy. If tapioca isn’t available, cornstarch works as a backup, just expect a less bouncy noodle.
Can I make the lod chong noodles ahead of time?
Yes, the noodles keep in the fridge for up to 2 days if stored in a little water so they don’t stick together. Keep the coconut sauce in a separate container and combine them right before serving, since the noodles soften if left sitting in the sauce too long.
What goes well with lod chong besides the coconut sauce?
Young coconut strips, jackfruit, or a few red-dyed tapioca pearls all work well spooned in alongside the pandan noodles. A scoop of crushed ice on top keeps everything cold, and a pinch of extra salt in the sauce sharpens the sweetness. It’s also nice served after a spicy Thai meal as a cooling finish.
Is lod chong gluten free and dairy free?
Yes, lod chong is naturally gluten-free and dairy-free. The noodles are made from rice flour and tapioca starch with no wheat, and the sauce uses coconut milk instead of dairy, so the whole dessert works for both gluten and dairy restrictions.
What’s the difference between Thai lod chong and Vietnamese banh lot?
They’re close cousins, both made from pandan rice noodles, but the serving style differs. Thai lod chong swims in warm or room-temperature palm sugar coconut milk with ice on top, while Vietnamese banh lot is usually served cold with more shaved ice mixed straight into the coconut milk and sugar syrup.
More from the kitchen
- our Bienmesabe Venezolano: Coconut Rum Custard Dessert
- this Yeot: Homemade Chewy Korean Rice Taffy From Scratch
