
Jump to Recipe
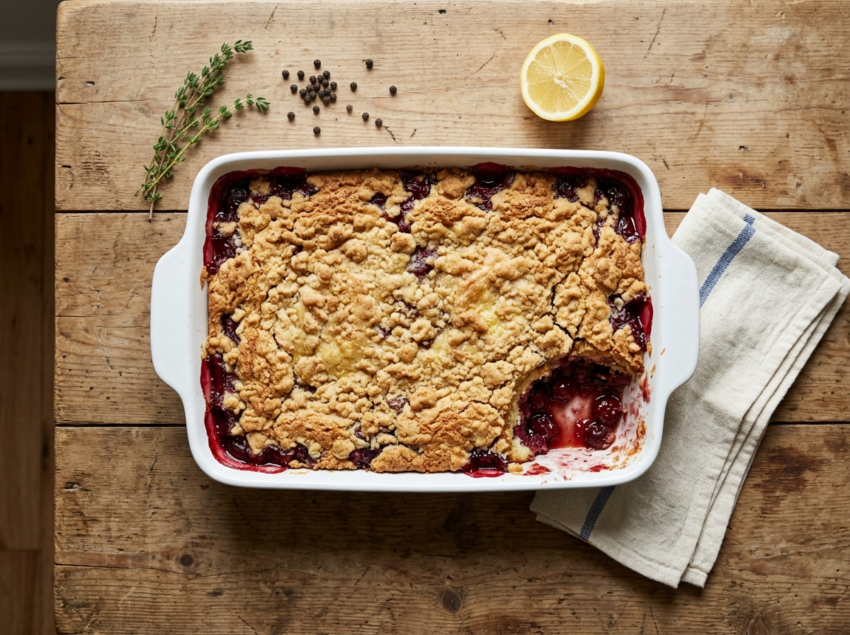
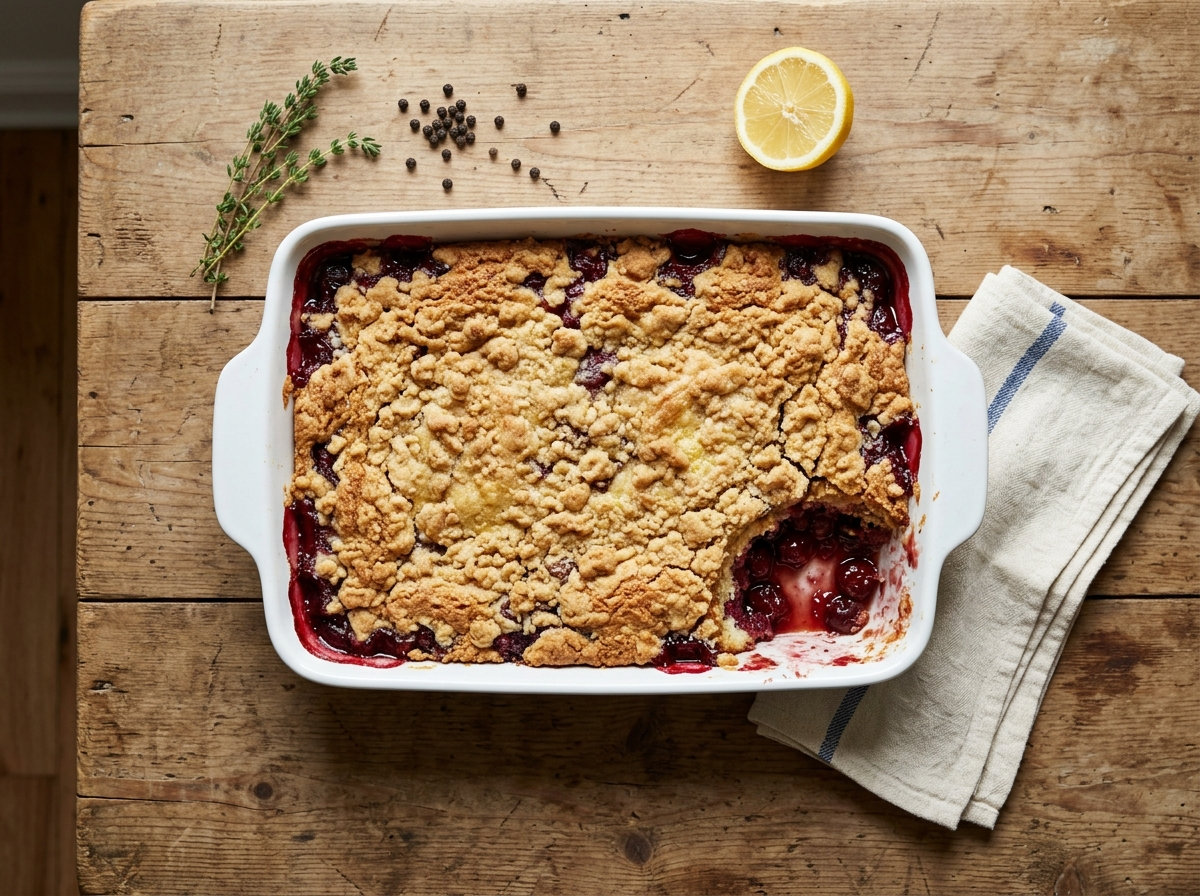
There’s something almost suspicious about a cake this easy. Three staple ingredients, no mixer, no prep stress – and it comes out of the oven with a golden crust that cracks when you press it and juicy cherries pooling underneath.
This is the recipe that’s been clipped from church bulletins and handwritten on index cards since the 1970s. I grew up eating it at potlucks where it sat in a foil pan next to a tub of Cool Whip. It was always gone first.
The technique is genuinely as simple as it sounds. You dump canned cherry pie filling into a baking dish, pour dry cake mix over the top, and lay cold butter slices across the surface. The oven does the rest.
What you get is somewhere between a cobbler and a crumble – fruity, buttery, with just enough structure to scoop cleanly.
Why You’ll Love This Recipe
- No mixing bowls or electric mixer needed
- Uses pantry staples you likely already own
- Jammy cherry filling contrasts with a crisp buttery top
- Scales easily for a crowd – just double the pan
Ingredient Notes
- Canned cherry pie filling: Two 21 oz cans give the right fruit-to-topping ratio. You can swap in canned blueberry or peach pie filling for a variation, but cherry keeps the classic flavor.
- Yellow cake mix: A standard 15.25 oz box of yellow cake mix works best here. White cake mix is a fine substitute – it gives a slightly lighter, more neutral crust.
- Unsalted butter: Cold butter sliced into thin pats, not melted – this is important. Cold slices melt slowly during baking, covering the cake mix more evenly and creating a crispier top than poured melted butter.
- Almond extract (optional): Half a teaspoon stirred into the cherry filling before layering adds a marzipan-like depth that pairs naturally with cherries. Vanilla extract works if you don’t have almond.
Vintage Cherry Dump Cake
Ingredients
Method
- Heat the oven to 177 C / 350 F. Lightly grease a 9x13 inch baking dish with butter or non-stick spray.
- Pour both cans of cherry pie filling into the prepared dish. If using almond extract, stir it into the filling now. Spread the filling evenly all the way to the edges.
- Sprinkle the dry cake mix in an even layer over the cherry filling. Do not stir. Use the back of a spoon to gently level the surface if needed.
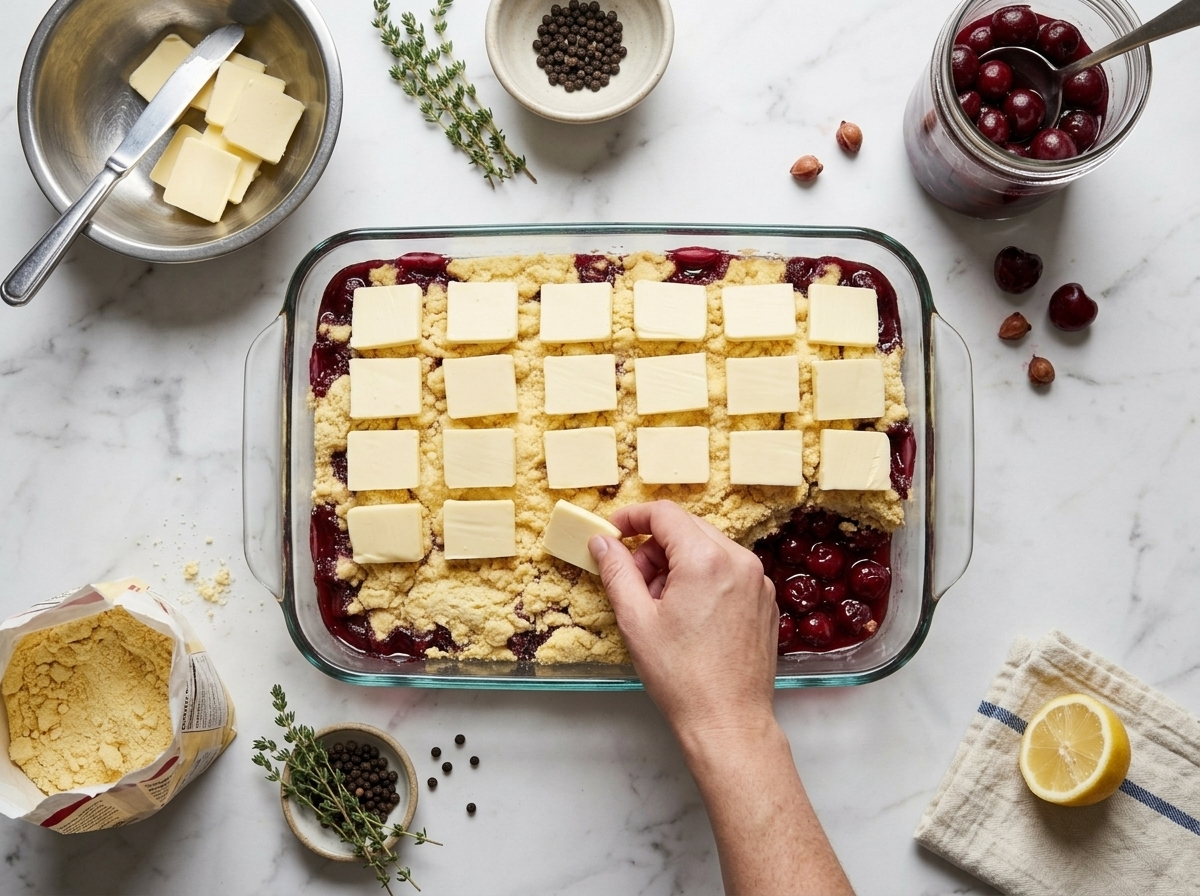
- Lay the cold butter pats in a single layer over the cake mix, tiling them as closely together as possible to cover at least 80 percent of the surface. Gaps left uncovered will stay powdery after baking.
- Bake uncovered for 40 to 50 minutes until the top is deep golden brown, the edges are bubbling, and no white patches of dry cake mix remain visible.
- Remove from the oven and rest for 15 minutes before scooping. The filling will thicken slightly as it cools.
Notes
Tips for Success
- Spread cherry filling all the way to the edges so the cake mix has moisture underneath every section.
- Slice butter as thin as possible – about 1/4 inch – and tile the pieces to cover at least 80 percent of the cake mix surface.
- Do not stir the layers at any point before or during baking or the crust will turn gummy instead of crisp.
- Check at 40 minutes: the top should be golden and dry-looking with no white powdery patches of raw mix.
- Let the cake rest 15 minutes after baking so the cherry filling thickens slightly and scoops cleanly.
Variations
- Cherry-chocolate: use devil’s food cake mix instead of yellow for a black forest flavor.
- Cherry-almond crunch: scatter 1/3 cup sliced almonds over the butter layer before baking.
- Pineapple-cherry: replace one can of cherry filling with crushed pineapple, drained, for a sweeter tropical base.
Storage and Reheating
Cover the baking dish tightly with foil or plastic wrap and keep at room temperature for up to 2 days. After that, refrigerate for up to 4 more days – the crust softens in the fridge but the flavor holds well.
To reheat, scoop individual portions into a microwave-safe bowl and heat for 60 to 90 seconds until warmed through. For a crispier top, reheat uncovered in a 175 C / 350 F oven for 10 minutes.
This cake freezes well. Portion into airtight containers and freeze for up to 2 months. Thaw overnight in the fridge before reheating.
Serving Suggestions
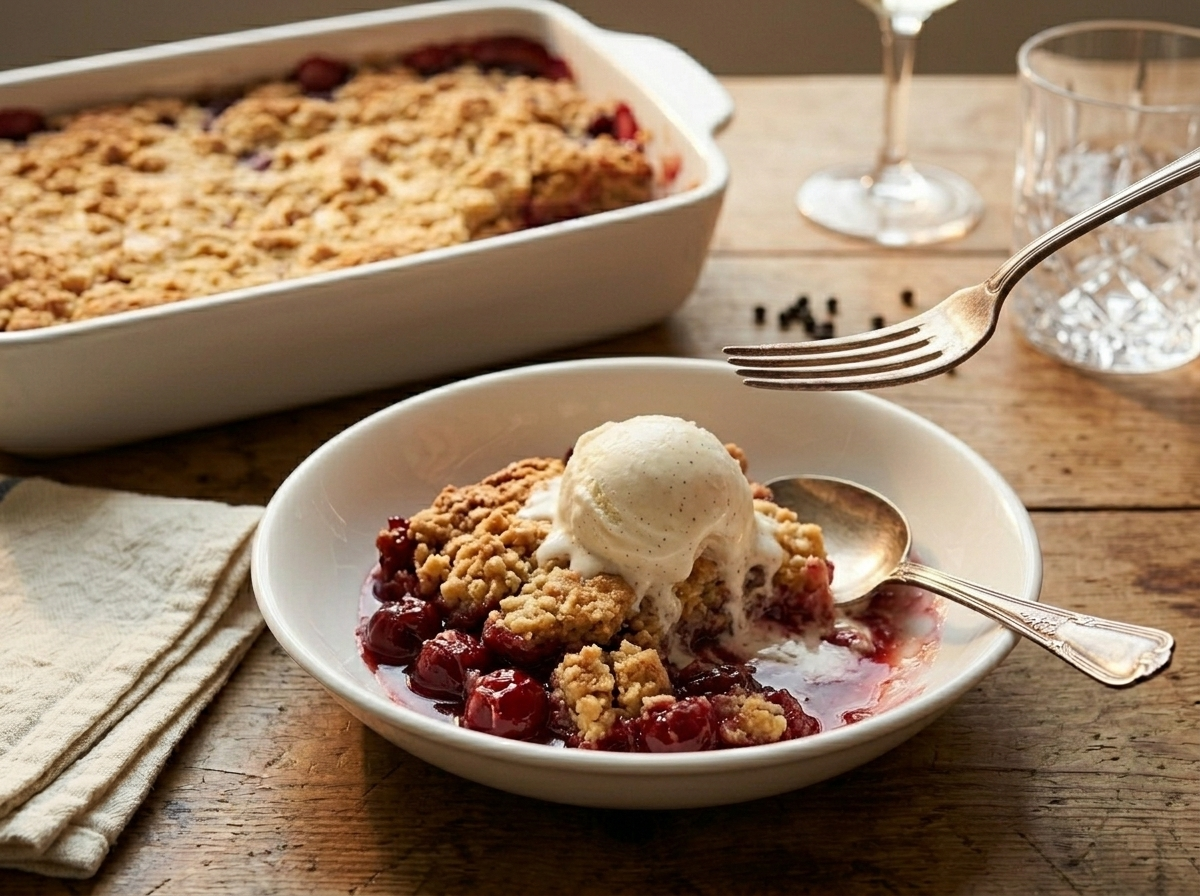
Scoop it warm into bowls and add a generous spoonful of vanilla ice cream. The cold ice cream melting into the hot cherry filling is the whole point of serving it fresh from the oven.
Whipped cream works just as well – a cloud of it over a warm bowl keeps things lighter, or go a step further with the fresh whipped cream on sponge cakes approach if you want something more dressed up. For a retro presentation, use Cool Whip straight from the tub, which is exactly how this dessert was served at every church supper it ever appeared at.
It also holds up at room temperature for a buffet or potluck spread. Bring the dish, a serving spoon, and a stack of bowls – it travels well and feeds a crowd without any fuss.
FAQ
Why does my cherry dump cake have dry powdery spots on top after baking?
Dry patches usually mean the butter slices didn’t cover enough of the cake mix surface, so parts of the dry mix never got enough fat to bake through. Next time, slice the butter thinner and tile the pieces closer together so the coverage is more complete.
Can I use fresh or frozen cherries instead of canned pie filling in a dump cake?
You can use frozen sweet cherries, but you’ll need to add sugar and a cornstarch slurry to replicate the thick gel of canned pie filling – about 1 cup sugar and 3 tablespoons cornstarch per pound of cherries. Fresh cherries work the same way but take more prep. Canned filling is faster and gives more consistent results.
Can I assemble the cherry dump cake the night before and bake it in the morning?
It’s better not to. The dry cake mix will absorb moisture from the cherry filling overnight and turn dense rather than forming a crisp crust. Assemble it and bake it within 30 minutes for the best texture.
What goes well with vintage cherry dump cake besides vanilla ice cream?
A dollop of sour cream cuts through the sweetness in a way that feels almost sophisticated, and an orange cinnamon pudding cake uses a similar soft-and-saucy layered logic if you want to explore that contrast further. Cream cheese whipped with a little powdered sugar is another good option, especially if you want something tangier than plain whipped cream.
Is cherry dump cake gluten-free?
Not with standard boxed cake mix, which contains wheat flour. To make it gluten-free, swap in a certified gluten-free yellow cake mix – several brands now offer them in the same box size. Check the cherry pie filling label too, as some brands thicken with wheat starch.
What is the difference between a cherry dump cake and a cherry cobbler?
A cobbler uses a biscuit or batter topping made from scratch, while a dump cake uses dry boxed cake mix laid directly over the fruit with no mixing. The dump cake crust is crispier and more crumble-like, while cobbler tends to be softer and more bread-like on top.
