
Jump to Recipe
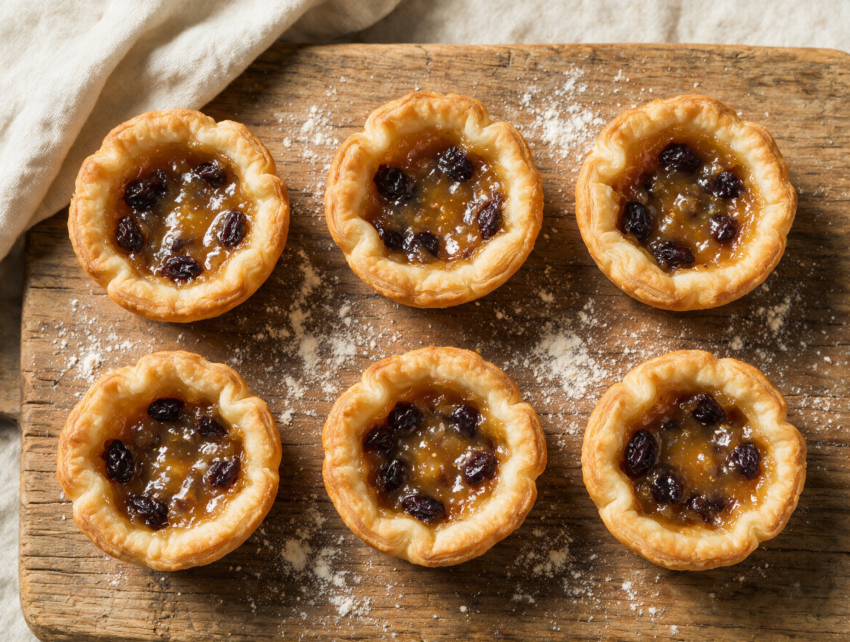
There’s something about a butter tart that feels like it belongs in a grandmother’s kitchen, even if you’ve never met her. Canadian butter tarts are small pastry shells filled with a brown sugar filling that bakes gooey in the center, sometimes studded with raisins or pecans.
I make mine with a flaky, all-butter pastry and a filling that puffs up in the oven, then settles into a soft, chewy center as it cools. The trick is pulling them out while the middle still jiggles slightly, not fully set.
I first had one from a bakery outside Ottawa on a road trip through Ontario. The filling had gone slightly crisp at the edges and stayed loose in the middle. That contrast is what I chase every time I bake a batch now.
This version uses a simple pastry with a splash of vinegar for tenderness, plus a filling built on real butter, brown sugar and corn syrup. No candy thermometer, no water bath.
Why You’ll Love This Recipe
- Gooey caramel filling with crisp, flaky pastry edges
- No candy thermometer or water bath required
- Freezes well for make-ahead holiday baking
- Classic Canadian recipe with raisin or pecan options
Ingredient Notes
- all-purpose flour: Keeps the pastry tender. Don’t swap in bread flour or the crust turns tough.
- cold unsalted butter (pastry): Keep it cold and cubed so the dough stays flaky instead of dense.
- egg yolk: Adds richness and helps bind the dough without making it chewy.
- white vinegar (pastry): A splash relaxes the gluten so the crust stays tender. You won’t taste it in the finished tart.
- brown sugar: Packed brown sugar gives the filling its deep caramel color and flavor.
- corn syrup: Keeps the filling from turning grainy and lets it set gooey. Golden syrup works as a substitute.
- melted unsalted butter (filling): Whisk it in while warm but not hot, or it can start cooking the eggs.
- raisins: Soak in warm water for 10 minutes and drain before adding so they plump instead of drying out in the oven.
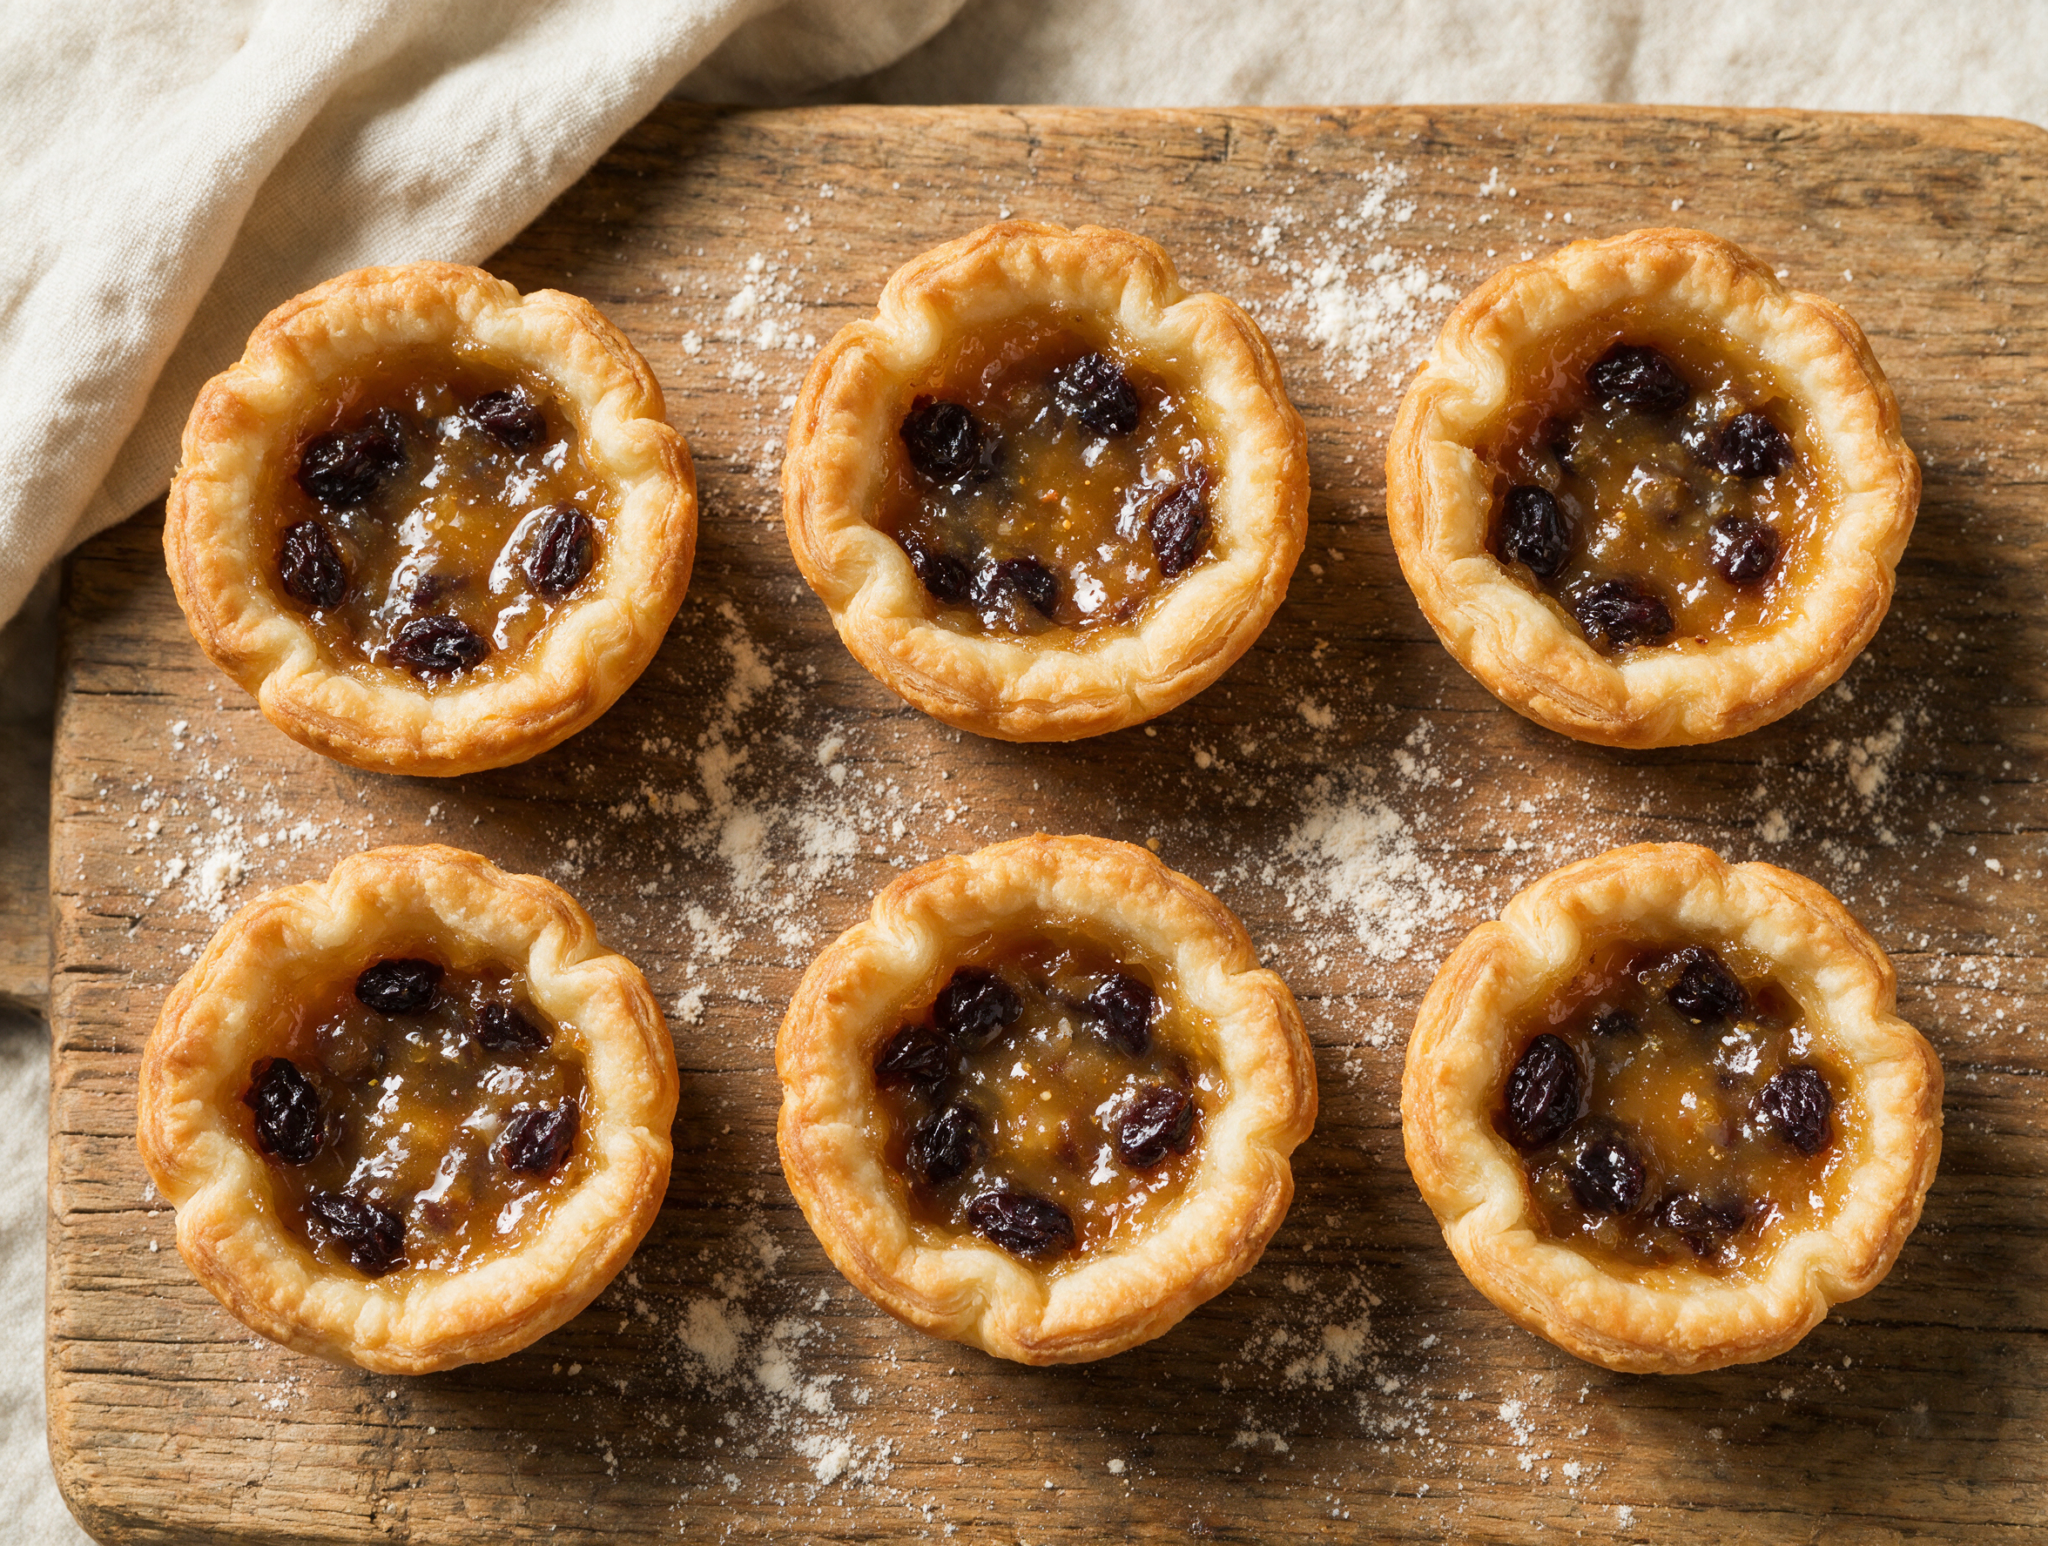
Homemade Canadian Butter Tarts with a Gooey Filling
Ingredients
Method
- Whisk the flour, salt and granulated sugar together in a large bowl. Cut in the cold cubed butter with a pastry blender or fork until the mixture looks like coarse crumbs with some pea-sized pieces.
- In a small bowl, whisk the egg yolk, vinegar and 3 tbsp ice water together. Pour into the flour mixture and stir gently until the dough just holds together, adding the last tablespoon of water only if needed.
- Turn the dough out, pat it into a disk, wrap it and chill for 30 minutes.
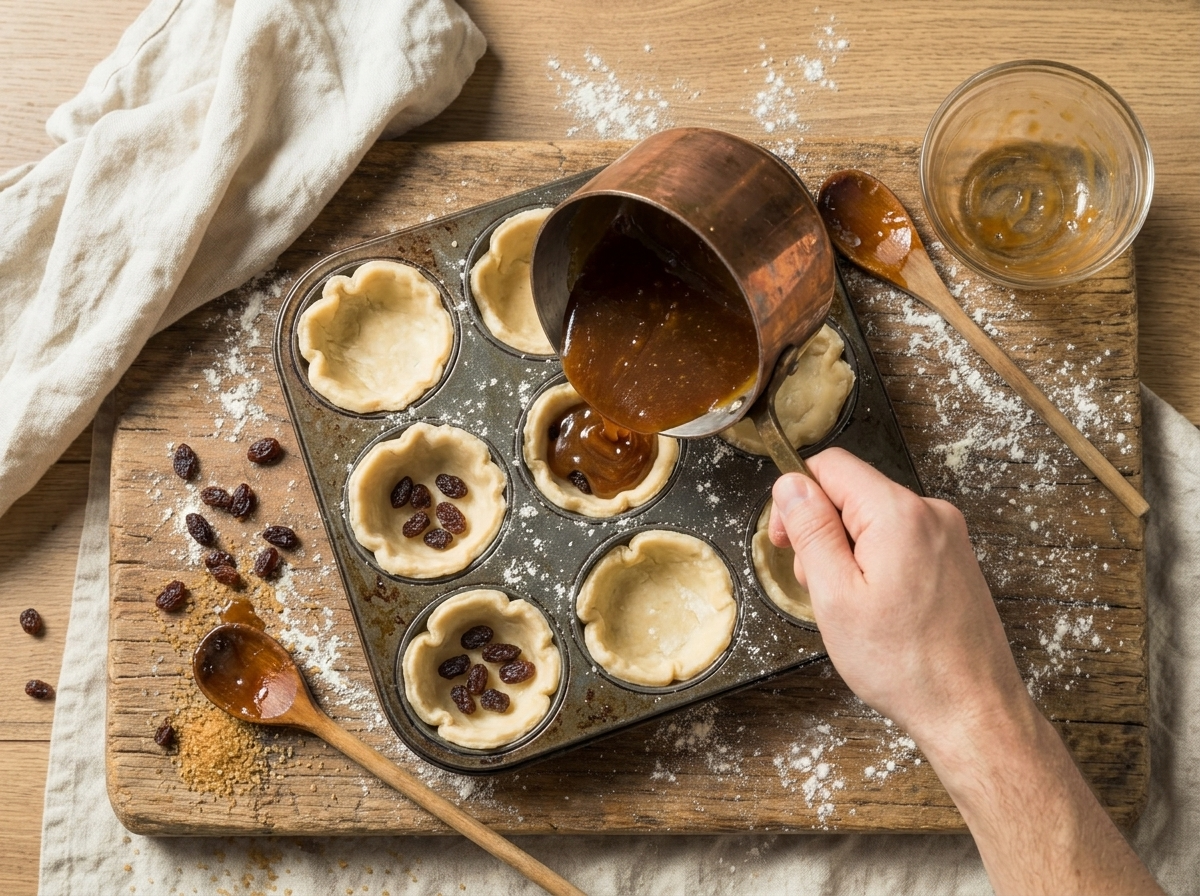
- Whisk the melted butter and brown sugar together in a bowl until smooth. Add the corn syrup, eggs, vanilla, vinegar and salt, whisking until fully combined and slightly glossy.
- Heat the oven to 375 F / 190 C. Grease a 12-cup muffin tin well.
- Roll the chilled dough on a floured surface to about 3 mm thickness. Cut 12 rounds with a 4-inch / 10cm cutter and press each into a muffin cup.
- Scatter a few drained raisins into the bottom of each pastry shell.
- Pour the filling into the shells, filling each about two-thirds full to leave room for puffing.
- Bake for 15 to 18 minutes, until the filling is puffed and bubbling at the edges, the pastry is golden brown, and the centers still jiggle slightly.
- Cool the tarts in the tin for 10 minutes, then transfer to a wire rack to cool completely. The filling firms up as it cools, so resist checking doneness right out of the oven.
Notes
- Use a 4-inch / 10cm cutter for pastry rounds to fit standard muffin cups.
- Grease the muffin tin well even if the pastry seems non-stick.
- Filling keeps setting as tarts cool, so don't judge doneness straight from the oven.
- Room-temperature eggs blend into the filling more smoothly than cold ones.
Tips for Success
- Chill the pastry dough for a full 30 minutes so it rolls out easily without shrinking in the oven.
- Fill the shells only two-thirds full since the filling puffs up and can overflow if you go higher.
- Pull the tarts at 15 to 18 minutes when the centers still jiggle slightly for a gooey filling.
- Cool the tarts in the tin for 10 minutes before moving them, or the hot filling will spill out.
- Soak raisins in warm water for 10 minutes before adding them so they don’t turn hard in the oven.
Variations
- Swap raisins for toasted chopped pecans and stir them into the filling before baking for a crunchy version.
- Use pure maple syrup instead of corn syrup for a thinner, more maple-forward filling with a softer set.
- Add a tablespoon of bourbon or dark rum to the filling for a boozy edge that bakes off the harsh alcohol.
Storage and Reheating
Store baked butter tarts in an airtight container at room temperature for up to 2 days, or in the fridge for up to 5 days since the buttery filling softens at warm room temperature. Layer parchment between tarts if stacking them.
Baked tarts freeze well for up to 3 months in a freezer-safe container. Thaw at room temperature for about an hour before serving, or overnight in the fridge.
To warm them up, place tarts in a 300 F / 150 C oven for 5 to 7 minutes until the filling loosens slightly. Skip the microwave, since it can make the pastry soggy instead of crisp.
Serving Suggestions
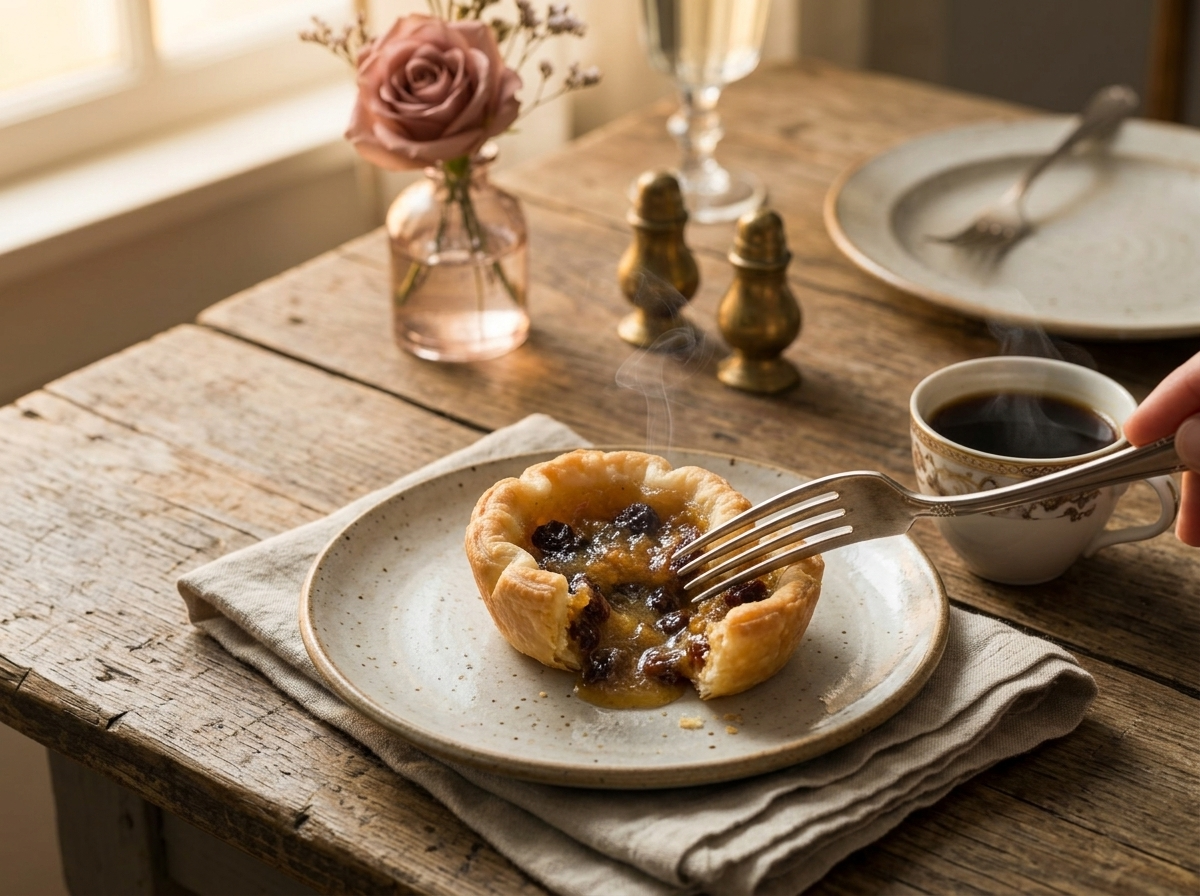
Serve butter tarts slightly warm with a scoop of vanilla ice cream, letting it melt into the caramel filling. A cup of strong black coffee or tea cuts through the sweetness nicely.
For a holiday dessert table, set them out next to shortbread cookies or a simple fruit compote. Unsweetened whipped cream is a good option too, especially with the pecan variation.
I like to bring a batch to potlucks since they hold up at room temperature for a few hours without the filling weeping.
FAQ
Why did the filling in my butter tarts sink or turn hard?
That happens when the tarts bake too long or too hot, which cooks off the moisture and turns the filling into hard candy instead of a soft, gooey center. Pull the tarts at 15 to 18 minutes at 375 F / 190 C while the centers still jiggle slightly. They finish setting as they cool in the tin.
Can I use maple syrup instead of corn syrup in butter tarts?
Yes, you can swap in pure maple syrup, though the filling turns out thinner and less firm since maple syrup doesn’t set the same way corn syrup does. I use half maple syrup and half corn syrup when I want extra flavor without losing the gooey texture. Straight maple syrup also bakes a shade darker.
Can I freeze Canadian butter tarts before or after baking?
Yes, they freeze well both ways. Baked tarts keep in an airtight container in the freezer for up to 3 months and thaw at room temperature in about an hour. Unbaked pastry shells can also be frozen in the muffin tin, then filled and baked straight from frozen with a few extra minutes.
What goes well with Canadian butter tarts besides coffee?
Vanilla ice cream is my go-to, since the cold cream balances the sweet, buttery filling. Strong black tea works well too, and unsweetened whipped cream is a good option if you added raisins or pecans. They also hold up fine on a holiday dessert spread next to shortbread.
Are Canadian butter tarts gluten free?
No, this recipe isn’t gluten free as written because the pastry uses all-purpose wheat flour. A 1:1 gluten-free baking flour blend can work for the crust, though the texture turns out more crumbly than flaky. The filling itself is naturally gluten free.
What’s the difference between a butter tart and a pecan pie?
Butter tarts are small, single-serving pastries with a thinner, softer filling, while pecan pie is a full-size pie with a firmer, nut-packed filling and a candied top. Butter tarts traditionally use corn syrup or maple syrup and often skip nuts in favor of raisins, so the flavor leans more caramel than toasted pecan.
Loved this? Try these next
