
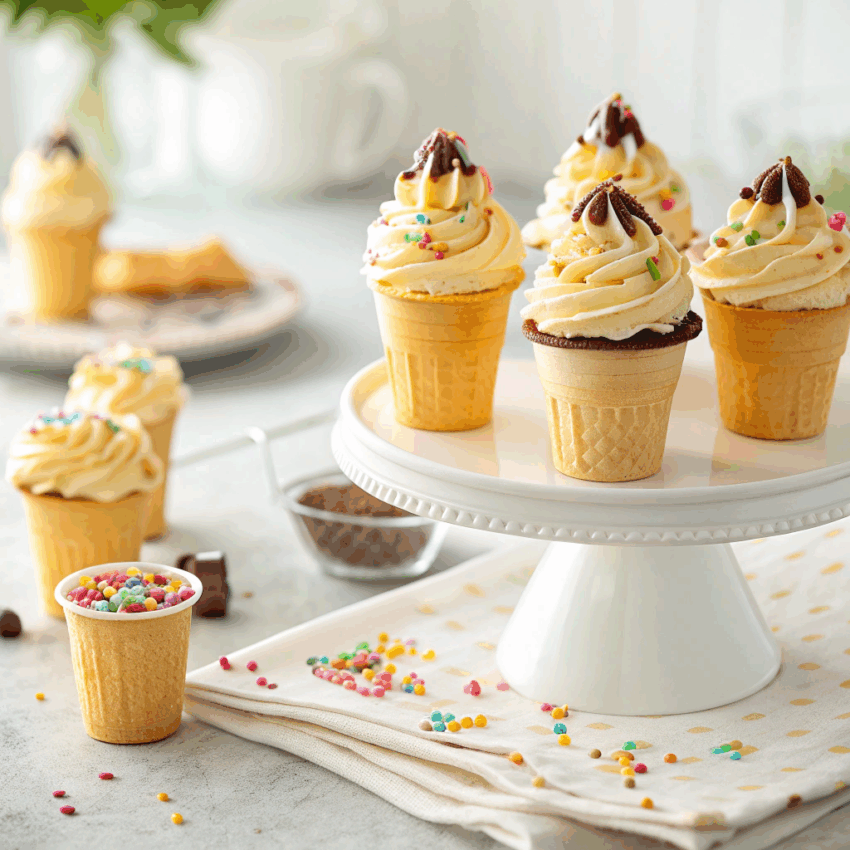
Cupcakes are great. Ice cream cones are great. Put them together and you’ve got something that makes both kids and adults grin ear to ear—DIY cupcake cones. These little treats look like ice cream but taste like cake. They’re perfect for birthdays, school parties, or any day when dessert deserves a playful upgrade.
I remember the first time I saw cupcakes baked inside cones. I thought, “Wait, you can do that?” The crunchy cone paired with soft cake and creamy frosting is a combination that never fails to impress. And the best part? They’re easier to make than they look.
In this guide, I’ll walk you through how to make ice cream cone cupcakes, how to frost them so they actually look like ice cream, and even how to transport cupcake cones without a meltdown (literally).
Why You’ll Love Cupcake Cones
- They’re mess-free: no cupcake liners or extra plates.
- They travel well (I’ll share tips later).
- They’re super customizable with sprinkles, candy toppings, or even a drizzle of chocolate.
- Kids adore them—and honestly, so do adults.
If you’ve ever wanted a dessert that doubles as both food and decoration, this is it.
What You’ll Need
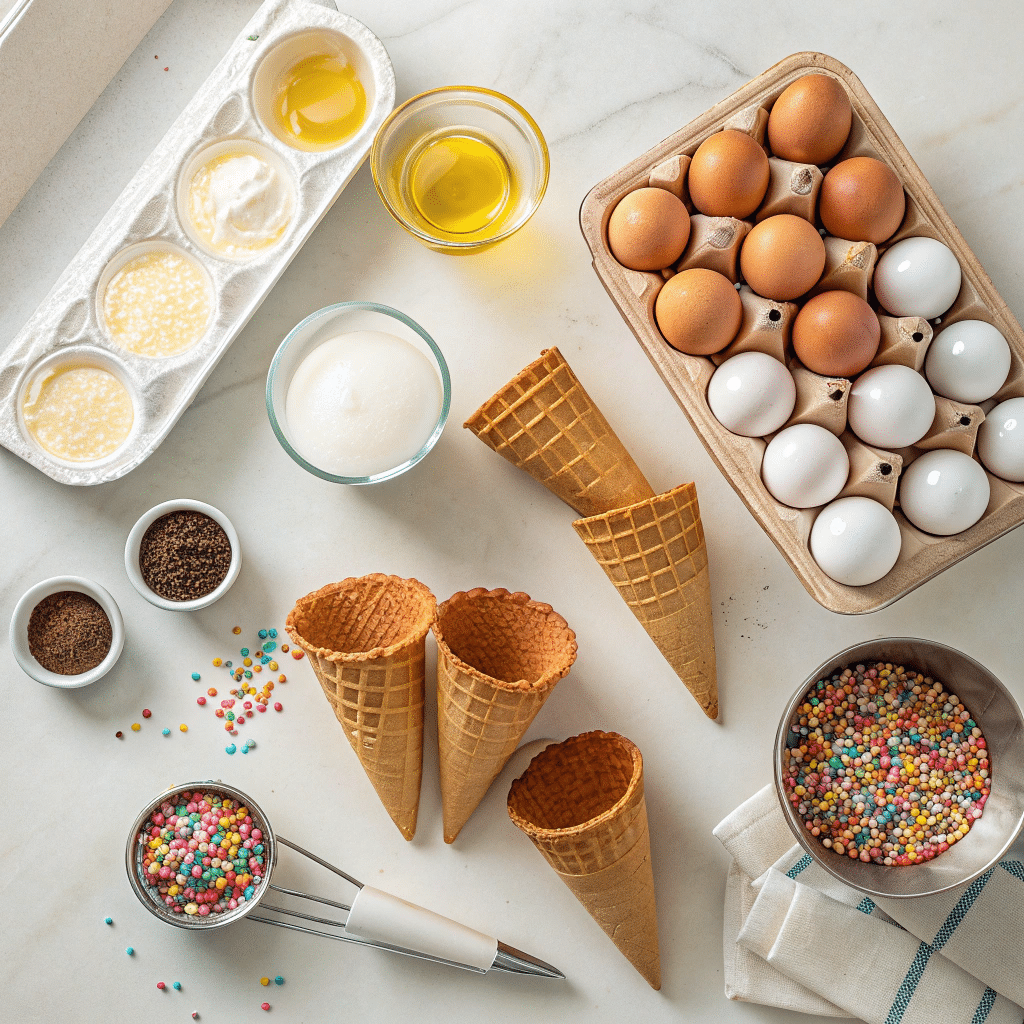
Here’s what goes into making cupcakes in ice cream cones:
Ingredients
- 12 flat-bottom ice cream cones (the kind that can stand on their own)
- 1 box of cake mix (or your favorite homemade cupcake recipe)
- Ingredients listed on the cake mix box (usually eggs, oil, water)
- Frosting (buttercream works best for swirl tops)
- Sprinkles, mini chocolate chips, or candy for topping
Equipment
- Muffin pan (this will help cones stand upright)
- Piping bag or zip-top bag for frosting
- Cooling rack
How to Make Cupcakes in Cones
The process is surprisingly straightforward. If you can make cupcakes, you can make cone cupcakes.
Step 1: Prep the Cones
Place your ice cream cones in a muffin pan. The muffin cups will hold the cones steady so they don’t tip over in the oven.
Step 2: Make the Batter
Prepare your cupcake batter following the recipe or cake mix instructions. Nothing fancy needed here.
Step 3: Fill the Cones
Fill each cone about 2/3 of the way with batter. Don’t go higher—otherwise, you’ll end up with overflowing cupcakes that resemble volcanic eruptions instead of cute cones.
Step 4: Bake
Bake at the temperature your recipe calls for, usually around 350°F (175°C), for 18–22 minutes. Check with a toothpick—if it comes out clean, they’re ready.
Step 5: Cool Completely
This is important. If you frost while warm, you’ll have a sticky, sliding mess. Place the baked cupcakes in cones on a cooling rack until they’re at room temperature.
Step 6: Frost Like Ice Cream
Here’s where the magic happens. Pipe frosting onto each cupcake in a tall swirl so it looks like a scoop of ice cream. For extra flair, add sprinkles or drizzle chocolate sauce.
Variations to Try
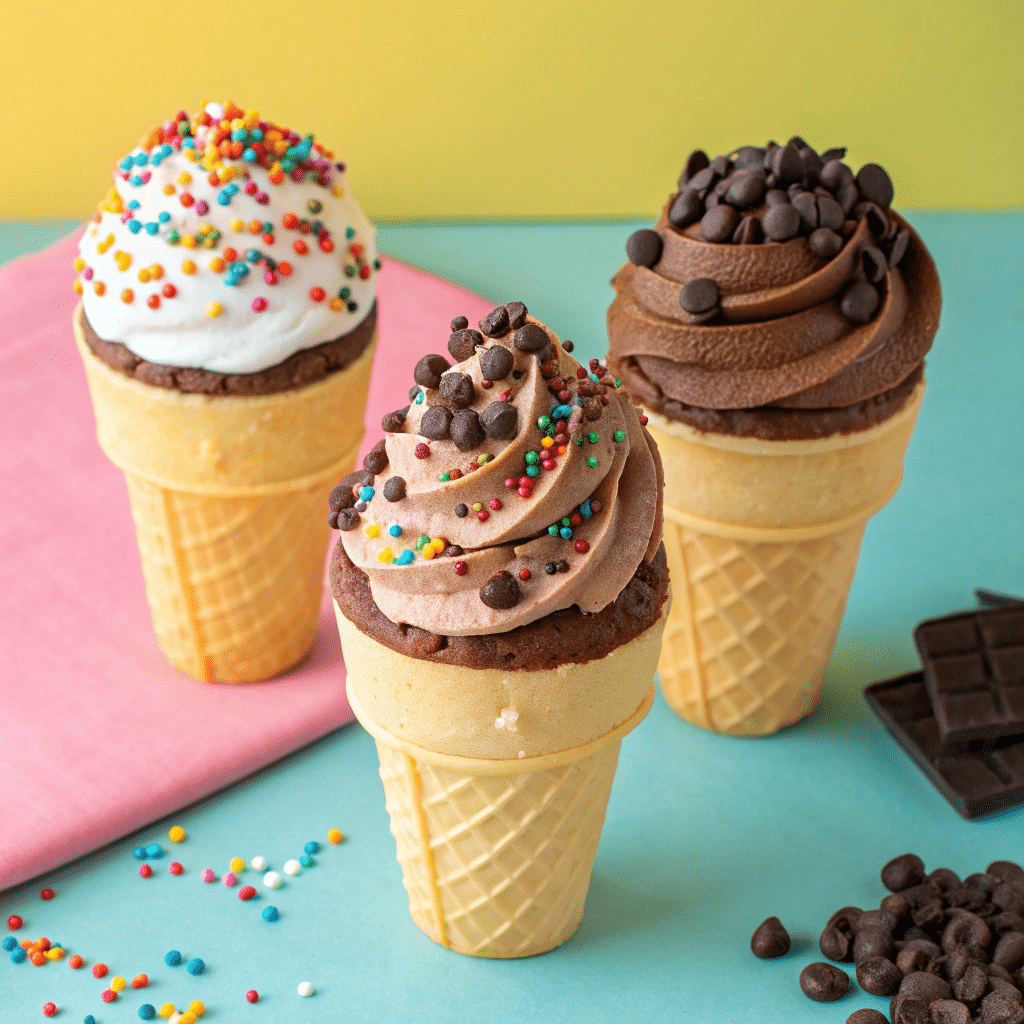
- Ice Cream Cone Cupcakes with Sprinkles: Mix sprinkles into the batter for a funfetti look.
- Mini Ice Cream Cones: Use mini cones and bake smaller cupcakes for bite-sized treats.
- Cone Cupcakes with Chocolate Dip: Dip the top of the frosting in melted chocolate and let it harden for a “hard shell” effect.
- Flat Cupcake Frosting: If you don’t want the ice cream look, spread frosting flat across the top for a cleaner style.
How to Transport Ice Cream Cone Cupcakes
This is the million-dollar question. Cupcake cones are adorable—until they topple over in your car. Here are some tricks I’ve learned:
- Muffin tins: Place cones back into muffin cups and carry them in the pan.
- Shoebox hack: Cut holes into a shoebox lid, just wide enough for cones to sit snugly.
- Cup carriers: Coffee cup trays from cafés work surprisingly well for holding cones upright.
The key is stability. As long as they stay vertical, your ice cream cone cupcakes recipe will make it to the party safe and sound.
Tips for Success
- Don’t overfill cones—this is the number one cause of overflow.
- Always cool before frosting. Patience pays off here.
- If you want taller cones, double-stack frosting by piping a base layer and then swirling on top.
- Store frosted cones in the fridge if not serving immediately. Just bring them to room temp before serving for the best texture.
Creative Ways to Serve Cupcake Cones
Presentation can make or break a dessert, especially with something as whimsical as cupcakes in cones. Here are a few fun ideas to try:
- Dessert Bar Style: Line up unfrosted cones and set out bowls of frosting, sprinkles, and candies. Let guests decorate their own. It’s interactive and keeps kids busy.
- Birthday Centerpiece: Arrange frosted cupcake cones upright in a decorated foam block. It doubles as table décor and a grab-and-go treat.
- Ice Cream Cone Cake: Instead of serving individual cones, arrange them in a circle on a platter and frost them together. It looks like a big “ice cream cake” made out of cones.
- Mini Cones for Parties: Use bite-sized cones to create a tray of mini desserts—perfect for kids’ parties or when you want smaller portions.
- Theme Toppings: Match your sprinkles and frosting colors to a holiday or event theme. Red and green for Christmas, pastel colors for spring, or even team colors for sports events.
Little details like these turn a simple cone cupcakes recipe into a showstopper.
Final Thoughts
DIY cupcake cones are proof that desserts don’t need to be complicated to be delightful. They combine the nostalgia of ice cream cones with the comfort of cupcakes—and honestly, that’s a win-win in my book.
If you’re baking for kids, they’ll squeal when they see these. If you’re making them for adults, don’t be surprised when people sneak seconds. And if you’re making them just because it’s a Tuesday night and you need a little sweetness? Well, I say that’s reason enough.
So the next time you’re wondering how to make cupcakes that stand out, grab a box of cones and give this recipe a try. Your kitchen will smell amazing, your guests will be impressed, and your dessert table will never look the same again.
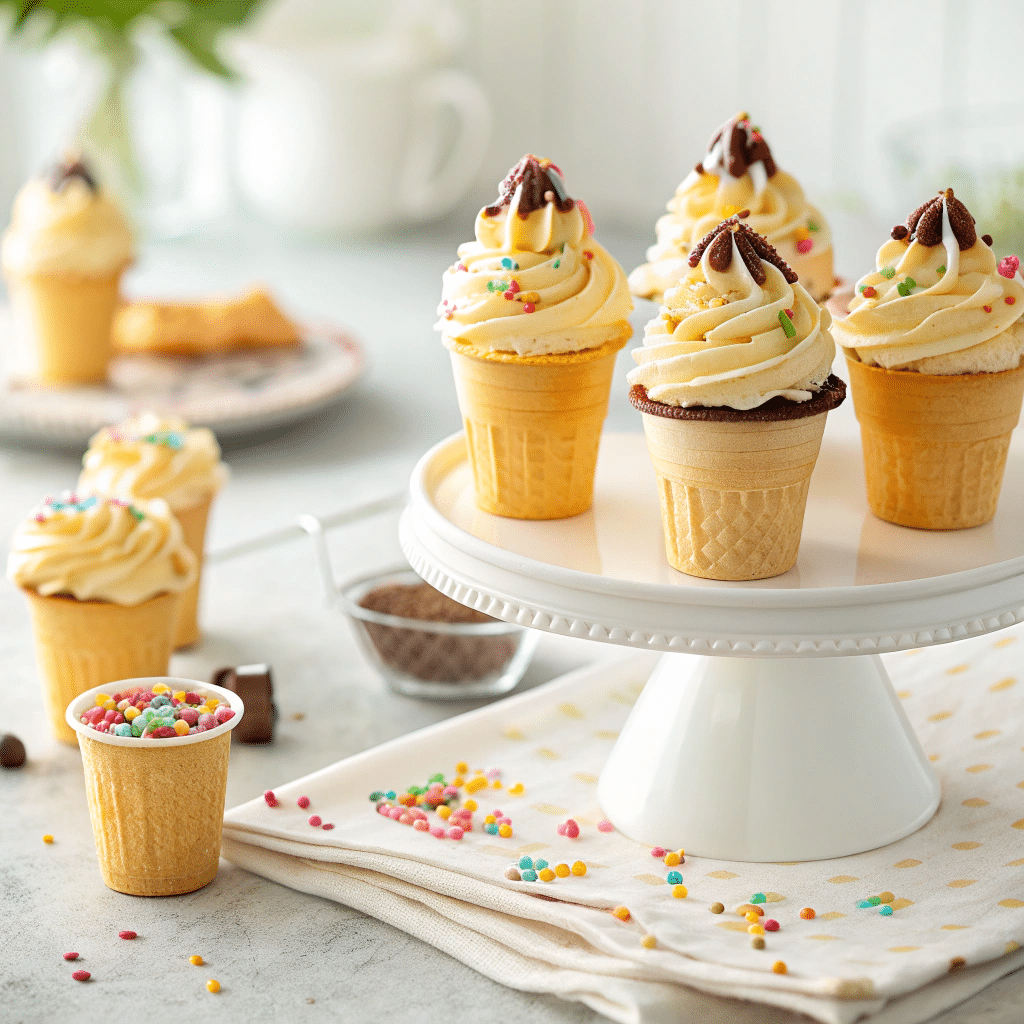
DIY Cupcake Cones
Ingredients
Method
- Preheat Oven: Set oven to 350°F (175°C).
- Arrange Cones: Place flat-bottom cones upright in a muffin tin to keep them steady.
- Mix Batter: Prepare cupcake batter following the box or recipe instructions.
- Fill Cones: Spoon batter into each cone, filling about two-thirds full. Do not overfill.
- Bake: Place muffin tin in oven and bake for 18–22 minutes, or until a toothpick comes out clean.
- Cool: Let cones cool completely on a wire rack before frosting.
- Frost: Use a piping bag (or zip bag with corner cut) to swirl frosting on top, making it look like soft-serve ice cream.
- Decorate: Add sprinkles, mini chocolate chips, or drizzle chocolate sauce for extra flair.
- Serve & Enjoy: Best served the same day while cones are crisp and fresh.
Notes
- Don’t frost while warm, or the topping will slide off.
- Bake and frost the same day if you want the cones to stay crisp.
- For chocolate lovers, dip frosted tops into melted chocolate and let it harden before serving.
Frequently Asked Questions
Can I use sugar cones instead of flat-bottom cones?
It’s better to stick with flat-bottom cones. Sugar cones tip over easily in the oven, which can lead to spilled batter and frustration.
How do I keep cones from getting soggy?
Bake, cool, and frost the same day you plan to serve them. Storing frosted cones overnight in the fridge can make the cones lose their crunch. If you need to prep ahead, bake the cupcakes in cones, store them uncovered at room temperature, then frost just before serving.
Can I use homemade cake batter?
Absolutely! A boxed mix works great for convenience, but if you’ve got a go-to cupcake recipe, it’ll bake beautifully inside cones.
How do I frost without a piping bag?
Use a zip-top bag. Fill it with frosting, snip a corner, and swirl away. It may not look as polished, but it’ll still taste fantastic.
What if I want different flavors?
No problem—divide the batter and mix in cocoa, lemon zest, or food coloring for a variety pack of ice cream cones cupcakes.
How long do cupcake cones last?
They’re best eaten the day they’re made. The cones soften with time, but if stored at room temperature, they’ll still taste good for about 1–2 days.
Can I freeze them?
Freezing isn’t the best idea because cones become chewy after thawing. Instead, freeze unfrosted cake batter in cones, then bake fresh when needed.
How do I transport them without ruining the frosting?
The shoebox trick or muffin pan method works well. If you’re going on a longer drive, keep them cool in an air-conditioned car and avoid stacking anything on top.
