
Jump to Recipe
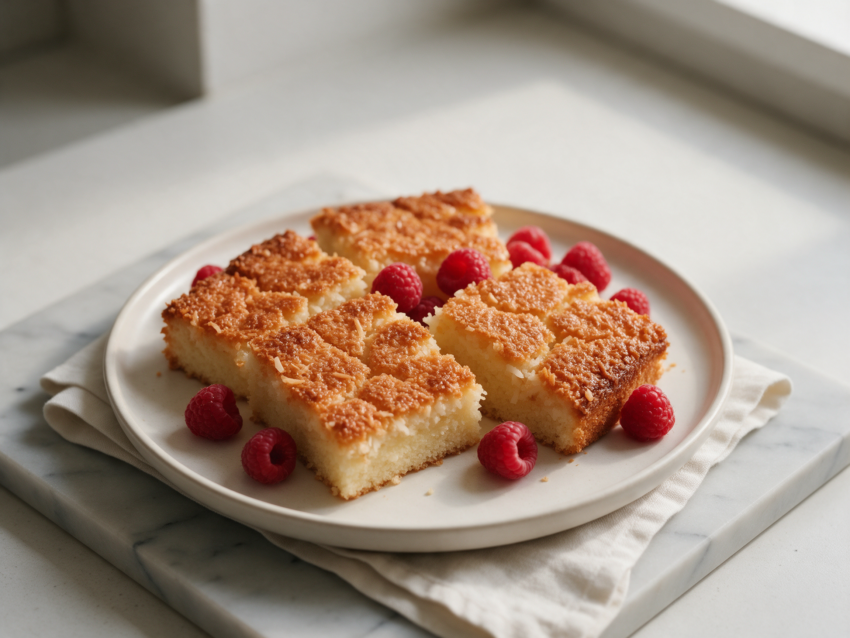
There’s something about a cake that gets broiled, not just baked, that makes people ask what it is before they even taste it. Danish dream cake, or drømmekage, is a soft vanilla sponge finished with a coconut brown sugar topping that goes under the broiler until it bubbles and turns deep gold.
I found this one on a trip through Copenhagen bakeries, where every slice looked slightly different but shared the same sticky, crackly top: butter, brown sugar, and shredded coconut cooked together for a few minutes then spread over the warm cake.
The sponge itself is simple. Eggs and sugar whipped light, folded with warm milk and butter, no creaming, no stand mixer required.
Skip the broiler for even a minute too long and the topping burns fast. That’s the one step to watch closely.
Why You’ll Love This Recipe
- One bowl sponge, no stand mixer required
- Coconut brown sugar topping turns sticky and caramelized
- Keeps well for days, tastes better on day two
- Simple pantry ingredients, no fancy equipment needed
Ingredient Notes
- eggs: Room temperature eggs whip up lighter and faster than cold ones straight from the fridge.
- granulated sugar: Standard white sugar works here, whipped with the eggs to build the sponge’s structure.
- whole milk: Whole milk keeps the crumb moist. Lower-fat milk works but the sponge turns out slightly drier.
- unsalted butter: Used in both the sponge and the topping. Salted butter works too, just skip the added salt.
- shredded coconut: Unsweetened shredded or desiccated coconut both work. Sweetened coconut makes the topping too cloying.
- light brown sugar: Gives the topping its caramel color. Dark brown sugar works too, for a deeper flavor.
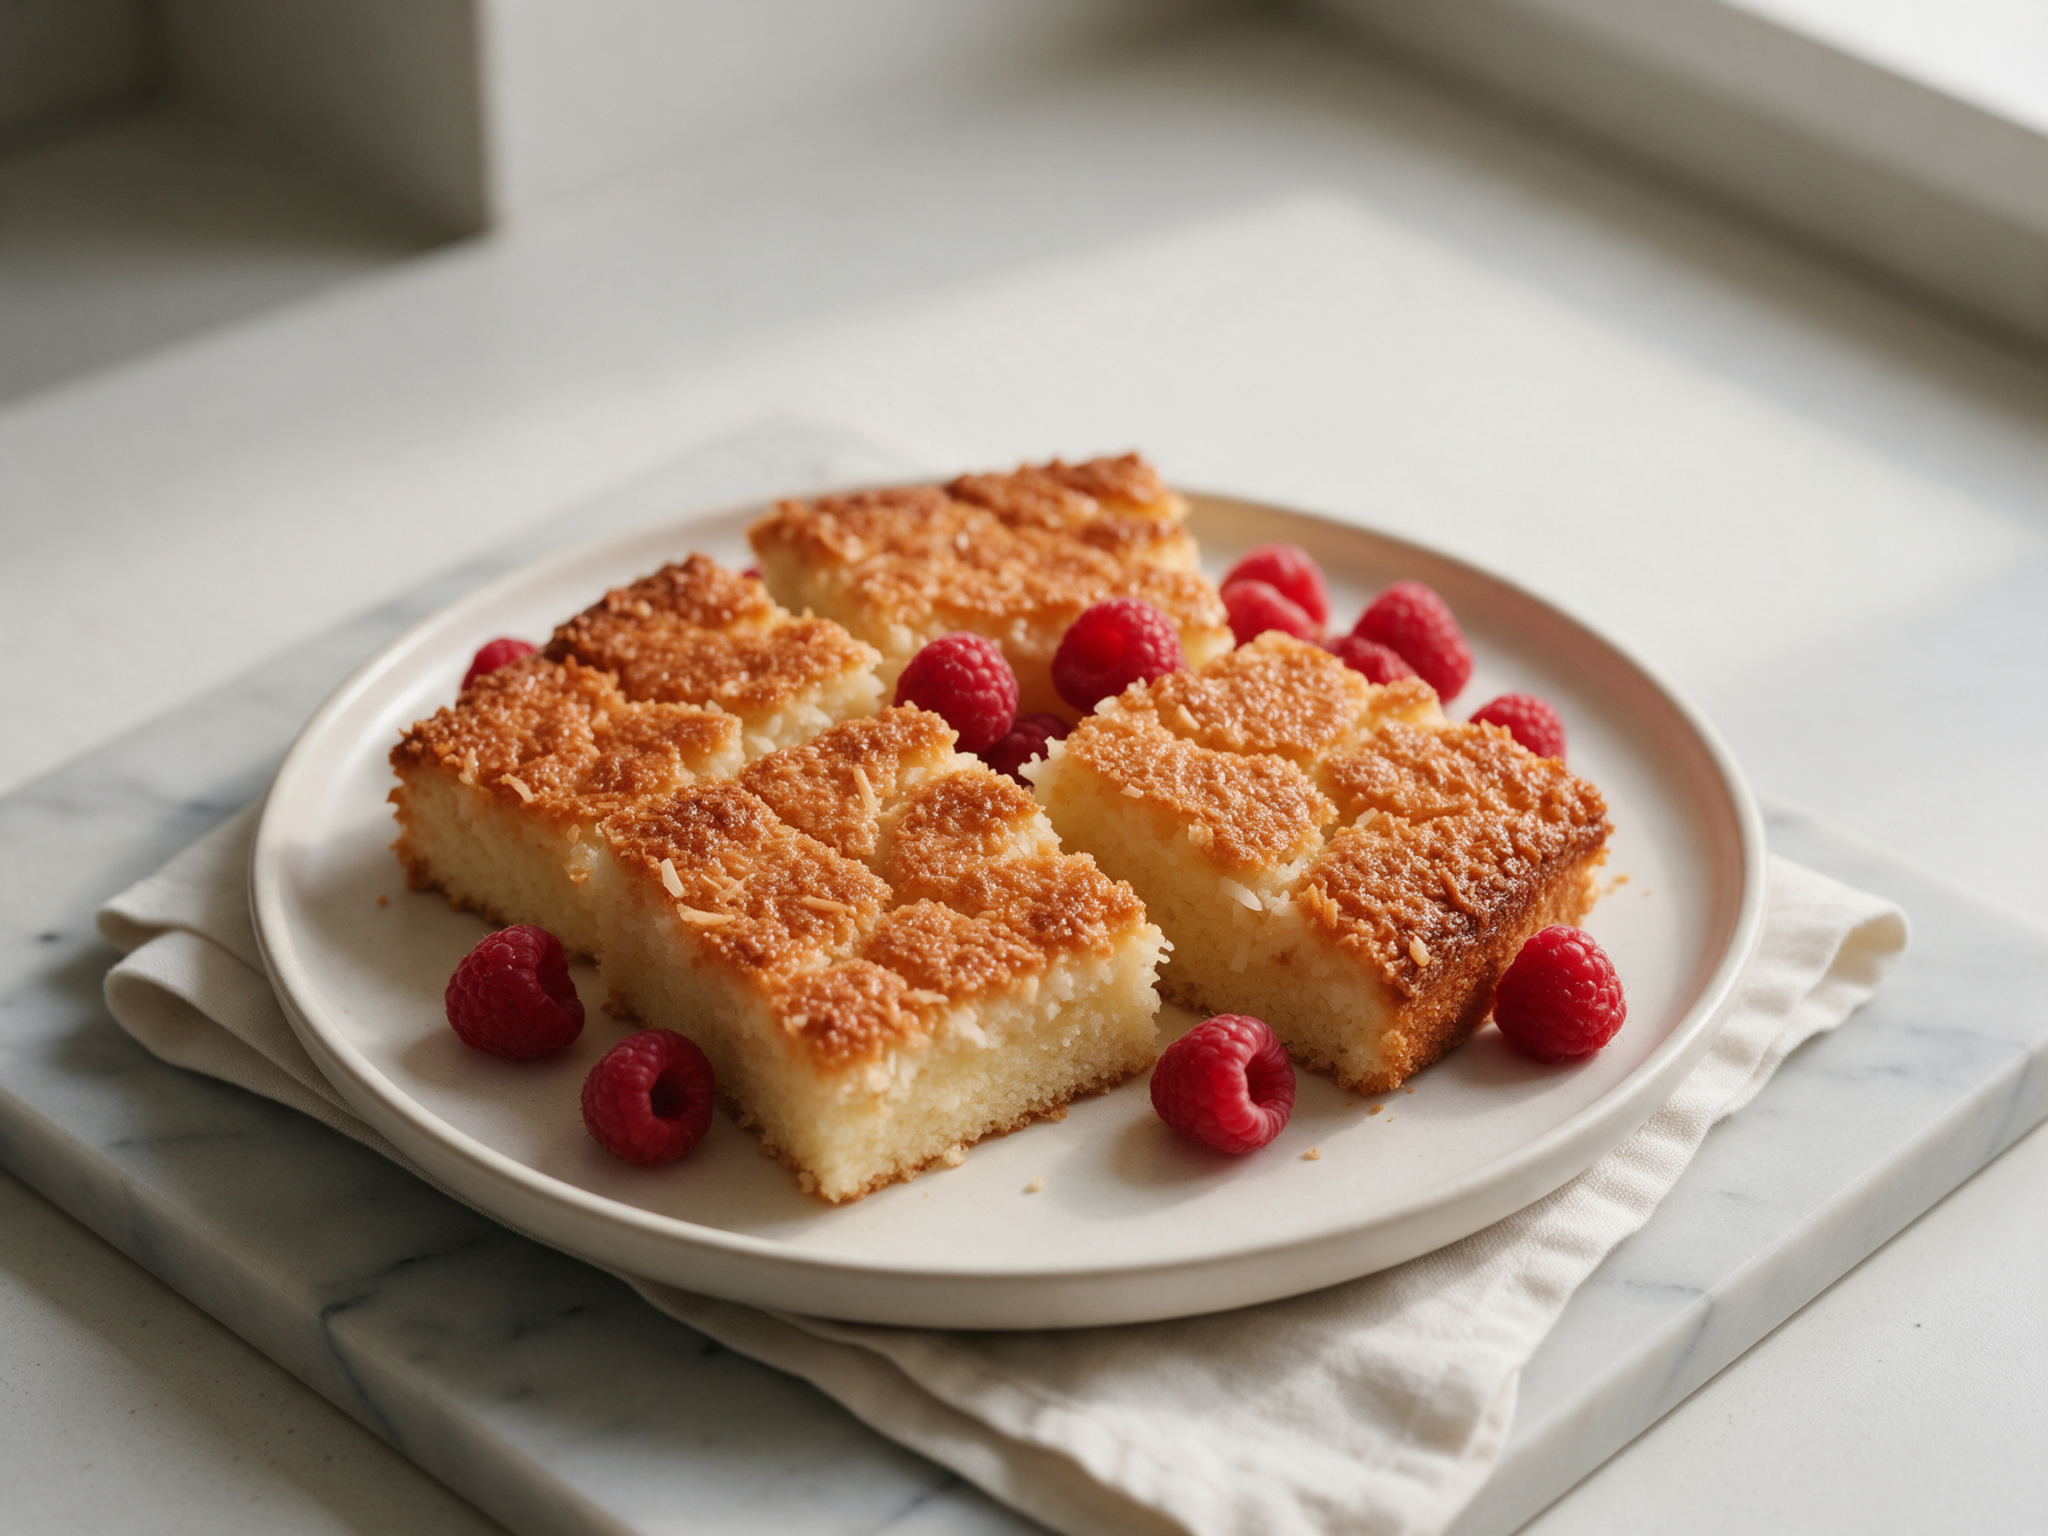
Danish Dream Cake with Coconut Brown Sugar Topping
Ingredients
Method
- Preheat the oven to 175C / 350F. Grease and line a 23x33 cm / 9x13-inch baking pan with parchment, leaving overhang on two sides.
- In a large mixing bowl, whisk the eggs and sugar with a hand mixer for 3 to 4 minutes until pale, thick, and doubled in volume.
- Warm the milk and 50 g butter in a small saucepan over low heat until the butter melts and the mixture feels warm, not hot. Stir in the vanilla.
- Sift the flour, baking powder, and salt over the egg mixture. Fold gently with a rubber spatula until just combined.
- Pour the warm milk mixture down the side of the bowl and fold until the batter is smooth with no streaks.
- Pour the batter into the prepared pan and spread evenly. Bake for 25 to 30 minutes until a toothpick inserted in the center comes out clean and the top springs back lightly.
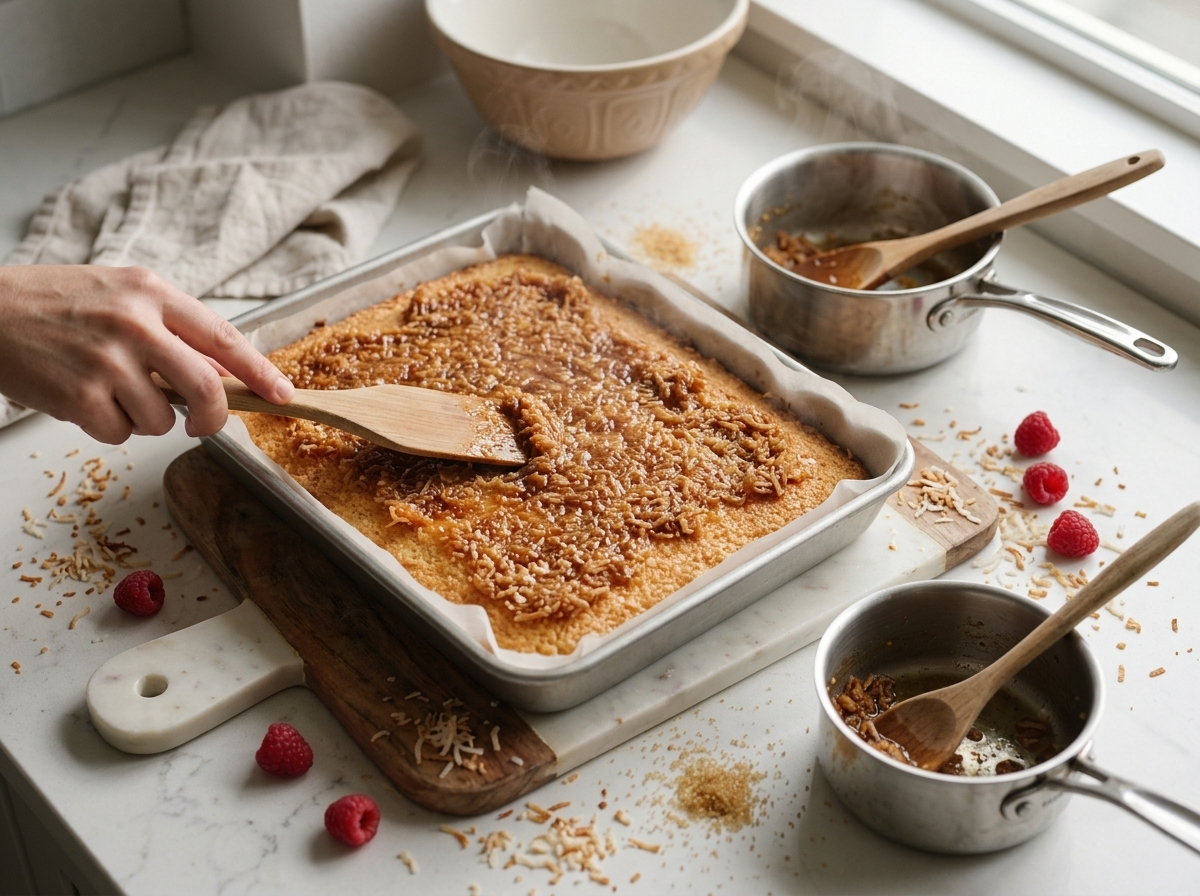
- While the cake bakes, combine the topping butter, brown sugar, and 60 ml milk in a 2-quart / 1.9 L saucepan over medium heat. Stir for 3 to 4 minutes until the sugar dissolves and the mixture is smooth. Remove from heat and stir in the coconut.
- Remove the cake from the oven and switch the oven to broil. Spread the topping evenly over the hot cake while it's still in the pan.
- Broil for 3 to 5 minutes, watching closely, until the topping bubbles and turns deep golden brown. Don't walk away, it can burn in under a minute once it starts browning.
- Cool the cake in the pan on a wire rack for at least 15 minutes before lifting it out by the parchment overhang and slicing into 12 squares.
Notes
- Whip eggs and sugar a full 3 to 4 minutes for a light crumb
- Warm milk and butter before folding, cold liquid deflates the batter
- Broil topping only 3 to 5 minutes, it burns fast after that
- Spread topping while cake is still hot so it adheres evenly
Tips for Success
- Whip the eggs and sugar for a full 3 to 4 minutes until pale and thick, this gives the sponge its light crumb.
- Warm the milk and butter before folding it in, cold liquid deflates the whipped eggs and flattens the cake.
- Watch the broiler the whole time, the coconut topping can go from golden to burnt in under a minute.
- Spread the topping while the cake is still hot from the oven so it sticks and spreads evenly.
- Let the cake cool at least 15 minutes before slicing, the topping firms up as it cools.
Variations
- Swap shredded coconut for sliced almonds for a nuttier, less sweet topping that still gets crisp under the broiler.
- Add a teaspoon of cardamom to the batter for a warmer, spiced version closer to Scandinavian bakery style.
- Use dark muscovado sugar instead of light brown sugar for a deeper, almost toffee-like topping flavor.
Storage and Reheating
Danish dream cake keeps well covered at room temperature for 3 to 4 days, the topping actually firms up nicely as it sits. If your kitchen runs warm, move it to the fridge where it’ll keep for up to 5 days.
To bring back some crispness to the topping, warm a slice in the oven at 150C/300F for about 5 minutes. Skip the microwave, it softens the topping into something closer to chewy caramel than crisp coconut.
Serving Suggestions
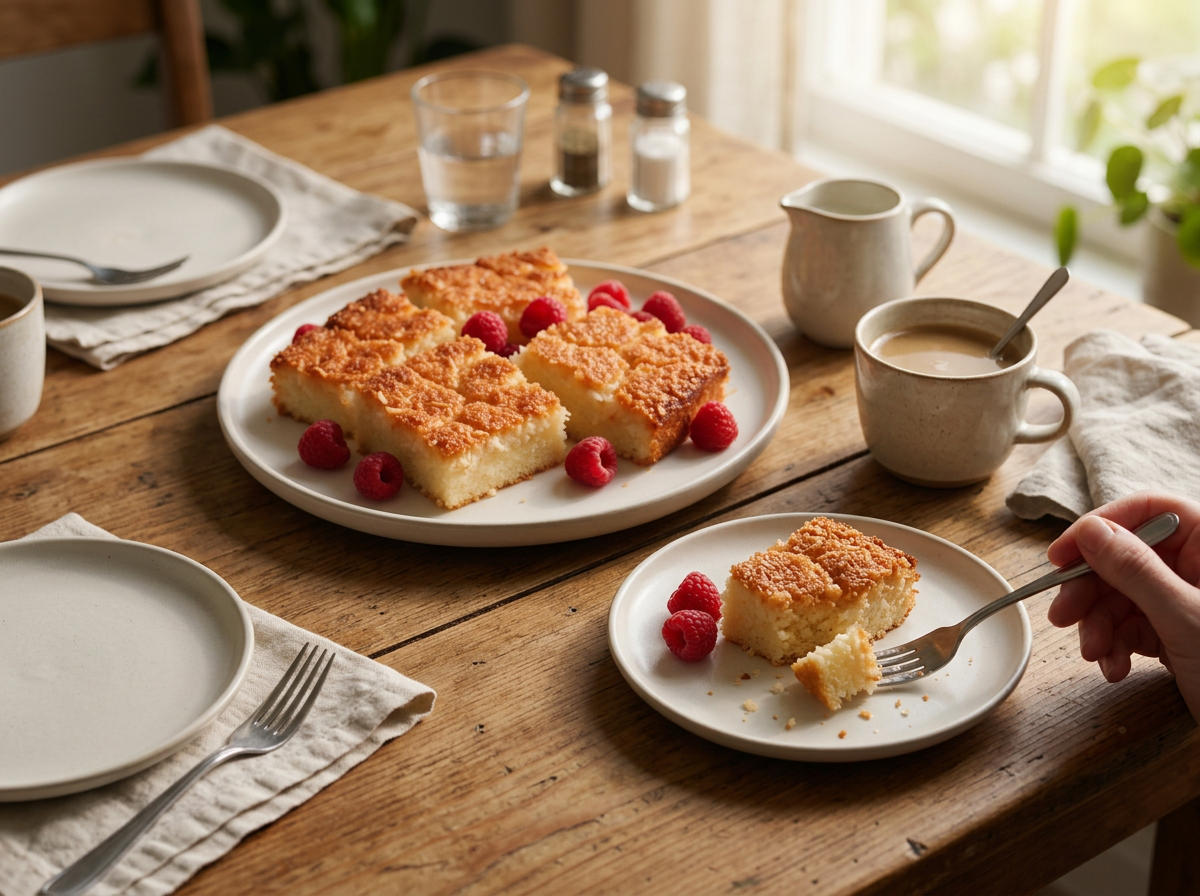
Drømmekage is good on its own with just coffee, which is how most Danish bakeries serve it. A dollop of lightly whipped cream on the side softens the sweetness of the topping.
Fresh berries, raspberries or sliced strawberries, add acidity against the caramelized coconut. For leftovers at breakfast, a slice alongside plain yogurt works better than you’d expect.
FAQ
Why did my drømmekage topping turn out chewy instead of crisp?
Chewy topping usually means it didn’t spend enough time under the broiler or the pan sat too far from the heat. Broil for the full 3 to 5 minutes until it’s actively bubbling and deep gold, not just softened. Keep the pan on the middle rack and stir the topping well before spreading so the sugar and butter are fully combined.
Can I use desiccated coconut instead of shredded coconut in dream cake?
Yes, desiccated coconut works fine and is actually closer to what Danish bakeries use for drømmekage. It’s drier and finer than shredded coconut, so the topping sets slightly crisper. Use the same 75 g amount, no other changes needed.
Can I make Danish dream cake a day ahead?
Yes, dream cake actually tastes better the next day once the topping has had time to firm up and the sponge settles. Bake it fully, including the broiled topping, then cover loosely and store at room temperature overnight. Slice and serve straight from the pan the next day.
What goes well with drømmekage besides coffee?
Drømmekage pairs well with lightly whipped cream and fresh berries like raspberries or sliced strawberries, which cut the sweetness of the topping. Cold milk works too, especially for kids. In Denmark it’s often served plain with just coffee, so you don’t need to dress it up.
Is Danish dream cake gluten free?
No, this recipe uses regular all-purpose flour, so it’s not gluten free as written. You can try a 1:1 gluten-free flour blend in place of the flour, though the sponge will be slightly denser and less springy. The coconut topping itself is naturally gluten free.
What’s the difference between drømmekage and a regular coconut cake?
Drømmekage is defined by its broiled topping, not just coconut mixed into the batter. The butter, brown sugar, and coconut mixture gets spread over the hot sponge and broiled until it caramelizes into a sticky, praline-like layer. A regular coconut cake usually has coconut baked into or frosted onto the cake instead.
More from the kitchen
- Bienmesabe Venezolano: Coconut Rum Custard Dessert
- the Korean Hotteok with Molten Brown Sugar Filling
