
Jump to Recipe
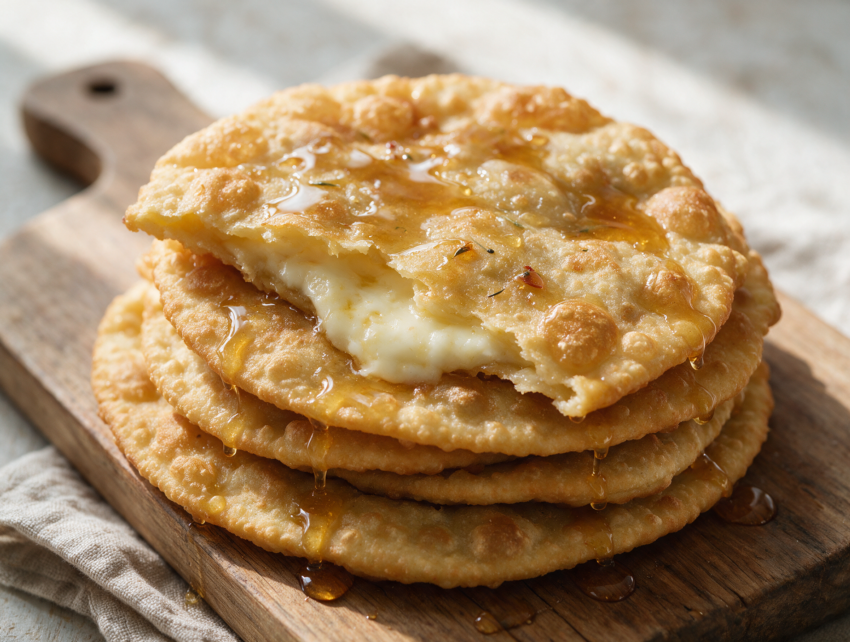
There’s something about a plate of seadas that stops conversation at a Sardinian table. Thin, blistered pastry. Melted pecorino stretching with the first bite. Honey pooling at the edges, the same sticky-sweet finish that makes salted honey cookie bars so good.
I first ate one at a trattoria outside Cagliari, still too hot to touch, and I’ve been chasing that exact bite since.
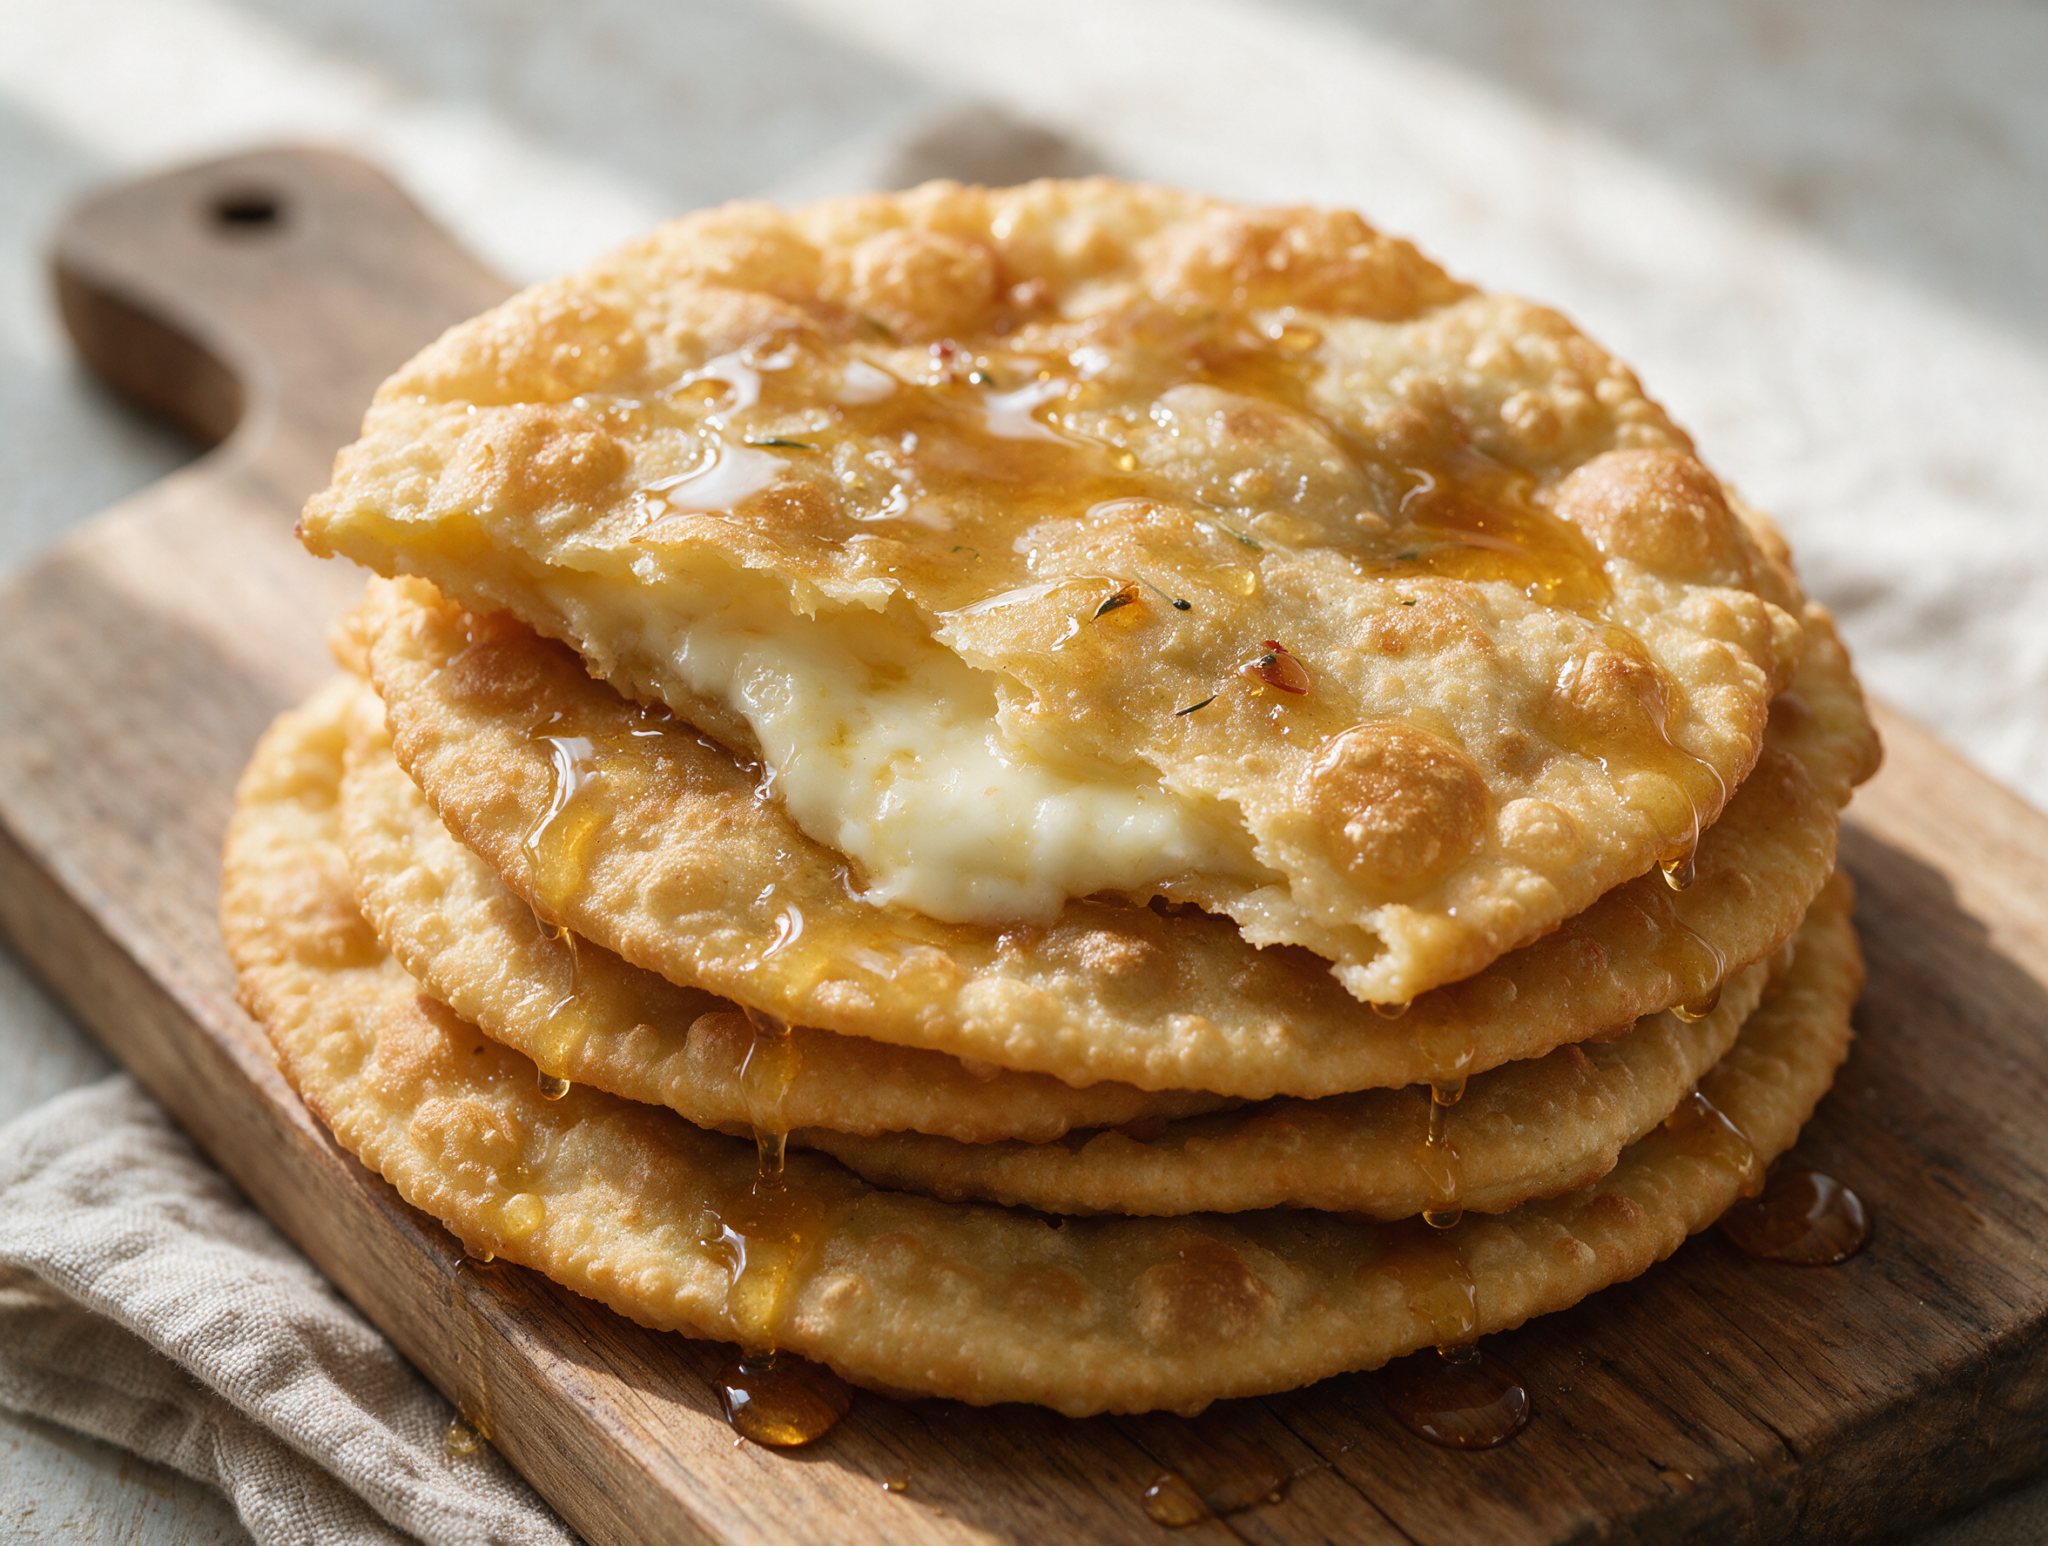
Seadas are a fried Sardinian pastry, two thin rounds of semolina dough sealed around fresh pecorino, fried until the dough blisters and puffs, then finished with warm honey.
The dough isn’t hard to work with. The real trick is sealing the edges tight enough that the cheese doesn’t run out into the oil.
This version keeps things close to what I ate on that trip: semolina dough, young pecorino, hot oil at 175 C / 350 F, and a spoonful of honey while they’re still steaming.
Why You’ll Love This Recipe
- Crisp fried shell with a molten cheese center
- Only six ingredients and no fancy equipment needed
- Ready in about an hour, start to finish
- Tastes like the real Sardinian trattoria version
Ingredient Notes
- durum wheat semolina flour: Use fine semola rimacinata for the right chew. All-purpose flour works but gives a softer, less springy dough.
- lard: Traditional for a flaky, crisp dough. Unsalted butter works as a substitute but the texture is slightly less crisp.
- pecorino cheese: Use young, fresh pecorino sardo, not aged pecorino romano, which is too salty and doesn’t melt smoothly. A half mozzarella, half pecorino mix works in a pinch.
- lemon zest: Optional but traditional in many Sardinian kitchens. It cuts through the richness of the fried cheese.
- vegetable oil: Use a neutral oil like sunflower or peanut oil so it doesn’t compete with the pecorino’s flavor.
- honey: Sardinian bitter honey like corbezzolo is traditional. Any good wildflower honey works if you can’t find it.
Fried Sardinian Seadas: Pecorino Pastry with Honey
Ingredients
Method
- Whisk the semolina flour and salt together in a large mixing bowl. Add the softened lard and rub it into the flour with your fingers until it looks sandy.
- Pour in the warm water gradually, mixing with a fork, then knead on a floured counter for 8 to 10 minutes until the dough is smooth and elastic.
- Shape the dough into a ball, cover with a damp towel, and rest at room temperature for 30 minutes.
- Mix the grated pecorino with the lemon zest in a small bowl.
- Divide the rested dough into 8 equal pieces, about 60 g each. Roll each piece on a floured surface into a thin round about 14 cm / 5.5 inches wide, trimming clean edges with the round cutter if needed.
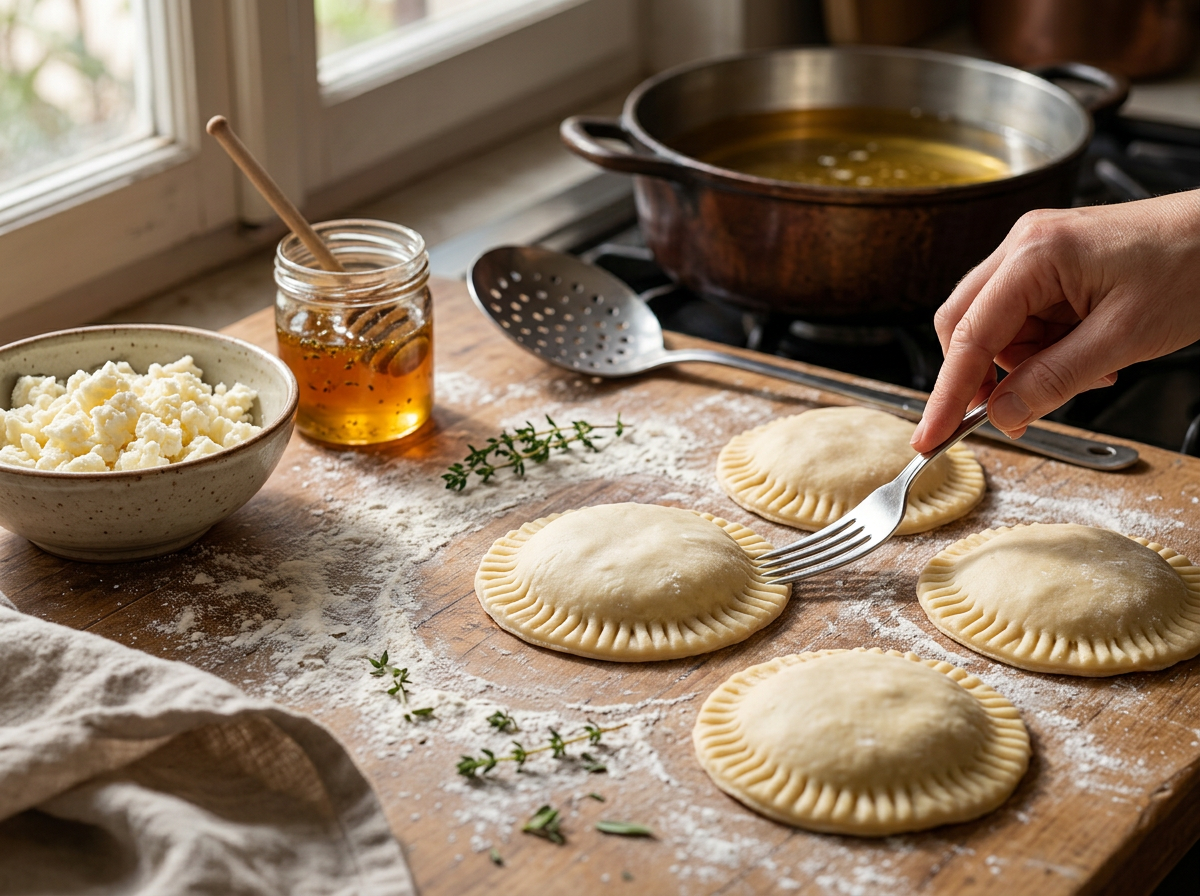
- Spoon about 2 tablespoons of the pecorino mixture onto the center of 4 rounds, leaving a 1 cm border. Brush the border with a little water, top each with a second round of dough, and press the edges together firmly. Crimp with a fork to seal tight.
- Pour the oil into the 3-quart / 2.8 L pot to a depth of 5 cm / 2 inches and heat to 175 C / 350 F on a deep-fry thermometer.
- Fry the seadas two at a time so the oil temperature doesn't drop. Cook for 2 to 3 minutes per side, until the pastry blisters and turns deep golden.
- Lift out with a slotted spoon and drain on a wire rack or paper towels. Repeat with the remaining seadas.
- Warm the honey slightly and drizzle it over the hot seadas right before serving.
Notes
- Use fresh, young pecorino, not aged, or it won't melt properly.
- Don't skip resting the dough for 30 minutes before rolling.
- Fry in small batches to keep oil temperature steady at 175 C / 350 F.
- Warm the honey slightly so it drizzles evenly over the hot pastry.
- Serve immediately, seadas lose their crisp shell as they cool.
Tips for Success
- Roll the dough thin, about 2 mm, so it blisters and crisps instead of turning doughy in the oil.
- Seal the edges firmly with a fork after wetting the border, since a loose seal is the main reason cheese leaks out.
- Keep the oil at 175 C / 350 F with a thermometer, since cooler oil makes the pastry greasy instead of crisp.
- Fry only two seadas at a time in the pot so the oil temperature doesn’t drop and the shell stays crisp.
- Serve seadas within minutes of frying, since the pecorino firms up and turns rubbery as it cools.
Variations
- Swap honey for a dusting of sugar and cinnamon, closer to how some Sardinian bakeries finish seadas at breakfast.
- Add a teaspoon of orange zest to the filling instead of lemon for a slightly sweeter, floral bite.
- Make mini seadas using 8 cm rounds for party-size bites, frying them for about 90 seconds per side.
Storage and Reheating
Seadas are best eaten within minutes of frying, while the pecorino is still molten and the dough is crisp. Once they cool, the cheese firms up and the shell turns chewy, so I don’t recommend reheating a fried batch.
If you want to get ahead, assemble the sealed, uncooked seadas up to 4 hours in advance and keep them on a floured tray in the fridge, covered with a towel. Fry them straight from the fridge when you’re ready to serve.
Leftover cooked seadas keep in an airtight container in the fridge for 1-2 days, but the texture won’t bounce back. I’d rather make a fresh batch than reheat one.
Serving Suggestions
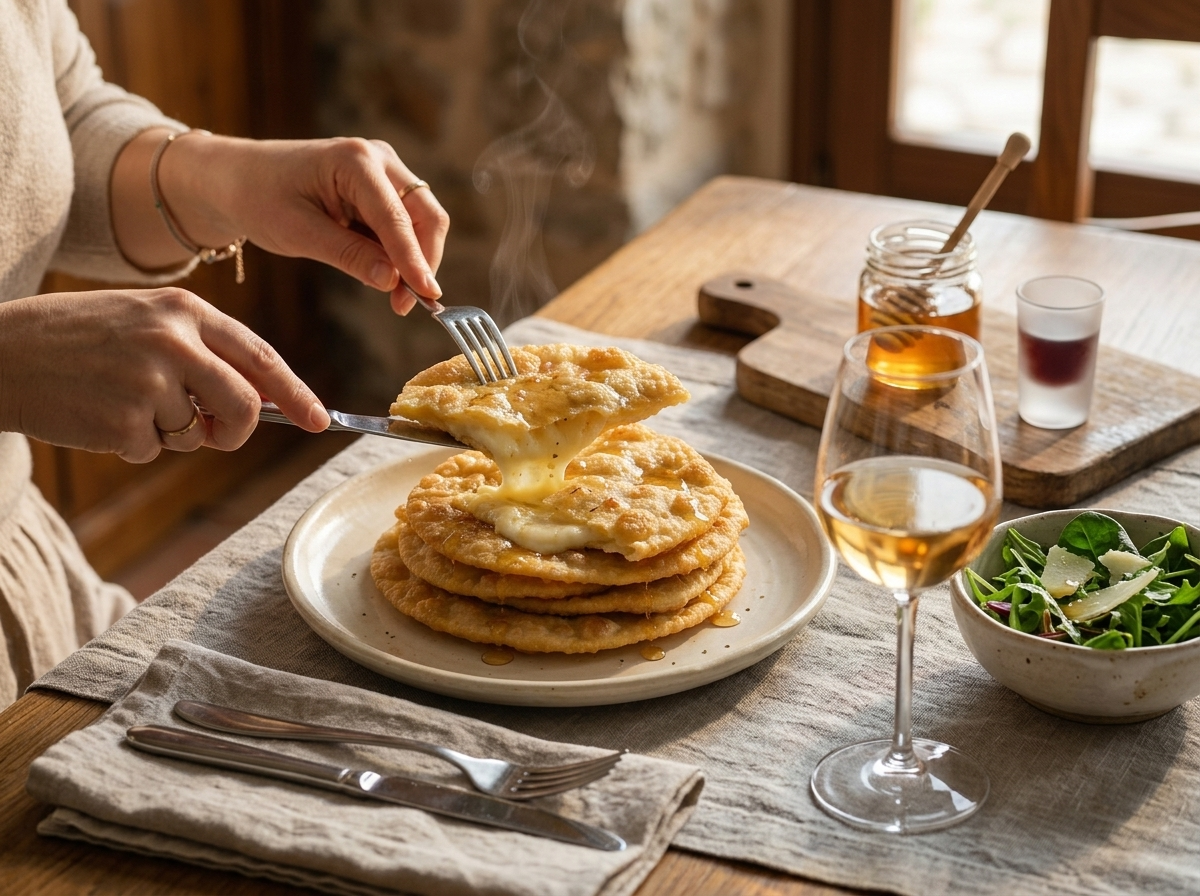
Seadas work best hot off the fryer, drizzled with warm honey and eaten with a fork and knife since the center runs.
In Sardinia they often show up as dessert after a Sunday lunch of roast pork or malloreddus, or as a late-night snack with a glass of mirto liqueur.
At home I like them with plain yogurt or a strong espresso to cut the richness of the fried cheese.
FAQ
Why did my seadas leak cheese while frying?
Cheese usually leaks out when the edges aren’t sealed tight enough or there’s flour dust keeping the dough from sticking to itself. Press the border firmly with wet fingers, then crimp with a fork before frying. Trim any thin spots where cheese peeks through, since a small gap will widen fast in hot oil.
Can I use mozzarella instead of pecorino in seadas?
You can, but it won’t taste like a traditional seada since pecorino gives a sharp, salty bite that balances the honey. A mix of half mozzarella and half grated pecorino, not unlike the curd cheese in a traditional Yorkshire curd tart, melts well and gets close to the real flavor. Straight mozzarella turns stringy and mild, closer to a plain fried cheese pastry.
Can I make seada dough ahead of time?
Yes, the semolina dough keeps well wrapped tightly in the fridge for up to 24 hours before rolling. Let it sit at room temperature for 15 minutes before shaping, since cold dough is stiffer and tears more easily. Assembled, uncooked seadas also hold in the fridge for a few hours before frying.
What goes well with seadas besides honey?
A dusting of sugar and cinnamon works if you want something less sticky, and it’s actually common in parts of Sardinia. A shot of espresso or a small glass of mirto liqueur cuts through the richness of the fried cheese. Plain yogurt on the side also balances the sweetness.
Is this seadas recipe gluten free?
No, this recipe isn’t gluten free since it relies on durum wheat semolina flour for the dough’s structure and chew. Swapping in a gluten-free flour blend changes both the texture and how well the dough seals around the cheese. I haven’t tested a gluten-free version I’d recommend for this pastry.
What’s the difference between seadas and sebadas?
Seadas and sebadas are the same Sardinian pastry, just spelled differently depending on the region and dialect. Both refer to the fried pecorino-filled dough finished with honey. You’ll see the sebadas spelling more often in southern Sardinia and seadas further north, but the recipe itself doesn’t change.
Loved this? Try these next
