
Jump to Recipe
There’s something about flapper pie that feels like a grandmother’s kitchen, even if you’ve never had a slice before.
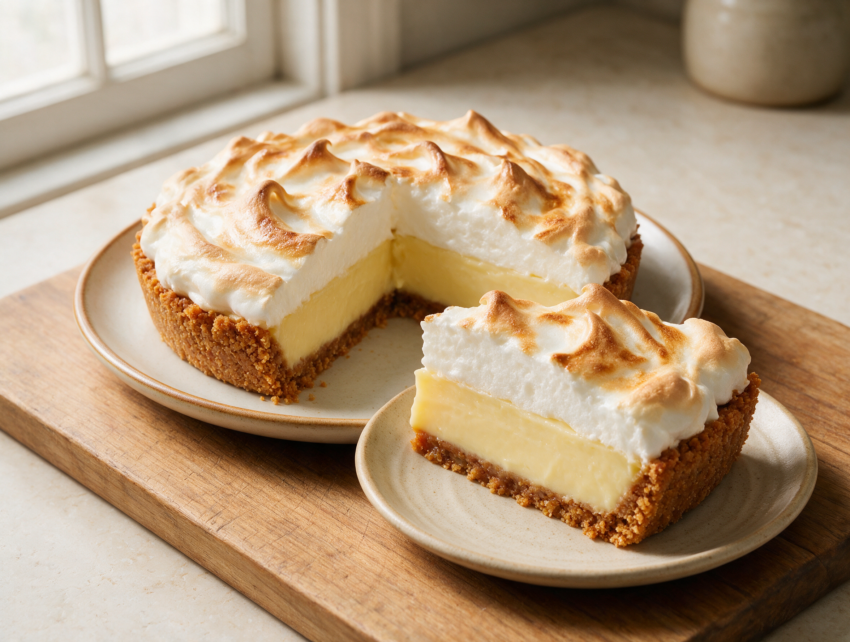
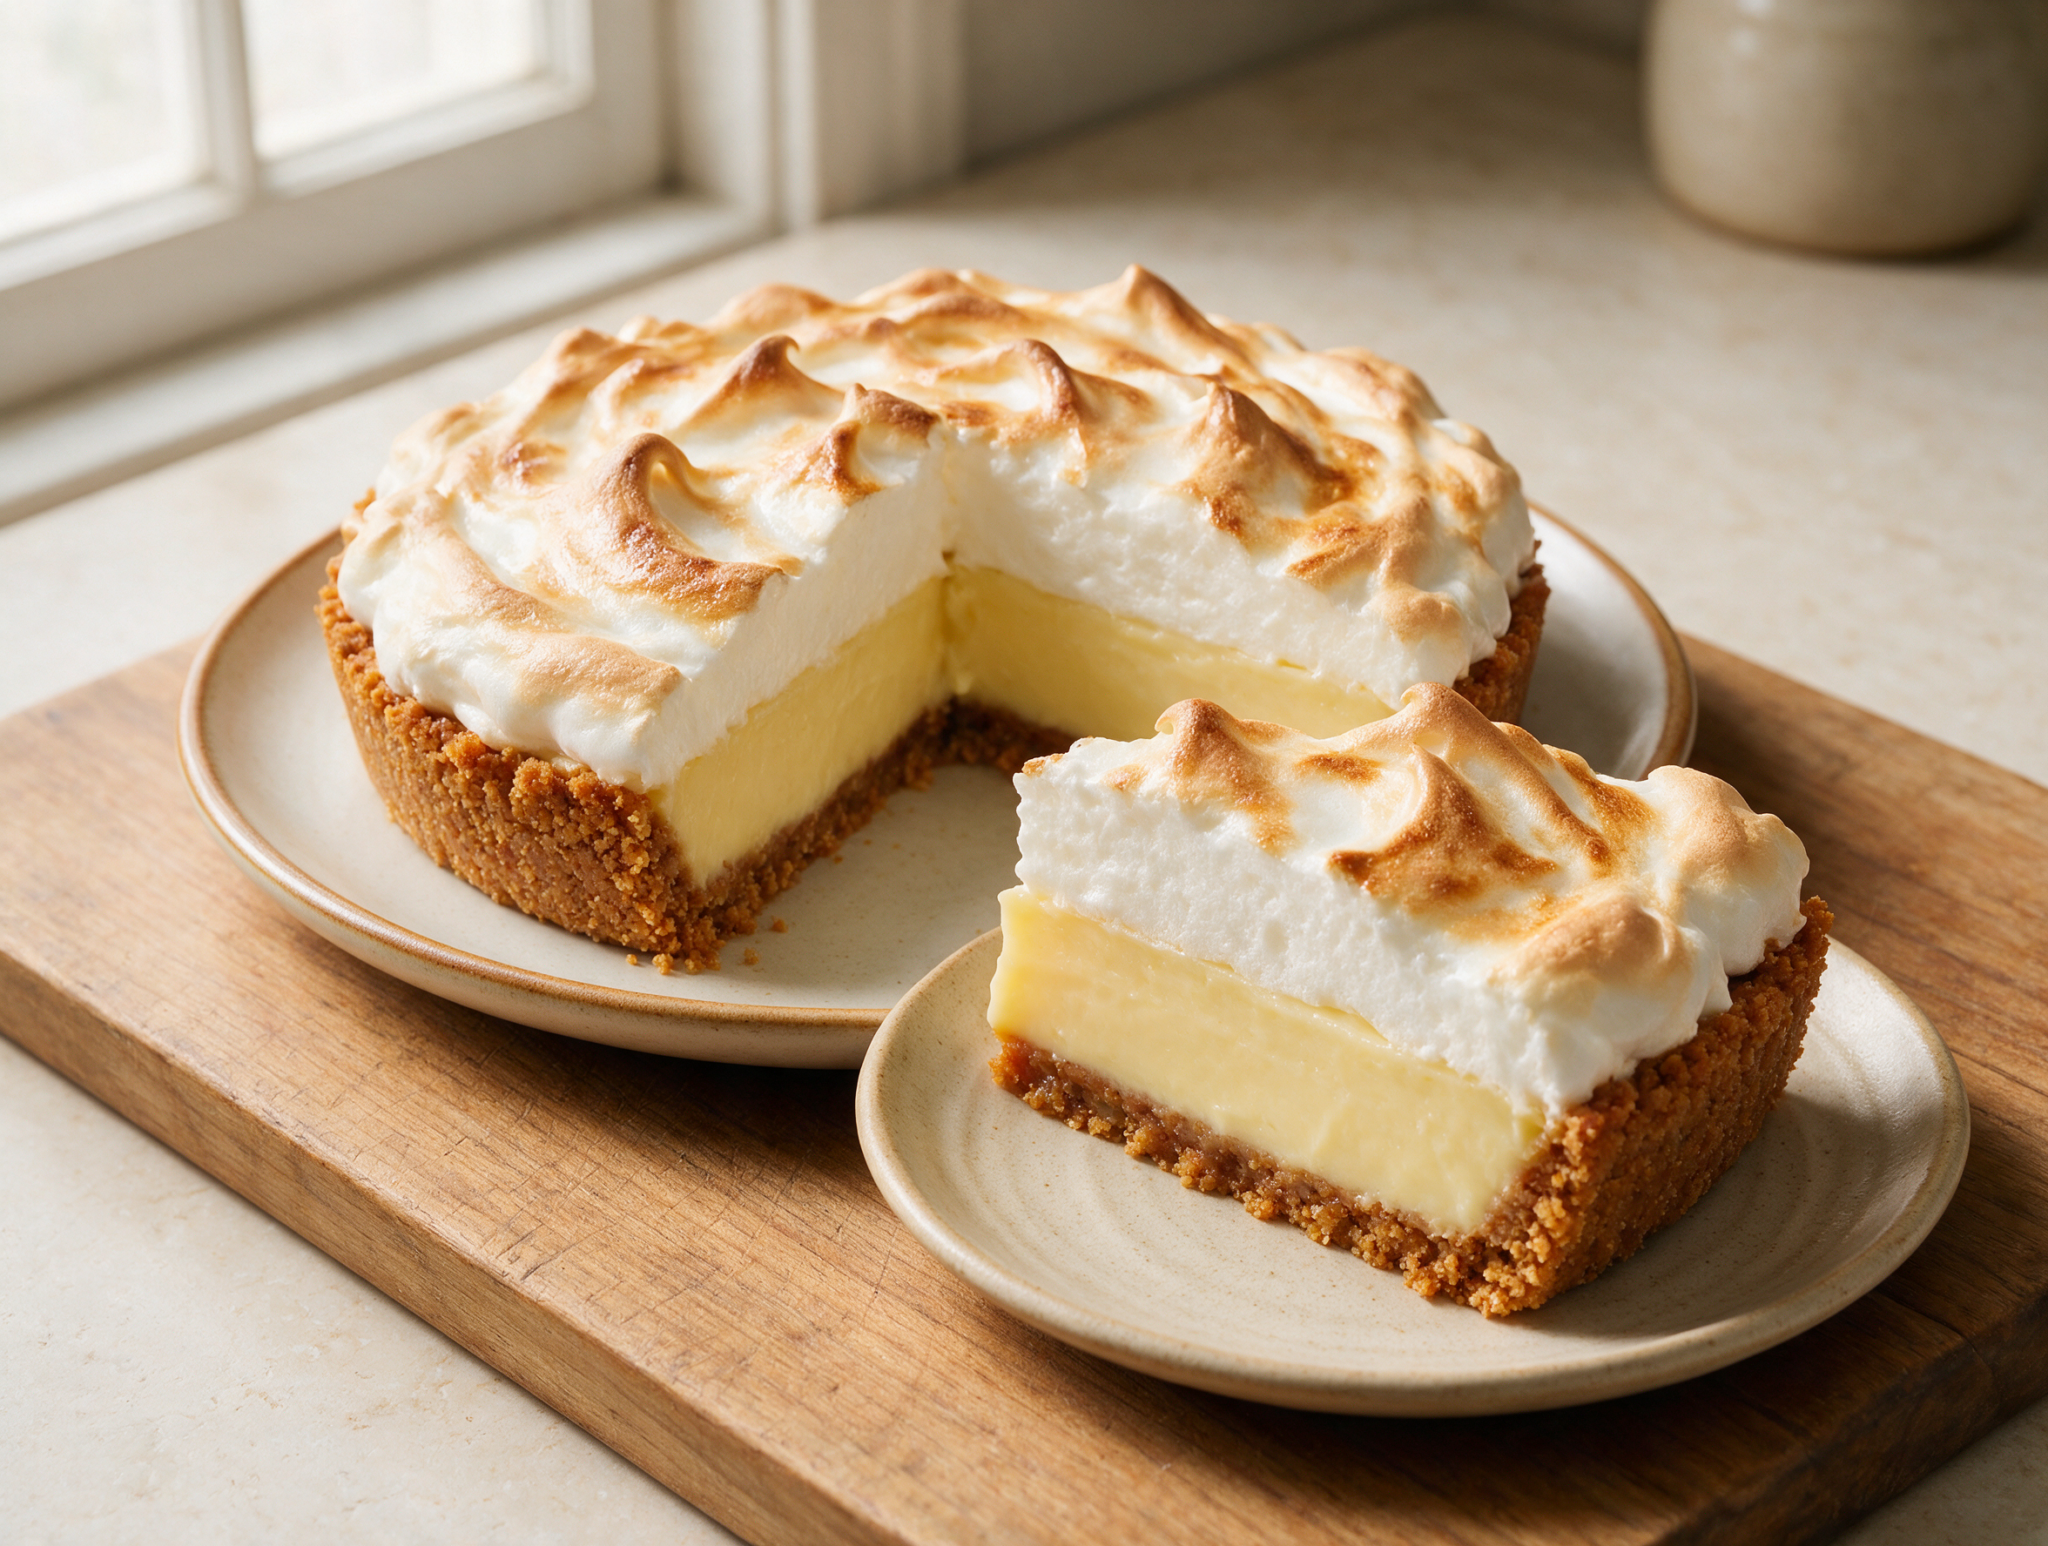
It’s a prairie classic, the kind of dessert you find at Saskatchewan diners and church potlucks across the Canadian west. A cinnamon graham crust holds a silky vanilla custard, and the whole thing gets crowned with a swirl of toasted meringue.
I first had it at a diner outside Regina, and the crust surprised me. It wasn’t soggy or thin. It held its shape under the custard, with cinnamon coming through in every bite.
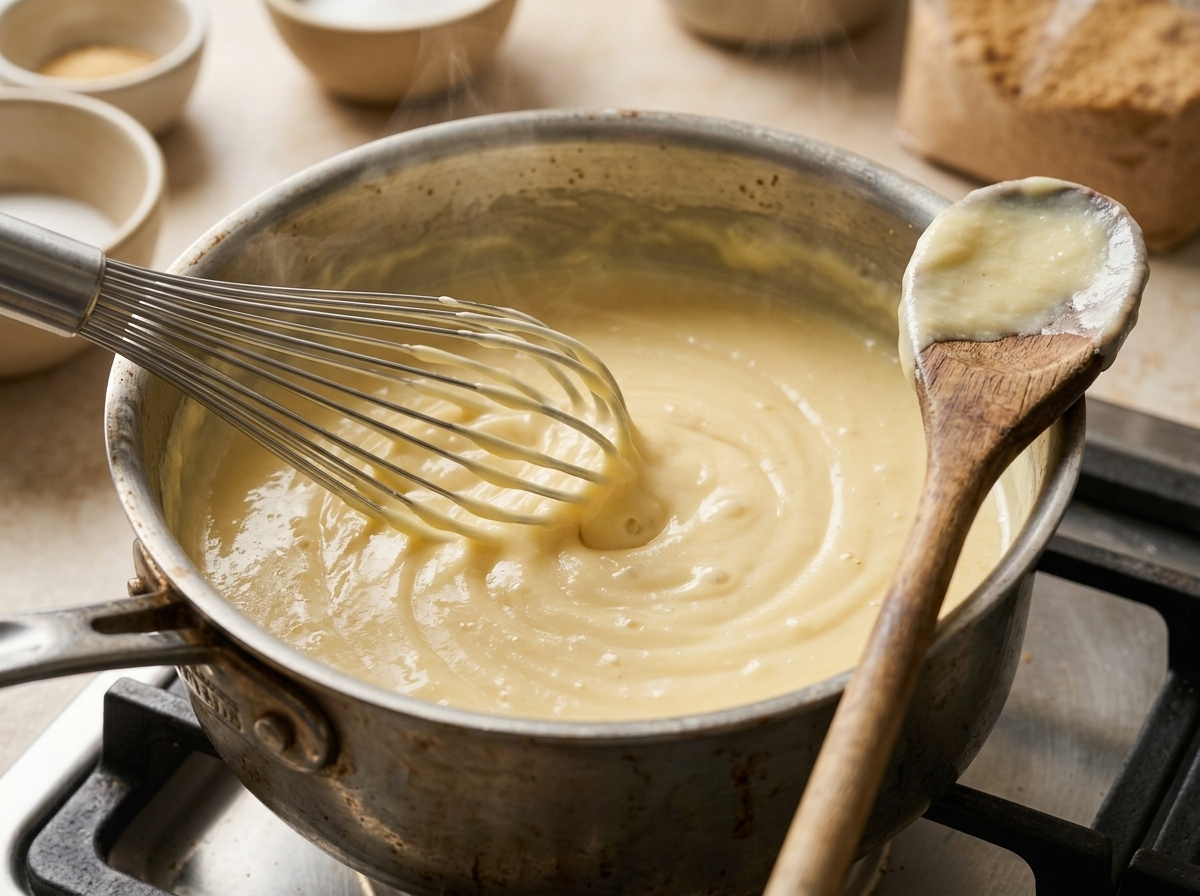
The custard here gets cooked low and slow on the stovetop, no shortcuts with instant pudding. You want it to coat the back of a spoon before you pour it into the crust.
Chill it fully before you cut in. Slice too early and the custard runs instead of holding its layers.
Why You’ll Love This Recipe
- Cinnamon graham crust holds its crunch under the custard
- Stovetop custard sets thick without gelatin or shortcuts
- Toasted meringue peaks add drama without extra sweetness
- Make-ahead dessert that tastes better after a full chill
Ingredient Notes
- graham cracker crumbs: Crush your own from about 14 full crackers or buy pre-crushed crumbs. Digestive biscuits work as a substitute if graham crackers aren’t sold near you.
- whole milk: Whole milk gives the custard its body. 2% will work but the set will be a little softer.
- cornstarch: This is what sets the custard firm enough to slice. Don’t swap in flour, it won’t set the same way.
- egg yolks: Save the whites, you’ll whip them into the meringue so nothing goes to waste.
- cream of tartar: Stabilizes the egg whites so the meringue holds stiff peaks. A few drops of lemon juice work in a pinch.
- vanilla extract: Split between the custard and the meringue for flavor in both layers.
Classic Canadian Flapper Pie with Toasted Meringue
Ingredients
Method
- Heat the oven to 175 C / 350 F. In a mixing bowl, stir together the graham cracker crumbs, 30 g sugar, and cinnamon. Pour in the melted butter and mix until the crumbs look like wet sand.
- Press the mixture firmly into the bottom and up the sides of a 23 cm / 9-inch pie dish. Bake for 8 to 10 minutes until fragrant and just set. Leave the oven on and let the crust cool slightly while you make the custard.
- In a 2-quart / 1.9 L saucepan, whisk together the 100 g sugar, cornstarch, and salt. Whisk in the milk until no lumps remain.
- Set the pan over medium heat and cook, whisking constantly, for 8 to 10 minutes until the mixture bubbles and coats the back of a spoon, about 180 F / 82 C.
- Ladle about 1/2 cup of the hot mixture into the egg yolks, whisking fast so they don't scramble. Pour the yolk mixture back into the pan and cook 2 more minutes, whisking, until thick. Remove from the heat and stir in the butter and 2 tsp vanilla.
- Pour the warm custard into the baked crust and spread it into an even layer.
- In a clean bowl, beat the egg whites and cream of tartar with a hand mixer on medium speed until foamy. Add the 90 g sugar 1 tbsp at a time, beating until stiff, glossy peaks form. Beat in the 1/2 tsp vanilla.
- Spread the meringue over the warm custard right to the edges of the crust, sealing it against the graham crust so it won't shrink. Swirl the top into peaks with the back of a spoon.
- Bake at 175 C / 350 F for 10 to 12 minutes until the peaks are golden brown.
- Cool the pie at room temperature for 1 hour, then chill uncovered in the fridge for at least 2 hours before slicing.
Notes
- Cook custard to 180 F / 82 C for a filling that sets firm.
- Seal meringue to the crust edges to prevent weeping.
- Chill the pie uncovered so condensation doesn't drip onto the meringue.
- Use a metal or glass bowl for whipping egg whites, plastic can hold grease.
Tips for Success
- Whisk the custard constantly once it starts to thicken so the cornstarch doesn’t scorch on the bottom of the pot.
- Temper the egg yolks with a ladle of hot milk before adding them back to the pot to avoid scrambling.
- Spread the meringue while the custard is still warm so it seals to the edges and won’t shrink while baking.
- Use room-temperature egg whites for the meringue, they whip to fuller volume than cold ones straight from the fridge.
- Chill the finished pie uncovered for at least 2 hours so the custard sets firm enough to slice cleanly.
Variations
- Swap the graham crust for crushed digestive biscuits or vanilla wafers if graham crackers aren’t available where you live.
- Add a layer of sliced bananas over the crust before pouring the custard for a flapper pie and banana cream mashup.
- Top with whipped cream instead of meringue if you want to skip the oven step and serve the pie fully chilled.
Storage and Reheating
Flapper pie is a cold dessert, so there’s no reheating step here. Keep it covered in the fridge and it holds well for 3 to 4 days, though the meringue starts to weep a little by day 3.
Don’t freeze it. The custard turns watery as it thaws and the meringue collapses into a sticky mess.
If you want to prep ahead, bake the crust and cook the custard up to a day early, then make the meringue and bake the whole pie the morning you plan to serve it.
Serving Suggestions
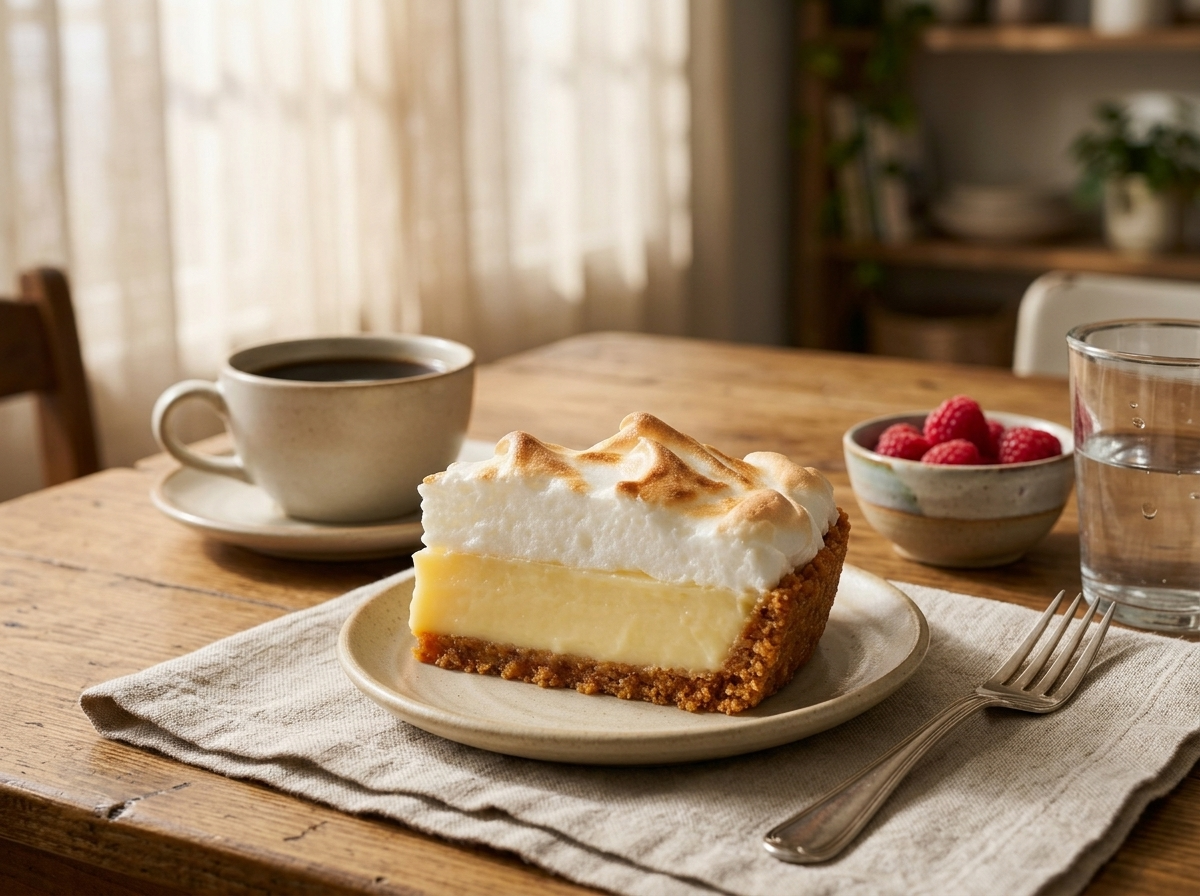
Serve flapper pie cold, straight from the fridge, with a strong cup of coffee or black tea to cut the sweetness.
A handful of fresh berries on the side adds a little tartness against the custard. Raspberries or sliced strawberries both work.
This is a potluck pie. Cut it into small wedges since the custard and meringue are rich, and it holds up fine sitting out on a dessert table for an hour or two.
FAQ
Why is my flapper pie meringue weeping or shrinking?
Weeping usually happens when the meringue isn’t beaten to stiff, glossy peaks or when it’s spread over cooled custard instead of warm. Spread the meringue while the custard is still warm and press it right to the graham crust edge before baking. Sealing the edge stops shrinking as it cools.
Can I use digestive biscuits instead of graham crackers for the crust?
Yes, digestive biscuits crush and press into a crust the same way graham crackers do. The flavor is a little less sweet and slightly more wheaty, but the texture holds up under the custard just fine. Use the same 200 g by weight.
Can I make Canadian flapper pie a day ahead?
Yes, and it actually slices cleaner after a full overnight chill. Store it covered in the fridge for 3 to 4 days, though the meringue is at its best within the first 2 days. Don’t freeze it, the custard and meringue both break down when thawed.
What goes well with flapper pie?
Black coffee or tea works well since the pie is sweet and rich from the custard and meringue. Fresh berries like raspberries or strawberries add a tart contrast on the side. Keep other courses light if you’re serving this at the end of a meal.
Is flapper pie gluten free?
No, the graham cracker crust contains wheat, so this recipe isn’t gluten free as written. Swap in gluten-free graham-style crackers or gluten-free digestive biscuits to make a gluten-free version. The custard and meringue layers are naturally gluten free on their own.
What’s the difference between flapper pie and banana cream pie?
Flapper pie uses a cinnamon graham crust and a baked meringue topping, while banana cream pie usually has a plain pastry crust, sliced bananas, and whipped cream instead of meringue. Flapper pie is a Canadian prairie dessert from the 1920s, named after the flapper style of the era.
More from the kitchen
- the Maple Pecan Cream Pie: Silky Custard, Toasted Pecans
- Classic Nanaimo Bars with Chocolate Custard Layers
- Cherry Vanilla Tart with Silky Custard and Buttery Crust
