
Jump to Recipe
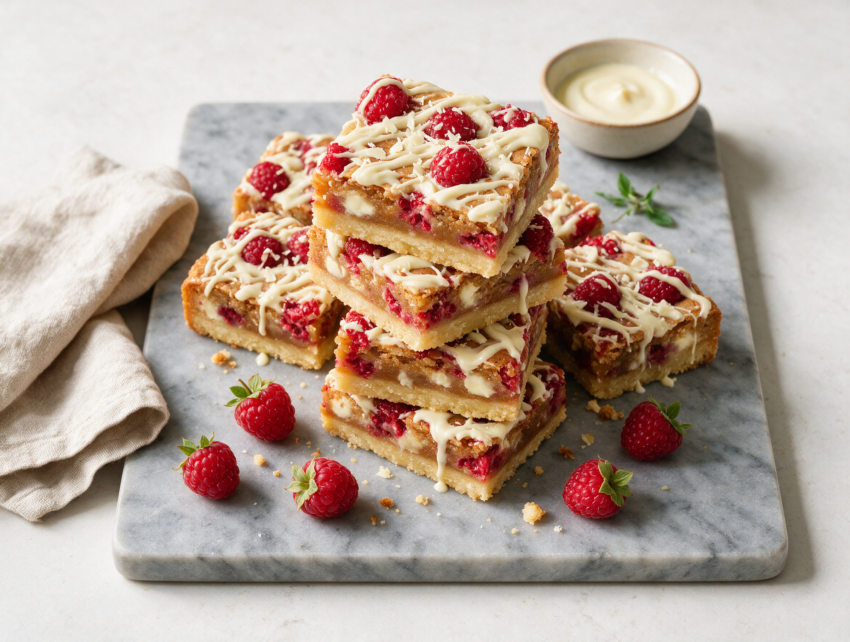
Raspberry white chocolate bars pack a buttery shortbread crust under a soft blondie layer studded with tart raspberries and melted white chocolate. That’s the short version. The real story is in the contrast between the sweet white chocolate and the sharp berries.
I started making these bars for a friend’s baby shower a few summers back, when fresh raspberries were cheap at the farmers market and I needed something that would travel well in a cooler.
The crust bakes first so it holds its shape under the batter. Then the blondie layer goes over top, raspberries pressed in, and the whole pan bakes until the center barely jiggles.
Once chilled, these cut into clean squares with jammy pockets of berry running through a golden crumb.
Why You’ll Love This Recipe
- Crisp shortbread base holds up under the gooey blondie layer
- Fresh raspberries add a tart contrast to the sweet white chocolate
- Bars cut clean once chilled, good for potlucks and lunchboxes
- One pan, no mixer required beyond a whisk and spatula
Ingredient Notes
- all-purpose flour: Used in both the crust and the blondie layer. A 1:1 gluten-free blend works if you need it, though the crumb turns slightly denser.
- unsalted butter: Melted butter keeps the crust tender and the blondie layer moist. Salted butter works, just drop the added salt by half.
- white chocolate: Use bars, not chips, for a smoother melted drizzle. Chips contain stabilizers that can make the melted topping grainy.
- fresh raspberries: Frozen work too, but thaw and pat them dry first so they don’t water down the batter.
- light brown sugar: Brings a caramel note to the blondie layer. Dark brown sugar works and makes the bars slightly richer.
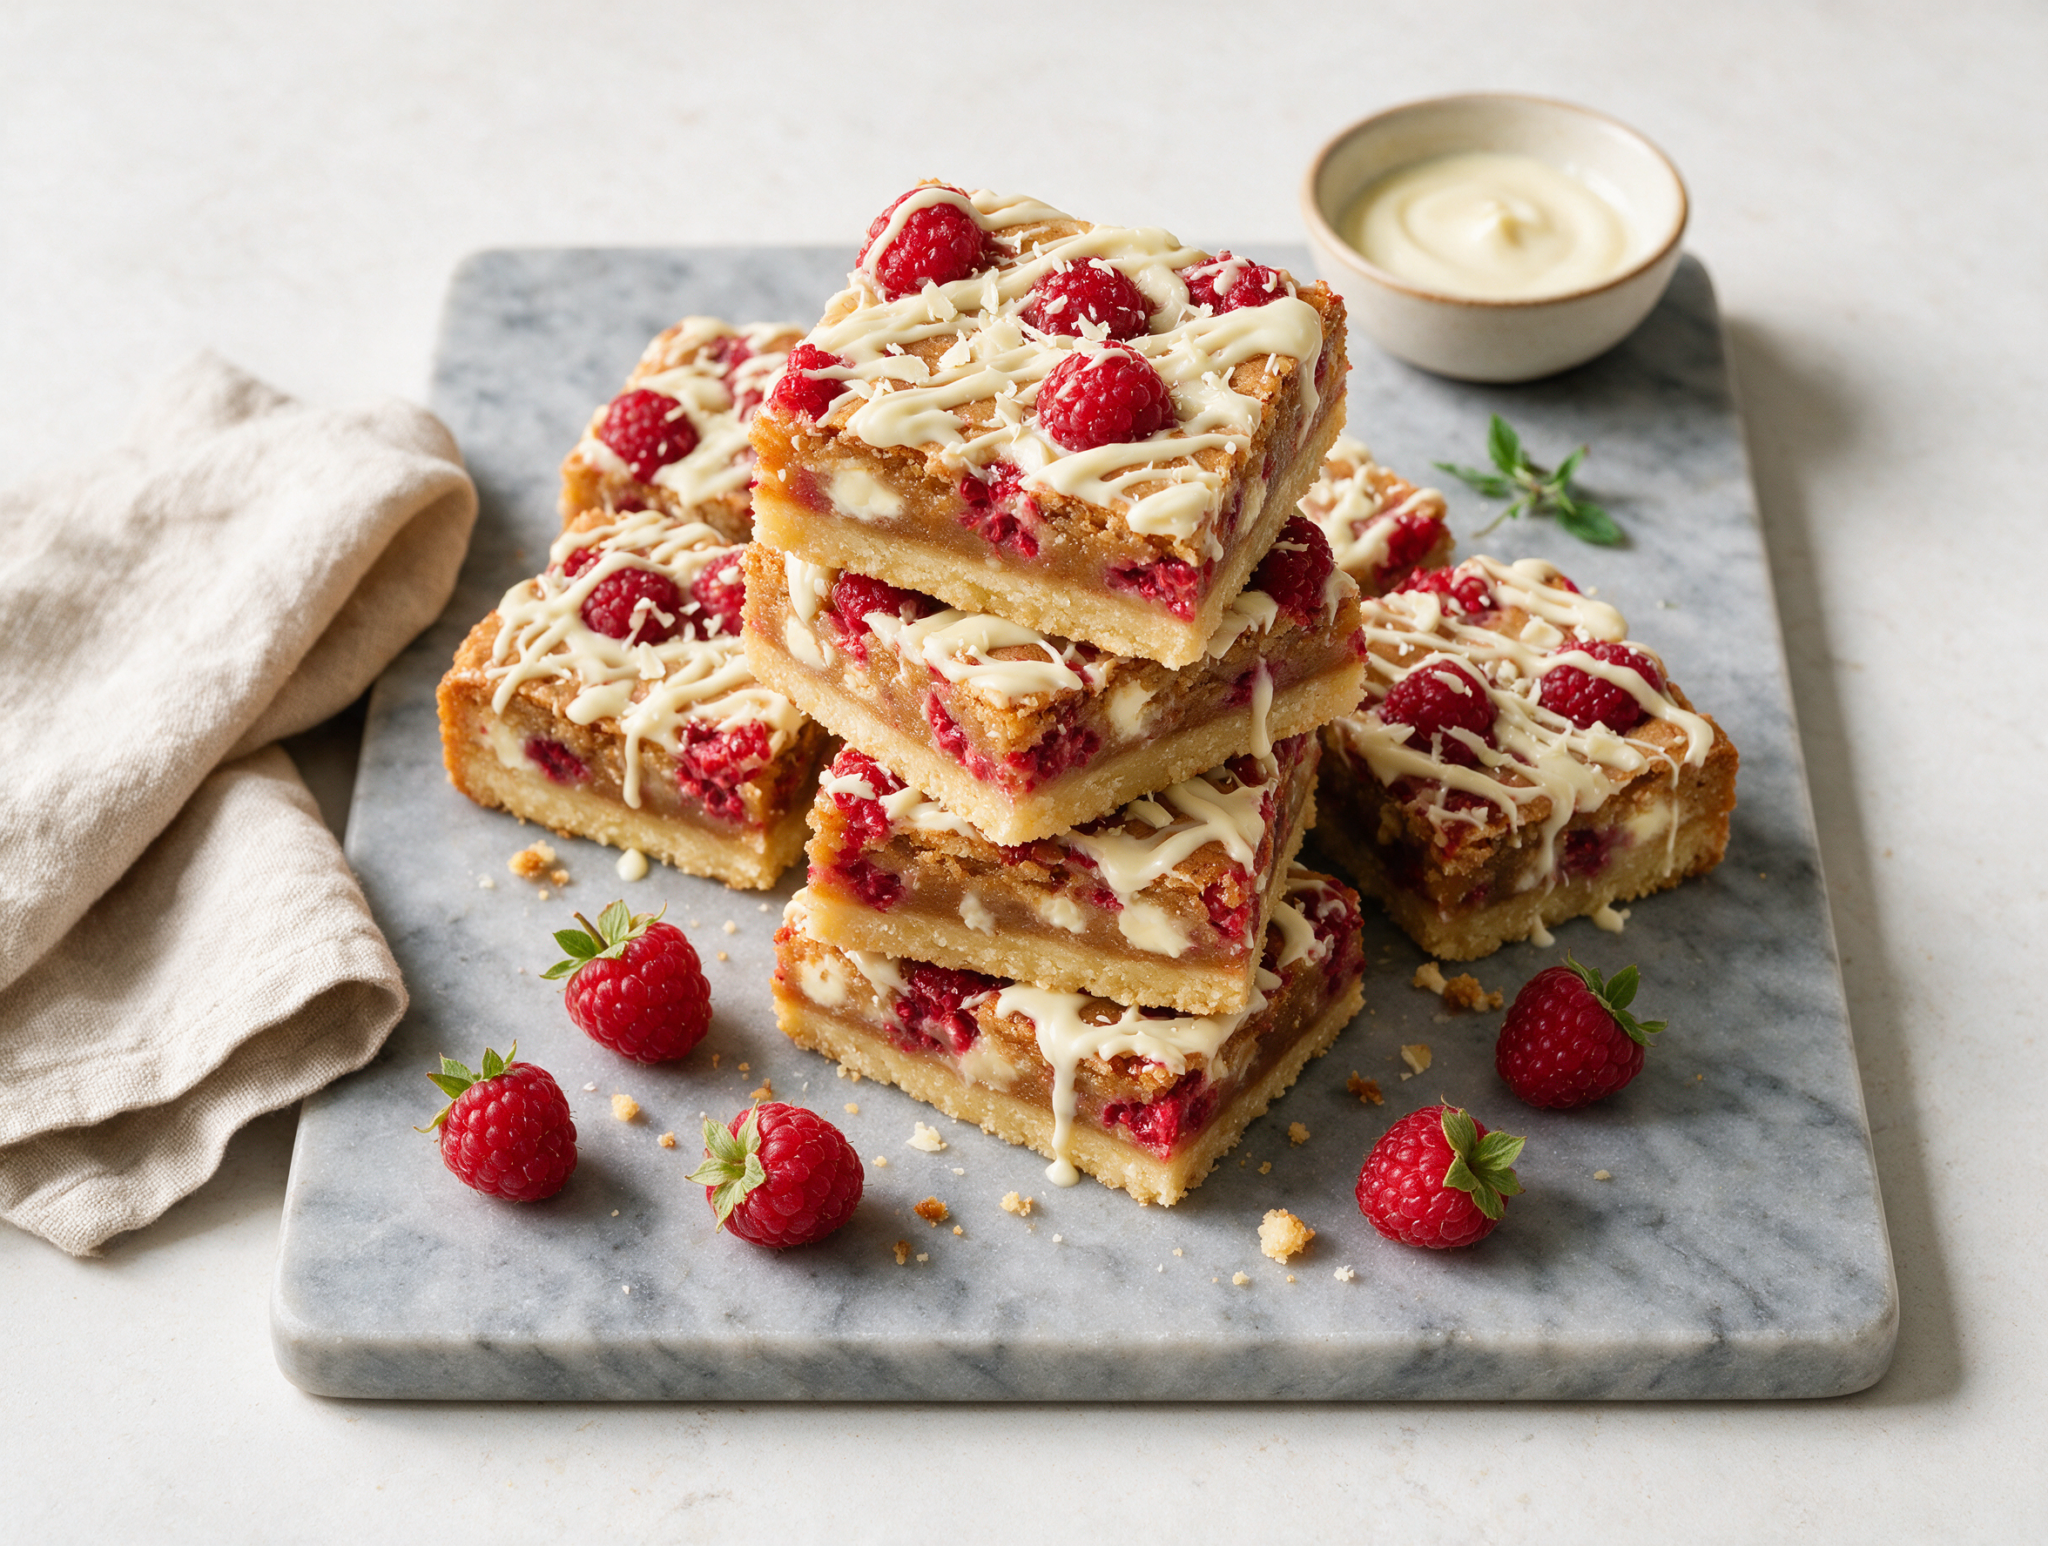
Baked Raspberry White Chocolate Bars with Buttery Crust
Ingredients
Method
- Heat the oven to 175 C / 350 F. Line a 23 cm / 9-inch square baking pan with parchment paper, leaving overhang on two sides.
- In a mixing bowl, whisk together the flour, granulated sugar, and salt for the crust. Pour in the melted butter and stir until the mixture looks like wet sand.
- Press the crust mixture firmly and evenly into the bottom of the pan. Bake for 12 minutes, until the edges just turn golden. Set aside while you make the blondie layer.
- In a separate bowl, whisk the melted butter and brown sugar together until smooth. Add the eggs one at a time, whisking well after each, then stir in the vanilla.
- Add the flour, baking powder, and salt. Fold with a rubber spatula just until no dry streaks remain, don't overmix or the bars turn tough.
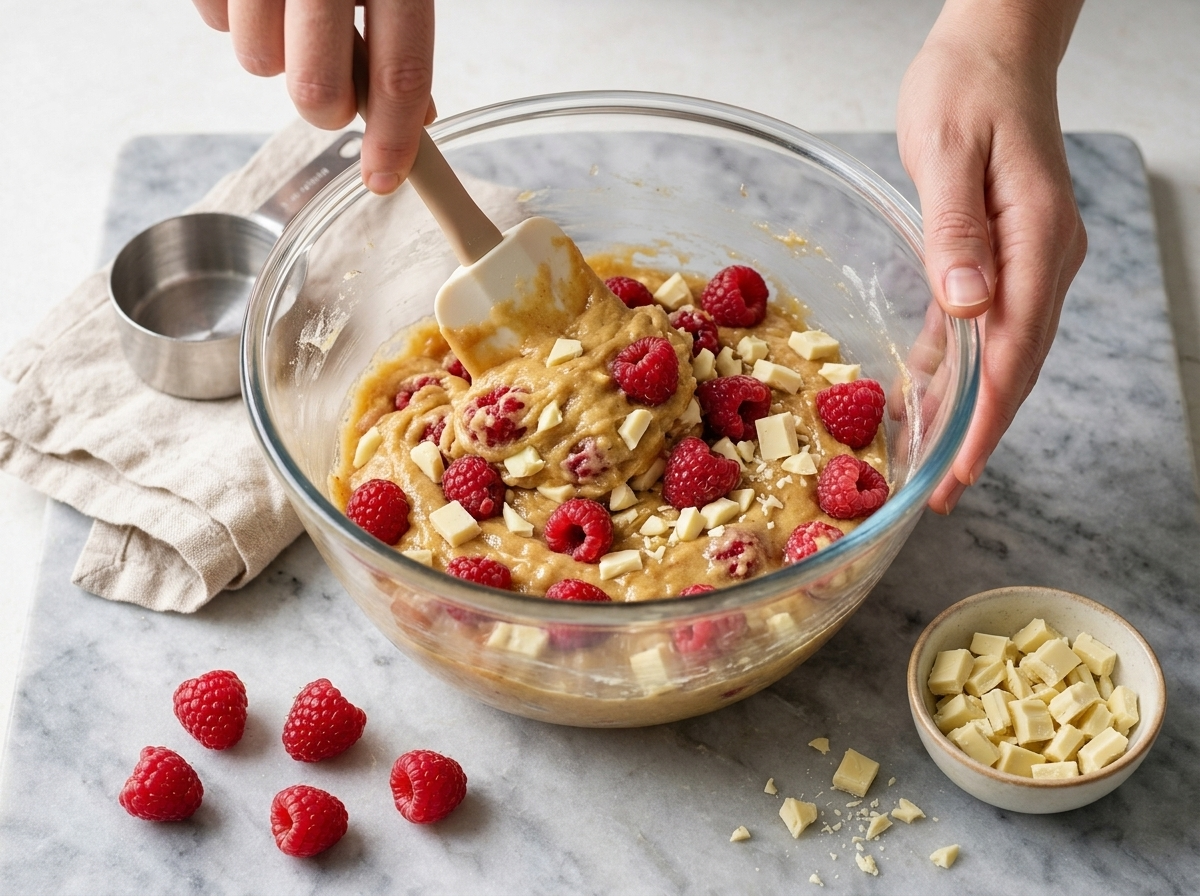
- Fold in 150 g of the chopped white chocolate.
- Pour the batter over the warm crust and spread to the edges. Scatter the raspberries evenly over the top, pressing a few in gently so they don't roll off.
- Bake for 22 to 25 minutes, until the top is set and lightly golden, and a toothpick in the center comes out with a few moist crumbs, not wet batter.
- Cool the bars in the pan for 30 minutes, then refrigerate for at least 90 minutes so the layers firm up enough to cut cleanly.
- Melt the remaining 50 g white chocolate in 20-second bursts in the microwave, stirring between each, until smooth. Drizzle over the chilled bars.
- Lift the bars out using the parchment overhang. Cut into 16 squares with a sharp knife, wiping the blade clean between cuts for neat edges.
Notes
- Bake the crust alone first so it doesn't turn soggy under the wet batter.
- Don't skip the chill time, the layers need it to set before cutting.
- Use white chocolate bars, not chips, for a smoother melted drizzle.
- Room temperature eggs blend into the batter more evenly than cold ones.
Tips for Success
- Press the crust firmly and evenly so it doesn’t crumble apart once you slice through the layers.
- Pat frozen raspberries dry with paper towels before using them, or the batter turns watery in the center.
- Chill the bars for at least 90 minutes before cutting, or the blondie layer will smear instead of slicing clean.
- Wipe your knife clean between cuts for neat squares, especially where the raspberries hit the blade.
- Melt the drizzle chocolate in short bursts, since white chocolate scorches faster than milk or dark chocolate.
Variations
- Swap raspberries for blackberries or sliced strawberries when raspberries are out of season or too pricey.
- Stir in white chocolate chips instead of chopped bars for a more even melt through the batter.
- Add a layer of cream cheese swirled through the batter for a cheesecake-style version of these bars.
Storage and Reheating
Raspberry white chocolate bars keep well chilled, and they actually taste better cold since the raspberry layer firms back up nicely.
Store them in an airtight container in the fridge for 4 to 5 days, with a sheet of parchment between layers so they don’t stick together.
To freeze, wrap the bars tightly before adding the white chocolate drizzle and freeze up to 2 months. Thaw overnight in the fridge, then melt fresh white chocolate for the drizzle right before serving.
Serving Suggestions
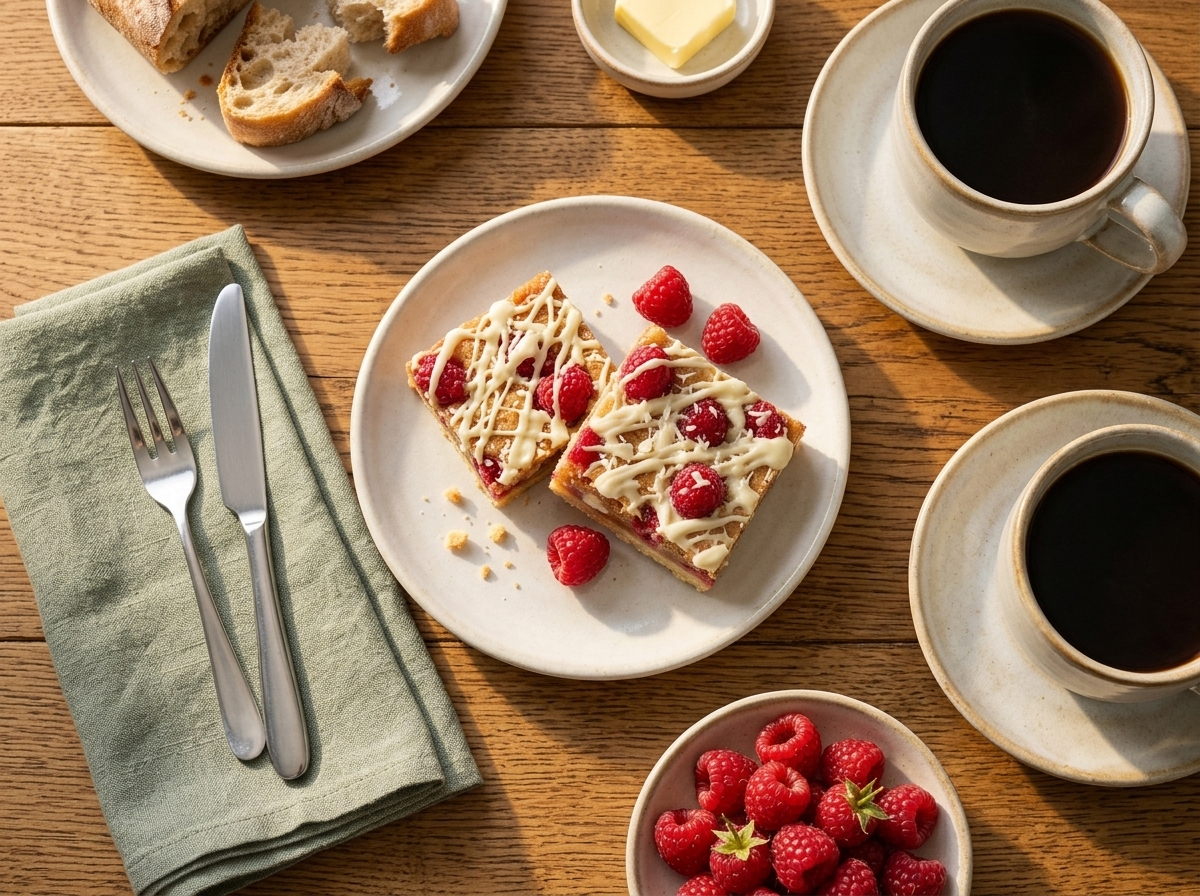
Raspberry white chocolate bars work as a dessert on their own, or a scoop of vanilla ice cream on the side turns them into a full plated dessert.
Coffee or black tea cuts through the sweetness, which makes these good for an afternoon break instead of just after dinner.
For a brunch table, set them out next to fresh berries and something savory like eggs, since the bars are rich enough to balance a plainer main.
FAQ
Why are my raspberry white chocolate bars soggy in the middle?
Excess moisture from the raspberries usually causes this. Pat thawed frozen berries dry with paper towels before adding them, since they release a lot of juice. Pulling the bars out before the center sets, or skipping the crust pre-bake, leaves a wet layer underneath the fruit too.
How do I know when the blondie layer is done baking?
The bars are done when the top looks set and lightly golden, with just a few moist crumbs clinging to a toothpick inserted in the center. That usually takes 22 to 25 minutes after you add the batter over the pre-baked crust. If the toothpick comes out wet, give it another 3 to 4 minutes.
Can I use frozen raspberries instead of fresh in this recipe?
Yes, frozen raspberries work, but thaw them fully and pat them dry first. Wet berries add extra liquid to the batter and can make the center of the bars gummy instead of soft. Fresh raspberries hold their shape a little better during baking, so I use those when they’re in season.
Can I make raspberry white chocolate bars ahead of time?
Yes, bake and chill the bars up to 2 days ahead and keep them covered in the fridge. The flavor actually improves overnight as the raspberry layer settles into the blondie. Add the white chocolate drizzle right before serving so it stays glossy instead of dulling in the fridge.
What goes well with raspberry white chocolate bars?
Coffee or black tea cuts through the sweetness nicely, and a scoop of vanilla ice cream turns a bar into a full dessert. For a brunch spread, set them out alongside fresh berries and something savory like eggs, since the bars are rich enough to balance a simple main.
Are raspberry white chocolate bars gluten free?
Not as written, since both the crust and the blondie layer use all-purpose flour. A 1:1 gluten-free flour blend swaps in fine for both layers without changing the texture much. Double check your white chocolate too, since some brands add fillers that aren’t gluten free.
You might also like
- our Raspberry Almond Crumble Bars with a Buttery Crumb
- Milk Chocolate Semolina Bars with Golden Edges recipe
- this Silky Chocolate Tahini Tart with Sesame Crust
- this Cherry Vanilla Tart with Silky Custard and Buttery Crust
