
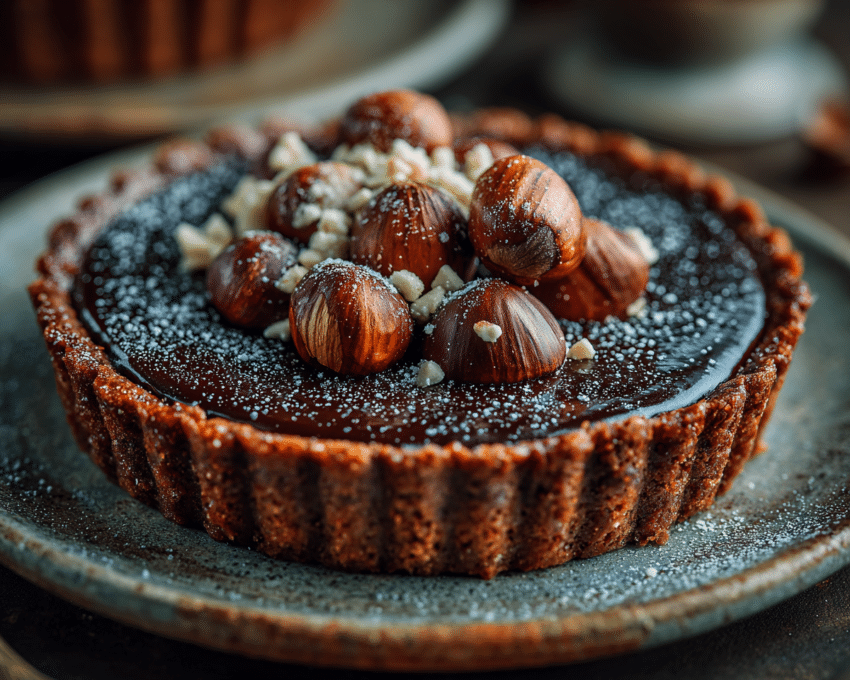
If you’ve ever been a Nutella lover, this hazelnut gianduja tart will feel like heaven on a plate. Imagine the crunch of roasted hazelnuts meeting silky smooth chocolate, all wrapped in a buttery tart shell. I’ve tried countless chocolate hazelnut desserts over the years, but this tart? It’s got the perfect balance of nutty richness and chocolate indulgence.
Whether you’re a home baker looking for a show-stopping dessert or someone craving a luxurious treat with minimal fuss, this recipe will not disappoint.
Ingredients for the Hazelnut Gianduja Tart
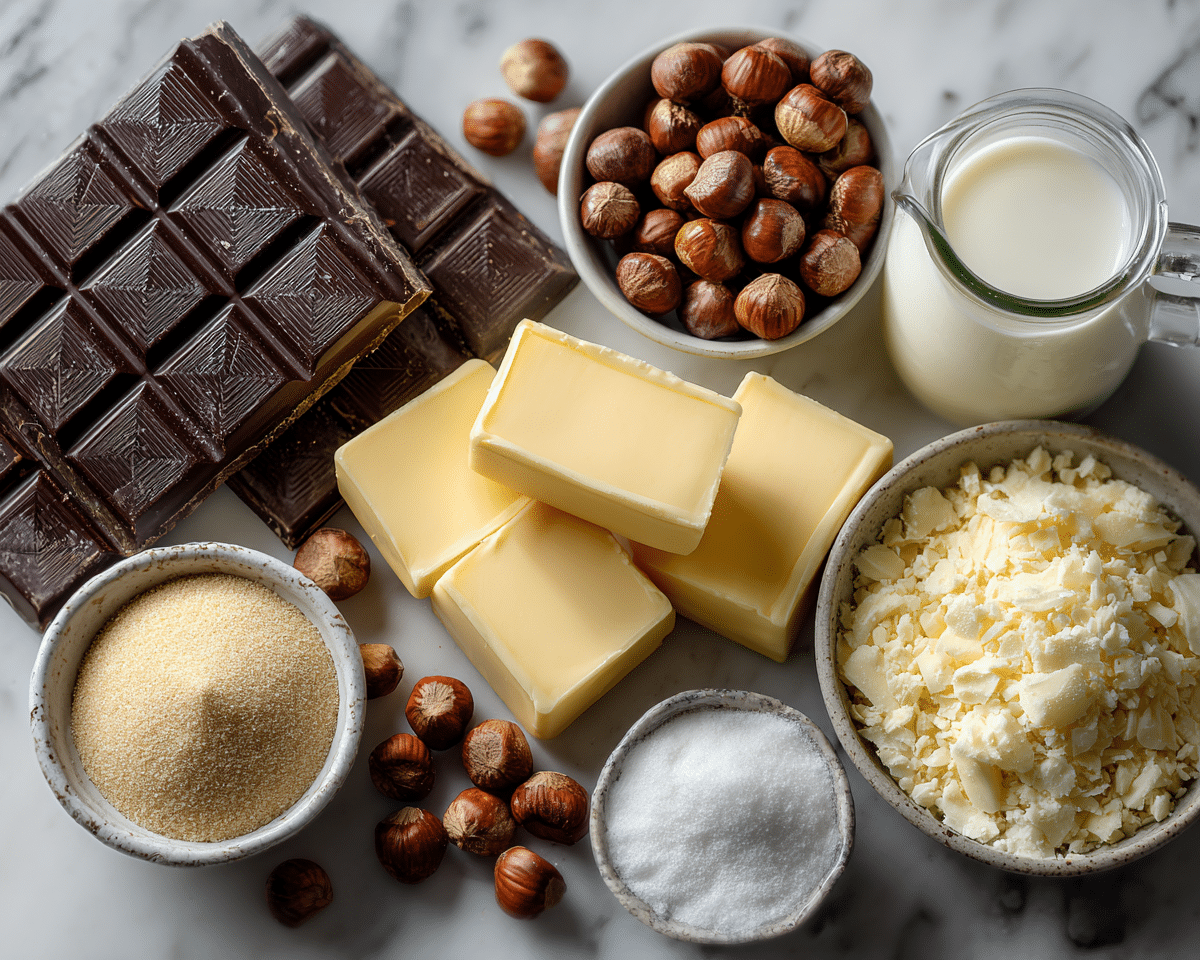
Here’s what you’ll need to create this chocolate hazelnut masterpiece:
For the Tart Shell:
- 1 ½ cups almond powder
- ½ cup all-purpose flour
- ⅓ cup powdered sugar
- ½ cup unsalted butter, cold and diced
- 1 egg yolk
- 1 tsp vanilla extract
For the Gianduja Filling:
- 1 cup roasted hazelnuts
- 200g dark chocolate (70% cocoa)
- ½ cup heavy cream (or coconut cream for a vegan version)
- 2 tbsp sugar
- Pinch of salt
- 1 tsp vanilla extract
For Garnish:
- Whole roasted hazelnuts
- Cocoa powder dusting
Step 1: How to Roast Hazelnuts Perfectly
Roasting hazelnuts brings out their natural oils and deepens the flavor. Here’s my method:
- Preheat your oven to 350°F (175°C).
- Spread the hazelnuts evenly on a baking tray.
- Roast for 10–12 minutes until fragrant and slightly browned.
- Remove skins by rubbing the nuts in a clean kitchen towel—don’t worry if a few skins stay.
Roasting your hazelnuts before making gianduja will give your tart a richer, nuttier flavor. Trust me, it’s worth the extra step.
Step 2: Making the Tart Shell
I like to keep tart shells simple and buttery.
- Mix almond powder, flour, and powdered sugar in a bowl.
- Cut in cold butter using a pastry cutter or your fingers until the mixture resembles coarse crumbs.
- Add egg yolk and vanilla. Mix until dough comes together.
- Press the dough evenly into a 9-inch tart pan.
- Chill for 15 minutes to prevent shrinking.
- Bake at 350°F (175°C) for 15–18 minutes until lightly golden.
Once baked, let it cool completely. A warm tart shell with chocolate filling? Disaster. A cool, crisp shell? Perfect.
Step 3: Crafting the Hazelnut Gianduja Filling
This is where the magic happens. Gianduja is a blend of chocolate and hazelnut paste that melts beautifully in your mouth.
- Grind roasted hazelnuts in a food processor until they release oils and turn into a smooth paste.
- In a heatproof bowl, combine dark chocolate and cream. Melt gently over a pot of simmering water.
- Stir in hazelnut paste, sugar, salt, and vanilla extract until fully combined.
- Pour the mixture into the cooled tart shell.
The filling should be glossy, thick, and irresistibly rich.
Step 4: Garnishing Like a Pro
Presentation counts, even if you’re baking at home.
- Sprinkle whole roasted hazelnuts on top.
- Dust lightly with cocoa powder.
- Chill the tart for at least 2 hours before serving to let it set.
Slice with a hot knife for clean cuts. Serve with coffee or a dollop of whipped cream, and watch your friends marvel.
Variations to Try
- Vegan Chocolate Hazelnut Tart Recipe: Swap butter for coconut oil and cream for coconut cream. Use vegan dark chocolate.
- Chocolate Tartlets with Hazelnut Topping: Use mini tart pans for individual servings. Perfect for parties.
- Gourmet Hazelnut Tart: Add a sprinkle of sea salt or caramel drizzle for a sophisticated twist.
Tips for Easy Hazelnut Tart Making
- Use Almond Powder: It adds extra nutty flavor and keeps the shell tender.
- Chocolate Quality Matters: The darker, the better. Don’t skimp.
- Chill Filling: Helps the tart hold its shape and makes slicing neat.
- Toast Hazelnuts Properly: Avoid burning. Burnt nuts taste bitter and ruin the dessert.
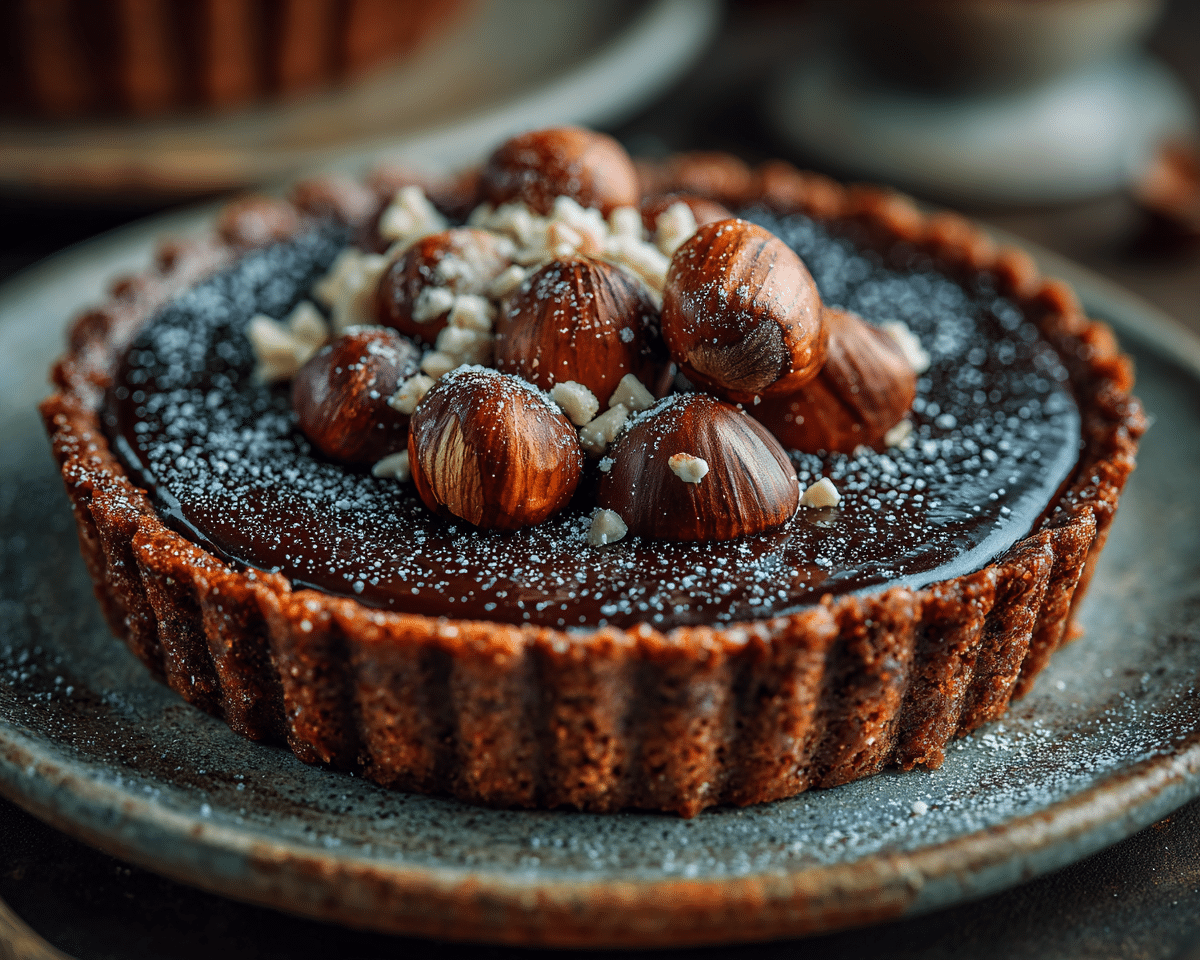
Hazelnut Gianduja Tart
Ingredients
Method
- Roast the Hazelnuts
- Preheat oven to 350°F (175°C).
- Spread hazelnuts on a baking tray. Roast for 10–12 minutes until fragrant.
- Rub them in a kitchen towel to remove most of the skins. Let cool.
- Make the Tart Shell
- In a bowl, mix almond powder, flour, and powdered sugar.
- Add cold butter and rub with fingers until crumbly.
- Mix in egg yolk and vanilla until dough forms.
- Press dough evenly into a 9-inch tart pan.
- Chill for 15 minutes.
- Bake at 350°F (175°C) for 15–18 minutes, until lightly golden.
- Let cool fully.
- Prepare the Gianduja
- Place roasted hazelnuts in a food processor.
- Blend until smooth and paste-like. Scrape sides as needed.
- Chop the dark chocolate and place in a heatproof bowl.
- Heat cream until just warm, then pour over chocolate.
- Stir until smooth.
- Add hazelnut paste, sugar, vanilla, and salt.
- Mix until glossy and well combined.
- Assemble the Tart
- Pour gianduja filling into the cooled tart shell.
- Smooth the top.
- Refrigerate for at least 2 hours until set.
- Finish and Serve
- Top with whole roasted hazelnuts.
- Dust lightly with cocoa powder.
- Slice with a warm knife and serve.
Notes
- Use good dark chocolate. It makes a big difference.
- Don’t rush the chilling time. The filling needs it.
- Bring the tart to room temperature before serving for the best texture.
- This tart tastes even better the next day.
Frequently Asked Questions (FAQ)
Q1: Can I use store-bought chocolate hazelnut spread instead of making gianduja?
Yes, you can! Use it in place of the hazelnut paste mixture. Just adjust sweetness as store-bought spreads can be sugary.
Q2: How do I store the hazelnut gianduja tart?
Keep it in the fridge for up to 5 days. Bring to room temperature before serving for the best texture.
Q3: Can I make this tart gluten-free?
Absolutely! Use almond flour or almond powder entirely for the tart shell. It will still hold beautifully.
Q4: What’s the difference between gianduja and Nutella?
Gianduja is the classic Italian blend of chocolate and hazelnuts with a higher nut content. Nutella is smoother, sweeter, and less intense.
Q5: Can I make this tart ahead of time?
Yes! Make it a day ahead, chill, and garnish right before serving. Flavors even deepen overnight.
Why This Hazelnut Chocolate Tart Works
This tart combines the crunch of roasted hazelnuts, the smoothness of chocolate, and the buttery base. Each bite is a symphony of textures and flavors. It’s not just dessert—it’s a memory. I love serving this at dinner parties. People swoon, and some even ask for seconds before dinner is over!
