
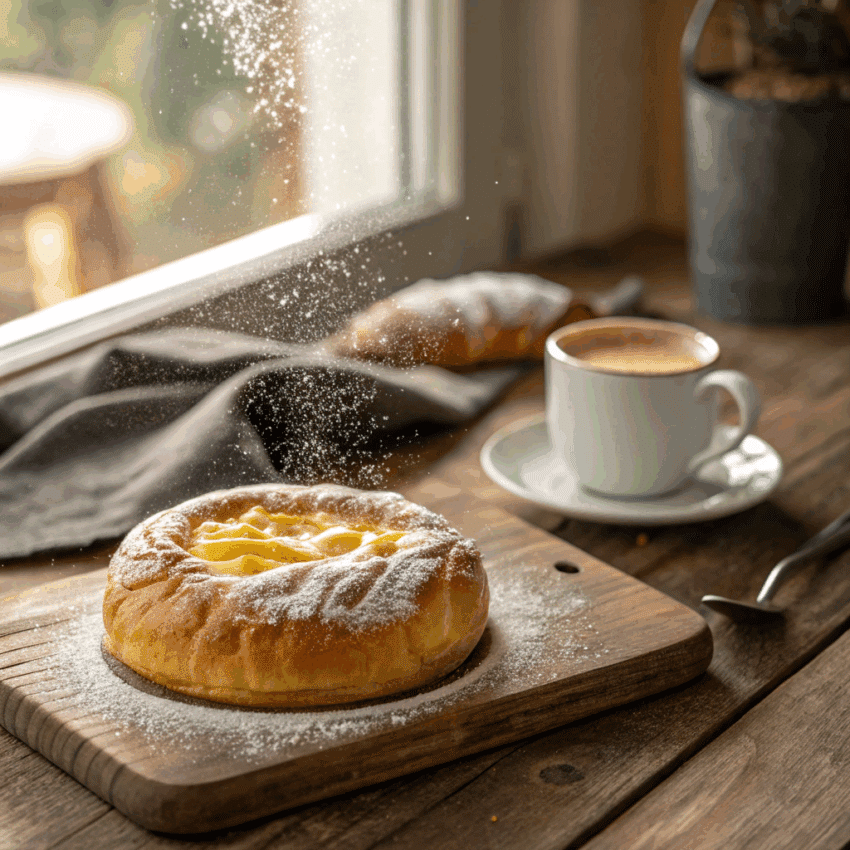
If you’ve ever tried Armenian desserts, you know they have a special way of making your taste buds dance. One treat that stands out is Armenian Gata — a soft, buttery pastry that’s slightly sweet and perfect with coffee or tea. Today, I’m sharing my favorite Armenian Gata recipe, so you can make this traditional delight at home.
This Gata Armenian pastry isn’t just a dessert; it’s a slice of Armenian culture. With its golden crust and sugary filling, it’s one of those treats that makes any moment feel celebratory. Let’s dive in and learn how to make this Armenian sweet bread from scratch.
What Is Armenian Gata?
Armenian Gata is a type of sweet bread, often shaped into rounds or rolls and filled with a rich, buttery mixture called khoriz. It’s soft, slightly flaky, and lightly sweet. You’ll find it in bakeries across Armenia, often served during holidays or family gatherings.
The magic of Gata lies in its simplicity. Flour, sugar, butter, and eggs come together in a way that creates a comforting, warm pastry. Yet, don’t let the simplicity fool you — it’s packed with flavor and texture. Making Gata Armenian coffee cake at home is easier than you might think.
Ingredients for Armenian Gata
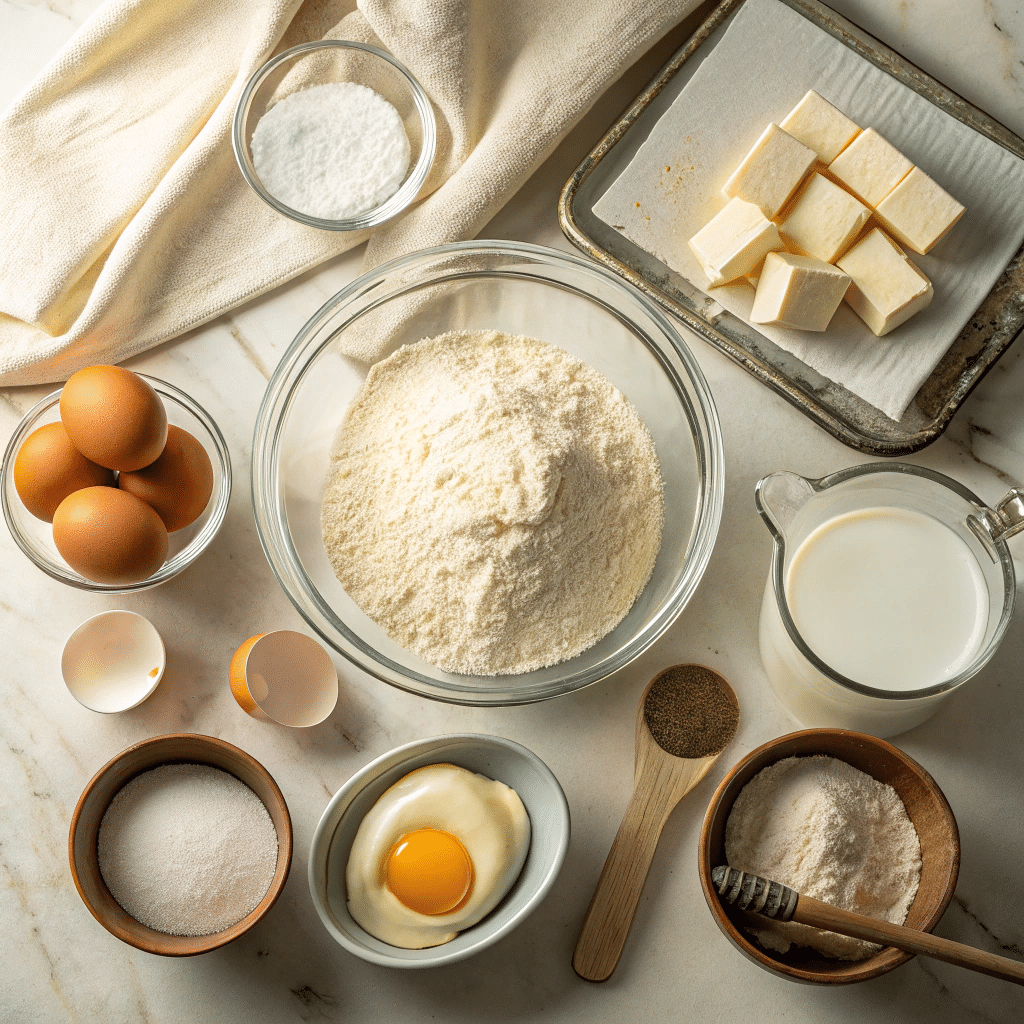
For the dough:
- 3 ½ cups all-purpose flour
- 1 cup warm milk
- 1 packet active dry yeast (2 ¼ tsp)
- ½ cup sugar
- ½ tsp salt
- 1 large egg
- ⅓ cup unsalted butter, melted
- 1 tsp vanilla extract
For the filling (khoriz):
- 1 cup all-purpose flour
- ½ cup sugar
- ½ cup unsalted butter, softened
- 1 tsp vanilla extract
Optional: powdered sugar for dusting
How to Make Armenian Gata: Step by Step
Step 1: Prepare the Yeast
Warm the milk slightly (not too hot) and stir in sugar and yeast. Let it sit for 5–10 minutes until foamy. This ensures your dough rises nicely.
Step 2: Make the Dough
In a large bowl, combine flour and salt. Add the yeast mixture, melted butter, egg, and vanilla. Mix until a soft dough forms. Knead for 8–10 minutes until smooth. Cover and let it rise for 1 hour, or until doubled in size.
Step 3: Make the Filling
In a separate bowl, mix flour, sugar, softened butter, and vanilla until crumbly. This filling, called khoriz, gives Gata its signature flavor.
Step 4: Shape the Gata
Once the dough has risen, punch it down gently. Divide it into 2–3 portions. Roll each portion into a circle about ½-inch thick. Spread a thin layer of filling over the dough. Roll the dough into a log and shape it into a circle or braid. Place on a greased baking sheet.
Step 5: Bake
Preheat the oven to 350°F (175°C). Bake for 25–30 minutes, or until golden brown. Let cool slightly before slicing.
Step 6: Serve
Gata is perfect warm, with a cup of coffee or tea. Dust with powdered sugar if you like a touch of extra sweetness.
Tips for the Perfect Armenian Gata
- Don’t overwork the dough: It should stay soft and fluffy.
- Butter matters: Use unsalted, high-quality butter for a richer taste.
- Adjust sweetness: You can reduce sugar slightly if you prefer less sweet pastries.
- Experiment with shapes: Traditionally, Gata is round, but braids or smaller rolls are fun too.
Variations of Armenian Gata
- Gata rolls: Small, individual portions perfect for gatherings.
- Gata squares: Easier for slicing and sharing.
- Chocolate or nuts: Some Armenian recipes include walnuts or chocolate for a modern twist.
Why Make Armenian Gata at Home?
Making Armenian pastries at home connects you to tradition. It’s more than dessert; it’s a way to slow down, enjoy the process, and share something special with family and friends. Plus, nothing beats the smell of freshly baked Armenian sweet bread filling your kitchen.
Fun Fact About Gata
In Armenia, Gata isn’t just a treat; it’s a symbol of hospitality. Offering Gata to guests is a way of saying “welcome” and “enjoy.” So, when you bake it at home, you’re not just making a dessert — you’re embracing a small piece of Armenian culture.
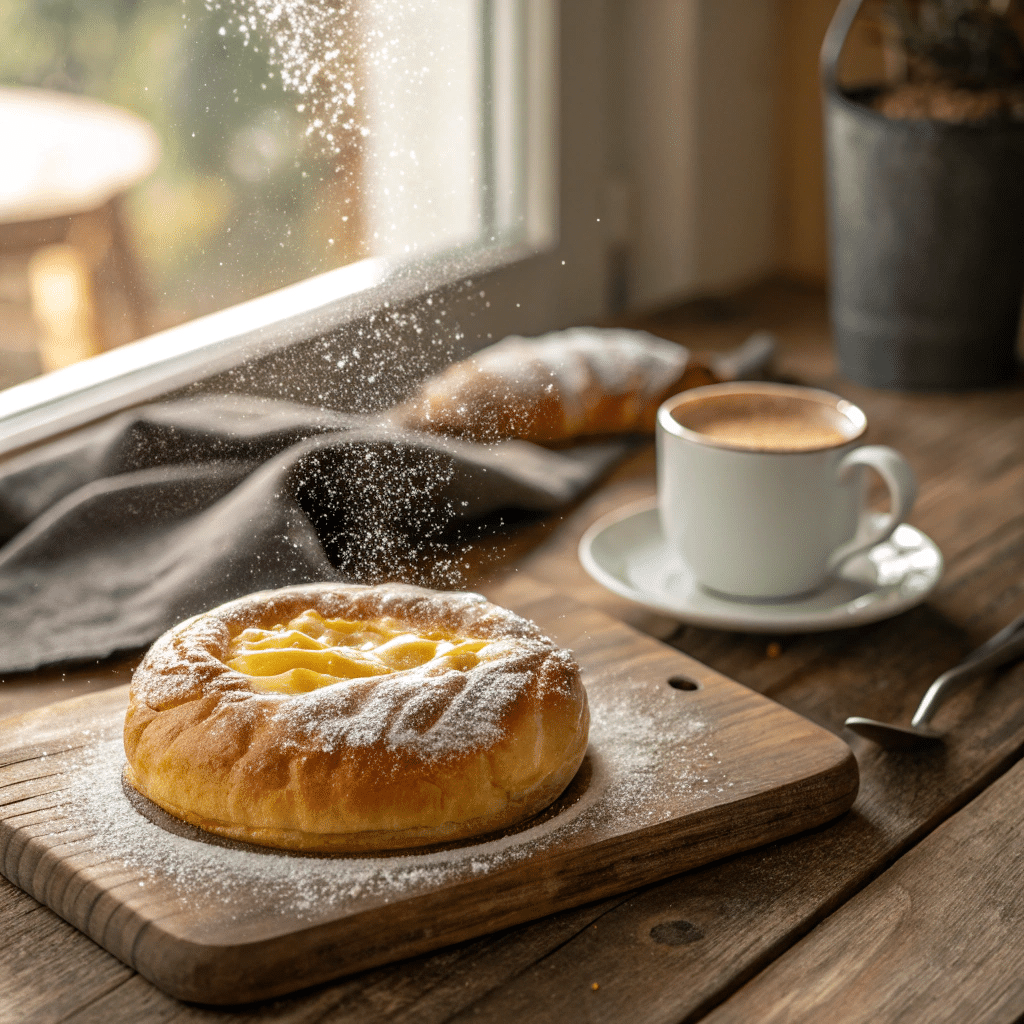
Armenian Gata
Ingredients
Method
- Prepare the yeast: Warm milk slightly. Stir in sugar and yeast. Let sit 5–10 minutes until foamy.
- Make the dough: In a large bowl, mix flour and salt. Add yeast mixture, melted butter, egg, and vanilla. Knead 8–10 minutes until smooth. Cover and let rise for 1 hour.
- Make the filling: Mix flour, sugar, softened butter, and vanilla until crumbly.
- Shape the Gata: Punch down dough. Divide into 2–3 portions. Roll each into a circle ~½ inch thick. Spread filling. Roll into a log and shape into a circle or braid. Place on a greased baking tray.
- Bake: Preheat oven to 350°F (175°C). Bake 25–30 minutes until golden brown. Let cool slightly.
- Serve: Slice and enjoy warm. Dust with powdered sugar if desired.
Notes
- Use unsalted butter for the best flavor.
- Dough should remain soft; avoid over-kneading.
- You can shape Gata as rolls, braids, or circles.
- Serve fresh or store in an airtight container for 2–3 days. Reheat slightly before serving.
FAQs About Armenian Gata
Q: Can I make Gata ahead of time?
A: Yes! You can bake it and store it in an airtight container for 2–3 days. Reheat slightly before serving.
Q: Can I freeze Armenian Gata?
A: Absolutely. Wrap it tightly and freeze for up to a month. Thaw overnight before enjoying.
Q: Can I use a different flour?
A: You can try whole wheat or spelt, but it will slightly change the texture. All-purpose flour works best for the classic soft, fluffy pastry.
Q: Is Armenian Gata vegan?
A: Traditional Gata uses butter and eggs. For a vegan version, you can substitute with plant-based butter and a flax egg.
Q: What’s the difference between Gata and coffee cake?
A: Gata is a traditional Armenian pastry with a unique filling called khoriz, while coffee cake is often fluffier with streusel. They share the comforting sweetness and work well with coffee, though.
Final Thoughts
If you’re looking for a comforting, slightly sweet treat that’s easy to make and full of culture, Armenian Gata is it. With just a few ingredients, some patience, and love, you can create a pastry that’s perfect for breakfast, dessert, or an afternoon snack.
Making traditional Armenian sweet bread at home is a small joy that brings big smiles. Try this Armenian Gata recipe today, and let your kitchen smell like a little piece of Armenia.
