Jump to Recipe
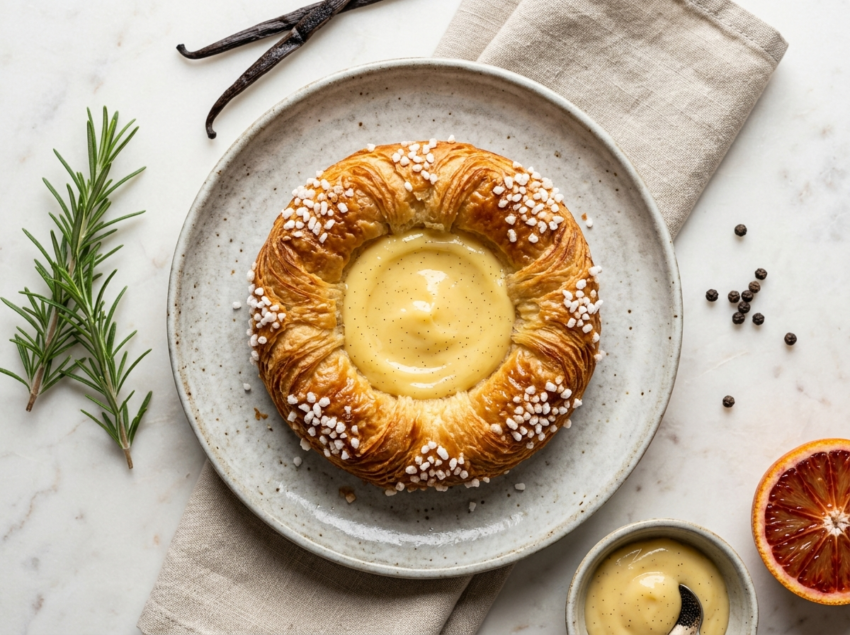
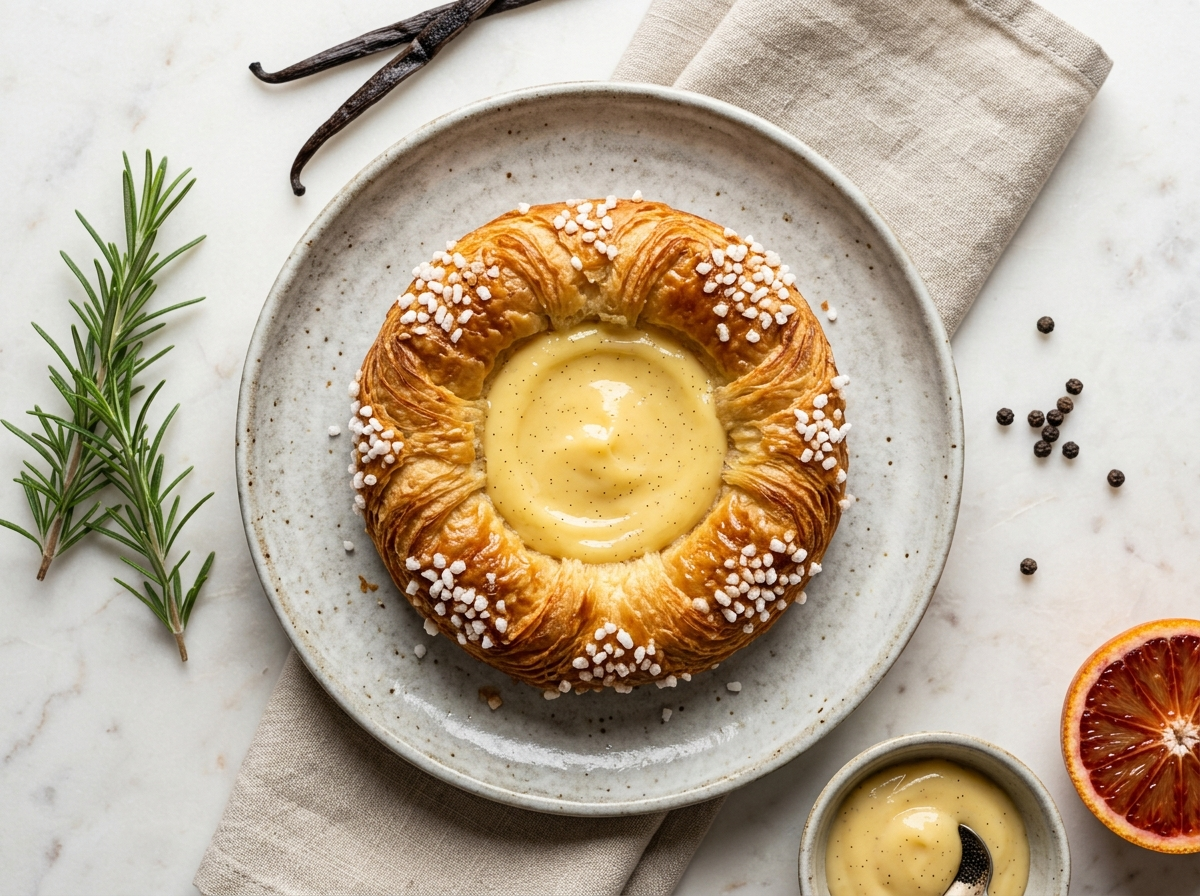
There’s something satisfying about pulling a tray of golden Danish pastries out of the oven and knowing you made the dough yourself. Shatteringly flaky on the outside, creamy and just-set on the inside.
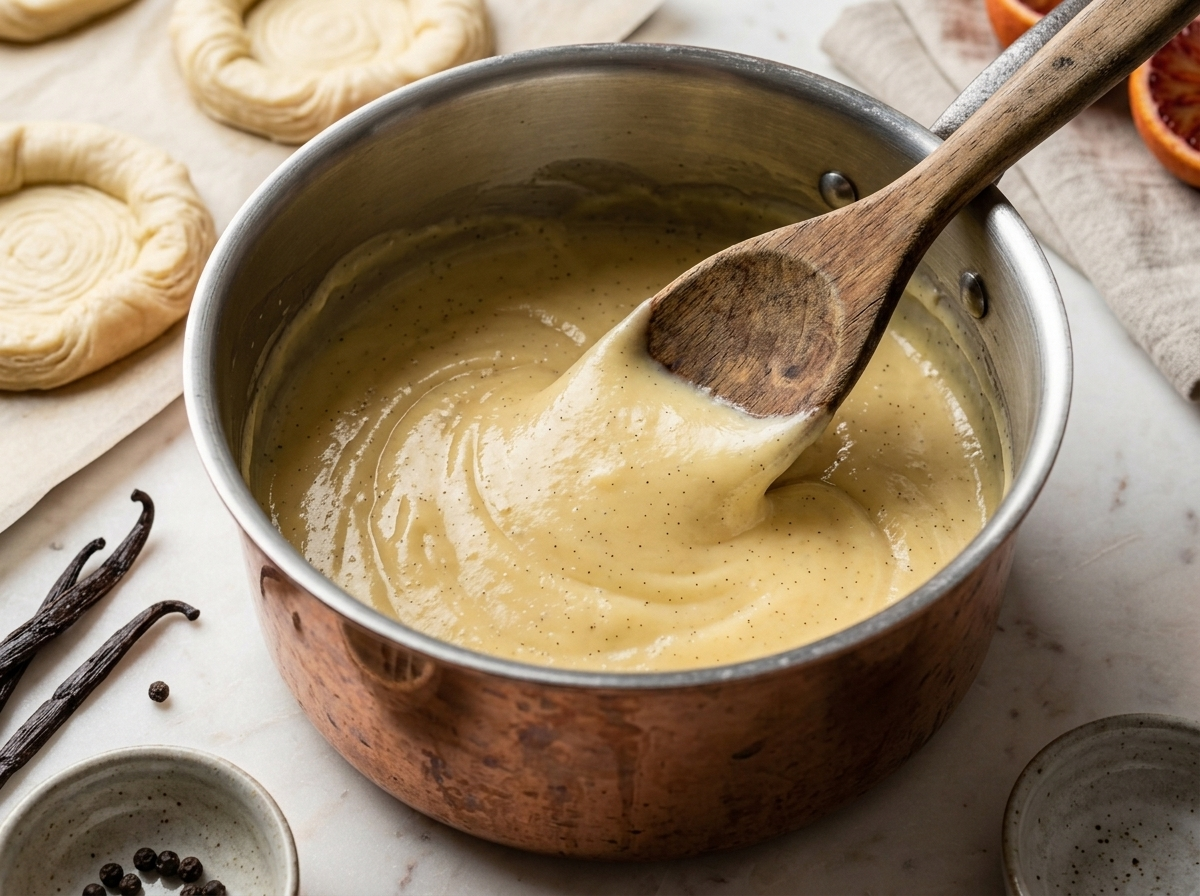
The custard filling here is a classic vanilla pastry cream – eggs, milk, sugar, and real vanilla, not unlike the silky vanilla cream in tartlets. It’s cooked until thick on the stove first, so it doesn’t run or collapse during baking.
The dough is a simplified laminated yeasted dough. Not as technical as croissant dough, but it still gives you those distinct buttery layers.
I’ve made these on slow weekend mornings and the results beat most bakery versions I’ve tried – mainly because you control the vanilla and the butter quality.
Why You’ll Love This Recipe
- Real vanilla custard that holds shape during baking
- Flaky laminated layers without complicated croissant technique
- Dough and custard both prep ahead the night before
- Bakery-quality results from straightforward home ingredients
Ingredient Notes
- bread flour: Bread flour gives the dough more structure to hold the butter layers. All-purpose flour works but the layers will be slightly less defined.
- unsalted butter (for lamination): Use a high-fat European-style butter for the best flavor and pliability. The butter block needs to be cold but pliable – not rock hard.
- whole milk: Full-fat milk gives the custard a richer body. Semi-skimmed works but the filling will be slightly thinner and less glossy.
- vanilla bean: One split vanilla bean gives the most flavor here. Substitute 1 1/2 tsp of pure vanilla extract added off the heat if you don’t have pods.
- egg yolks: Yolks give the custard its yellow color and creamy texture. Do not substitute whole eggs – the filling will be thinner and may weep during baking.
- cornstarch: Cornstarch is what makes the custard thick enough to pipe and hold shape in the oven. Do not reduce the amount.
- instant dry yeast: Instant yeast goes straight into the flour with no proofing needed. Active dry yeast also works – dissolve it in the warm milk first for 5 minutes.
Danish Vanilla Cream Pastries
Ingredients
Method
- Pour the milk into a medium saucepan, add the split vanilla bean and seeds, and bring to a bare simmer over medium heat. Remove from heat and let it steep for 10 minutes, then fish out the pod.
- Whisk the egg yolks, sugar, and cornstarch together in a bowl until pale and smooth.
- Pour the warm vanilla milk into the yolk mixture in a slow stream, whisking constantly to avoid scrambling the eggs.
- Return everything to the saucepan over medium-low heat. Stir constantly with a silicone spatula, scraping the base and sides, until the custard thickens and starts to pull away from the pan - about 4 to 5 minutes.
- Remove from heat, stir in the butter until melted and glossy, then press a sheet of plastic wrap directly onto the surface. Refrigerate until completely cold and firm, at least 2 hours or overnight.
- Combine flour, yeast, sugar, and salt in the bowl of a stand mixer. Add the warm milk, beaten egg, and softened butter. Mix with the dough hook on medium speed for 5 minutes until smooth. The dough should clear the sides of the bowl.
- Shape into a rough rectangle, wrap in plastic wrap, and refrigerate for 1 hour.
- While the dough chills, place the cold lamination butter between two sheets of parchment and beat it with a rolling pin into a flat 18 x 18 cm square. It should be cold but pliable - not cracking. Refrigerate if it gets too soft.
- On a lightly floured surface, roll the chilled dough into a 36 x 18 cm rectangle. Place the butter square in the center and fold the dough sides over it like an envelope, pinching the edges to seal.
- Roll out to a 50 x 18 cm rectangle, working gently to keep the butter from breaking through. Fold into thirds like a letter. This is the first fold. Wrap and refrigerate for 30 minutes.
- Repeat the roll-and-fold process two more times for a total of three folds, chilling 30 minutes between each. After the final fold, refrigerate for at least 30 minutes before shaping.
- Heat the oven to 200 C / 390 F. Line two baking sheets with parchment paper.
- On a lightly floured surface, roll the laminated dough to a roughly 40 x 30 cm rectangle, about 4 mm thick. Cut into 8 squares, approximately 10 x 10 cm each.
- To make a classic Danish shape, fold the corners of each square into the center and press down firmly to hold. Alternatively, fold two opposite corners in to form a diamond window shape.
- Transfer shaped pastries to the lined baking sheets, spacing them 5 cm apart. Cover loosely with plastic wrap and proof at room temperature until visibly puffed, about 60 to 90 minutes.
- Brush the exposed dough edges with egg wash. Spoon or pipe about 1 1/2 tablespoons of the cold vanilla custard into the center of each pastry.
- Scatter pearl sugar or flaked almonds over the edges if using.
- Bake in the preheated oven for 18 to 22 minutes, rotating the trays at the 10-minute mark, until the pastries are deep golden brown and the custard is just set with a slight wobble.
- Cool on the tray for at least 10 minutes before serving. The custard firms up as it cools.
Notes
Tips for Success
- Chill the dough for at least 30 minutes between each fold to keep the butter cold and the layers distinct.
- Cook the vanilla custard over medium-low heat and stir constantly until it pulls away from the sides of the pan, using the same slow technique that makes a slow-baked egg yolk cream set like silk.
- Pipe or spoon the custard into the center of shaped pastries only after they have proofed, not before.
- Egg wash the pastry edges but avoid brushing over cut layers – it can glue them together and block the rise.
- Bake at 200 C / 390 F on a preheated tray or baking stone for a crispier base on the pastries.
Variations
- Almond cream swap: replace vanilla custard with frangipane for a richer, nuttier Danish filling.
- Cardamom custard: steep one cracked cardamom pod in the hot milk alongside the vanilla bean.
- Fruit-topped version: add a spoonful of thick raspberry jam on top of the custard before baking.
Storage and Reheating
Store baked Danish pastries in an airtight container at room temperature for up to 2 days. The dough softens after the first day, so day-one freshness is hard to beat.
To refresh, place pastries in a 160 C / 320 F oven for 5 to 8 minutes. This crisps the layers back up without overcooking the custard.
For make-ahead prep, shaped and filled unbaked pastries can be refrigerated overnight on the tray. Proof them at room temperature for 1 hour before baking. Already-baked pastries don’t freeze well – the custard weeps on thawing.
Serving Suggestions
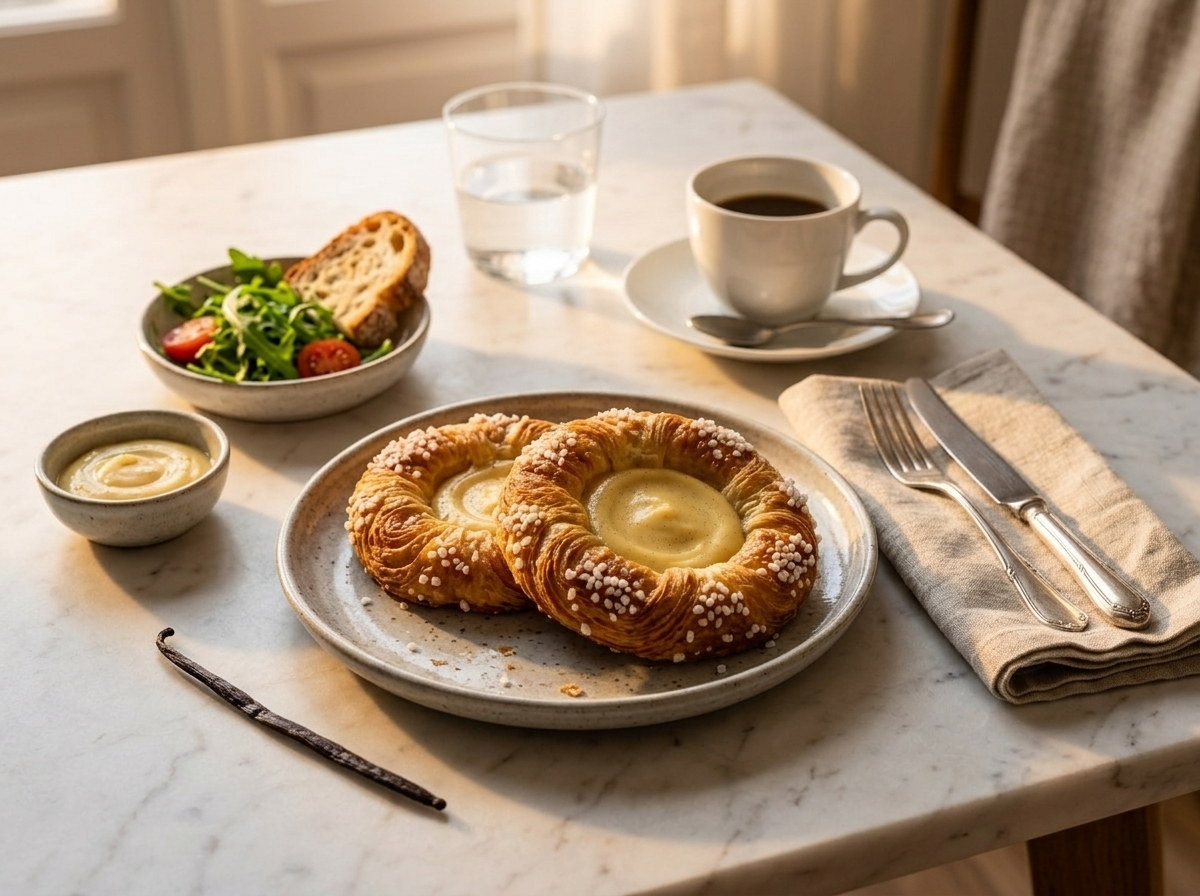
These are best served warm, about 10 minutes out of the oven, with a strong cup of black coffee or a flat white. The contrast between the warm flaky pastry and cold coffee is worth planning for.
For a Scandinavian-style spread, serve alongside a plate of sliced cheese, cold cuts, and rye bread. The sweet custard pastries sit naturally next to savory items in Danish breakfast tradition.
If you’re serving these for brunch, a small bowl of fresh berries on the side cuts through the richness of the custard nicely.
FAQ
Why is my vanilla cream pastry filling runny after baking?
The custard wasn’t cooked thick enough before it went into the pastry. It should be stiff enough to hold a peak when you lift the spoon before you pipe it. Cook it a couple of extra minutes over medium-low heat until it clearly thickens and pulls from the pan sides.
Can I use puff pastry instead of homemade laminated dough for these Danish pastries?
You can, but the texture will be different – store-bought puff pastry has no yeast, so it won’t have that slightly bready, chewy quality of a real Danish. It will still taste good and saves about 2 hours of chilling and folding.
Can I freeze shaped Danish pastries before baking?
Yes – freeze them on the tray before they proof, then transfer to a bag once solid. Bake from frozen by proofing at room temperature for 2 to 3 hours first, then egg wash and bake as normal. Don’t freeze already-baked custard pastries.
What pairs well with Danish vanilla cream pastries at a brunch table?
Strong filter coffee or a flat white is the natural match – the bitterness offsets the sweet custard much like it does with silky espresso cream tart bites. Fresh sliced strawberries or a citrus salad on the side helps balance the richness of the laminated dough.
How do I know when the laminated dough has proofed enough before baking?
The shaped pastries should look visibly puffed and feel light when you gently press one with your finger – it should spring back slowly. If it springs back fast, they need more time. Over-proofed pastries spread flat and lose their layers.
Are Danish vanilla cream pastries the same as a Napoleon or mille-feuille?
No – Danish pastries use a yeasted laminated dough, which gives them a softer, breadier bite. Napoleon and mille-feuille are made from unyeasted puff pastry and are assembled cold with cream, not baked with the filling inside.