
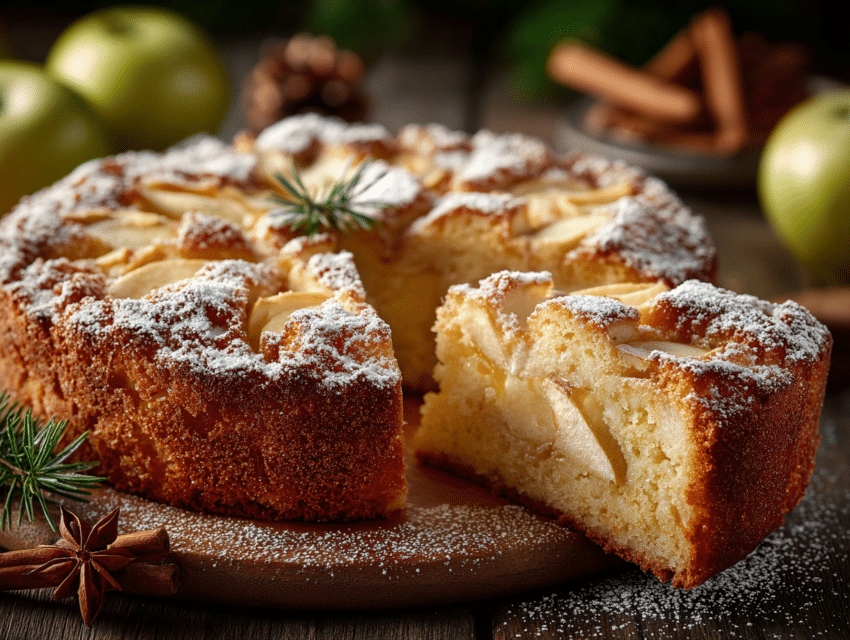
If you’ve ever wondered how to make a classic Russian dessert at home, you’ve come to the right place! Today, I’m sharing my go-to Russian Sharlotka apple cake recipe. This cake is soft, airy, and packed with fresh apple flavor. It’s one of those desserts that feels light enough for a weekday treat but special enough for company.
Sharlotka, sometimes called Russian apple cake, is surprisingly easy to whip up. Unlike other dense apple cakes, it has a delicate sponge texture with juicy apple slices peeking through. It’s sweet, comforting, and perfect with a cup of tea or coffee.
Whether you’re a baking novice or a seasoned home baker, this recipe is straightforward and satisfying. Plus, it works for nearly every occasion—from casual family dinners to festive gatherings.
Why You’ll Love This Sharlotka Recipe
- Quick and simple – You don’t need any fancy ingredients or complicated steps.
- Minimal fuss – Mixing is done in one bowl, and the oven does the rest.
- Versatile – Use any crisp apples you have on hand. Honeycrisp, Gala, or Fuji work beautifully.
- Light and fluffy – Unlike heavy apple cakes, this one melts in your mouth.
- Crowd-pleaser – Kids, adults, even picky eaters love it!
Ingredients for Russian Sharlotka Apple Cake
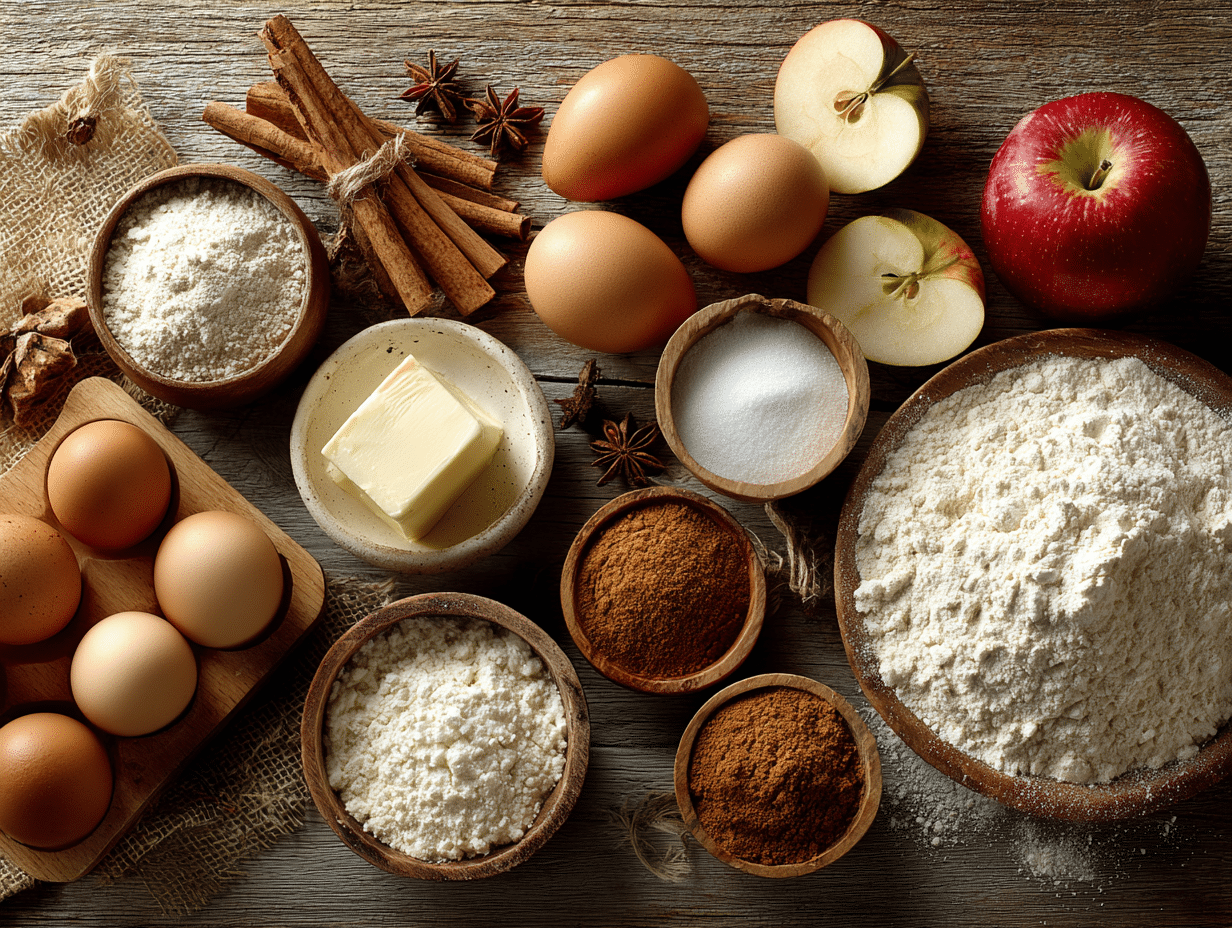
For a classic, straightforward Sharlotka cake, gather these ingredients:
- 4 medium apples (preferably tart, firm ones like Granny Smith or Honeycrisp)
- 4 large eggs
- 1 cup granulated sugar
- 1 cup all-purpose flour
- 1 tsp vanilla extract
- 1 tsp baking powder (optional, for extra lift)
- A pinch of salt
- Powdered sugar for dusting (optional)
Tip: You can peel the apples if you prefer, but I love leaving the skin on for extra texture and nutrients.
Step-by-Step Instructions: How to Make Sharlotka
Step 1: Prep the Apples
Start by washing, coring, and slicing the apples into thin wedges. Toss them lightly with a teaspoon of sugar to draw out some juice and enhance the natural sweetness.
Step 2: Whip the Eggs and Sugar
In a large mixing bowl, beat the eggs and granulated sugar together until pale and fluffy. This will take about 5 minutes using an electric mixer on high speed. The mixture should double in volume.
Step 3: Add Flour and Vanilla
Gently fold in the flour, salt, and baking powder (if using). Be careful not to overmix—you want the batter to stay airy. Stir in vanilla extract for that warm, comforting aroma.
Step 4: Combine Apples and Batter
Fold the apple slices into the batter. You can leave some on top for a pretty presentation. The apples will sink slightly but that’s part of the charm!
Step 5: Bake the Cake
Pour the mixture into a greased 9-inch (23 cm) round cake pan. Bake in a preheated oven at 350°F (175°C) for 35–40 minutes, or until a toothpick inserted into the center comes out clean.
Step 6: Cool and Serve
Allow the cake to cool slightly before removing it from the pan. Dust with powdered sugar if desired. Slice generously and enjoy a piece with tea, coffee, or a dollop of whipped cream.
Tips for the Perfect Russian Sharlotka
Making a Russian Sharlotka apple cake is simple, but a few small tricks can take it from good to amazing:
- Pick the right apples – Crisp, tart apples hold their shape during baking and balance the sweetness. Honeycrisp, Granny Smith, or Fuji are perfect choices.
- Don’t overmix the batter – Fold the flour gently to keep the sponge light and fluffy. Overmixing can make it dense.
- Room temperature eggs – This helps the batter rise evenly. Cold eggs can prevent it from achieving that soft, airy texture.
- Use a light hand with sugar – The apples themselves add sweetness. Adjust sugar based on your apple variety.
- Check early – Every oven is different. Start checking your cake at 30 minutes to avoid overbaking.
Variations to Try
While the classic Sharlotka cake is delightful on its own, a few small twists can make it even more exciting:
- Spices – Add a pinch of cinnamon, nutmeg, or cardamom to the batter for a cozy, warm flavor.
- Nuts – Chopped walnuts or almonds give a lovely crunch and complement the soft apples.
- Citrus – A teaspoon of lemon zest brightens the cake beautifully.
- Other fruits – Pears or berries can be combined with apples for a fruity twist.
- Caramel drizzle – Drizzle lightly with caramel sauce before serving for a decadent touch.
Serving Ideas
Serving a Russian apple cake Sharlotka is half the fun:
- Dust with powdered sugar for a simple, elegant look.
- Pair with whipped cream or vanilla ice cream for dessert lovers.
- Serve alongside a hot cup of tea or coffee for a cozy afternoon treat.
- Cut into squares for a casual snack or picnic.
I often slice my Sharlotka into generous pieces and watch it disappear faster than I can brew the tea—true story!
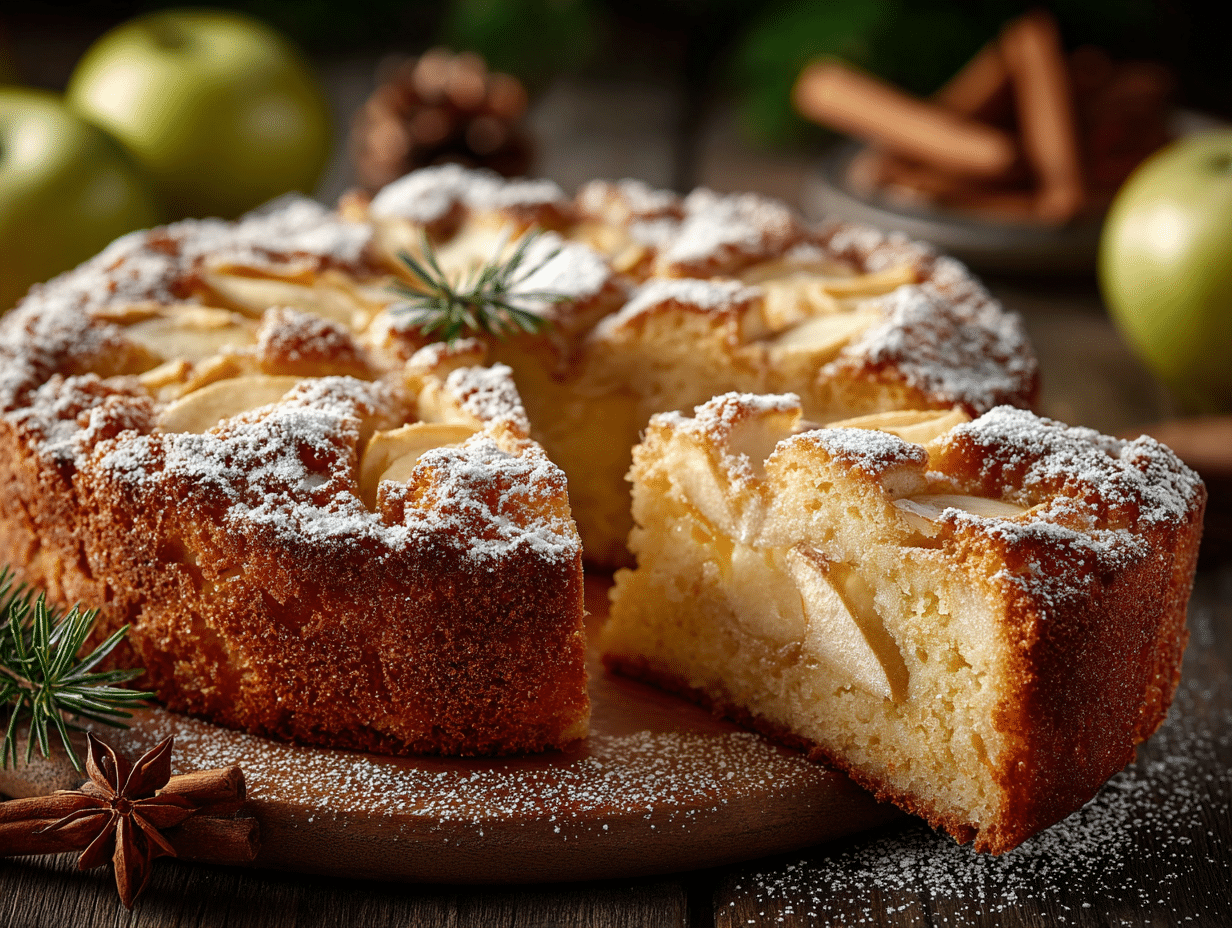
Russian Sharlotka Apple Cake Recipe
Ingredients
Method
- Prepare the apples: Wash, core, and slice apples into thin wedges. Toss lightly with a teaspoon of sugar.
- Beat eggs and sugar: In a large bowl, whisk eggs and granulated sugar until pale and fluffy (about 5 minutes).
- Add flour and vanilla: Fold in flour, salt, and baking powder gently. Stir in vanilla extract.
- Combine apples and batter: Fold apple slices into the batter. Leave a few slices on top for decoration.
- Bake the cake: Pour the mixture into a greased 9-inch (23 cm) round pan. Bake at 350°F (175°C) for 35–40 minutes. Check with a toothpick; it should come out clean.
- Cool and serve: Let the cake cool slightly before slicing. Dust with powdered sugar if desired.
Notes
- Use crisp apples to hold shape and add tartness.
- You can peel the apples if you prefer a smoother texture.
- Dust with powdered sugar for a pretty look or serve with vanilla ice cream for extra indulgence.
- This cake is best eaten the same day but can be stored in an airtight container for 2–3 days.
Common Questions About Sharlotka
Here are some FAQs to help anyone new to this classic Russian dessert:
1. What is Sharlotka?
Sharlotka is a simple Russian apple cake made with eggs, sugar, flour, and fresh apples. It’s light, airy, and subtly sweet.
2. Can I use other fruits instead of apples?
Yes! Pears, berries, or even peaches can work. Keep in mind the baking time may vary depending on the fruit’s moisture.
3. Do I need to peel the apples?
Not necessarily. I leave the skin on for extra texture and nutrients. If you prefer a smoother cake, peeling is fine.
4. How do I store Sharlotka?
Store at room temperature for 2–3 days in an airtight container. Refrigerate for up to 5 days. Reheat slightly before serving for that fresh-baked feel.
5. Can I make this gluten-free?
Yes! Substitute all-purpose flour with a gluten-free flour blend, but avoid overmixing to maintain fluffiness.
6. Is Sharlotka the same as Russian apple pie?
Not exactly. Sharlotka is lighter and more sponge-like, while Russian apple pie has a thicker crust and often more sugar.
Why I Love This Recipe
I remember making my first Sharlotka on a rainy afternoon in Toronto. The smell of apples and vanilla filled the kitchen, and my family couldn’t stop sneaking slices straight from the pan. It’s one of those desserts that brings people together, simple yet comforting.
This Russian apple cake recipe is proof that you don’t need a lot of ingredients to make something delicious. Sometimes, the simplest things—eggs, sugar, flour, and apples—create magic.
So next time you’re craving a dessert that’s easy, sweet, and soft, grab a few apples and give this Sharlotka cake a try. I promise, you’ll be coming back for seconds!
Final Notes
- This recipe works well in loaf pans, round cake pans, or even springform pans. Adjust the baking time accordingly.
- Experiment with apple varieties to find your favorite flavor combination.
- Sharlotka is forgiving. Even if it sinks slightly in the middle, it’s still delicious.
Now you’ve got a complete, foolproof guide to making a traditional yet easy Russian Sharlotka apple cake. Whether it’s for breakfast, dessert, or a cozy snack, this cake is bound to become a household favorite.
