
Jump to Recipe
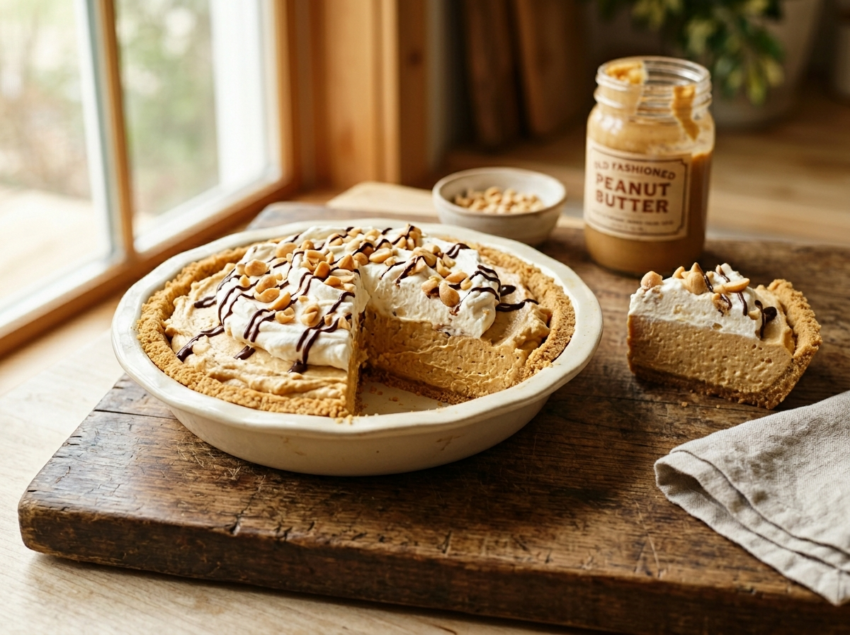
There’s something deeply satisfying about a peanut butter pie that doesn’t ask much of you. No stand mixer required. No custard to babysit on the stove.
This version is the kind you’d find at a church potluck or a diner counter in the 1970s – simple ingredients, big flavor, and a filling that holds clean slices once chilled.
The crust is graham crackers and butter, pressed into a pie dish and briefly baked, much like the press-in crust on this oat tart. The filling is cream cheese, peanut butter, powdered sugar, and whipped topping folded together until smooth. That’s the whole recipe.
I’ve made this pie for summer cookouts and holiday tables alike. It travels well, it slices neatly, and it disappears fast.
Why You’ll Love This Recipe
- No-bake filling with just 5 key ingredients
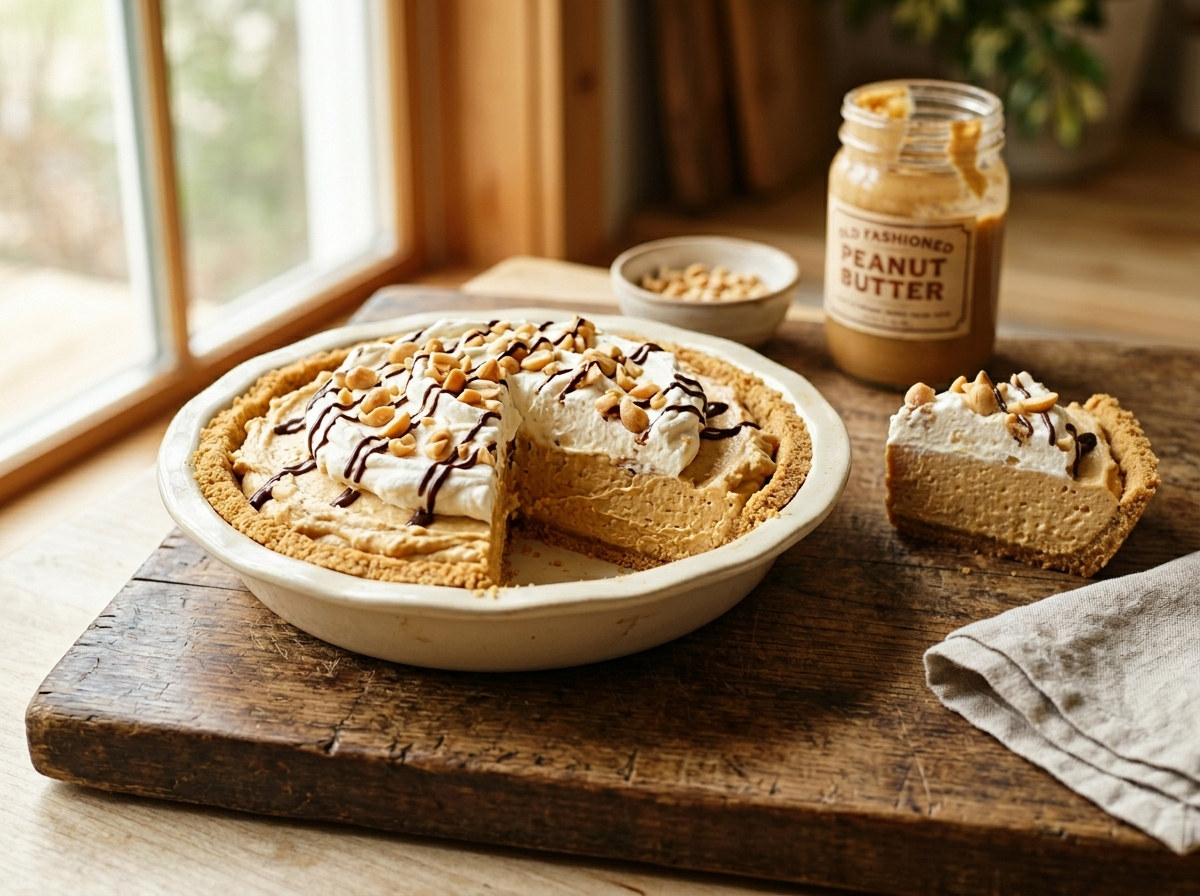
- Holds clean slices straight from the fridge
- Make it a day ahead with no quality loss
- Crowd-friendly and nut-butter forward flavor
Ingredient Notes
- Creamy peanut butter: Use a commercial brand like Jif or Skippy – the stabilized oils help the filling hold its shape. Natural peanut butter with separated oils can make the filling greasy and loose.
- Full-fat cream cheese: It must be at room temperature or the filling will be lumpy. Low-fat cream cheese works but gives a slightly softer set.
- Powdered sugar: Sifting it prevents any grainy texture in the finished filling. Don’t substitute granulated sugar – it won’t dissolve properly.
- Whipped topping (Cool Whip): This is the traditional choice and gives that classic diner-style texture. You can substitute 2 cups of heavy cream whipped to stiff peaks if you prefer a fresh version.
- Graham crackers: One sleeve (about 9 crackers) crushed fine gives you enough for the crust. Chocolate graham crackers are a good swap if you want a cocoa note in the base.
- Unsalted butter: Melted and mixed into the crumbs to bind the crust. Salted butter works too – it actually adds a nice contrast to the sweet filling.
Old Fashioned Peanut Butter Pie
Ingredients
Method
- Heat the oven to 175 C / 350 F.
- Mix the crushed graham crackers, melted butter, and granulated sugar in a bowl until the crumbs look like wet sand.
- Press the mixture evenly into the bottom and up the sides of a 9-inch pie dish using the bottom of a measuring cup - it should be compact with no loose spots.
- Bake for 8 minutes until the crust is lightly golden and fragrant, then set aside to cool completely, about 20 minutes.
- Beat the room-temperature cream cheese with an electric hand mixer on medium speed for 2 minutes until completely smooth with no lumps.
- Add the peanut butter, sifted powdered sugar, vanilla extract, and salt. Beat on medium until the mixture is combined and fluffy, about 2 minutes.
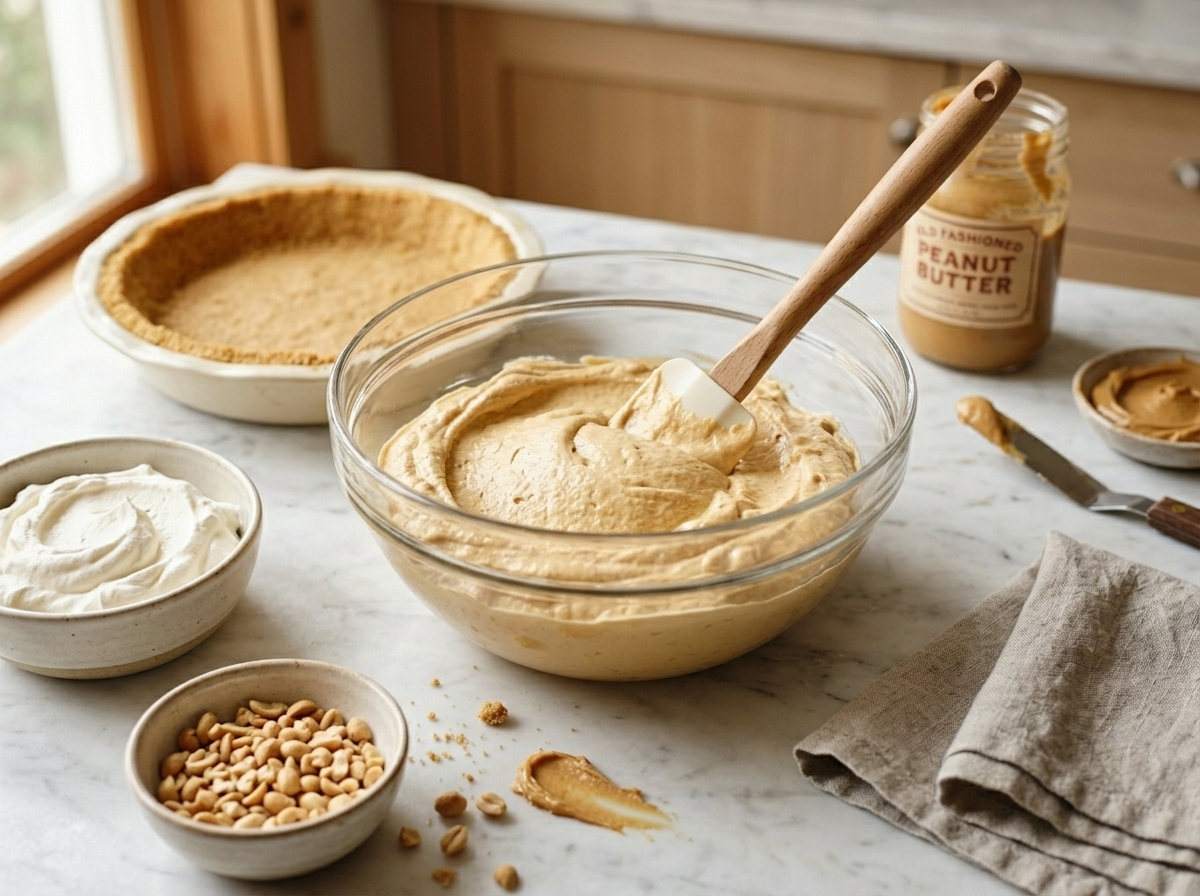
- Using a rubber spatula, gently fold in the whipped topping in three additions, working from the bottom of the bowl upward, until no white streaks remain. Don't overmix - keep the filling light.
- Spoon the filling into the cooled crust and spread it evenly with the spatula, smoothing the top.
- Refrigerate uncovered for the first hour, then cover loosely with plastic wrap and chill for a total of at least 4 hours, or overnight, until the filling is firm.
- Before serving, top with whipped cream, chopped peanuts, or a drizzle of chocolate sauce if desired. Slice with a thin knife wiped clean between cuts.
Notes
Tips for Success
- Bake the graham crust for exactly 8 minutes at 175 C / 350 F to set it firm before adding the filling.
- Beat the cream cheese alone first until completely smooth before adding peanut butter – this prevents lumps.
- Fold the whipped topping into the peanut butter mixture with a spatula, not a mixer, to keep the filling light.
- Chill the assembled pie for at least 4 hours – overnight gives the cleanest slices.
- Run a thin knife under hot water and wipe dry before each cut for neat, even slices.
Variations
- Chocolate peanut butter pie: pour a thin layer of ganache over the set filling before serving.
- Reese’s cup version: press chopped peanut butter cups into the filling before chilling.
- Frozen peanut butter pie: freeze instead of refrigerating for a firmer, ice cream-like texture that keeps for 2 months.
Storage and Reheating
Store the pie covered loosely with plastic wrap in the refrigerator for up to 4 days. The filling stays firm and sliceable straight from the fridge.
To freeze, wrap individual slices in plastic wrap, then foil, and freeze for up to 2 months. Thaw overnight in the fridge or at room temperature for 30 minutes before serving.
Don’t leave the pie out at room temperature for more than 2 hours – the cream cheese filling softens quickly and loses its structure.
Serving Suggestions
Serve each slice with a dollop of whipped cream and a light drizzle of honey or chocolate sauce. A few crushed salted peanuts on top add crunch and cut through the richness.
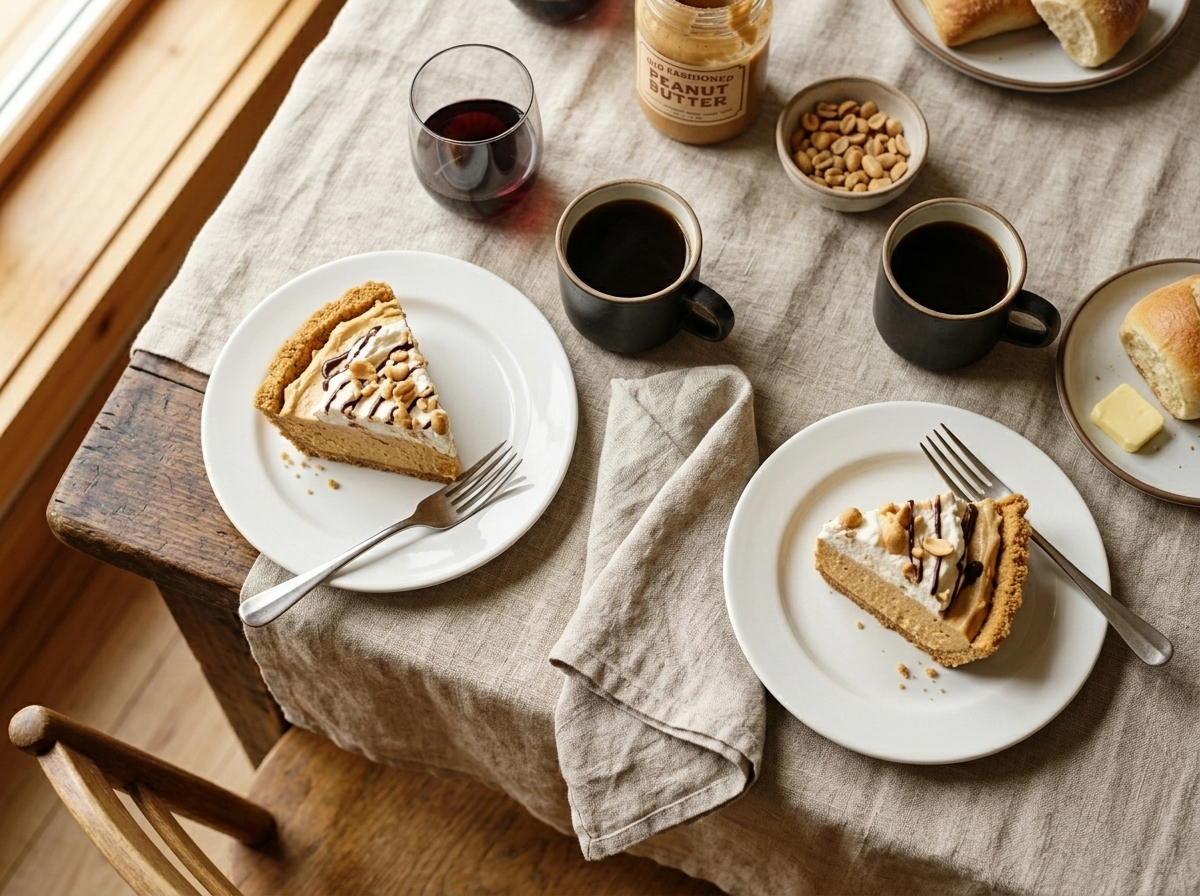
This pie pairs well with a strong black coffee or a cold glass of whole milk – the bitterness or fat in both drinks balances the sweet filling.
For a dinner party, slice the pie straight from the fridge right before plating. Cold filling holds its shape longer at the table and the contrast against warm coffee is hard to beat.
FAQ
Why is my old fashioned peanut butter pie filling not setting firm?
The most common cause is natural peanut butter with separated oils, which prevents the filling from holding together. Using a stabilized commercial peanut butter like Jif or Skippy and chilling the pie for a full 4 hours fixes this.
Can I use fresh whipped cream instead of Cool Whip in this peanut butter pie?
Yes – whip 2 cups of heavy cream to stiff peaks and fold it in exactly as you would the Cool Whip. The filling will be slightly less stable at room temperature, so keep it refrigerated until just before serving.
How far in advance can I make this peanut butter pie for a party?
You can make it up to 2 days ahead and keep it covered in the fridge – the filling actually firms up better after 24 hours. Add any whipped cream or chocolate drizzle toppings right before serving.
What’s the difference between old fashioned peanut butter pie and a peanut butter cheesecake?
Old fashioned peanut butter pie uses a higher ratio of peanut butter to cream cheese and is lightened with whipped topping, giving it a mousse-like texture. A peanut butter cheesecake has more cream cheese, a denser set, and is usually baked.
Is old fashioned peanut butter pie gluten-free?
The filling is naturally gluten-free, but the standard graham cracker crust is not. Swap in certified gluten-free graham crackers or an almond flour crust to make the whole pie gluten-free.
What goes well with peanut butter pie besides whipped cream?
A drizzle of warm chocolate ganache or a scatter of chopped Reese’s cups on each slice works really well with the salty-sweet filling. Caramel sauce and a pinch of flaky sea salt is another pairing that holds up.
