Jump to Recipe
There’s something about a salty-sweet bar that hits differently from a cookie or a brownie. No oven required, no creaming butter, no waiting for anything to rise.
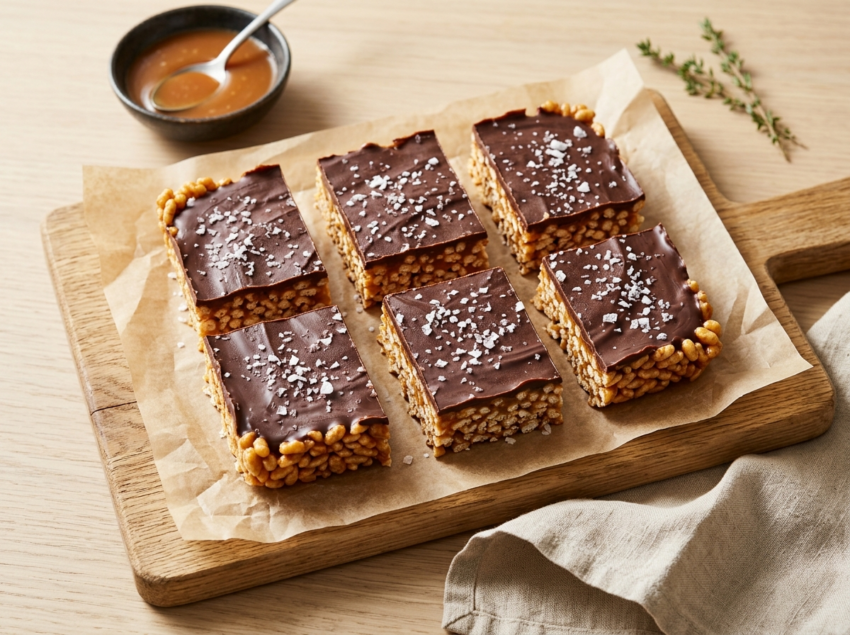
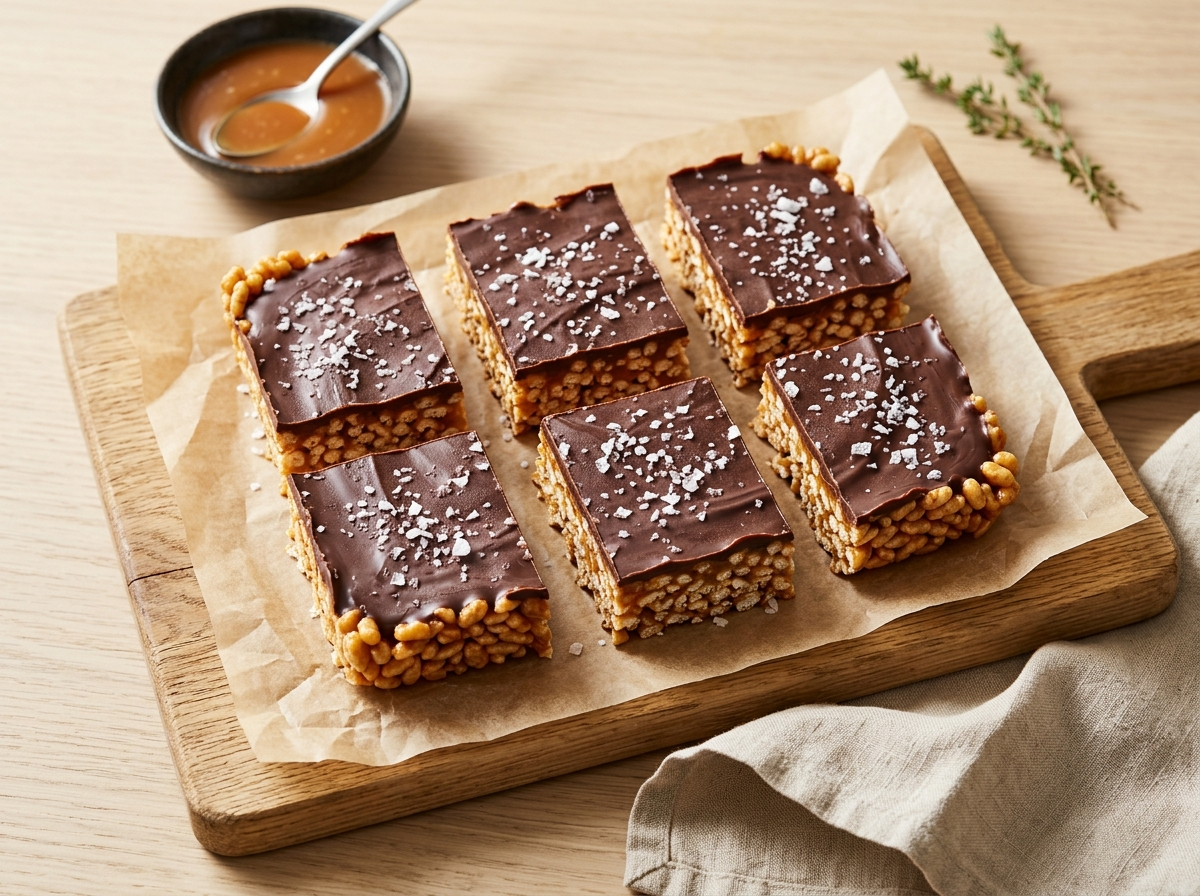
These salted caramel rice bars use puffed rice as the base – think Rice Krispie treat, but with real caramel built from brown butter and dark brown sugar instead of marshmallows. The result is denser, chewier, and noticeably more complex.
A thin layer of dark chocolate on top is optional but genuinely worth it. Flaky sea salt goes on last, and it’s not decorative – it cuts through the richness and makes the caramel flavor pop.
I’ve made these for bake sales, road trips, and quiet Sunday afternoons when I wanted something sweet without much cleanup. They hold together well, slice cleanly, and keep for days.
Why You’ll Love This Recipe
- No oven needed – stovetop caramel, press, and chill
- Real caramel flavor from brown butter and dark brown sugar
- Stays firm at room temperature for up to three days
- Scales easily – double the batch for a crowd
Ingredient Notes
- puffed rice cereal: Plain puffed rice (like Rice Krispies) works best. Avoid frosted or flavored varieties – the caramel adds all the sweetness you need.
- unsalted butter: Brown it until the milk solids turn amber – that nutty depth is what separates this caramel from a basic marshmallow bar. Salted butter works in a pinch, just reduce added salt by half.
- dark brown sugar: The higher molasses content gives the caramel a slightly bitter backbone. Light brown sugar will work but produces a milder, sweeter result.
- heavy cream: Full-fat cream keeps the caramel smooth and pourable. Half-and-half can substitute but makes a slightly thinner caramel that takes longer to set.
- flaky sea salt: Maldon or fleur de sel are ideal. Fine table salt dissolves too fast and turns sharp rather than bringing out the caramel notes.
- dark chocolate (optional): A 70% dark chocolate bar, melted, adds a thin bitter layer that anchors the sweetness. Milk chocolate works if you prefer a milder finish.
Salted Caramel Rice Bars
Ingredients
Method
- Line an 8x8 inch baking pan with parchment paper, leaving overhang on two sides for easy lifting. Lightly butter the parchment.
- Place butter in a 3-quart heavy-bottomed saucepan over medium heat. Cook, stirring occasionally, for 4 to 5 minutes until the foam subsides and the milk solids turn amber and smell nutty.
- Add the dark brown sugar and corn syrup. Stir to combine, then cook undisturbed for 1 minute until the sugar begins to dissolve.
- Pour in the heavy cream carefully - it will bubble up. Stir constantly and cook for 3 to 4 minutes until the caramel thickens enough to coat the back of a spoon and reads 115 C / 240 F on a thermometer.
- Remove from heat. Stir in vanilla extract and fine sea salt.
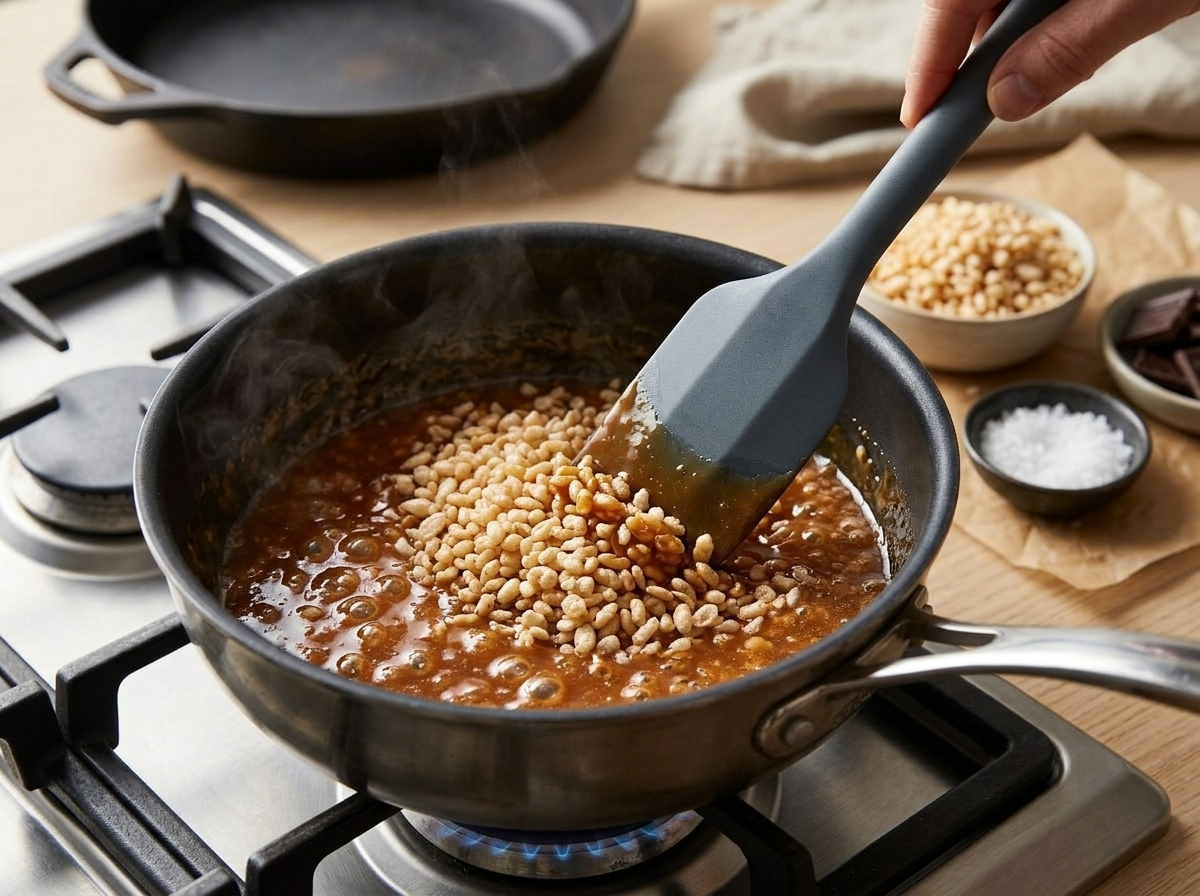
- Add puffed rice cereal to the saucepan and fold quickly with a silicone spatula until every piece is coated in caramel.
- Transfer the mixture to the prepared pan. Press down firmly and evenly using a buttered spatula until the surface is flat and compact.
- If adding chocolate, melt the chopped dark chocolate in a microwave-safe bowl in 30-second bursts, stirring between each, until smooth. Pour over the pressed rice layer and spread to the edges.
- Scatter flaky sea salt evenly over the top while the chocolate is still wet.
- Refrigerate for at least 1 hour until the caramel and chocolate are fully set.
- Lift the slab out using the parchment overhang. Place on a cutting board. Run a chef's knife under hot water, dry it, then cut into 16 bars with firm downward pressure.
Notes
Tips for Success
- Brown the butter until you see amber specks and smell a nutty aroma – pull it off the heat before it burns.
- Stir the caramel constantly once the cream goes in to prevent the sugar from seizing along the pan edges.
- Press the rice mixture into the pan firmly using the back of a buttered spatula – loose packing leads to bars that crumble when cut.
- Chill for at least 1 hour before slicing, or 30 minutes in the freezer if you’re short on time – the same approach works for honey caramel brittle bars.
- Score the bars with a warm knife (run it under hot water and dry it) for clean, even cuts without dragging.
Variations
- Stir 2 tbsp natural peanut butter into the hot caramel before adding the rice for a peanut caramel version.
- Press crushed pretzels into the top layer before chilling for added crunch and extra salt contrast.
- Swap the dark chocolate topping for white chocolate and add 1 tsp espresso powder to the caramel for a coffee-white chocolate bar.
Storage and Reheating
Store cut bars in an airtight container at room temperature for up to 3 days. Layer them between sheets of parchment so they don’t stick together.
For longer storage, refrigerate for up to 1 week. Cold bars firm up quite a bit, so let them sit at room temperature for 10 minutes before eating.
These freeze well. Wrap individual bars tightly in plastic wrap, then place in a zip-lock bag. Freeze for up to 2 months and thaw overnight in the fridge or for 30 minutes on the counter.
Serving Suggestions
Cut them into rectangles for a clean bar presentation, or press the mixture into a round pan and slice into wedges for a different look on a dessert board.
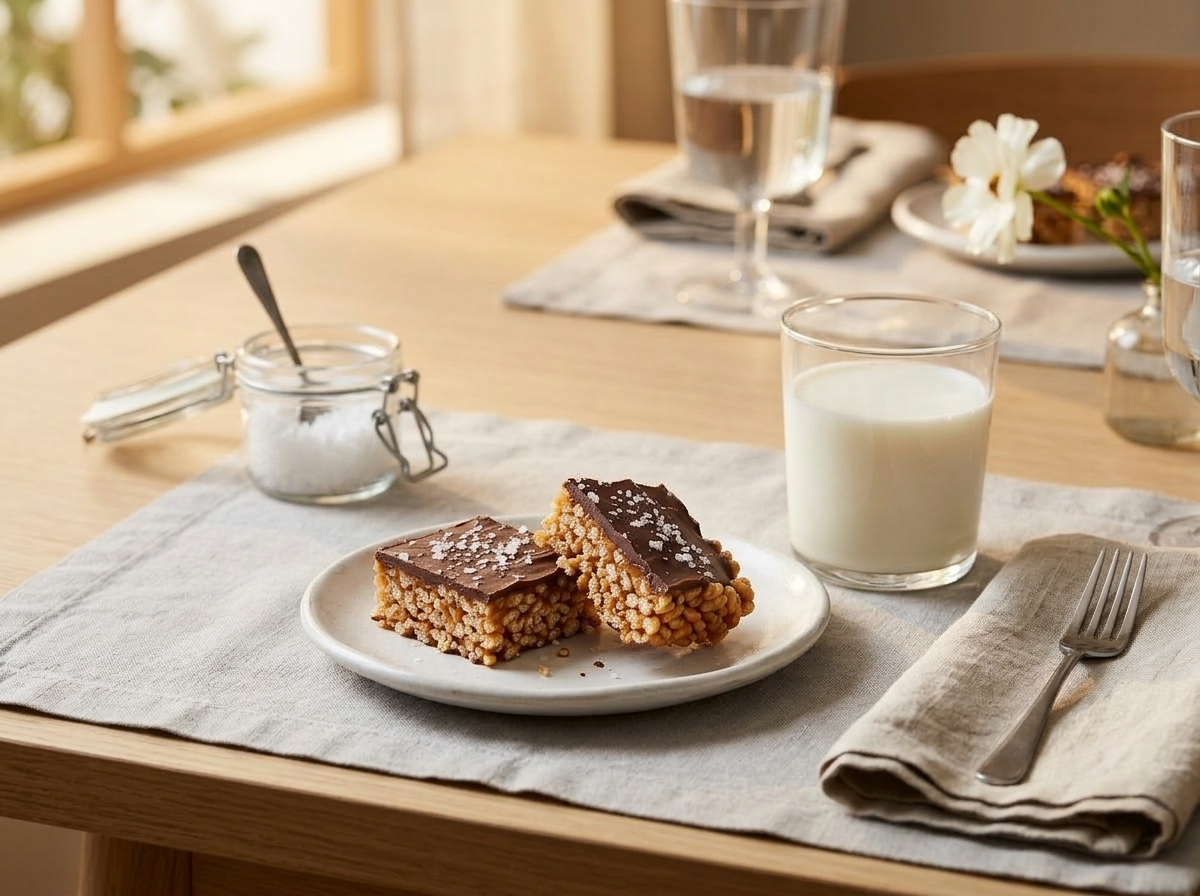
They pair well alongside a scoop of vanilla ice cream when you want to turn them into a plated dessert. The cold ice cream against the chewy, salty bar is a genuinely good combination.
For a party spread, cut them into bite-sized squares and stack them on a small plate with a pinch of extra flaky salt scattered on top. They hold their shape at room temperature, so no need to keep them chilled on the table.
FAQ
Why are my salted caramel rice bars too sticky or not holding together?
The caramel likely needed more cooking time. It should reach a deep amber color and coat the back of a spoon thickly before you add the rice. Also make sure you pressed the mixture firmly and chilled it for the full hour.
Can I use coconut cream instead of heavy cream in the caramel?
Yes – full-fat coconut cream works and adds a faint coconut undertone that complements the caramel. The texture will be nearly identical, though the bars may be slightly softer at room temperature.
Can I freeze salted caramel rice bars before adding the chocolate topping?
Absolutely. Freeze the plain caramel rice layer wrapped tightly, then thaw, add the melted chocolate, and re-chill for 20 minutes before slicing. This is actually a good make-ahead strategy.
What does the salted caramel rice bar taste like compared to a standard Rice Krispie treat?
Denser, chewier, and noticeably more complex. The brown butter and dark brown sugar create a real caramel flavor instead of just sweetness, and the flaky salt on top adds contrast that marshmallow-based bars don’t have.
Are salted caramel rice bars gluten-free?
Most puffed rice cereals contain malt flavoring derived from barley, which contains gluten. To make these gluten-free, use a certified gluten-free puffed rice brand and check that your chocolate topping is also certified GF.
What kind of chocolate works best on top of these rice bars?
A 70% dark chocolate bar, chopped and melted, gives the cleanest snap and the best contrast against the sweet caramel, similar to the dark chocolate used in no-bake chocolate clusters. Milk chocolate is fine but makes the overall bar quite sweet – balance it with extra flaky salt.