
Jump to Recipe
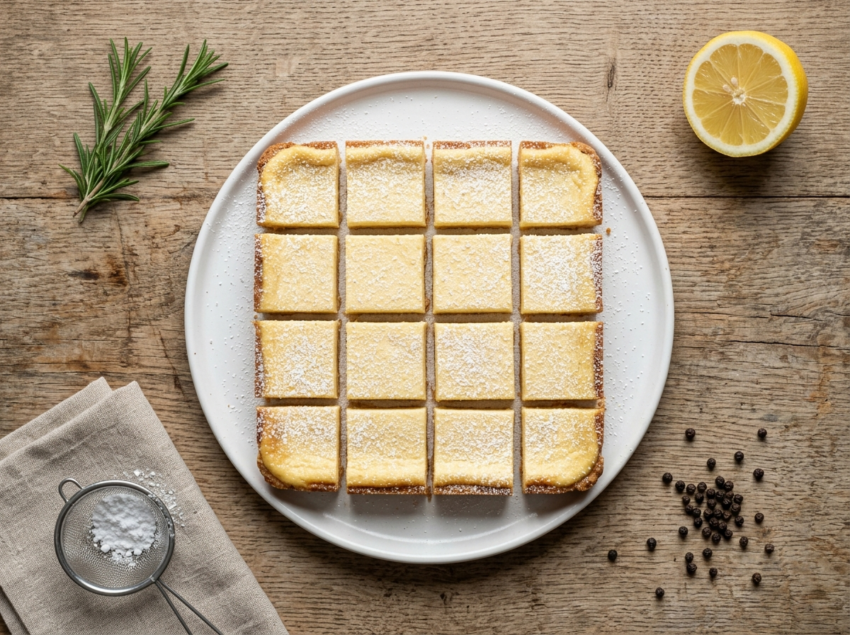
There’s something about a pan of chess squares cooling on the counter that makes a kitchen feel like it belongs to someone who actually bakes.
The base is pressed yellow cake mix, butter, and an egg – no rolling, no resting. On top goes a cream cheese filling sweetened with powdered sugar and vanilla, poured right over and baked until the edges are golden and the center barely wobbles.
They came from Southern church potlucks and school bake sales. Simple ingredients, reliable results, and they cut into clean squares that hold together on a paper plate.
Cool them fully before slicing. That’s the only step most people skip – and it’s the one that matters.
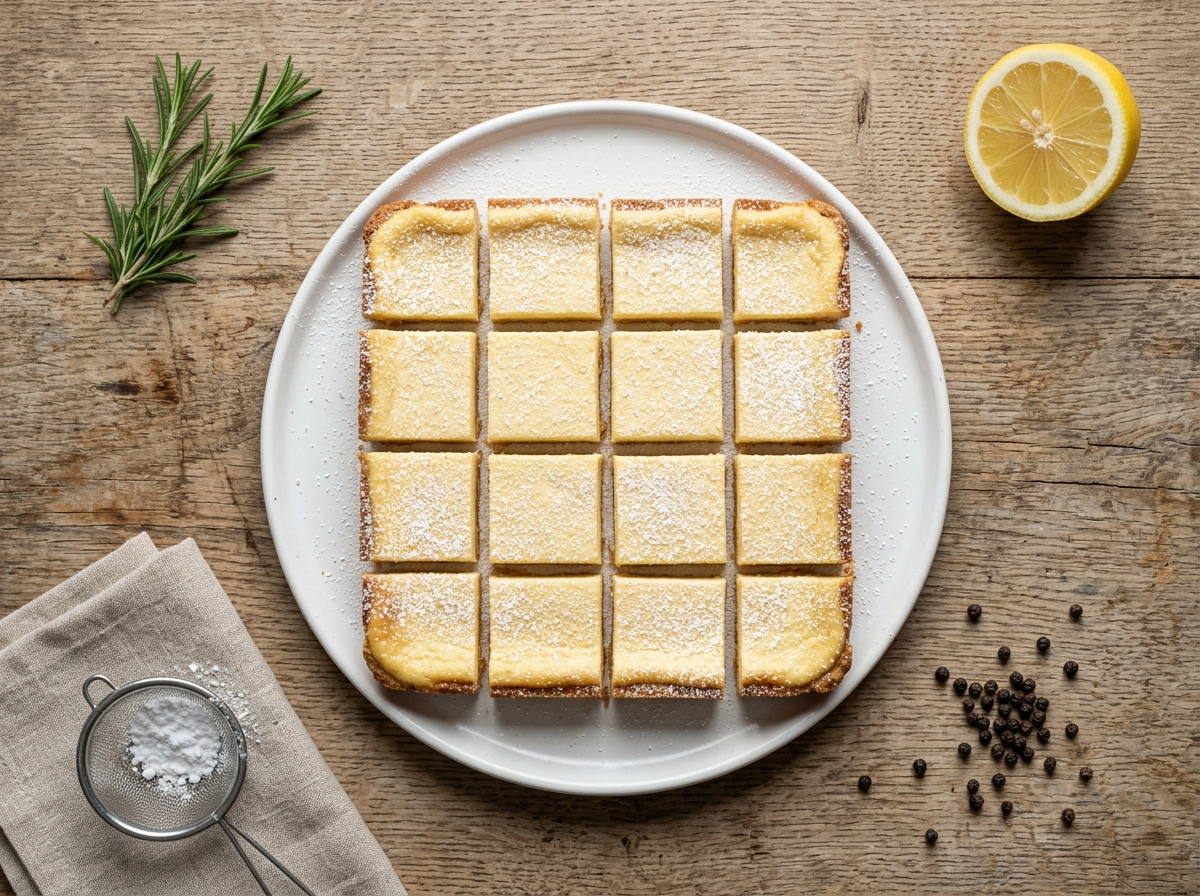
Why You’ll Love This Recipe
- Only six ingredients, all pantry or fridge staples
- Cuts into clean bars that hold shape at room temp
- Cream cheese filling sets firm enough to stack
- Bakes in one pan, no mixer needed for the crust
Ingredient Notes
- Yellow cake mix: Any standard 15-oz box works. Butter cake mix adds extra richness. Avoid ‘super moist’ varieties as they make the crust too soft to press.
- Unsalted butter: Melted butter binds the crust layer. Salted butter works but skip any added salt elsewhere. Margarine is not a reliable substitute here – the crust won’t set as firmly.
- Cream cheese: Use full-fat block cream cheese, softened to room temp. Whipped or low-fat versions make the filling too loose and it won’t set cleanly.
- Powdered sugar: Sifting before mixing prevents lumps in the filling. You can reduce to 2.5 cups if you prefer a less sweet bar, but don’t go below that or the filling won’t have the right texture.
- Eggs: Three eggs total – one for the crust, two for the filling. Room-temperature eggs blend more smoothly into the cream cheese layer.
- Vanilla extract: Pure vanilla makes a noticeable difference in the filling. A teaspoon of almond extract swapped in for half the vanilla is a classic variation worth trying.
Classic Chess Squares Dessert
Ingredients
Method
- Heat the oven to 175 C / 350 F. Grease a 9x13-inch baking pan with butter or nonstick spray, then line with parchment paper, leaving an overhang on two sides for easy lifting.
- Combine the dry yellow cake mix, melted butter, and 1 egg in a large mixing bowl. Stir with a rubber spatula until a thick, crumbly dough forms.
- Transfer the dough to the prepared pan and press it firmly into an even layer across the bottom using the flat bottom of a measuring cup. Press into the corners so there are no thin spots.
- Beat the softened cream cheese with a hand mixer on medium speed for about 2 minutes until completely smooth with no lumps.
- Add both eggs and the vanilla extract and beat on low until just combined, about 30 seconds.
- Add the sifted powdered sugar in two additions, mixing on low after each until the filling is smooth and pourable. Scrape down the bowl sides once.
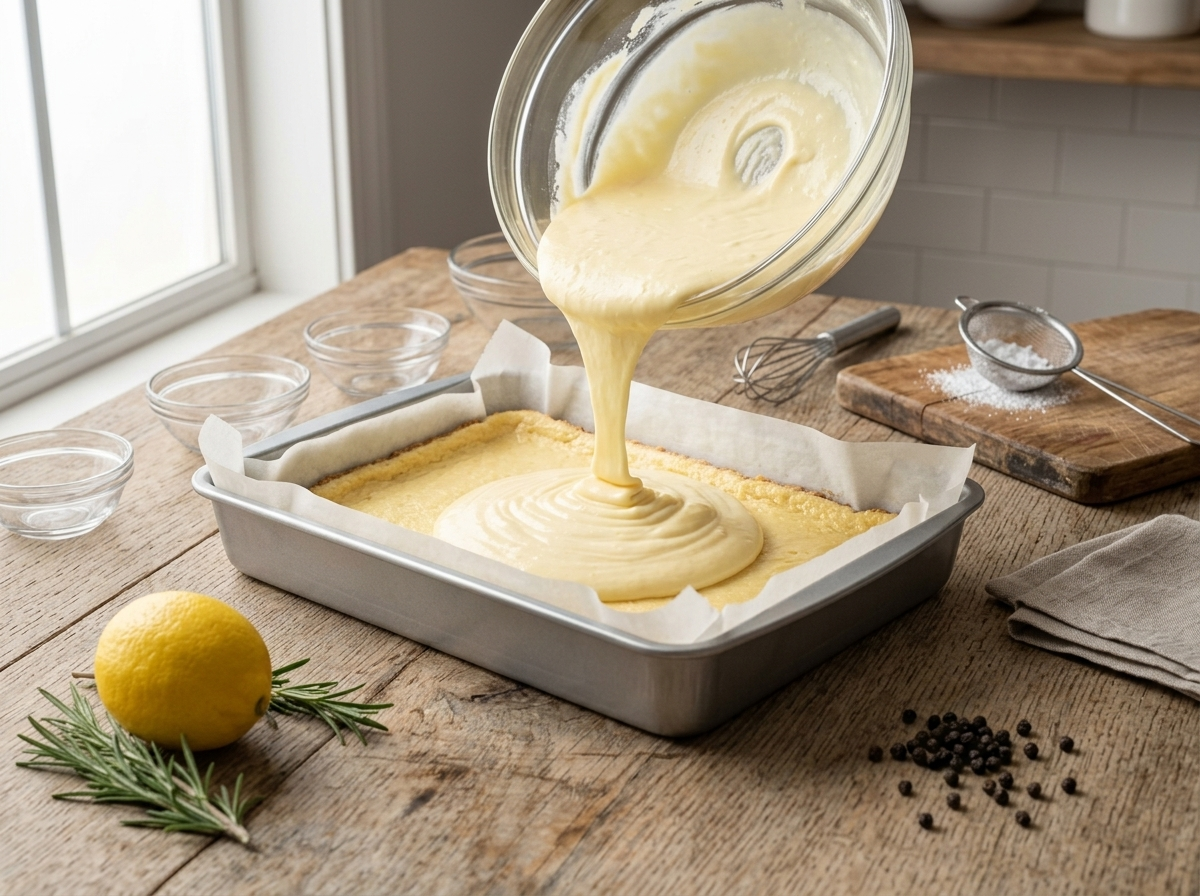
- Pour the cream cheese filling evenly over the pressed crust layer. Tilt the pan gently to spread it into the corners if needed.
- Bake for 38 to 42 minutes, until the edges are golden brown and the center jiggles as one cohesive mass rather than rippling like liquid.
- Remove from the oven and cool in the pan on a wire rack for 30 minutes at room temperature.
- Transfer the pan to the refrigerator and chill for at least 2 hours, or overnight, until the filling is fully set.
- Lift the slab out using the parchment overhang. Place on a cutting board and cut into 24 squares using a sharp knife, wiping the blade clean between cuts for neat edges.
- Dust with powdered sugar just before serving if desired.
Notes
Tips for Success
- Press the crust layer firmly and evenly with the bottom of a measuring cup so it bakes at a consistent thickness.
- Beat the cream cheese until completely smooth before adding eggs – any lumps will stay visible in the finished bars.
- Pull the pan when the center has a slight jiggle; overbaking makes the filling grainy and dry rather than creamy.
- Cool the pan at room temp for 30 minutes, then refrigerate for at least 2 hours before cutting for clean edges.
- Dust the top with powdered sugar just before serving, not before refrigerating, or it will absorb and disappear.
Variations
- Lemon chess squares: add 2 tbsp fresh lemon juice and 1 tsp zest to the cream cheese filling for a bright citrus version.
- Chocolate crust version: swap yellow cake mix for devil’s food cake mix for a chocolate-bottom bar.
- Strawberry chess squares: fold 2 tbsp strawberry jam into the cream cheese layer before pouring over the crust.
Storage and Reheating
Store cut chess squares in an airtight container in the refrigerator for up to 5 days. Layer them between sheets of parchment so they don’t stick together.
They’re good cold straight from the fridge or at room temperature after 20 minutes on the counter. Don’t microwave them – the cream cheese filling can separate and turn watery.
For longer storage, freeze uncut bars wrapped tightly in plastic and then foil for up to 2 months. Thaw overnight in the refrigerator, then slice.
Serving Suggestions
Chess squares don’t need any garnish to be worth eating, but a dusting of powdered sugar right before the platter hits the table looks clean and deliberate. A few fresh berries on the side add color without competing with the filling.
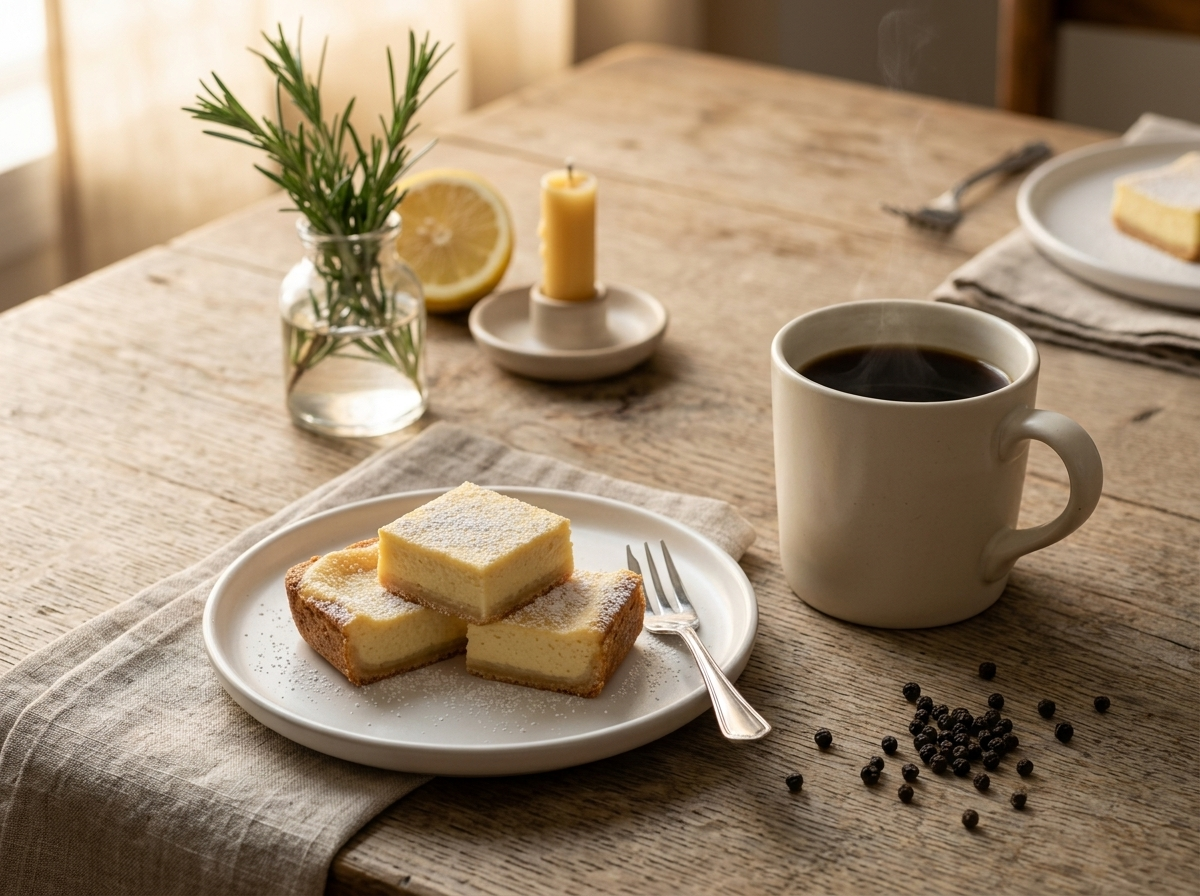
They pair well with black coffee or a strong cup of tea – the slight bitterness cuts through the sweetness, much like it does alongside chewy salty-sweet bar cookies. At a party, cutting them into small 1.5-inch pieces means people can take one without committing to a full bar, and the tray gets cleared faster.
Serve them at room temperature for the creamiest texture, especially if they’ve been chilled. Cold bars are denser and chewier – still good, just a different experience.
FAQ
Why is my chess squares filling wet and not setting in the middle?
The most common cause is underbaking or using low-fat cream cheese. Bake until the edges are golden brown and the center has just a slight jiggle, not a liquid wobble. Full-fat block cream cheese is the only reliable option for a filling that sets firm.
Can I use a chocolate cake mix instead of yellow for the chess squares crust?
Yes, chocolate or devil’s food cake mix works well and gives you a richer, darker base layer with deep flavor similar to a brown butter and caramel base. The cream cheese filling stays the same and the contrast between layers is pronounced and good.
How far ahead can I make chess squares for a party?
You can bake and refrigerate the whole uncut pan up to 3 days ahead, which actually improves the texture as the layers firm up together. Slice them the day of serving so the edges stay clean.
Are chess squares the same as gooey butter cake?
They’re close cousins but not the same thing. Gooey butter cake originates from St. Louis and has a softer, more molten center, while chess squares have a firmer cream cheese filling that holds its shape when cut.
How do I know when chess squares are done baking?
Look for golden-brown edges that have pulled slightly from the pan sides, and a center that jiggles as one solid piece rather than rippling like liquid. A toothpick inserted near the edge should come out with a few moist crumbs, not wet batter.
Can I make chess squares gluten-free?
Use a gluten-free yellow cake mix in the same quantity – brands like Bob’s Red Mill or King Arthur work well here. The filling is naturally gluten-free, so no other changes are needed.
Loved this? Try these next
