
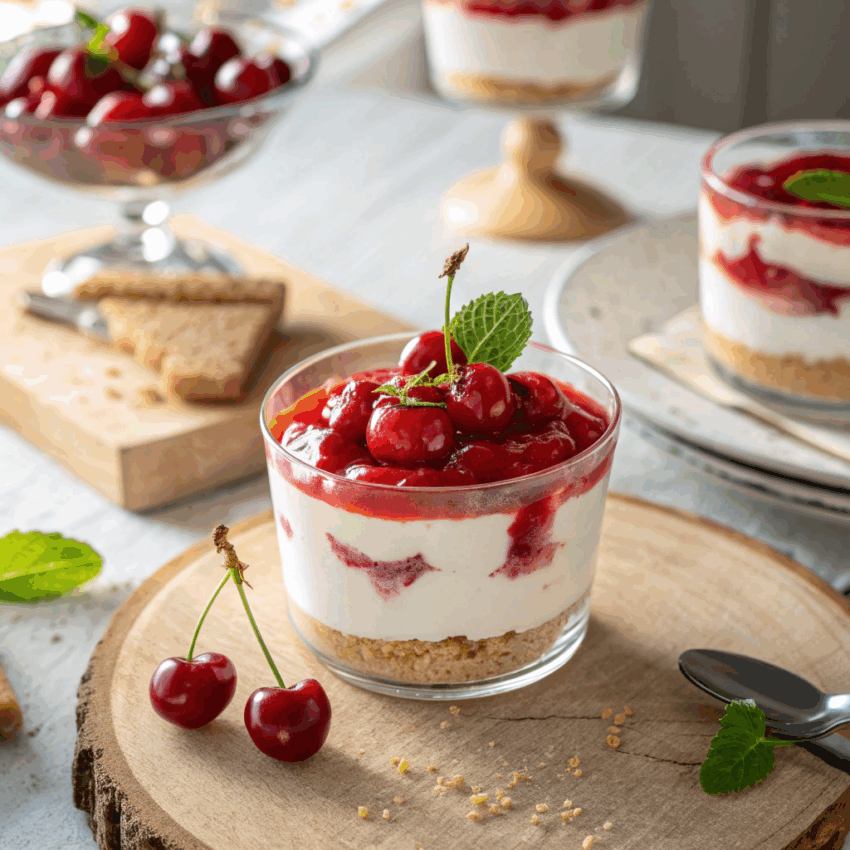
Some desserts just speak to you. For me, that’s the timeless charm of Black Forest Cake — or as the Germans call it, Schwarzwälder Kirschtorte. Layers of chocolate, cherries, and whipped cream so perfectly in sync, it’s no wonder this classic has stood the test of time. But today, I’m giving it a little twist — one that’s simpler, cuter, and perfect for gifting or entertaining: Black Forest Dessert Jars.
These single-serve jars pack everything we love about the traditional cake — rich chocolate cake, luscious cherry filling, creamy pudding, and clouds of whipped cream — but with way less fuss. You don’t need to bake an entire layer cake or worry about cutting neat slices. Just grab some jars, a spoon, and a few sweet ingredients. Let’s make something delicious!
Why You’ll Love These Dessert Jars
If you’re anything like me, you appreciate desserts that look impressive but come together easily. These Black Forest Dessert Jars are:
- Perfectly portioned: No mess, no leftovers, just personal servings of happiness.
- Make-ahead friendly: They taste even better after a few hours in the fridge.
- Versatile: Ideal for dinner parties, potlucks, or cozy nights in.
- A total crowd-pleaser: Chocolate + cherries + whipped cream = unstoppable combo.
Think of them as little edible gifts — comforting, classy, and completely crave-worthy.
Ingredients You’ll Need
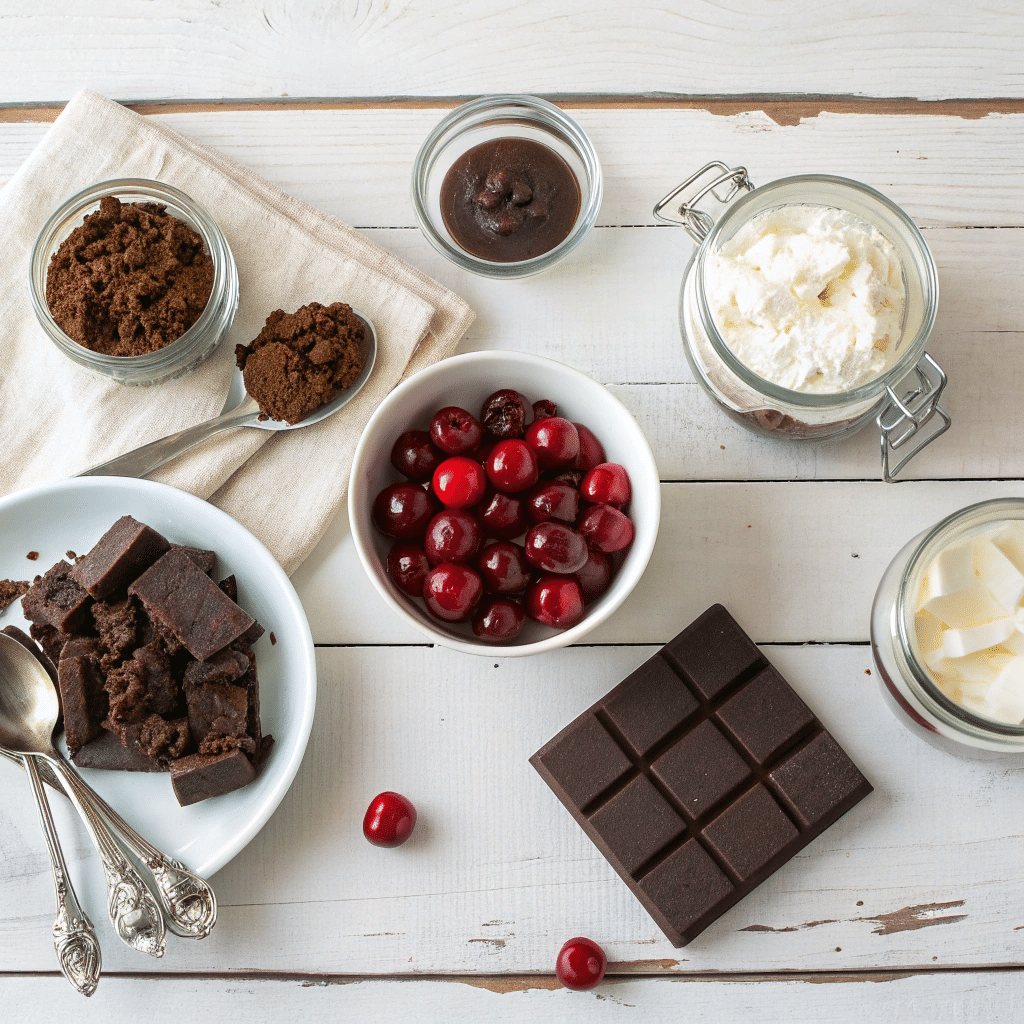
Here’s what you’ll need to whip up these luscious jars:
For the chocolate layer:
- 1 moist chocolate cake (homemade or store-bought — both work perfectly)
- Optional: a splash of cherry liqueur (Kirsch) or cherry juice for soaking
For the cherry layer:
- 1 can of cherry pie filling or homemade cherry compote
- If making your own: simmer cherries with sugar, a squeeze of lemon juice, and cornstarch until thick and glossy
For the creamy layer:
- 2 cups whipped cream (lightly sweetened)
- 1 cup chocolate pudding or custard (adds that silky texture)
To finish:
- Dark chocolate shavings
- Extra cherries for garnish
That’s it — simple pantry staples, transformed into something that looks bakery-worthy.
Step-by-Step Instructions
Step 1: Bake or grab your chocolate cake
If you’re baking from scratch, go for a rich, moist chocolate cake recipe. I like using buttermilk for extra tenderness. But honestly, store-bought cake or even leftover chocolate brownies work beautifully here. Crumble it gently once cooled.
Step 2: Prepare the cherry layer
If you’re using canned filling, you’re already halfway there. If not, here’s how I do it:
Toss 2 cups of pitted cherries into a saucepan with 3 tablespoons sugar and 1 tablespoon cornstarch. Add a splash of water and cook until it thickens into a ruby-red syrup. Cool it down before layering.
Step 3: Whip the cream
Whip your chilled cream until soft peaks form, then fold in a touch of vanilla. If you want extra stability (especially for make-ahead desserts), mix in a spoonful of mascarpone or cream cheese.
Step 4: Layer it up
Now the fun part! Grab your jars and start layering:
- Crumbled chocolate cake at the bottom — a rich, fudgy foundation.
- Cherry filling — that tart-sweet contrast cutting through the chocolate.
- Chocolate pudding — creamy, smooth, and luxurious.
- Whipped cream — light as a cloud.
Repeat once more if your jars allow, ending with whipped cream on top. Sprinkle dark chocolate shavings and perch a single cherry as the final flourish.
Step 5: Chill before serving
Pop the jars into the fridge for at least 1 hour before serving. This helps the flavors meld — the cake soaks up the cherry syrup, the pudding sets, and everything just… harmonizes.
Tips for Perfect Layers
- Use clear jars so those gorgeous layers shine through.
- Don’t overwhip your cream; soft peaks look more luscious and natural.
- Make it boozy: Add a drizzle of cherry liqueur or amaretto for an adult twist.
- Play with textures: Add crushed cookies or brownie chunks for variety.
Variations You’ll Want to Try
Once you master the basic idea, there’s no stopping you:
- Black Forest Trifle Bowl: Make it in a large glass bowl instead of jars. Perfect for parties!
- Individual Black Forest Trifles: Use mini cups for dessert tables.
- Cherry Tart Twist: Swap the cake for crushed tart crust — a little crunch goes a long way.
- Black Forest Brownies (Easy Version): Layer brownies, whipped cream, and cherries for a chewy alternative.
- Healthier Take: Use Greek yogurt and dark chocolate chunks for a lighter version.
Every variation keeps the same irresistible balance of rich chocolate, creamy layers, and that signature cherry pop.
Storing and Serving
You can store these dessert jars in the fridge for up to 3 days — just cover them tightly. The flavors deepen over time, so they’re actually better on Day 2.
Serve them chilled with a small spoon. Watch how fast they disappear.
If you’re prepping for a party, you can even freeze the components separately — cake, cherries, and pudding — then assemble before serving.
My Little Secret
I first made these jars for a friend’s backyard wedding. The couple wanted something elegant but unfussy — “desserts people can grab and wander with,” they said. These jars stole the show. Guests kept asking for the recipe, and I remember thinking: why didn’t I make more?
There’s something about the simplicity of layers in a jar — it feels homey and luxurious all at once. Maybe that’s the charm of a Black Forest dessert: familiar, yet a touch indulgent.
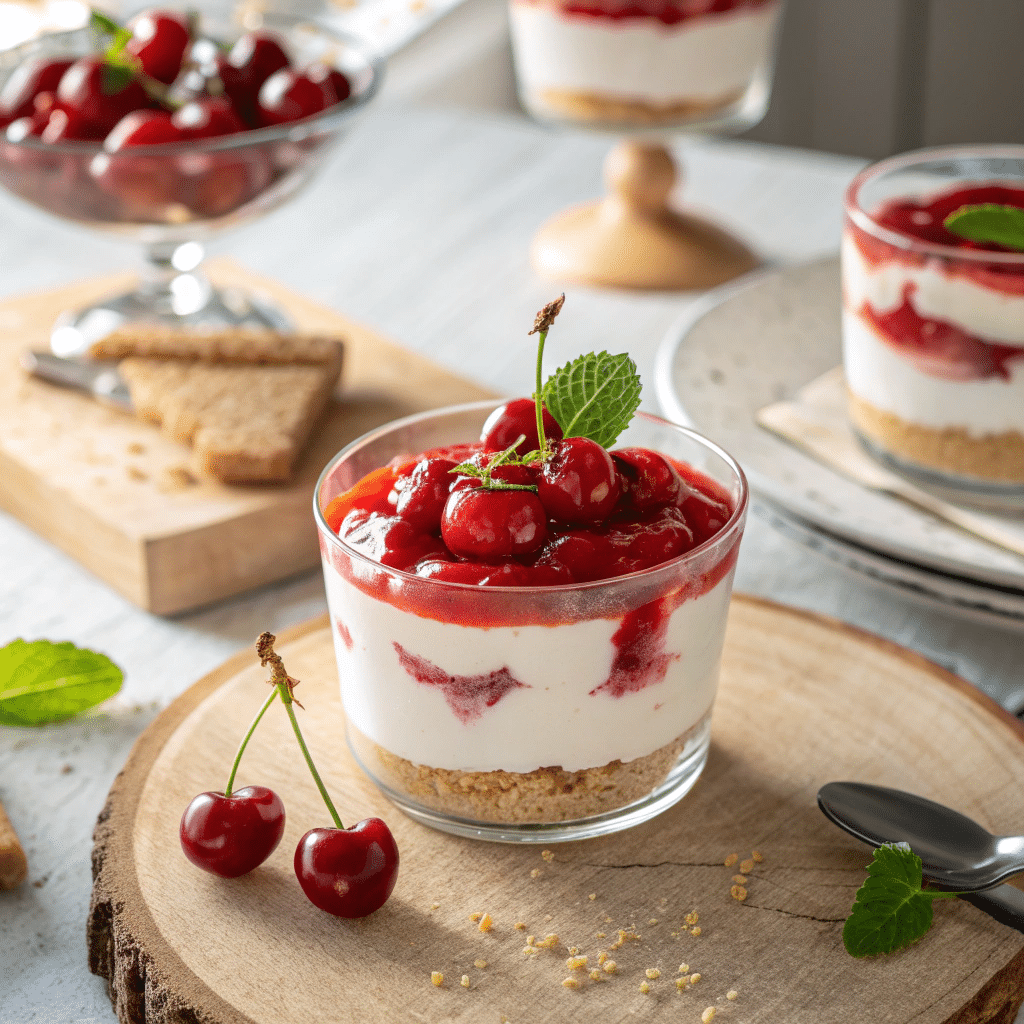
Black Forest Dessert Jars
Ingredients
Method
- If baking from scratch, make a rich, moist chocolate cake and let it cool completely. Crumble it gently into chunks. You can also use leftover cake or brownies.
- If using canned cherry pie filling, set it aside.
- For homemade cherry compote: Add cherries, sugar, lemon juice, and cornstarch to a saucepan. Cook over medium heat until thick and glossy. Cool before layering.
- Beat chilled heavy cream with powdered sugar and vanilla extract until soft peaks form. Keep it cold until needed.
- In clear glass jars:
- Add a layer of crumbled chocolate cake.
- Spoon in a layer of cherry filling.
- Add a spoonful of chocolate pudding.
- Top with whipped cream.
- Repeat layers if your jars are tall.
- Step 5: Add the Final Touch
- Finish with chocolate shavings and a fresh cherry on top.
- Refrigerate for at least 1 hour before serving. This lets the flavors blend and the cake soak up the cherry syrup.
Notes
- You can use any chocolate base: cake, brownies, or even chocolate loaf.
- Chill the jars before serving for the best flavor and texture.
- Add a drizzle of cherry liqueur for a boozy version.
- These jars store well in the fridge for up to 3 days.
Frequently Asked Questions
1. Can I make these without alcohol?
Absolutely! Replace the liqueur with cherry juice or even a splash of almond extract for depth.
2. What’s the best type of chocolate cake to use?
A moist chocolate cake works best — think fudgy, not airy. You can also use leftover cupcakes or even store-bought chocolate loaf.
3. Can I use frozen cherries?
Yes! Just thaw and simmer them down to make your cherry layer. Frozen cherries actually make a great compote.
4. How long do these last in the fridge?
Up to 3 days, but the sooner you serve them, the fresher the whipped cream will taste.
5. Can I make them vegan?
Sure! Use plant-based whipped cream, vegan chocolate cake, and dairy-free pudding. Still delicious.
Final Thoughts
These Black Forest Dessert Jars bring everything you love about the traditional cake — the deep chocolate flavor, the bright cherries, the soft cream — but in a compact, make-ahead form. They’re practical, elegant, and guaranteed to make people smile.
Whether you’re planning a dinner party, a cozy family night, or a sweet surprise for a friend, this dessert fits right in. No fancy tools, no stress — just good ingredients layered with care and a little joy.
So go ahead — grab those jars and start layering. You might just find yourself licking the spoon (and maybe the jar too).
