
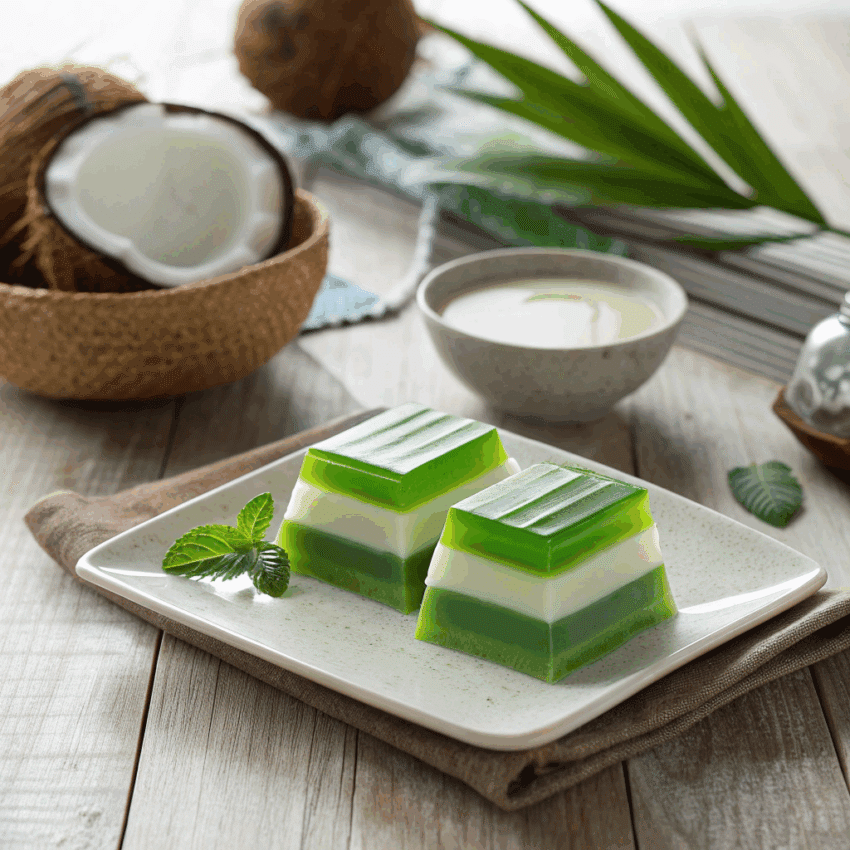
There’s something magical about desserts that peel apart in soft, chewy layers. Thai Khanom Chan—often called Pandan Layered Jelly—is one of those desserts that instantly pulls you in with its aroma, color, and texture.
I still remember the first time I tried it at a tiny Bangkok market stall. It was humid, the air filled with coconut and pandan fragrance. A cheerful vendor handed me a small banana-leaf tray of green and white jelly squares. One bite—and I was hooked.
This isn’t your typical wobbly jelly. It’s tender, fragrant, slightly chewy, and every layer tastes like a bite of tropical sunshine.
So today, I’m sharing how to make this Thai Pandan Khanom Chan Layered Jelly at home. It’s surprisingly simple once you understand the rhythm of layering—and trust me, the result is worth every minute.
What is Khanom Chan?
Khanom Chan translates to “layered dessert” in Thai (khanom means sweet, chan means layer). Traditionally, it’s served during celebrations, symbolizing success and good fortune—each layer representing growth and progress.
It’s made from tapioca flour, rice flour, coconut milk, and pandan juice. The combination creates a soft, chewy texture and a delicate aroma that feels both comforting and exotic.
You’ll also see similar desserts across Southeast Asia—like Vietnamese pandan coconut jelly and Laotian layered sweets—but the Thai version stands out for its smooth texture and glossy finish.
Ingredients You’ll Need
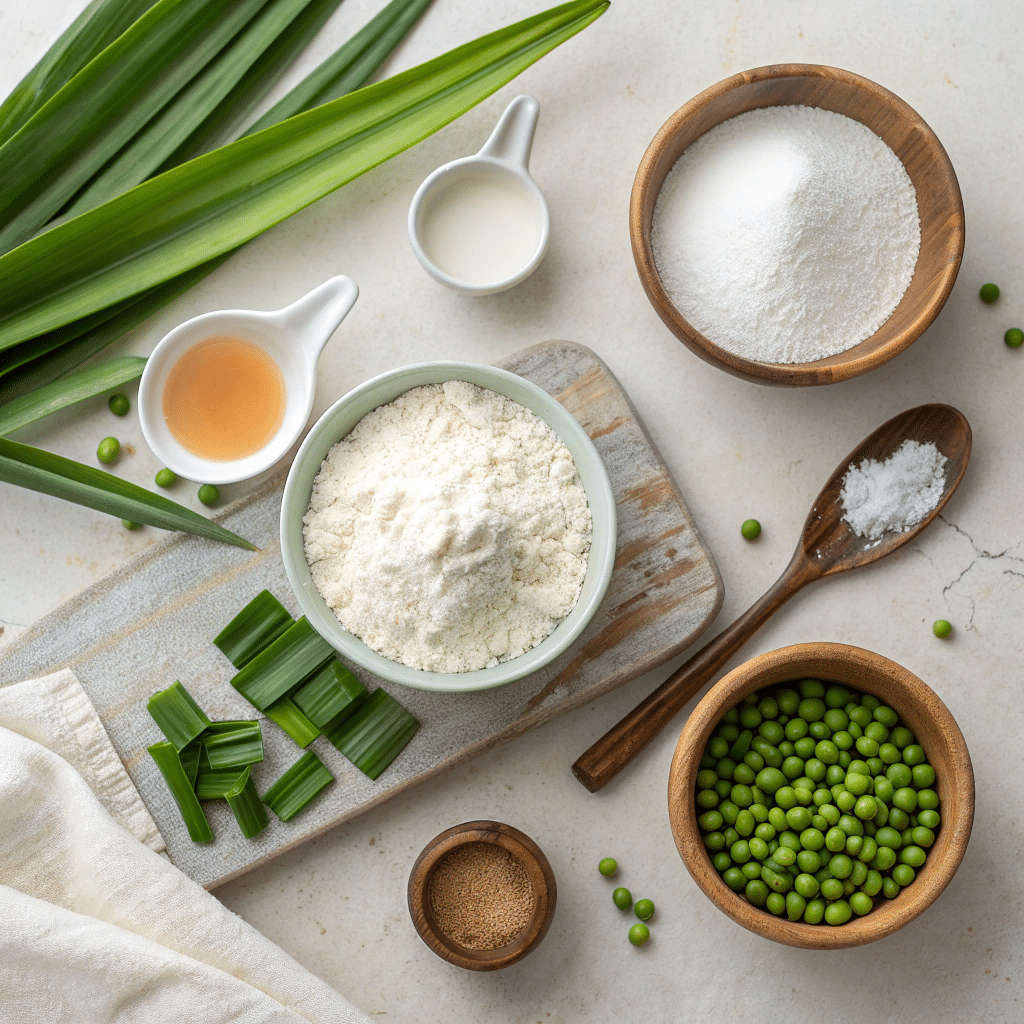
For this recipe, you’ll need just a few simple ingredients—most can be found in Asian grocery stores.
Dry Ingredients:
- ¾ cup tapioca flour
- ¼ cup rice flour
- 2 tablespoons mung bean flour (optional but gives a silky texture)
- 1 cup sugar
Wet Ingredients:
- 1 ½ cups coconut milk (unsweetened)
- 1 cup pandan juice (blend pandan leaves with water and strain)
- ¼ teaspoon salt
Color Layers:
- Green layer: pandan mixture
- White layer: plain coconut mixture
That’s it. No fancy gadgets, no obscure ingredients. Just a simple combination that turns into a layered showstopper.
How to Make Thai Pandan Khanom Chan Layered Jelly
Step 1: Prepare the Steamer
Get your steamer ready first. You’ll be adding layers one by one, so having everything prepped helps.
Line a round or square pan (8-inch works great) with a little oil to prevent sticking. Place it in the steamer over simmering water. Keep the lid handy!
Step 2: Mix the Base Batter
In a bowl, whisk together tapioca flour, rice flour, and mung bean flour. Add sugar and salt.
Pour in coconut milk gradually while stirring to avoid lumps. You’ll get a smooth, slightly thick batter.
Step 3: Divide and Color
Split the batter evenly into two bowls:
- One bowl stays white (coconut layer)
- To the second bowl, add pandan juice for the green layer
The pandan not only adds its signature scent but also a beautiful natural color. No artificial coloring needed—nature does the job!
Step 4: Create the First Layer
Pour about ½ cup of the white batter into the pan. Steam for 5–6 minutes until set but not hard.
You’ll know it’s ready when the surface looks firm and glossy.
Step 5: Keep Layering
Now pour ½ cup of the green batter on top. Steam for another 5–6 minutes.
Repeat this alternating process until all the batter is used up, finishing with a green layer.
Each layer should be fully set before adding the next one—that’s the key to clean separation and perfect chewiness.
Step 6: Cool and Cut
Once done, let the jelly cool completely (about 1 hour).
Use a sharp knife lightly coated with oil to cut into diamonds or squares. Peel apart the layers if you like—the fun part!
Tips for Perfect Pandan Jelly
- Don’t rush the steaming. If layers are too soft when you add the next one, they’ll blend.
- Keep the water boiling gently. Too much steam causes bubbles.
- Use fresh pandan leaves if possible—bottled extracts can be too strong or artificial.
- Taste as you go. Some prefer a lighter sweetness, so adjust sugar slightly if needed.
Flavor Variations
Once you’ve mastered the base, play around:
- Taro or Purple Sweet Potato Layer: Replace pandan with mashed taro or sweet potato for pastel purple tones.
- Coffee and Coconut: For a modern twist, alternate coffee and coconut layers.
- Vietnamese-Style Jello: Add agar-agar for a firmer, sliceable texture.
This dessert’s charm is in its flexibility—it’s a canvas for your creativity.
Serving Suggestions
Serve Khanom Chan at room temperature. It’s lovely with Thai iced tea, green tea, or even a scoop of coconut ice cream.
If you’re hosting a party, cut it into bite-sized diamonds and arrange them on banana leaves or a white platter. It looks elegant and vibrant—guaranteed to get attention.
Leftovers? Store in an airtight container in the fridge for up to 3 days. Just let it come to room temperature before serving again; refrigeration makes it firmer.
Why You’ll Love This Dessert
- It’s gluten-free, dairy-free, and beautifully aromatic.
- Every bite is soft, chewy, and layered with tropical flavor.
- It looks like a piece of edible art, but it’s actually easy to make.
And honestly? Peeling apart each layer is oddly satisfying—like edible origami!
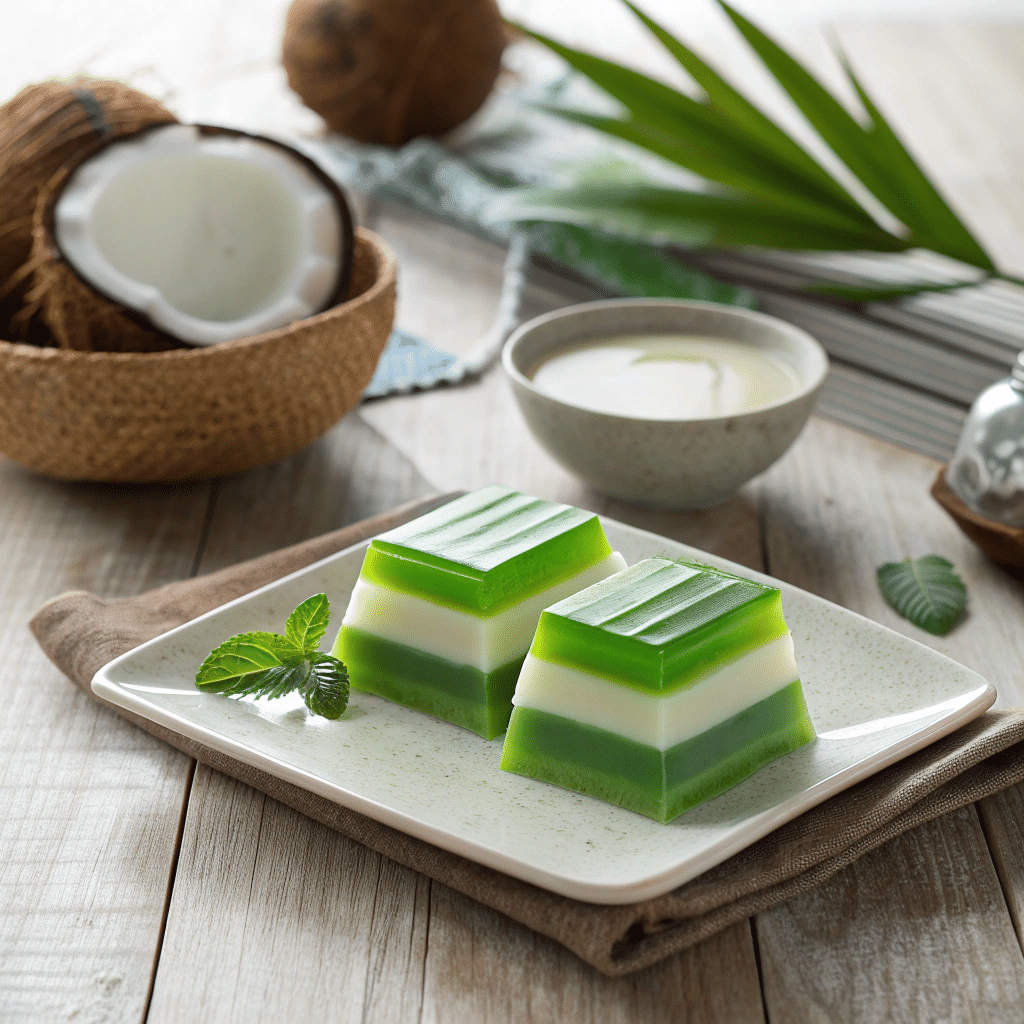
Thai Pandan Khanom Chan Layered Jelly
Ingredients
Method
- Prepare the Steamer: Fill a steamer with water and bring to a gentle simmer. Lightly grease an 8-inch round or square pan.
- Mix Dry Ingredients: In a bowl, combine tapioca flour, rice flour, mung bean flour, sugar, and salt.
- Add Coconut Milk: Gradually pour in the coconut milk, stirring constantly to avoid lumps. The batter should be smooth and slightly thick.
- Divide and Color: Split the batter into two bowls. Keep one plain for the white layer. Add pandan juice to the second bowl for the green layer.
- First Layer: Pour ½ cup of the white batter into the pan. Steam for 5–6 minutes until firm and glossy.
- Layer Alternately: Pour ½ cup of green batter on top and steam for 5–6 minutes. Repeat alternating layers until all batter is used, finishing with a green layer.
- Cool: Let the jelly cool completely for about 1 hour.
- Cut and Serve: Use a lightly oiled sharp knife to cut into squares or diamonds. Serve at room temperature.
Notes
- Steam each layer fully before adding the next to keep layers distinct.
- Fresh pandan leaves give the best flavor, but pandan extract can be used in small amounts.
- Store leftovers in the fridge for up to 3 days, let them come to room temperature before serving.
- Optional: use natural color variations like taro or sweet potato for fun layers.
FAQs about Thai Pandan Khanom Chan Layered Jelly
1. What does Khanom Chan taste like?
It’s mildly sweet, creamy from the coconut milk, and has a subtle floral aroma from pandan. The texture is smooth and bouncy, somewhere between jelly and mochi.
2. Can I use pandan extract instead of fresh leaves?
Yes, but use only a few drops—it’s concentrated. If possible, fresh pandan gives a cleaner, natural flavor.
3. Why are my layers blending together?
You may have poured the next layer before the previous one fully set. Steam each layer completely before adding the next.
4. What’s the difference between Thai Khanom Chan and Vietnamese Pandan Jelly?
Thai Khanom Chan uses tapioca flour for a chewy, glossy texture, while Vietnamese versions often include agar-agar, making them firmer.
5. Can I use different colors?
Absolutely. Many people make rainbow versions for celebrations. Just keep the same layering method.
6. How long does it last?
Up to 3 days in the fridge. Store it covered to prevent drying.
7. Is it vegan?
Yes! It contains no dairy, eggs, or gelatin.
Final Thoughts
Making Thai Pandan Khanom Chan Layered Jelly feels almost meditative. There’s a rhythm in pouring, steaming, and layering. It’s one of those desserts that teaches patience—and rewards it with a gorgeous, fragrant treat.
If you love desserts that are both pretty and satisfying, this Thai layer cake is your next kitchen adventure. Grab some pandan leaves, warm up your steamer, and let your kitchen fill with the sweet scent of coconut and nostalgia.
Because sometimes, life’s sweetest moments come one layer at a time.
