
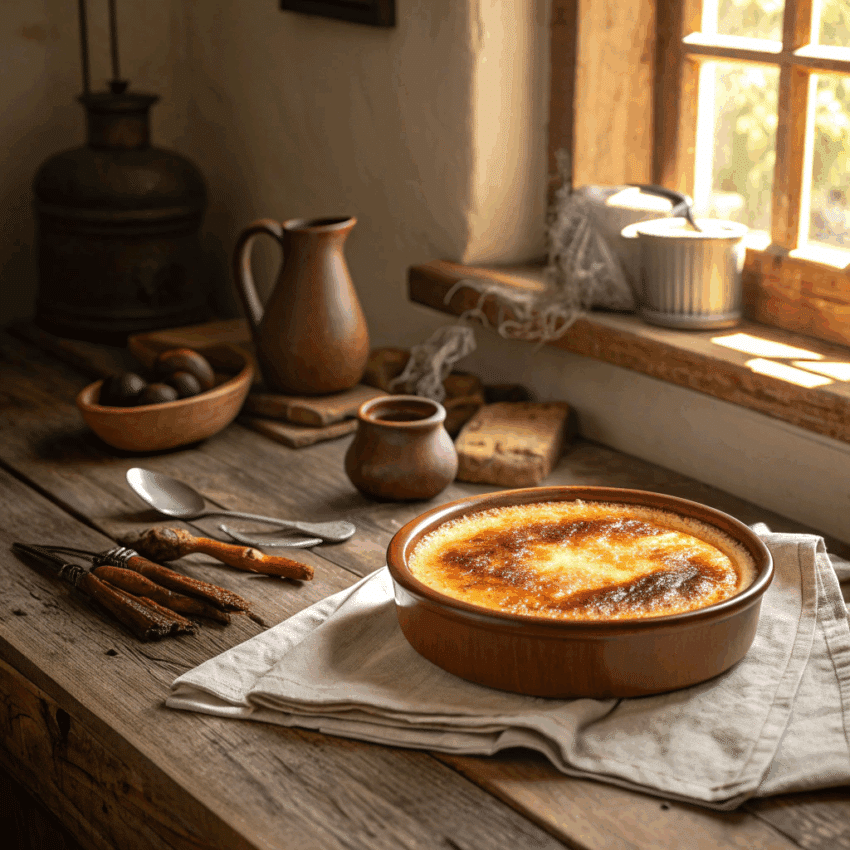
If you’ve ever tasted a Portuguese custard tart, you know that silky, caramelized custard that melts in your mouth. Now imagine that same flavor in a rustic, clay-baked dish—a dessert that’s both comforting and show-stopping. Today, I’m taking you through how to make Portuguese tigelada custard baked in clay, a recipe that’s simple, indulgent, and perfect for sharing.
This is the kind of dessert that feels like a hug from the inside. The clay gives it a subtle earthiness and the custard is sweet but never overpowering. Plus, it’s easier to make than you might think.
What is Portuguese Tigelada?
Tigelada is a traditional Portuguese dessert, a cousin of the more widely known Portuguese custard tarts or pastel de nata. Unlike the single-serve tarts, tigelada is baked in a single clay dish, often passed down through generations. The name comes from the Portuguese word tigela, meaning bowl, which is a nod to the way it’s prepared and served.
Its charm lies in its simplicity: eggs, sugar, milk, and a pinch of lemon or cinnamon. But don’t be fooled—this is no ordinary custard. Baked slowly in clay, it develops a golden, slightly caramelized top that’s impossible to resist.
Ingredients You’ll Need
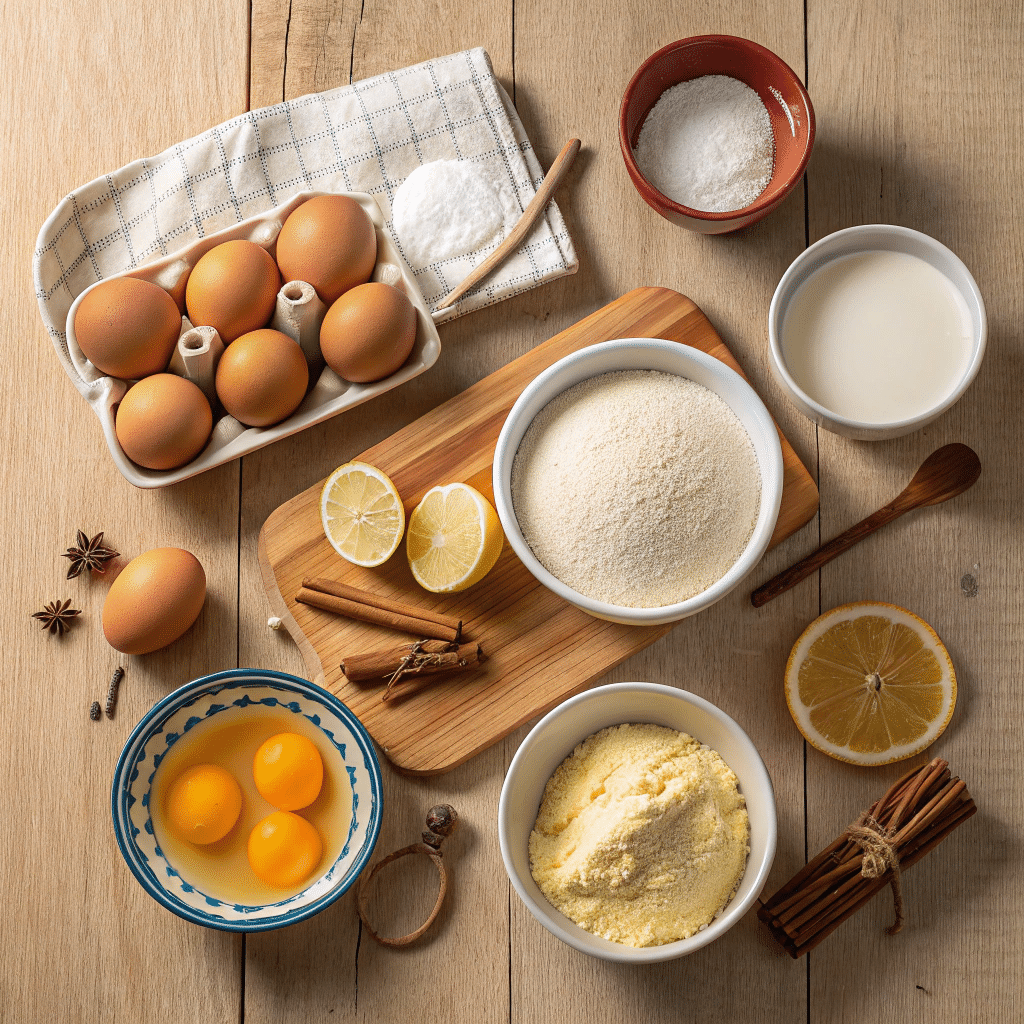
For this recipe, gather:
- 6 large eggs
- 1 cup sugar
- 2 cups whole milk
- 1 tbsp all-purpose flour
- 1 tsp vanilla extract
- Zest of 1 lemon
- 1 pinch of salt
- Butter for greasing the clay dish
Optional for serving: a sprinkle of cinnamon or powdered sugar.
Why Bake in Clay?
Baking in clay is a game-changer. Clay dishes retain heat evenly, creating a custard that’s creamy inside but slightly crisp on top. Unlike metal pans, clay absorbs moisture, giving the custard a tender, custardy texture without overcooking. Plus, it adds that rustic charm that looks incredible on a table spread of Portuguese desserts.
Step-by-Step Recipe
Step 1: Preheat and Prepare
Preheat your oven to 180°C (350°F). While it’s warming up, grease your clay dish with butter. Make sure every corner is covered to prevent sticking.
Step 2: Mix the Custard
In a bowl, whisk together eggs and sugar until smooth. Gradually add milk, flour, vanilla extract, lemon zest, and a pinch of salt. Keep whisking until everything is blended—no lumps allowed!
Step 3: Pour and Set
Pour the custard mixture into your greased clay dish. Give it a gentle tap on the counter to release any air bubbles.
Step 4: Bake Slowly
Place the clay dish in the oven and bake for about 35–45 minutes. The top should be golden brown and slightly firm when you jiggle the dish.
Step 5: Cool Before Serving
Remove from the oven and let it cool for at least 20 minutes. The custard will firm up as it cools. Slice into wedges or scoop into bowls and serve.
Tips for the Best Portuguese Tigelada Custard
- Room temperature ingredients: Eggs and milk at room temperature mix better and prevent cracking.
- Clay dish matters: A traditional Portuguese clay dish is ideal, but any oven-safe ceramic will work.
- Don’t rush baking: Low and slow is key to that silky texture.
- Optional flavors: Add a pinch of cinnamon, nutmeg, or a splash of orange zest for a twist.
How This Differs from Portuguese Custard Tarts
You may wonder how tigelada compares to the classic Portuguese custard tart recipe. Unlike the individual tarts (pastéis de nata), tigelada is baked in a single dish. There’s no flaky pastry, but the creamy custard and caramelized top make up for it. It’s also much easier to make for a crowd since you don’t need to fuss with rolling dough or filling tiny tart shells.
If you love Portuguese desserts, this is a simple way to enjoy authentic flavors without the fuss.
Serving Ideas
Tigelada is best enjoyed warm. You can serve it as:
- A centerpiece dessert for a dinner party.
- Individual servings with a spoonful of fresh cream.
- Alongside coffee for a traditional Portuguese vibe.
A sprinkle of cinnamon or powdered sugar adds charm, but it’s perfect on its own too.
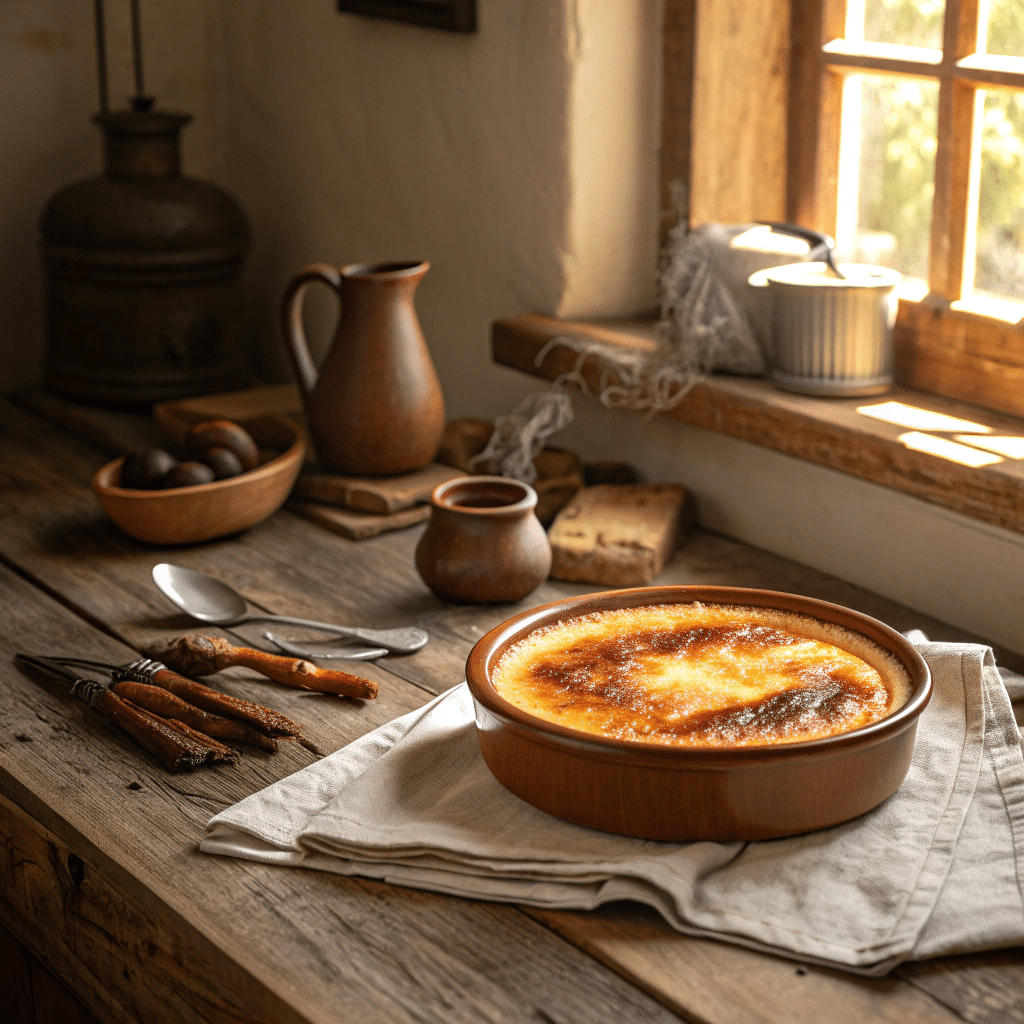
Portuguese Tigelada Custard Baked in Clay
Ingredients
Method
- Preheat Oven: Preheat your oven to 180°C (350°F). Grease a clay baking dish thoroughly with butter.
- Mix Eggs and Sugar: In a bowl, whisk eggs and sugar together until smooth.
- Add Milk and Flavorings: Gradually whisk in milk, flour, vanilla extract, lemon zest, and a pinch of salt. Ensure mixture is lump-free.
- Pour Custard into Clay Dish: Pour the mixture into the greased clay dish. Tap gently on the counter to remove air bubbles.
- Bake Slowly: Place the dish in the oven and bake for 35–45 minutes. The custard should be golden on top and slightly firm when jiggled.
- Cool: Let it cool for at least 20 minutes before serving. The custard will firm up slightly as it cools.
- Serve: Slice into wedges or scoop into bowls. Optionally, sprinkle with cinnamon or powdered sugar.
Notes
- Use room temperature eggs and milk to help the custard set evenly.
- A clay dish is preferred, but any oven-safe ceramic will work.
- Low and slow baking gives the best creamy texture.
- Can be made a day ahead and gently reheated before serving.
FAQ About Portuguese Tigelada Custard
Q1: Can I use a metal pan instead of clay?
Yes, but the texture may be slightly different. Metal tends to cook faster, so keep an eye on it.
Q2: How long does tigelada last?
Stored in the fridge, it keeps for 3–4 days. Always cover to prevent drying.
Q3: Can I make this recipe ahead?
Absolutely. Bake it a day ahead and warm gently before serving.
Q4: Is it similar to pastel de nata?
Yes, flavor-wise. The main difference is that pastel de nata has a flaky crust and individual portions, while tigelada is a rustic clay-baked custard.
Q5: Can I add flavors like chocolate or coffee?
Yes, small amounts of espresso, cocoa, or citrus zest can be whisked into the custard for a twist.
