
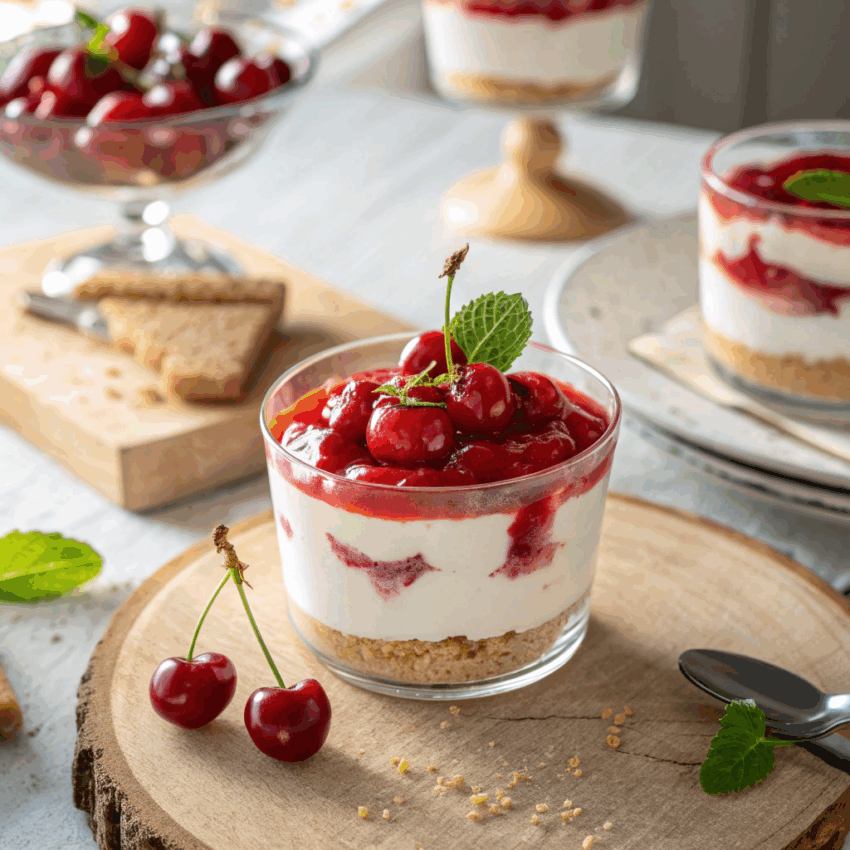
If you’re anything like me, you know there’s something downright magical about the blend of cheesecake and cherries. It’s creamy, fruity, and comforting all at once. But what if you could get that same irresistible flavor—without turning on the oven? Enter my Cherry Cheesecake Mousse, a no-bake dessert that’s light, luscious, and downright addictive.
This recipe takes everything you love about a cherry cheesecake and turns it into a mousse that’s as easy to whip up as it is to devour. Think of it as the love child of a cherry mousse and a classic cheesecake—smooth, tangy, and layered with sweet cherry goodness.
Why You’ll Love This Cherry Cheesecake Mousse
This isn’t your average dessert. It’s a creamy escape from the ordinary. You’ll love it because:
- There’s no baking involved—just mix, chill, and enjoy.
- It’s a guaranteed crowd-pleaser for potlucks, parties, or solo dessert sessions.
- You can make it ahead of time and store it for later (if it lasts that long).
- It’s versatile—serve it in fancy glasses for a dinner party or in mason jars for a cozy night in.
If you adore cherry desserts, this one will be your new favorite indulgence.
Ingredients You’ll Need
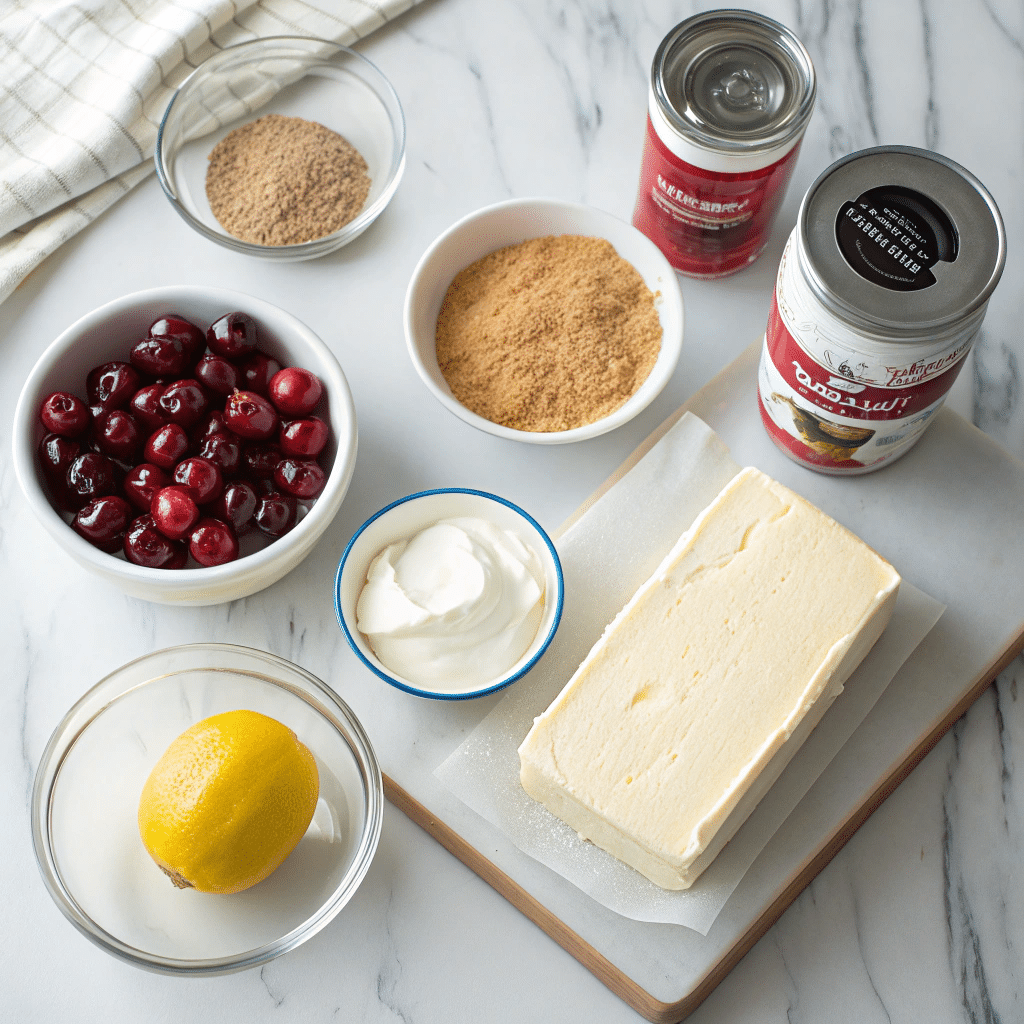
Here’s what you’ll need to make this cherry cheesecake mousse magic happen:
For the Crust (optional, but worth it):
- 1 cup graham cracker crumbs
- 2 tablespoons melted butter
- 1 tablespoon sugar
For the Cheesecake Mousse:
- 8 oz cream cheese, softened
- 1 cup heavy whipping cream
- 1/2 cup powdered sugar
- 1 teaspoon vanilla extract
- 1 tablespoon lemon juice (adds that perfect tang)
For the Cherry Topping:
- 1 1/2 cups cherry pie filling (or homemade cherry topping)
Optional: Fresh cherries, grated white chocolate, or cookie crumbs for garnish.
Step-by-Step Directions
Step 1: Prep the Base
If you’re using the graham crust, mix the crumbs, melted butter, and sugar until combined. Spoon a bit into the bottom of your serving glasses or jars. Lightly press down with the back of a spoon. Set aside.
Step 2: Whip the Cream
In a chilled bowl, whip the heavy cream until soft peaks form. Don’t overbeat—you want it light and fluffy. Set aside.
Step 3: Make the Cheesecake Base
In another bowl, beat the cream cheese until smooth and creamy. Add powdered sugar, vanilla, and lemon juice. Beat until everything’s blended and silky.
Step 4: Fold It Together
Gently fold the whipped cream into the cream cheese mixture. Don’t stir—fold! You want to keep all that airy texture. That’s your mousse base, and it’s divine.
Step 5: Layer and Chill
Spoon the mousse into your glasses over the crust. Add a generous spoonful of cherry topping or cherry pie filling on top. Pop them in the fridge for at least 2 hours (or overnight if you can wait that long).
Serving Tips and Variations
- For a lighter version: Use Greek yogurt in place of some cream cheese.
- For a twist: Try using chocolate cookie crumbs instead of graham crackers for a black forest vibe.
- For a festive touch: Top with whipped cream and a drizzle of cherry syrup.
You can also layer this mousse in a trifle dish for a show-stopping dessert centerpiece. Every spoonful will give you that creamy cheesecake taste with a burst of cherry bliss.
A Little Kitchen Story
When I first tested this cherry mousse recipe, it was purely accidental. I’d planned to bake a full cheesecake but ran out of eggs (classic me). So, I improvised—no baking, just blending. The result? A cloud-like mousse that instantly became a family favorite. Sometimes, the best recipes happen by happy accidents.
Storage and Make-Ahead Tips
This mousse keeps beautifully. Cover and refrigerate for up to 3 days. The cherry topping holds well and even seeps into the mousse a little, giving it a richer flavor over time. If you’re prepping ahead for guests, assemble everything except the topping and add it right before serving for a fresh look.
Why This Recipe Works
This no-bake cherry cheesecake recipe relies on the balance between the tangy cream cheese and the sweet cherry topping. The whipped cream gives it that cloud-like fluff that keeps every bite light yet satisfying.
It’s not just another fluff recipe—it’s dessert therapy in a glass. Every spoonful hits you with creamy, fruity comfort.
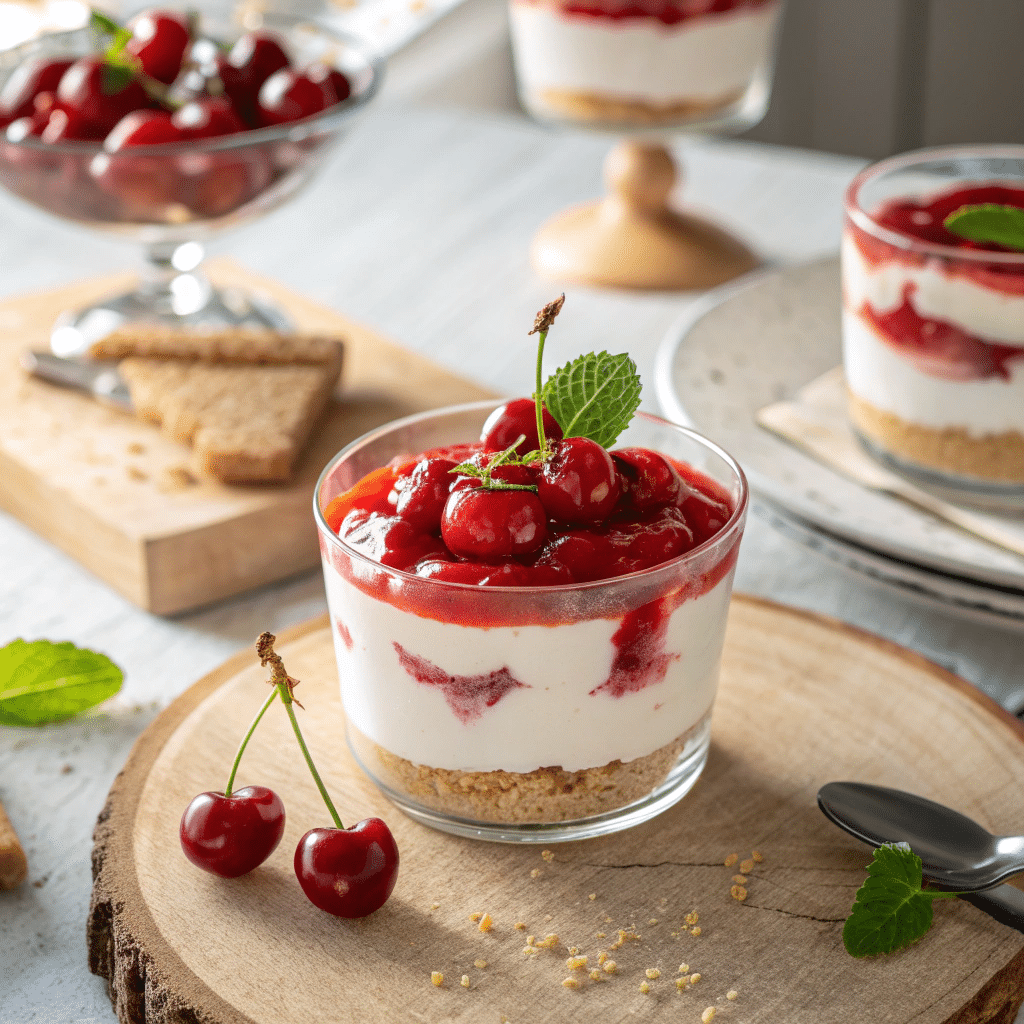
Cherry Cheesecake Mousse
Ingredients
Method
- Mix graham cracker crumbs, melted butter, and sugar in a bowl. Stir until the texture feels like damp sand. Spoon about 2 tablespoons into the bottom of each serving glass and gently press down. Set aside.
- In a cold mixing bowl, whip the heavy cream until soft peaks form. Be careful not to overmix or it’ll turn grainy. Set aside.
- In another bowl, beat the softened cream cheese with powdered sugar, vanilla extract, and lemon juice until smooth and creamy.
- Fold the whipped cream into the cream cheese mixture using a spatula. Don’t stir too much—you want to keep the mousse fluffy.
- Spoon the mousse mixture over the prepared crust in your glasses. Top with a generous spoonful of cherry pie filling.
- Refrigerate for at least 2 hours or until firm. Garnish with whipped cream, fresh cherries, or shaved chocolate before serving.
Notes
- Chill your mixing bowl and whisk before whipping the cream — it helps it whip faster.
- You can use light cream cheese or Greek yogurt to make it a little lighter.
- This mousse keeps well in the fridge for up to 3 days.
- To make it extra fancy, serve in small glass jars or martini glasses.
Cherry Cheesecake Mousse FAQs
Q1: Can I use fresh cherries instead of pie filling?
Absolutely! Just cook them down with a little sugar and lemon juice until syrupy, and you’ve got yourself a homemade cherry topping.
Q2: Can I make this mousse without the crust?
Of course. The mousse stands on its own beautifully. The crust just adds a little crunch.
Q3: How long should I chill it before serving?
At least 2 hours, but overnight is even better. It sets up nicely and tastes incredible cold.
Q4: Can I freeze cherry cheesecake mousse?
Yes! Freeze in airtight containers. Thaw in the fridge for a creamy, semi-frozen texture—almost like cherry cheesecake ice cream.
Q5: How can I make this look fancy for guests?
Layer it in tall glasses, top with whipped cream, and garnish with a cherry. Simple, elegant, and impressive.
Final Thoughts
This Cherry Cheesecake Mousse is proof that you don’t need an oven—or hours in the kitchen—to create something special. It’s rich yet airy, simple yet indulgent. Whether it’s for a weekend treat, a dinner party, or just because life’s better with dessert, this mousse is one you’ll come back to again and again.
So grab your whisk, scoop up that cherry topping, and let’s make something sweet together.
