
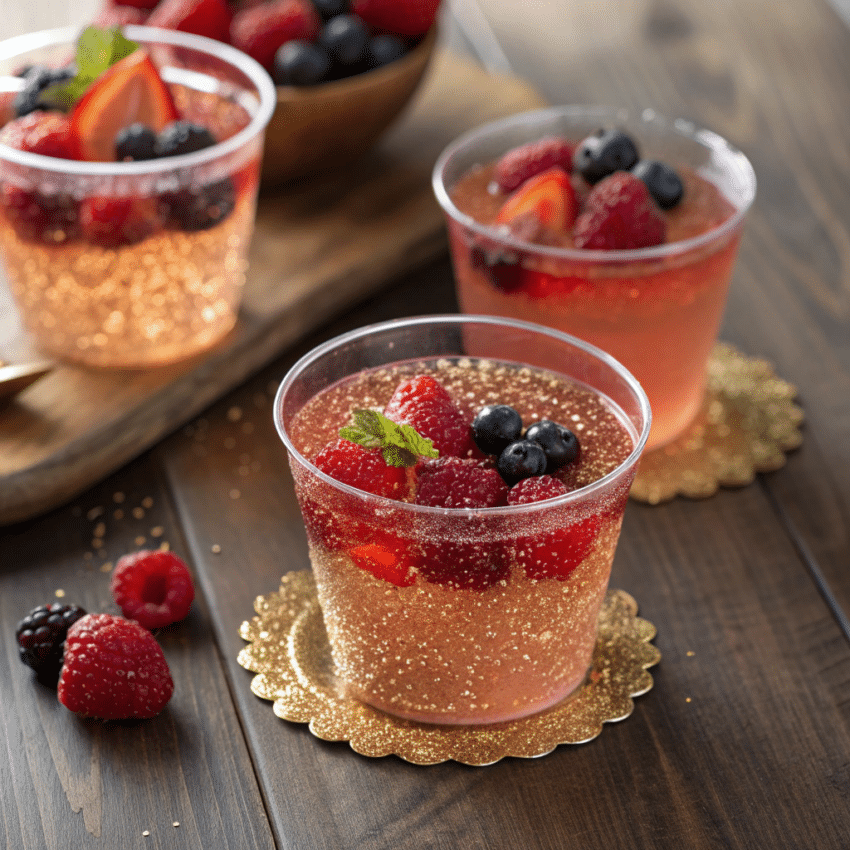
If you’ve ever wanted a dessert that’s festive, fun, and a little bit fancy, these sparkling wine jelly cups are your new best friend. Imagine sipping a bit of bubbly… in jelly form! These glittery jello shots are perfect for parties, brunches, or a sweet indulgence after a long week. They’re light, playful, and just the right mix of sparkle and sweetness.
Why You’ll Love These Jelly Cups
I love desserts that make people smile, and these sparkling wine jelly cups do exactly that. They’re visually stunning, easy to serve, and come with endless flavor possibilities. From champagne jelly to sangria jelly twists, these little cups of joy fit every occasion. They’re a creative spin on traditional jelly desserts, blending the fizzy fun of wine with the nostalgia of a wobbly treat.
Plus, they’re perfect for impressing guests without spending hours in the kitchen. If you’ve ever thought jello shots were only for college parties, think again. These sparkle jello shots are classy enough for brunches and celebratory events alike.
Ingredients You’ll Need
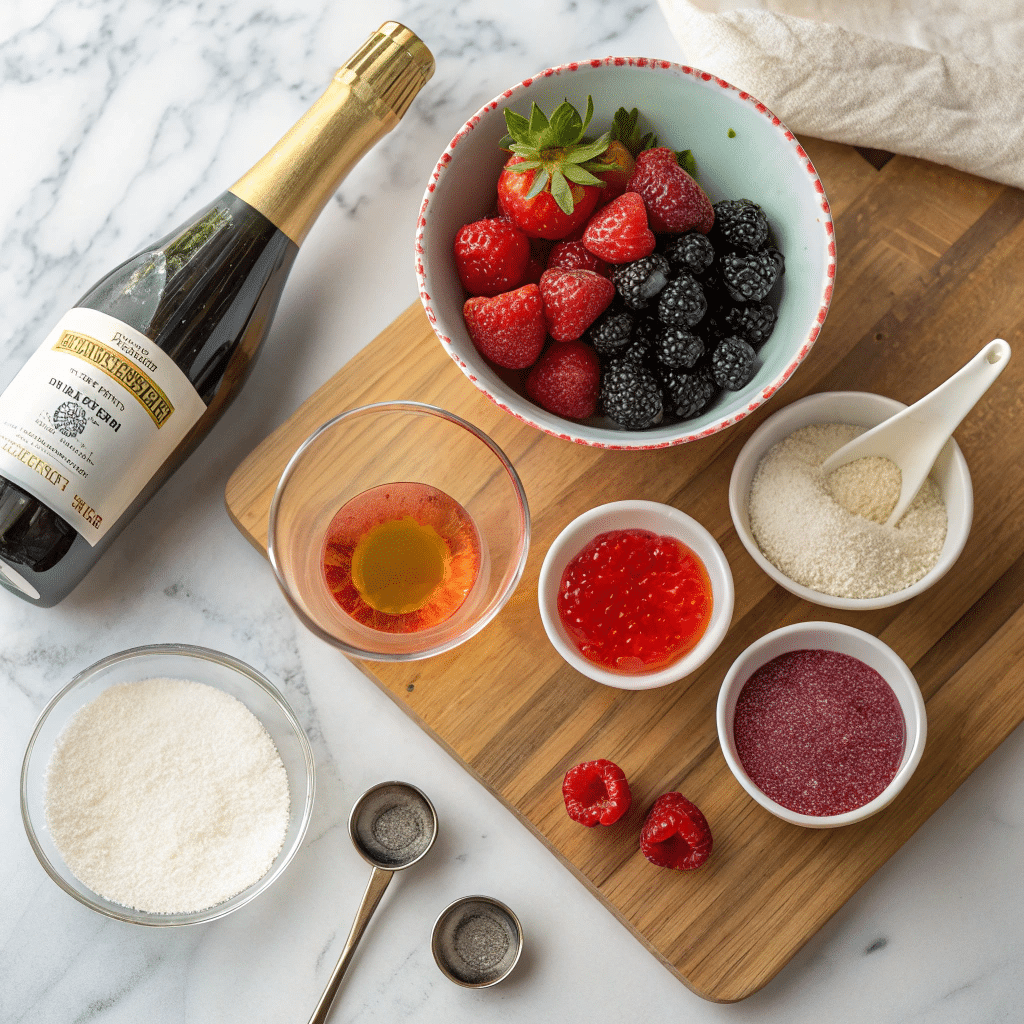
Here’s what you’ll need to whip up a batch of these sparkling wine jelly cups. Nothing tricky, just straightforward ingredients that come together beautifully.
- 1 cup sparkling wine (or champagne, depending on your mood)
- 1/2 cup sugar (adjust based on your wine’s sweetness)
- 2 tbsp water
- 2 tsp powdered gelatin
- 1/2 tsp edible glitter (optional, for that extra sparkle)
- Fresh berries or fruit slices for garnish
Optional twist for sangria jelly: replace half the sparkling wine with warm wine mixed with fruit juices.
Step-By-Step Instructions
Step 1: Bloom the Gelatin
Pour 2 tablespoons of cold water into a small bowl and sprinkle the powdered gelatin on top. Let it sit for 5 minutes. This is called “blooming” and it makes your jelly smooth, without lumps.
Step 2: Heat the Wine and Sugar
In a small saucepan, gently heat your sparkling wine with sugar. Don’t boil! The goal is to dissolve the sugar completely. Keep it warm, not hot.
Step 3: Add Gelatin
Once the sugar has dissolved, remove the saucepan from heat and stir in the bloomed gelatin until fully dissolved. This is where your jelly transforms from liquid to magic.
Step 4: Glitter Time (Optional)
If you want sparkle jello shots, sprinkle in a tiny pinch of edible glitter now. Watch as it catches the light beautifully.
Step 5: Pour into Cups
Pour the liquid into small serving cups. Plastic or glass works fine. Try to fill each cup about three-quarters full.
Step 6: Chill Until Set
Refrigerate for at least 3–4 hours, or until fully set. Patience pays off here—these cups should wobble just right when you shake them lightly.
Step 7: Garnish and Serve
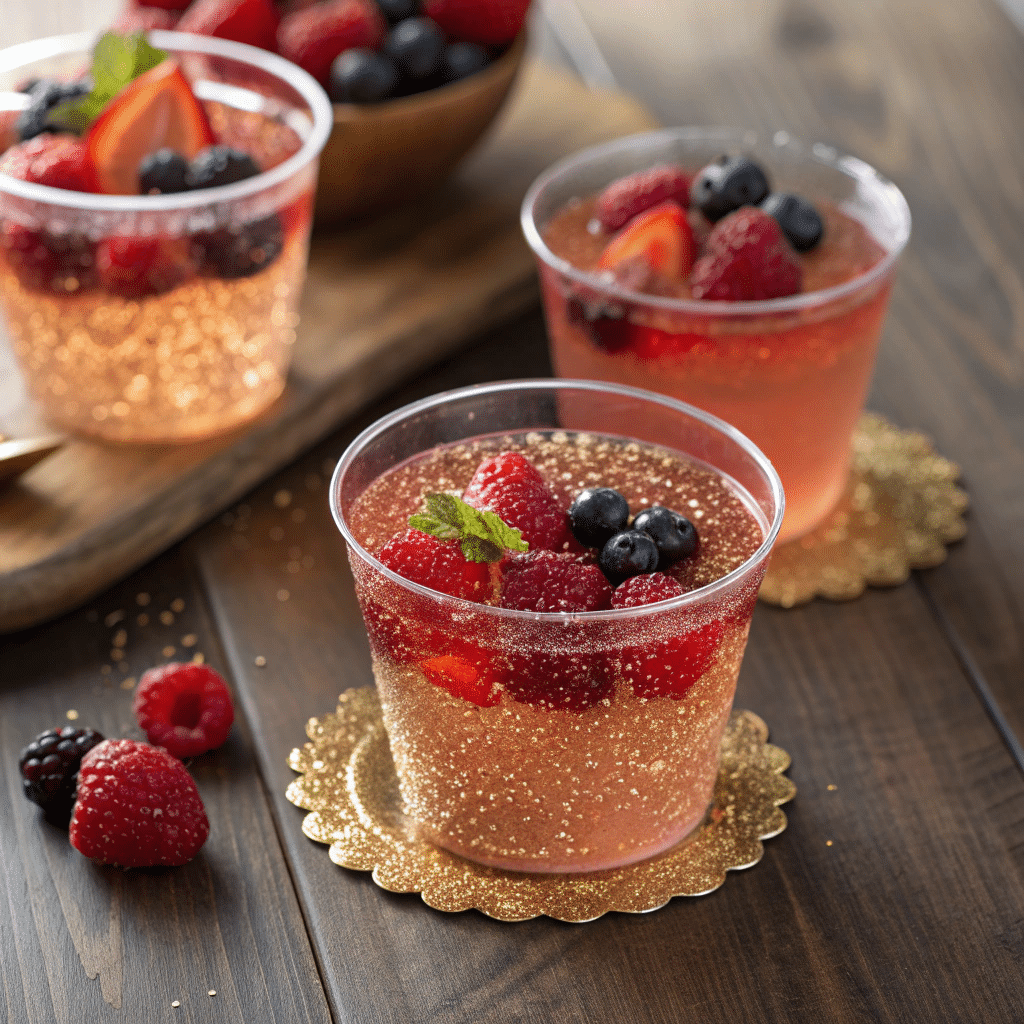
Top with fresh berries, thin fruit slices, or a little extra glitter. Serve chilled. Watch your guests’ faces light up when they see them.
Tips for Perfect Sparkling Wine Jelly
- Wine Selection Matters: A slightly sweet sparkling wine works best. Dry wines can be a little harsh in a dessert format.
- Avoid Boiling: Boiling sparkling wine kills the fizz and flavor. Keep it warm and gentle.
- Edible Glitter: Only a pinch is needed. Too much can affect the jelly’s texture.
- Layered Jelly: Want a multi-colored effect? Let one layer set, then gently pour another. This works beautifully with different wines or fruit juices.
- Storage: These jelly cups stay fresh in the fridge for 2–3 days. Don’t freeze; it changes the texture.
Flavor Variations
While champagne jelly is classic, the world of sparkling jelly is wide open. Here are some fun spins:
- Sangria Jelly Cups: Combine red wine with orange juice and diced fruit. Add a hint of cinnamon for a cozy touch.
- Pink Glitter Jello Shots: Use rosé sparkling wine and edible pink glitter for a feminine, fun look.
- Warm Wine Twist: Use warm mulled wine for a winter-friendly dessert. The jelly will have a subtle spice and a rich aroma.
- Citrus Kick: Add lemon or lime zest into your gelatin mix for a bright, refreshing pop.
Why These Sparkle Jello Shots Are a Game-Changer
I can’t stress enough how versatile these jelly desserts are. You’re not just making another jello shot; you’re creating a conversation piece. Guests will admire the shimmer, ask for seconds, and remember your gathering for weeks.
And yes, you can feel a little fancy while making them. There’s a subtle satisfaction in seeing a plain cup of liquid transform into a wobbly, glittery delight. It’s simple chemistry, but the effect feels almost magical.
Sparkling Wine Jelly Cups
Ingredients
Method
- Bloom the gelatin: In a small bowl, pour 2 tablespoons of cold water and sprinkle gelatin on top. Let sit 5 minutes.
- Heat the wine and sugar: In a small saucepan, gently warm the sparkling wine and sugar. Stir until sugar dissolves. Don’t boil.
- Add the gelatin: Remove from heat, stir in bloomed gelatin until fully dissolved.
- Add glitter (optional): Sprinkle in edible glitter for sparkle. Stir gently.
- Pour into cups: Fill small clear cups about three-quarters full.
- Chill: Refrigerate for 3–4 hours or until fully set.
- Garnish: Add fresh berries or fruit slices on top. Serve chilled.
Notes
- Use a slightly sweet sparkling wine for best results. Dry wines may taste bitter in jelly form.
- Layered jellies: wait for one layer to set before adding another color or flavor.
- Storage: keep in the fridge up to 2–3 days. Don’t freeze.
- Edible glitter is optional but adds a festive touch.
Common Questions (FAQ)
Q1: Can I make these non-alcoholic?
Absolutely! Substitute sparkling grape juice or apple cider for the wine. The result is just as festive, minus the buzz.
Q2: Can I prepare them ahead of time?
Yes. Prepare the jelly up to 2 days in advance and store in the fridge. Just garnish before serving.
Q3: What size cups work best?
Small cups (2–3 oz) are ideal. They’re easy to eat in one or two bites and make serving a breeze.
Q4: Will the glitter affect the taste?
Not at all, edible glitter is tasteless. It’s purely for visual impact.
Q5: Can I layer different flavors?
Yes! Wait for one layer to set completely before pouring the next. Different colors and wines can create a striking visual effect.
Wrapping It Up
Sparkling wine jelly cups are more than just a dessert; they’re a fun, elegant experience. Whether you’re planning a girls’ night, a brunch, or just want a whimsical treat, these glitter jello shots bring joy in every wobbly bite.
The process is simple, ingredients are minimal, and the results are unforgettable. So grab your sparkling wine, bloom that gelatin, and let’s make dessert sparkle!
