
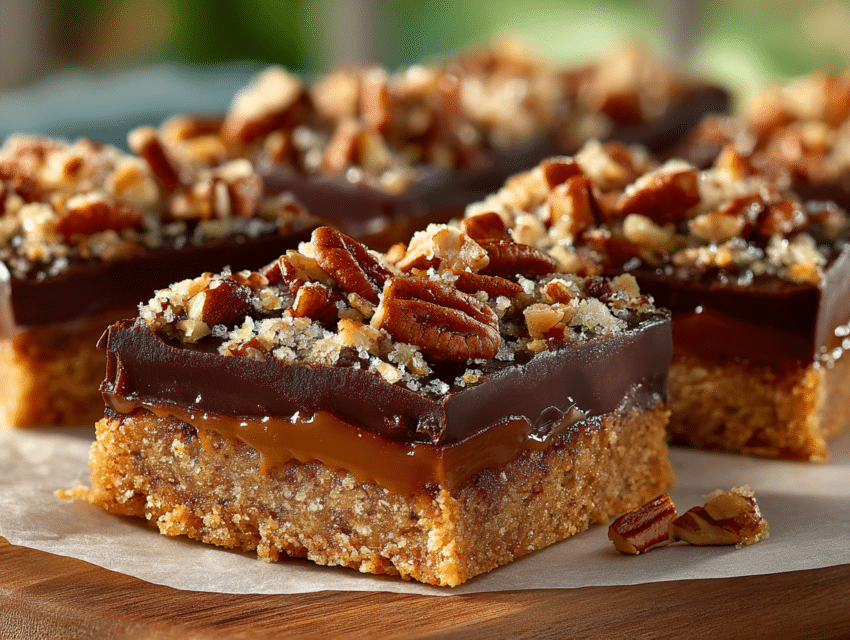
If you love desserts that feel nostalgic but still hit hard with flavor, these pecan toffee crunch bars are going to be a problem—in the best way possible. I’ve made them for casual nights, last-minute guests, and “I need something sweet right now” moments. They never survive past day one.
These bars are buttery. Crunchy. Sweet without being cloying. Think graham cracker crumbs, melty semi sweet chocolate chips, toasted pecans, and bits of toffee that snap when you bite in. No drama. Just layers that work.
Let’s bake something that people ask about later.
Why These Pecan Toffee Crunch Bars Work
Some desserts try too hard. This one doesn’t.
The base is sturdy but tender.
The topping melts just enough.
The crunch shows up exactly where it should.
These bars sit comfortably between cookie bars and classic dream bars, with a texture that leans closer to a crunch bar than a soft blondie. They slice clean. They stack well. They travel without falling apart.
And yes, they’re dangerously snackable.
What Makes Them Different From Regular Toffee Bars
Most toffee bars rely on sugar doing all the heavy lifting. These don’t. Balance matters here.
You get sweetness from the toffee.
Richness from butter.
Depth from toasted pecans.
Structure from graham crackers.
It’s closer to a graham cracker pecan toffee bar than a candy-style square. More bakery. Less sugar rush. Still indulgent.
Ingredients You’ll Need
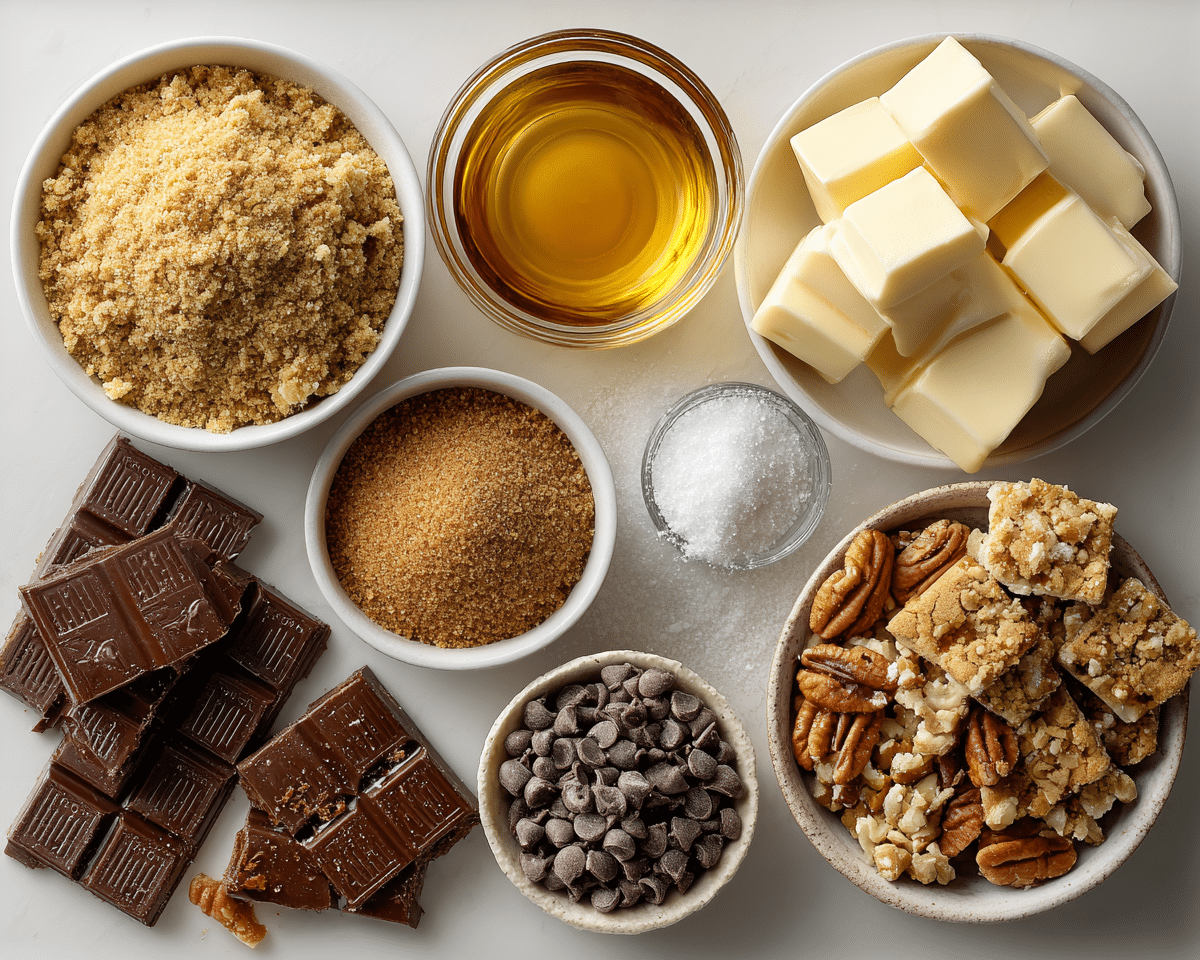
Nothing fancy. Just smart choices.
For the Base
- Graham cracker crumbs
- Unsalted butter, melted
- Brown sugar
- Vanilla extract
- Pinch of salt
For the Topping
- Semi sweet chocolate chips
- Toffee bits
- Chopped pecans
That’s it. No fillers. No extras pretending to help.
Step-by-Step: How I Make Them
1. Build the Crust
Mix graham cracker crumbs with brown sugar, melted butter, vanilla, and salt. The texture should feel like damp sand that holds when pressed.
Press it firmly into a lined pan. Really press. This matters.
2. Bake the Base
A short bake firms everything up. You’re setting the foundation, not cooking it through.
3. Add the Toppings
Scatter semi sweet chocolate chips over the hot crust. Give them a minute to soften. Then spread gently.
Sprinkle on toffee bits and chopped pecans. Don’t be shy, but don’t bury the chocolate either.
4. Back in the Oven
Just long enough to marry the layers. Overbaking kills the magic.
5. Cool Completely
This part tests patience. Cooling lets the bars set so you get clean slices instead of chaos.
Texture Talk (Because It Matters)
These aren’t soft squares.
They’re crisp-edged.
Chewy in the center.
Crunchy on top.
The toffee bits harden slightly as they cool, giving that snap people love. The pecans add warmth and a buttery finish. Every bite has contrast.
No Bake Option (Yes, It Works)
Want no bake toffee bars? You can pull it off with one tweak.
Skip baking the crust. Chill it instead. Use slightly less butter so it firms up. Melt the chocolate separately and spread it on.
The result is closer to graham cracker toffee bars with a fridge-set texture. Still good. Still addictive. Just different.
How to Toast Pecans (Quick Tip)
Raw pecans are fine. Toasted pecans are better.
Spread them on a dry pan.
Medium heat.
Stir often.
Pull them once they smell nutty.
Five minutes. Big payoff.
Make-Ahead and Storage
These bars actually improve after a few hours. The layers settle. The flavors sync up.
- Store at room temperature for 2 days
- Refrigerate for up to 5 days
- Freeze for longer storage
If freezing, slice first. Future-you will be grateful.
Serving Ideas I Love
- With coffee in the afternoon
- Slightly chilled as a dessert square
- Cut small for dessert platters
They’re rich. A little goes a long way. Or not. No judgment.
Variations You Can Play With
I keep the base recipe tight, but here are options that don’t ruin it.
- Swap pecans for walnuts
- Add a pinch of cinnamon to the crust
- Drizzle melted chocolate on top after cooling
That’s it. Don’t overdo it.
Why Pinterest Loves These Bars
They photograph well.
They slice clean.
They scream comfort.
People searching for toffee pecan dream bars or cookie bars want something familiar but elevated. These hit that sweet spot without extra steps or odd ingredients.
Common Mistakes to Avoid
- Loose crust = crumbly bars
- Overbaked topping = bitter chocolate
- Cutting too early = mess
Slow down. Let the bars do their thing.
FAQ: Pecan Toffee Crunch Bars
Can I use store-bought graham cracker crumbs?
Yes. Just check they’re finely ground. Big chunks weaken the base.
Are these the same as dream bars?
They’re similar. Think dream bars with more crunch and less chew.
Can I use milk chocolate instead of semi sweet chocolate chips?
You can, but the bars will taste sweeter. Semi sweet balances the toffee better.
What are toffee bits made of?
Mostly sugar and butter cooked until crisp. They melt slightly, then firm back up.
Can I make these gluten-free?
Use gluten-free graham crackers. Everything else stays the same.
Do these travel well?
Yes. They hold shape and don’t melt easily.
Are these good for gifting?
Absolutely. Wrap them once fully cooled.
Can I double the recipe?
Yes. Use a larger pan and watch the bake time.
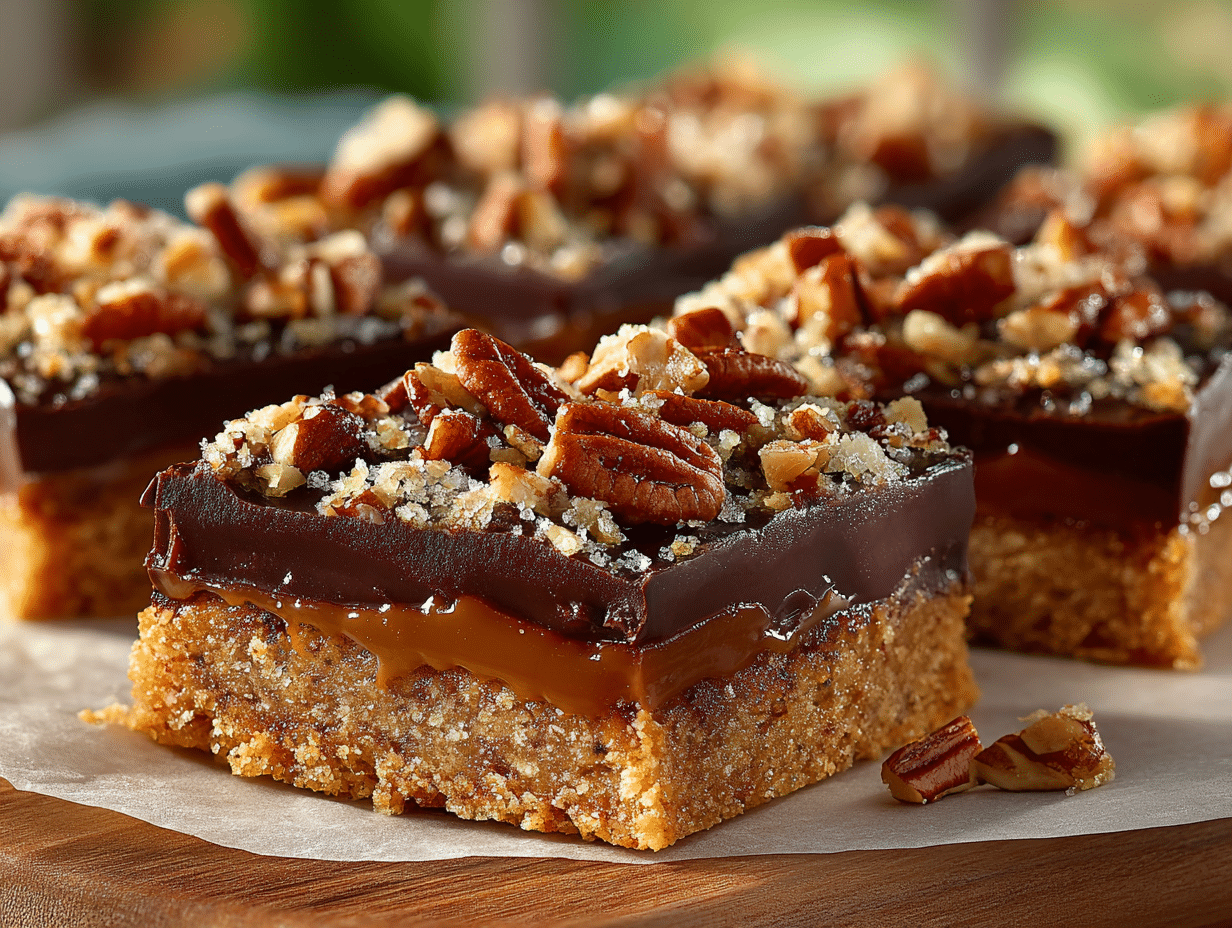
Pecan Toffee Crunch Bars
Ingredients
Method
- Heat oven to 350°F (175°C). Line a 9×13-inch pan with parchment paper.
- In a bowl, mix graham cracker crumbs, brown sugar, salt, and melted butter. Add vanilla. Stir until it looks like wet sand.
- Press the mixture firmly into the pan. Make it tight and even.
- Bake for 10 minutes. Remove from oven.
- Sprinkle chocolate chips over the hot crust. Wait 2 minutes until soft, then spread gently.
- Sprinkle toffee bits evenly on top. Add chopped pecans.
- Bake again for 12–15 minutes, until the topping looks set but not dark.
- Let cool completely before cutting into bars.
Notes
- Let the bars cool fully before slicing. Warm bars fall apart.
- Toasting the pecans adds more flavor, but it’s optional.
- Store at room temperature for 2 days or refrigerate up to 5 days.
- These freeze well if cut first and wrapped tightly.
Final Thoughts
These pecan toffee crunch bars are simple, bold, and comforting. No unnecessary steps. No filler flavors. Just a dessert that understands its job and does it well.
If you make them once, they’ll find a way back into your kitchen.
And honestly? That’s the kind of recipe I like to keep around.
