
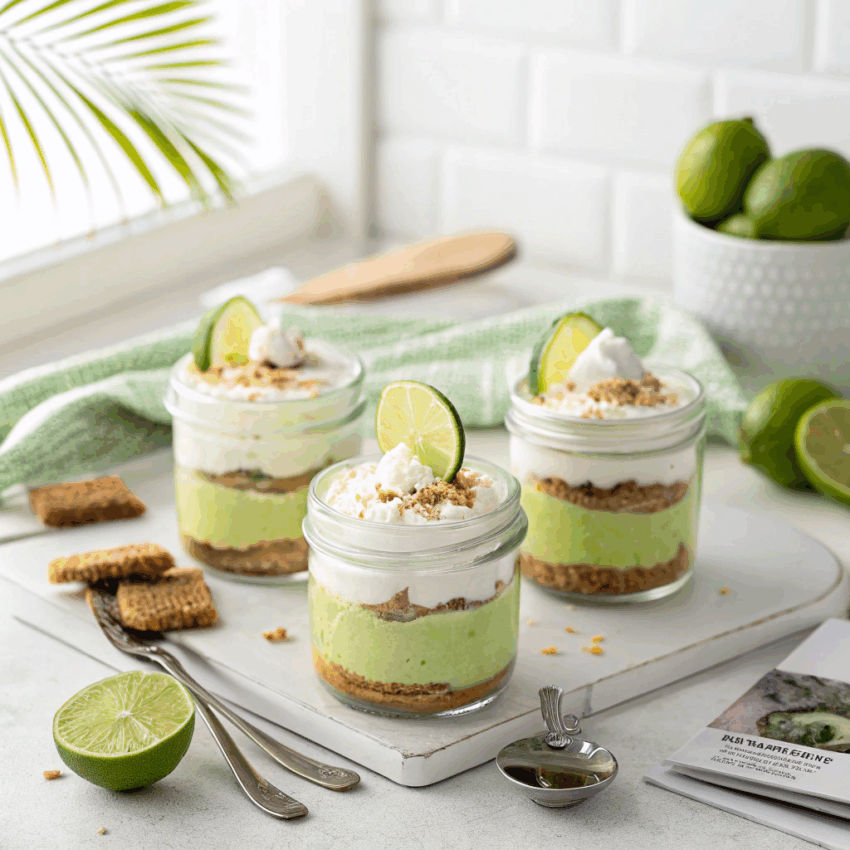
There’s something about key lime desserts that just feels like sunshine in a spoon. Bright, tangy, and creamy, this layered key lime pie jar recipe brings all the zesty charm of a traditional lime pie—just in a cute, portable, and oh-so-satisfying jar.
I’ve made my fair share of lime desserts, but these little trifles hit differently. They’re cool, creamy, and layered with sweet, crumbly biscuit goodness that melts in your mouth. Think: summer in a jar.
If you’re someone who loves a good key lime pie, trifle desserts, or just needs a no-bake pick-me-up, this one’s for you.
Why You’ll Love These Layered Key Lime Pie Jars
They’re everything you crave in a dessert:
- A creamy, tangy key lime filling that wakes up your taste buds.
- A buttery digestive biscuit base that’s slightly salty and sweet.
- A whipped lime cream topping that feels like a cloud.
Plus, no oven time. No stress. Just layers of joy that chill while you relax.
Ingredients You’ll Need
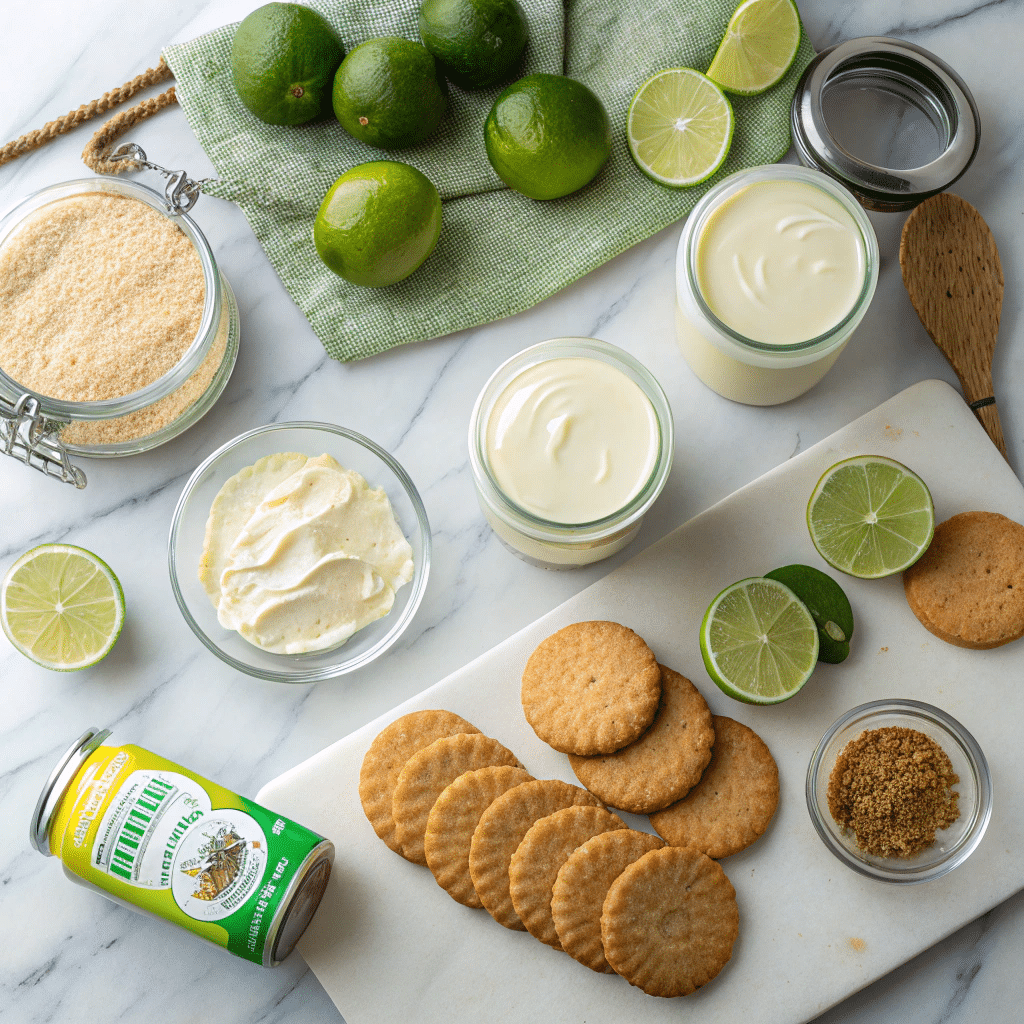
Before we start, grab a few jars (I love using 8-ounce mason jars or mini trifle bowls). Here’s what you’ll need for about 6 servings:
For the Crust
- 1 ½ cups crushed digestive biscuits (or graham crackers)
- ¼ cup melted unsalted butter
- 1 tablespoon brown sugar
For the Key Lime Filling
- 1 can (14 oz) sweetened condensed milk
- ½ cup key lime juice (fresh or bottled)
- Zest of 2 limes
- 4 oz cream cheese, softened
- 1 teaspoon vanilla extract
For the Whipped Lime Cream
- 1 cup heavy whipping cream
- 2 tablespoons powdered sugar
- 1 teaspoon lime juice
- 1 teaspoon lime zest
Optional Garnishes: White chocolate shavings, lime slices, or biscuit crumbs for that final touch.
How to Make Layered Key Lime Pie Jars
This recipe is fuss-free and full of flavor. Let’s build these jars step by step.
Step 1: Make the Crumb Layer
Crush your digestive biscuits until they resemble fine sand. Mix in melted butter and brown sugar until the crumbs hold together slightly when pressed.
Spoon about 2 tablespoons of crumbs into the bottom of each jar and press them down gently. Chill while you prepare the filling.
Step 2: Whip Up the Key Lime Filling
In a mixing bowl, beat the cream cheese until smooth. Add the sweetened condensed milk, key lime juice, zest, and vanilla extract.
Mix until you get a silky, creamy filling with that signature tang. It should be smooth, not runny—almost like a pudding consistency.
Step 3: Whip the Lime Cream
In another bowl, whip the heavy cream with powdered sugar, lime juice, and zest until soft peaks form.
You’ll get a bright, citrusy cream that balances the richness of the filling.
Step 4: Layer It All Up
Start with a biscuit layer, add a few spoonfuls of key lime filling, then top with whipped lime cream.
Repeat if your jars allow another round. End with a swirl of cream and a sprinkle of biscuit crumbs or white chocolate shavings.
Step 5: Chill & Serve
Cover the jars and refrigerate for at least 2–3 hours, or overnight for the best texture.
These are cold desserts, so serving them chilled is key. (Pun intended!)
Tips & Variations
- No Digestives? Graham crackers or vanilla wafers work just fine.
- Make It Healthier: Swap some condensed milk for Greek yogurt for extra tang.
- Trifle Bowl Twist: Double the recipe and layer it in a trifle bowl for parties.
- Zest Is Your Friend: Don’t skip it—it’s what gives the filling that bright lime punch.
- Key Lime Juice vs. Regular Lime: Key limes have a sharper, aromatic flavor, but regular limes make a great backup.
Why These Jars Beat a Traditional Pie
Sure, a three-layer key lime pie looks fancy, but jars are the future of easy entertaining. You can prep them ahead, store them neatly, and serve without slicing anything. Plus, they make great gifts or picnic desserts.
There’s also something comforting about a dessert you can hold in your hand. Each layer tells a story—crunch, cream, and tang—coming together in a spoonful of happiness.
How to Store Your Key Lime Pie Jars
These keep beautifully in the fridge for up to 4 days. Just seal the jars tightly and refrigerate.
If you’re making them for an event, assemble a day ahead and garnish right before serving so the toppings stay fresh.
Avoid freezing; the texture tends to change. But honestly, they’re so delicious, leftovers rarely make it to day three.
Serving Ideas
- Brunch Treat: Serve alongside coffee and fruit salad.
- Summer BBQ: These cool key lime trifle recipes are a refreshing contrast to grilled mains.
- Holiday Dessert: Add red berries for a festive twist.
- Mini Dessert Bar: Mix with chocolate trifles and berry jars for variety.
You can even create a key lime lush dessert platter with multiple mini jars and toppings—crushed cookies, whipped cream, or caramel drizzle.
Common Mistakes to Avoid
- Overmixing the Filling: It can get too runny—keep it creamy, not soupy.
- Skipping Chill Time: Patience pays off here; chilling sets the layers beautifully.
- Too Much Lime Juice: A little extra seems harmless, but it can overpower the creaminess.
FAQ: Layered Key Lime Pie Jars
Q: Can I make these jars ahead of time?
Yes! In fact, they taste better the next day once the flavors meld.
Q: What if I don’t have key lime juice?
Use regular lime juice with a bit of zest—it’ll still taste amazing.
Q: Can I make this dairy-free?
You can use coconut cream and a plant-based condensed milk alternative. The flavor will lean tropical but still delicious.
Q: How long should they chill before serving?
At least 2 hours. Overnight is even better for that perfect creamy set.
Q: Can I turn this into a large trifle instead of jars?
Absolutely! Just layer everything in a trifle dish or trifle bowl. It looks gorgeous on any dessert table.
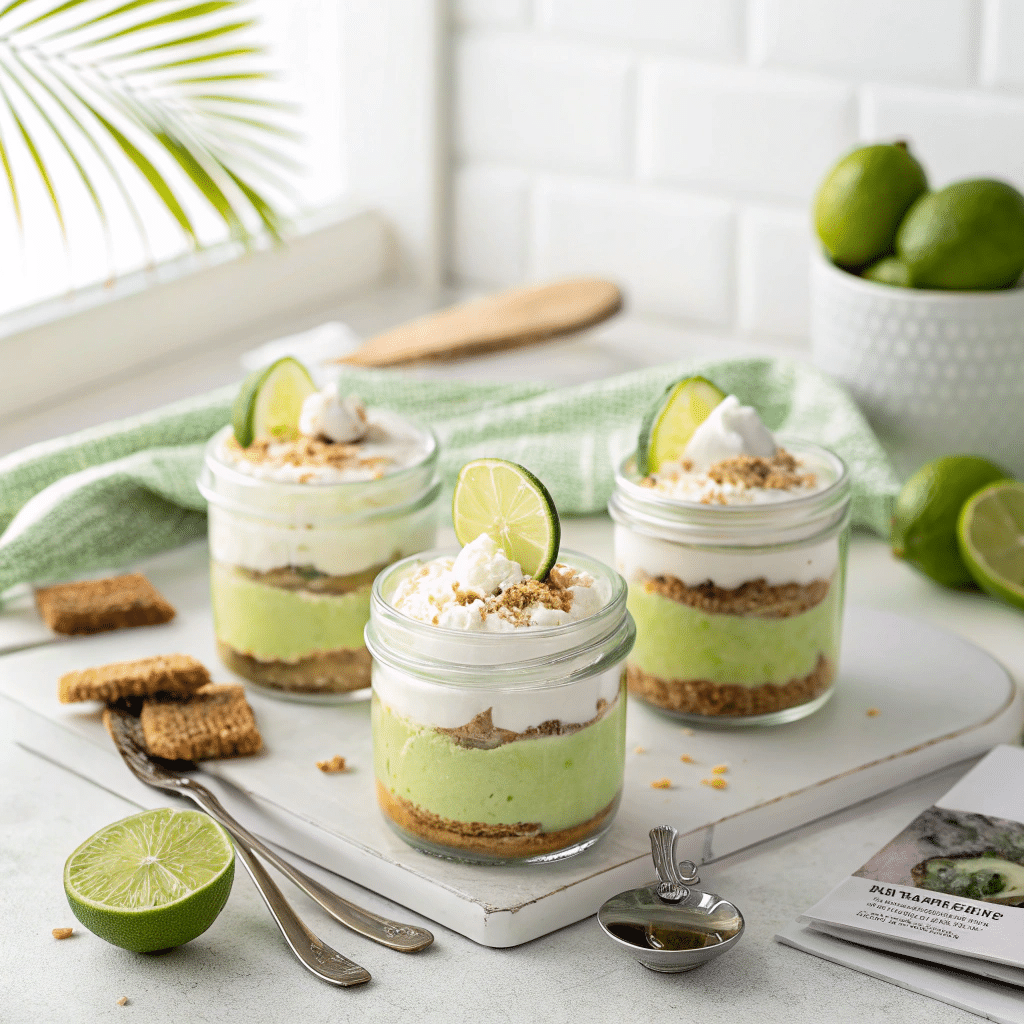
Layered Key Lime Pie Jars
Ingredients
Method
- Crush digestive biscuits into fine crumbs (use a food processor or rolling pin).
- Mix crumbs with melted butter and brown sugar until the texture feels like damp sand.
- Spoon about 2 tablespoons into each small jar and press down gently.
- Chill in the fridge while making the filling.
- In a bowl, beat cream cheese until smooth.
- Add condensed milk, lime juice, zest, and vanilla extract.
- Mix until creamy and slightly thick—similar to pudding.
- Set aside.
- In a cold bowl, beat heavy cream, powdered sugar, lime juice, and zest.
- Whip until soft peaks form (don’t overmix).
- This will be your fluffy topping layer.
- Spoon the lime filling over the chilled crust.
- Add a layer of whipped lime cream.
- Repeat if your jars are tall enough.
- Finish with a small swirl of cream and a sprinkle of white chocolate or lime zest.
- Cover the jars with lids or wrap them in plastic.
- Refrigerate for at least 2–3 hours or overnight.
- Serve chilled and enjoy every creamy, citrusy bite.
Notes
- Chill time makes all the difference — it sets the layers perfectly.
- If you can’t find key limes, use regular limes plus a bit of extra zest.
- Don’t overwhip the cream or it’ll turn grainy.
- These jars taste even better the next day.
A Little Story Before You Go
When I first made these, I accidentally used regular lime juice instead of key lime. The result? Still fantastic. That’s the magic of lime desserts—they’re forgiving, refreshing, and always welcome at any table.
Whether you’re layering for a crowd or sneaking spoonfuls straight from the fridge (no judgment), these layered key lime pie jars are pure dessert bliss.
Go on—grab those jars, squeeze some limes, and let’s make something sweet together.
