
Jump to Recipe
There’s something about a pot of cocoa fudge bubbling on the stove that takes you straight back to a grandmother’s kitchen. The smell alone is reason enough.
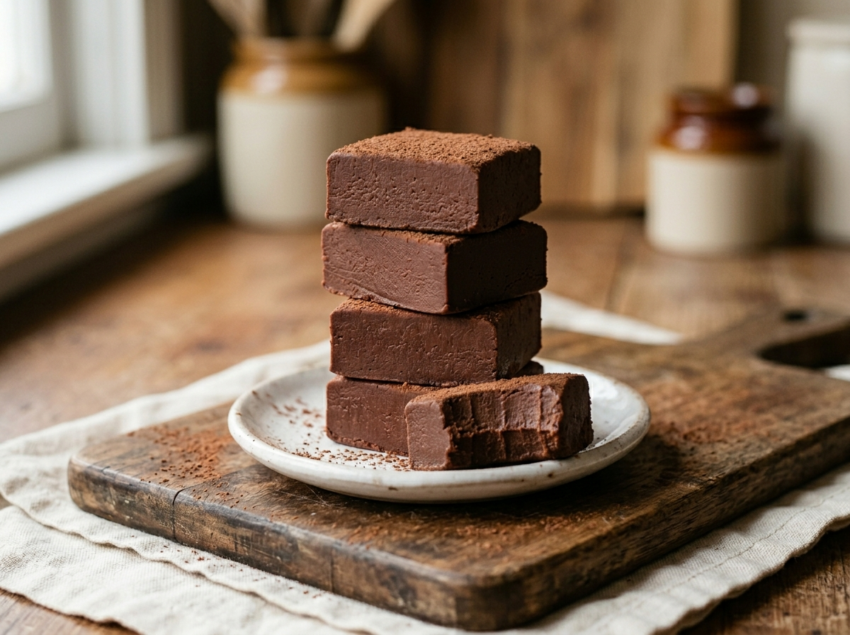
This is the old fashioned way. You cook sugar, cocoa, butter, and milk together until they hit the soft-ball stage, then you beat it by hand until it loses its gloss and stiffens into something you can cut into squares.
It’s not hard, but it does ask for your attention. A candy thermometer and a heavy-bottomed saucepan are your two best tools here.
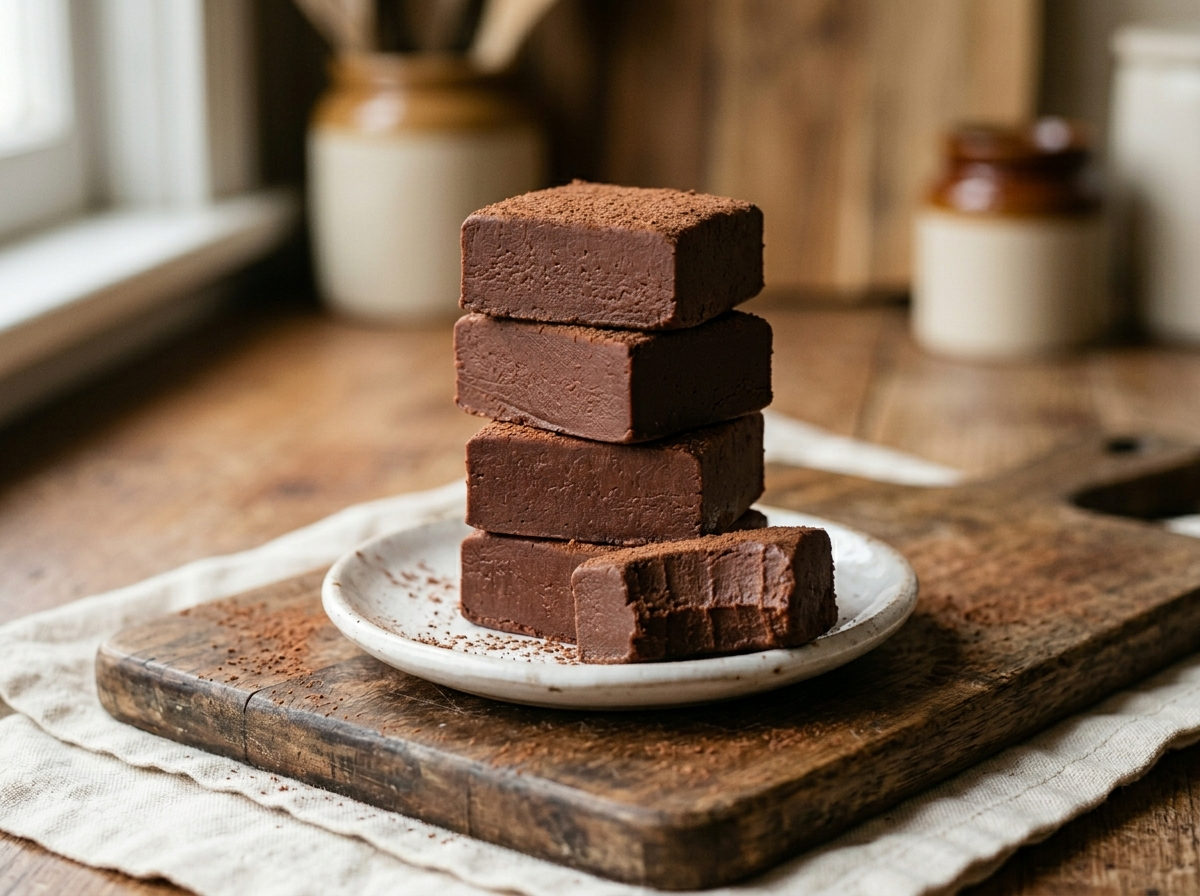
The payoff is fudge with real depth. Not overly sweet, not grainy, just that dense, smooth bite that quick recipes never quite pull off.
Why You’ll Love This Recipe
- Real chocolate flavor from pure unsweetened cocoa powder
- No special equipment beyond a candy thermometer
- Slices cleanly with a sharp knife every time
- Keeps well at room temperature for up to two weeks
Ingredient Notes
- Unsweetened cocoa powder: Use a natural cocoa powder like Hershey’s for the classic flavor. Dutch-process works but produces a slightly milder, darker result.
- Granulated white sugar: Standard white sugar is essential here for a smooth set. Brown sugar adds flavor but can make the texture slightly grainy.
- Whole milk: Full-fat milk keeps the fudge creamy. Evaporated milk also works and gives a slightly richer, more stable result.
- Unsalted butter: Add the butter off the heat before beating. Using salted butter is fine but skip the added pinch of salt in the recipe.
- Vanilla extract: Pure vanilla extract gives cleaner flavor. I use about one teaspoon. Imitation vanilla works but tastes slightly sharper.
- Salt: A pinch of salt sharpens the cocoa flavor noticeably. Don’t skip it.
Old Fashioned Cocoa Fudge
Ingredients
Method
- Line an 8x8-inch baking pan with parchment paper and grease lightly with butter. Set aside.
- Whisk together the sugar, cocoa powder, and salt in a 3-quart heavy-bottomed saucepan until no cocoa lumps remain.
- Pour in the milk and stir to combine, then place the pan over medium heat.
- Stir continuously until the sugar dissolves and the mixture comes to a full boil, about 5 to 7 minutes.
- Once boiling, stop stirring. Clip the candy thermometer to the side of the pan so the tip is submerged but not touching the bottom.
- Cook at a steady boil, without stirring, until the thermometer reads 238 F (114 C), the soft-ball stage. This takes about 10 to 15 minutes depending on your stove.
- Remove the pan from the heat. Add the butter pieces and vanilla extract but do not stir yet.
- Let the mixture cool undisturbed until the temperature drops to 110 F (43 C), about 30 to 40 minutes. The pan will feel warm but not hot to the touch.
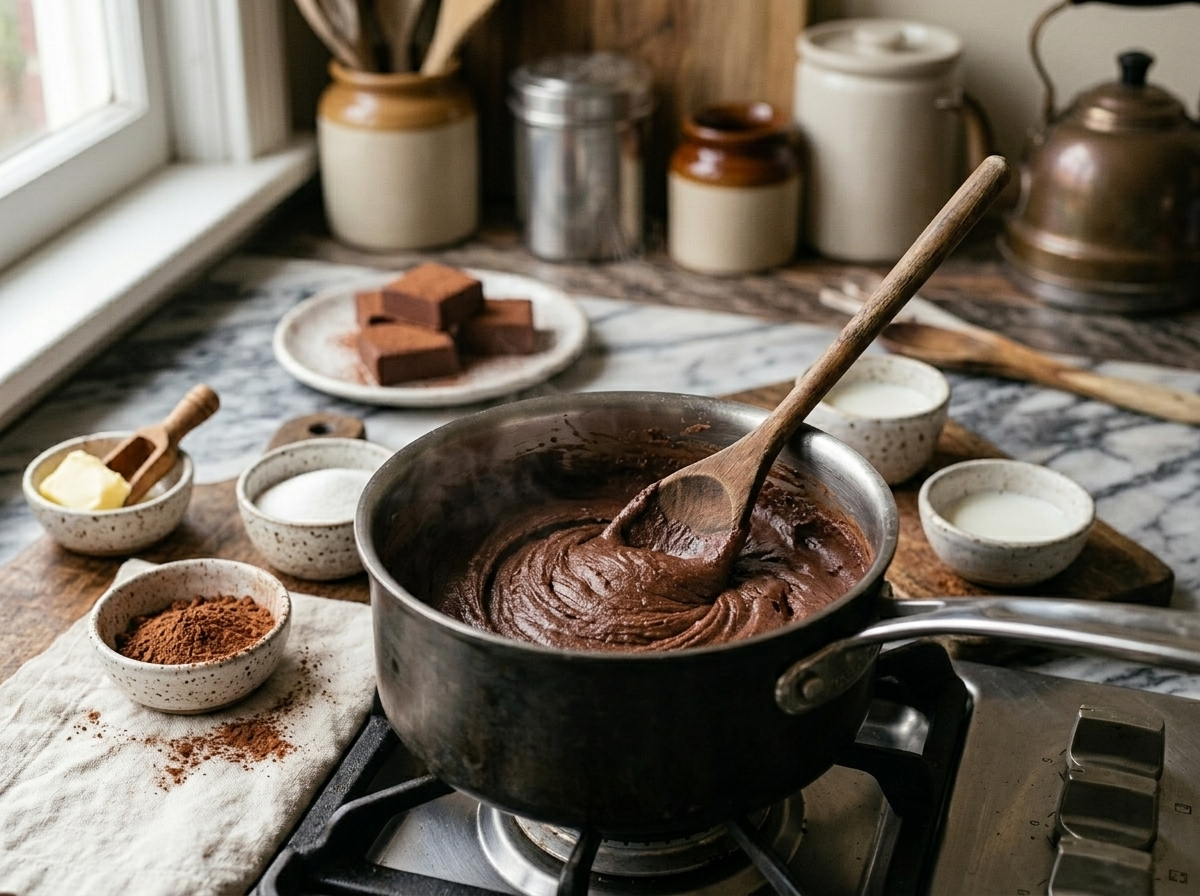
- Once cooled to 110 F, beat the fudge vigorously with a wooden spoon, stirring in wide circles, until it loses its gloss and starts to look matte and thick. This takes 5 to 10 minutes of steady beating.
- Working quickly, pour and scrape the fudge into the prepared pan and spread it into an even layer with a spatula.
- Let the fudge set at room temperature for at least 2 hours until firm. Cut into 1-inch squares with a sharp knife.
Notes
Tips for Success
- Grease your pan and line it with parchment before you start cooking so it’s ready when the fudge is beaten.
- Clip the candy thermometer to the side of the pan so the tip doesn’t touch the bottom, or it will read too high.
- Stop stirring once the mixture comes to a boil to prevent sugar crystals from forming on the sides of the pan.
- Cool the mixture to 110 F before beating, a warm pot will make fudge that stays soft and won’t set properly.
- Beat vigorously with a wooden spoon until the fudge loses its shine and thickens, then pour immediately into the pan.
Variations
- Stir in half a cup of chopped toasted walnuts or pecans just before pouring into the pan.
- Add one tablespoon of instant espresso powder with the cocoa to deepen the chocolate flavor.
- Swap two tablespoons of milk for bourbon and add it with the vanilla for a boozy holiday version.
Storage and Reheating
Store cut fudge in a single layer in an airtight container at room temperature. It keeps well for up to two weeks. Place parchment paper between layers if you need to stack pieces.
For longer storage, refrigerate for up to four weeks. The texture firms slightly when cold, so let pieces sit at room temperature for 10 minutes before eating.
Fudge freezes well for up to three months. Wrap individual pieces in plastic wrap, place them in a freezer bag, and thaw at room temperature still wrapped to prevent condensation from making the surface sticky.
Serving Suggestions
Cut the fudge into small squares, about one inch each. It’s rich enough that small pieces satisfy.
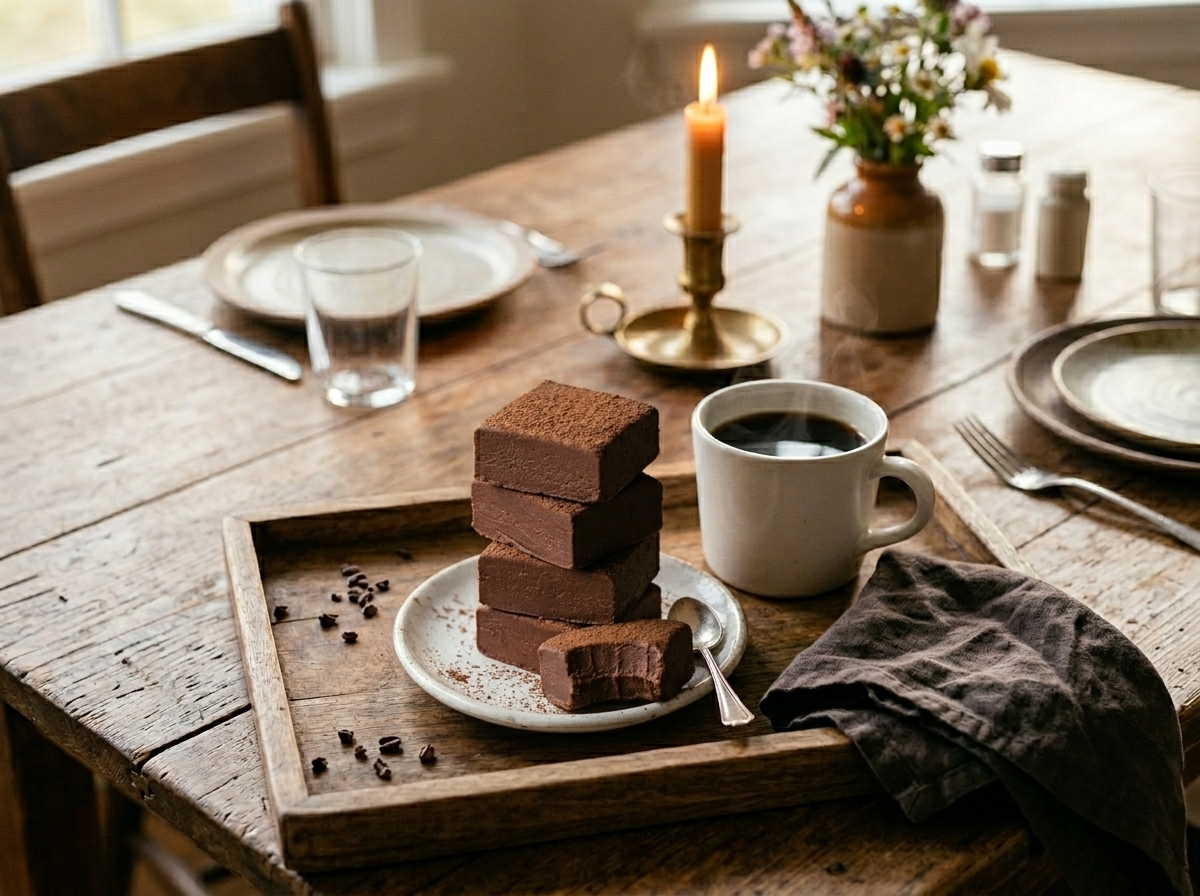
Arrange pieces on a small plate alongside a cup of black coffee or plain black tea. The bitterness cuts through the sweetness cleanly. For a holiday gift box, layer pieces between sheets of wax paper in a small tin or box.
Old fashioned cocoa fudge also works well crumbled over vanilla ice cream or pressed into the top of a warm brownie fresh from the oven.
FAQ
Why did my old fashioned cocoa fudge turn out grainy?
Grainy fudge usually means sugar crystals formed during cooking, often from stirring after the boil or from sugar on the pan sides dissolving back in. Next time, brush the sides of the pan with a damp pastry brush after the boil starts and stop all stirring. Also make sure you cooled the mixture fully to around 110 F before beating.
Can I use Dutch-process cocoa instead of natural cocoa in this fudge?
Yes, Dutch-process cocoa works and gives a darker, slightly less sharp chocolate flavor. The texture and set won’t change since this recipe doesn’t rely on baking soda or powder for a reaction. I prefer natural cocoa for the more pronounced, old fashioned taste.
How do I know when old fashioned cocoa fudge has been beaten enough?
The fudge is ready to pour when it loses its glossy sheen and starts to look matte and thick. When you lift the spoon, it should fall in heavy ribbons rather than running off smoothly. If it sets in the pan before you get it poured, that’s a sign you beat it just a touch too long.
Can I freeze old fashioned cocoa fudge without it getting sticky?
Yes, wrap each piece individually in plastic wrap before placing in a freezer bag. Thaw at room temperature while still wrapped so condensation forms on the outside of the plastic, not on the fudge itself. This keeps the surface smooth and dry.
What’s the difference between old fashioned cocoa fudge and chocolate fudge made with condensed milk?
Old fashioned cocoa fudge is cooked to a precise temperature (soft-ball stage at 238 F) and then beaten to achieve its texture. Condensed milk fudge relies on the milk’s sugar concentration to set and skips the thermometer step entirely. The old fashioned version has a firmer, denser texture and a deeper cocoa flavor.
Is this old fashioned cocoa fudge gluten-free?
Yes, the core ingredients, sugar, cocoa, milk, butter, and vanilla, contain no gluten. Just check your cocoa powder label to confirm it’s processed in a gluten-free facility if that’s a concern. No flour or grain-based thickeners are used in this recipe.
