
Jump to Recipe
There’s something about the smell of caramel hitting a hot pan that makes a kitchen feel worth being in.
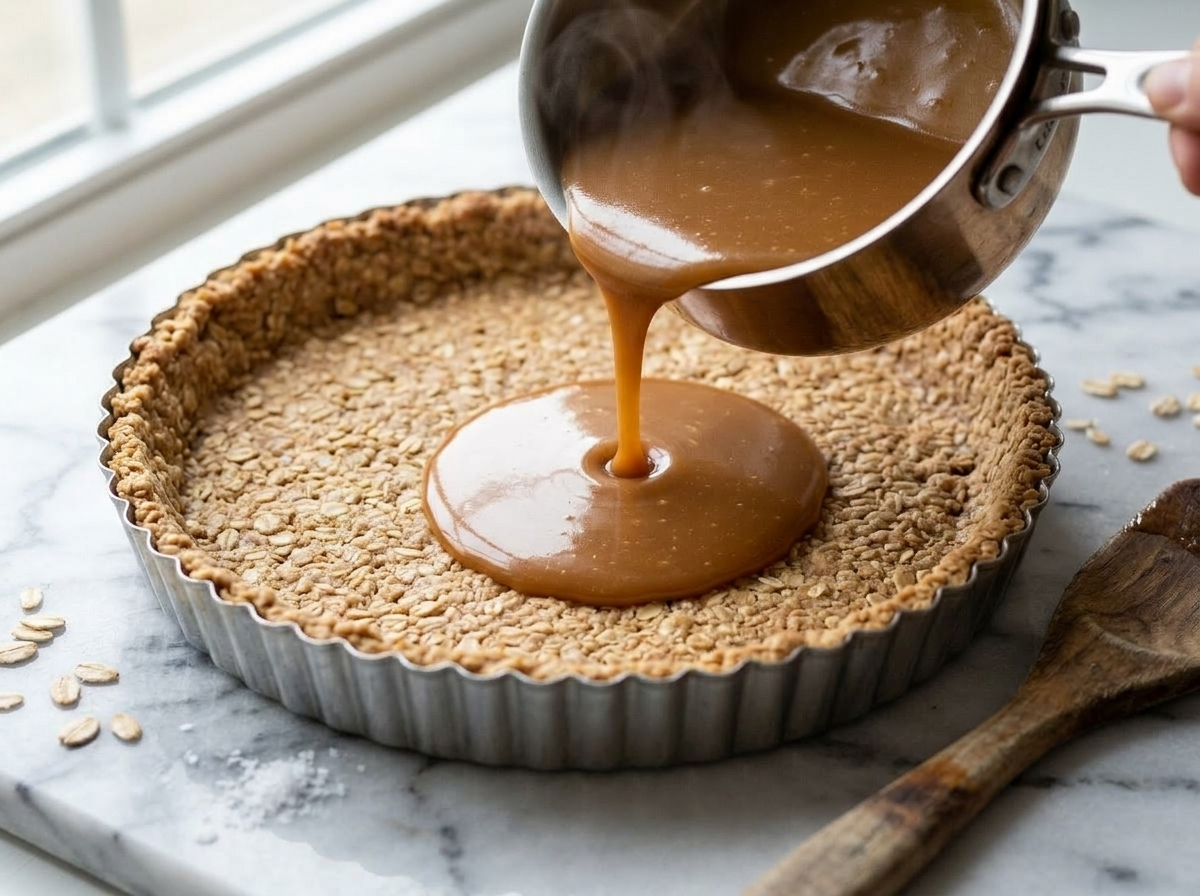
This tart came together on a rainy Saturday when I wanted something more interesting than cookies but less involved than a layer cake. The oat crust is pressed in by hand – no chilling, no rolling – and it bakes up with a slightly chewy, golden edge that holds the caramel without going soggy.
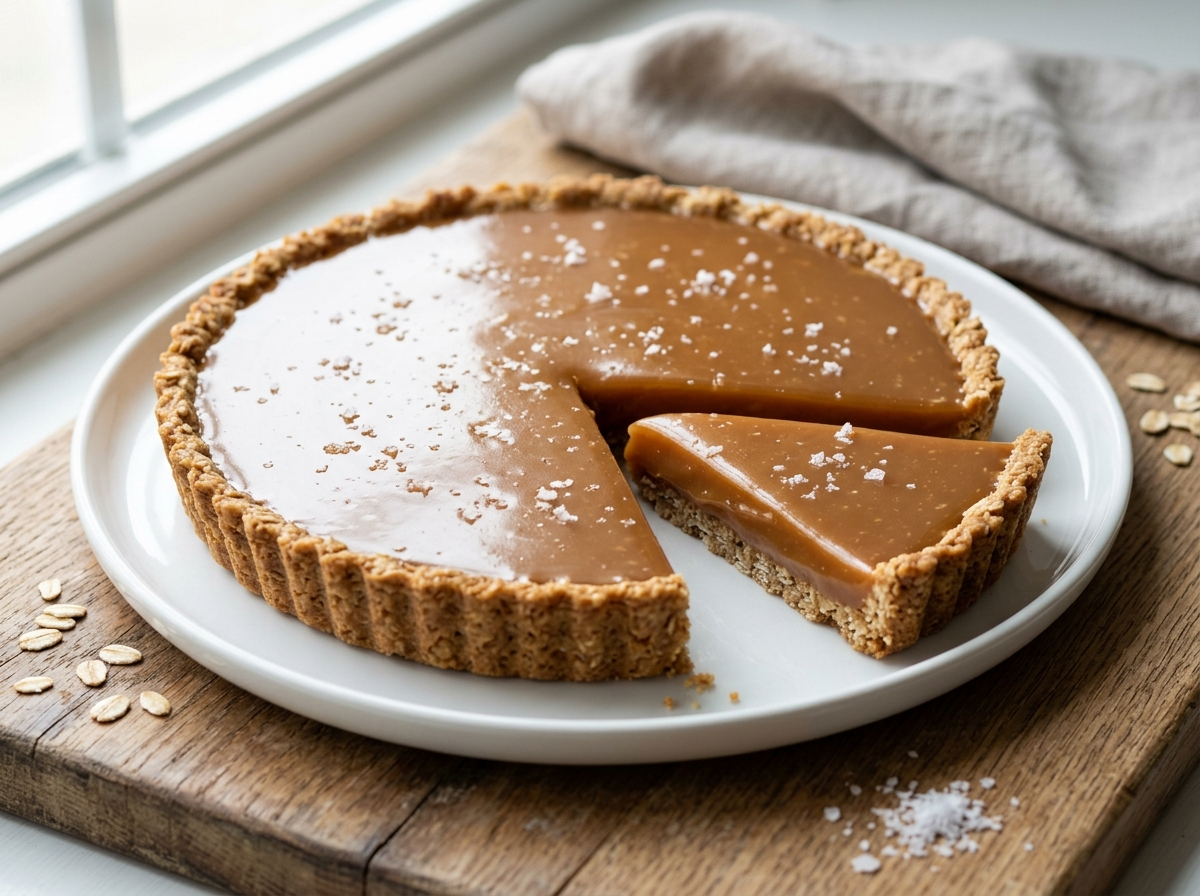
The filling is a straightforward stovetop caramel. Heavy cream, butter, brown sugar, a little corn syrup so it doesn’t seize. You pour it in warm, let it set, and finish with a pinch of flaky salt.
It slices cleanly after a couple of hours in the fridge. It keeps well. And it looks considerably more impressive than the effort it takes.
Why You’ll Love This Recipe
- No rolling pin – press the crust straight into the pan.
- Oat crust adds chew and nuttiness shortcrust lacks.
- Caramel filling sets firm enough to slice cleanly.
- Make it a day ahead – it holds perfectly in the fridge.
Ingredient Notes
- rolled oats: Use old-fashioned rolled oats, not quick oats. Quick oats turn the crust too soft and dense. Certified gluten-free oats work if you need that.
- unsalted butter: Unsalted gives you control over the salt level. If you only have salted butter, skip the pinch of salt in the crust.
- heavy cream: Full-fat heavy cream (36% fat or higher) is non-negotiable for a stable caramel. Half-and-half will give you a runny filling that won’t set.
- light brown sugar: Brown sugar adds a molasses depth that white sugar doesn’t. Dark brown sugar works too and makes the caramel slightly richer and darker.
- light corn syrup: A small amount prevents the caramel from crystallizing as it cools. Golden syrup is a good substitute in equal measure.
- flaky sea salt: Maldon or fleur de sel are my go-to here. Table salt or fine sea salt are too sharp – you want those bigger flakes you can see and feel.
Salted Caramel Oat Tart with a Buttery Press-In Crust
Ingredients
Method
- Heat the oven to 180 C / 350 F. Lightly butter a 9-inch loose-bottom tart pan.
- Combine the rolled oats, flour, brown sugar, and fine sea salt in a mixing bowl and stir together.
- Pour in the melted butter and vanilla extract. Stir until the mixture looks like wet sand and clumps together when pressed.
- Tip the mixture into the prepared pan. Use a flat-bottomed measuring cup to press it firmly and evenly across the base and up the sides to about 1 cm thick.
- Bake for 12 to 14 minutes until the edges are golden brown and the center looks dry and set. Remove from the oven and let it cool in the pan for 10 minutes.
- Combine the brown sugar, heavy cream, butter, and corn syrup in a medium heavy-bottomed saucepan over medium heat.
- Stir gently until the butter melts and the sugar dissolves, then stop stirring. Let the mixture come to a boil.
- Clip a candy thermometer to the pan and cook, swirling the pan occasionally, until the caramel reaches 220 F / 104 C, about 8 to 10 minutes.
- Remove from heat and stir in the fine sea salt and vanilla extract. Let the caramel rest for 5 minutes off the heat - it will thicken slightly.
- Pour the warm caramel into the cooled oat crust. Tilt the pan gently to level the surface.
- Leave the tart at room temperature for 15 minutes, then transfer to the fridge and chill for at least 2 hours until the caramel is fully set.
- Just before serving, scatter the flaky sea salt evenly over the surface of the caramel.
- Carefully remove the tart from the pan. Run a sharp knife under hot water, wipe dry, and cut into 8 slices.
Notes
Tips for Success
- Press the oat crust firmly and evenly up the sides with a flat-bottomed cup to prevent shrinkage.
- Cook caramel to exactly 220 F / 104 C on a candy thermometer for a filling that sets but stays soft.
- Pour the caramel into the baked shell while still warm – it levels itself and bonds with the crust.
- Refrigerate the filled tart for at least 2 hours before slicing so the caramel sets cleanly.
- Add the flaky salt just before serving, not before chilling, so it stays crisp and visible.
Variations
- Stir 2 tbsp tahini into the caramel before pouring for a nutty, slightly bitter contrast.
- Press dark chocolate chips into the set caramel and return to fridge for a chocolate-caramel version.
- Replace 30 g of oats with desiccated coconut in the crust for a toasted coconut flavor throughout.
Storage and Reheating
Store the tart covered in the fridge for up to 4 days. The crust stays firm and the caramel keeps its texture well.
You can freeze individual slices wrapped tightly in plastic wrap and then foil for up to 6 weeks. Thaw overnight in the fridge – the caramel softens back to the right consistency without any reheating needed.
Don’t leave this out at room temperature for more than 2 hours. The caramel filling is made with cream and will soften significantly in a warm kitchen.
Serving Suggestions
A slice served cold from the fridge with a scoop of vanilla ice cream is hard to beat. The contrast between the cold caramel and the warm, slightly melted ice cream is exactly what this tart is built for.
For a simpler finish, a small spoonful of lightly whipped cream and a few toasted oat flakes on top look clean and add a little extra richness without overpowering the caramel.
This works well on a dessert board alongside dark chocolate pieces and fresh pear slices, especially for a casual dinner party where you want something that doesn’t require last-minute effort.

FAQ
Why is my salted caramel tart filling still liquid after chilling?
The caramel likely didn’t reach the right temperature during cooking. It needs to hit 220 F / 104 C to set properly when chilled. If it’s still runny after 4 hours in the fridge, you can pour it back into a saucepan, cook it a little longer, and re-pour it into the shell.
Can I use coconut oil instead of butter in the oat crust?
Yes, refined coconut oil works in equal weight. It gives the crust a slightly more crumbly texture and a faint coconut flavor. Unrefined coconut oil will add a stronger coconut taste, which works if you’re making the coconut variation.
How do I know when the oat crust is done baking?
The edges should be golden brown and the center should look dry and set, not pale or soft. It usually takes 12 to 14 minutes at 180 C / 350 F. Press it gently with a finger – it should feel firm, not spongy.
Can I make this salted caramel oat tart a day in advance?
It’s actually better made the day before. The caramel sets more firmly overnight and the crust firms up nicely too. Add the flaky sea salt just before you serve it so it doesn’t dissolve into the surface.
What’s the difference between this oat tart and a traditional caramel tart?
A traditional caramel tart uses a shortcrust or pate sablee shell, which is smoother and more neutral in flavor. The oat crust here is coarser, slightly chewy, and adds a toasty nuttiness that plays well against the sweet caramel filling.
Is this salted caramel oat tart gluten-free?
Not by default, since standard rolled oats are often processed in facilities that handle wheat. If you need it gluten-free, use certified gluten-free oats and double-check your other ingredients. The rest of the recipe contains no wheat flour.