
Jump to Recipe
There’s something about a galette that takes the pressure off completely. No tart pan, no blind baking, no fuss. You roll the dough rough, fold up the edges, and the imperfections are what make it look good.
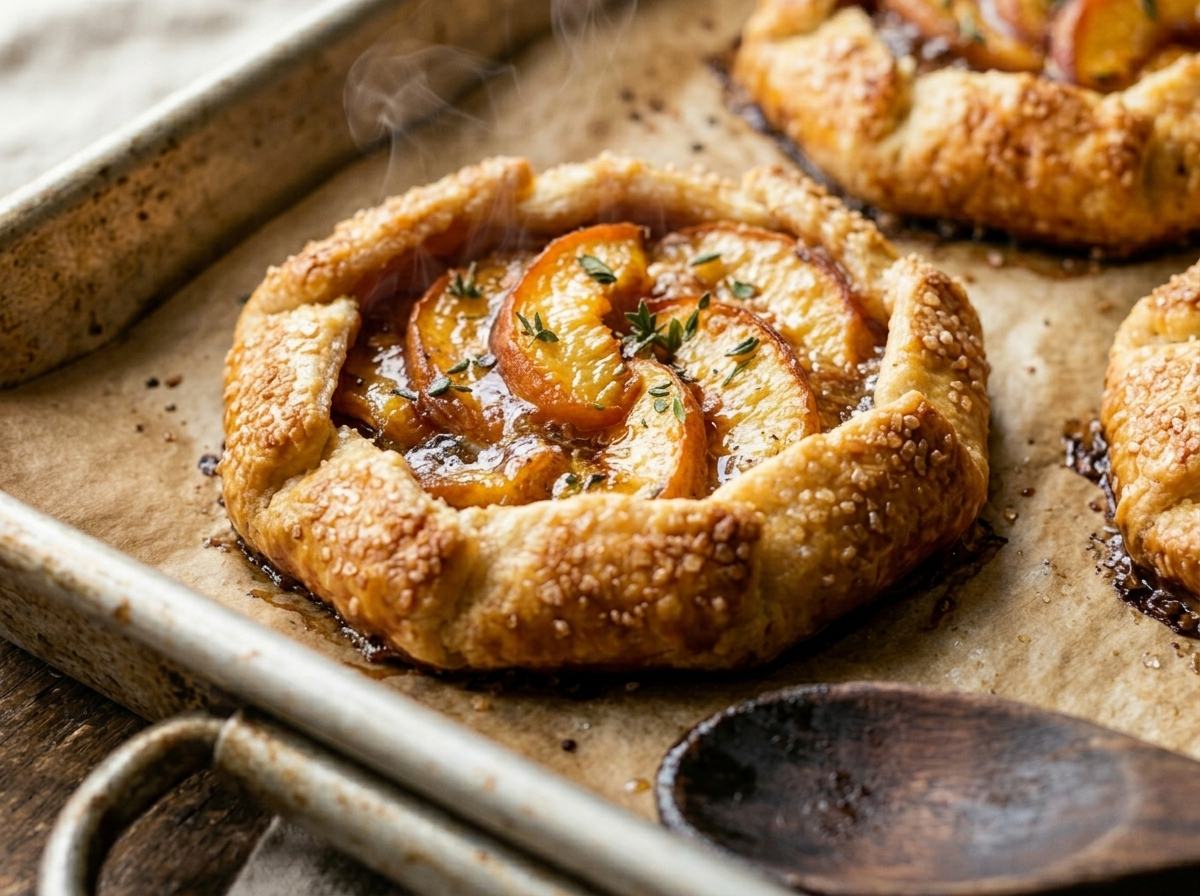
These mini versions are built for summer peaches at their peak. The filling is barely touched – just fresh sliced peaches, a little honey, a pinch of thyme, and a dusting of sugar. The pastry does the rest.
I started making these when I had three ripe peaches and not enough time for a full tart. Mini galettes bake faster, portion easily, and look like you spent far more effort than you did.
Fresh or frozen peaches both work. And if your dough cracks at the edges a little, that’s fine. That’s the point.

Why You’ll Love This Recipe
- No tart pan needed, just a sheet pan
- Flaky butter crust that holds its shape
- Fresh peach and honey filling in minutes
- Individual portions – easy to serve and plate
Ingredient Notes
- All-purpose flour: Standard all-purpose flour gives a tender, flaky crust. For a nuttier flavor, swap up to 30g with whole wheat flour.
- Unsalted butter: Keep it cold, straight from the fridge. Cold butter is what creates those flaky layers in the crust.
- Fresh peaches: Ripe but slightly firm peaches work best – overripe peaches release too much juice and can make the crust soggy. Frozen peaches (thawed and patted dry) are a solid off-season substitute.
- Honey: Any mild honey works here. Wildflower or clover honey keeps the peach flavor front and center. Maple syrup is a good swap.
- Fresh thyme: Just a few leaves add a subtle herbal note that pairs well with peach. Skip it or swap for a pinch of cinnamon if you prefer a more classic flavor.
- Egg yolk: Used for the egg wash to get that golden-brown crust. A splash of milk brushed on works if you’re out of eggs.
Mini Peach Galettes with Honey and Thyme
Ingredients
Method
- Combine the flour, sugar, and salt in a large mixing bowl and stir briefly.
- Add the cold butter cubes and use your fingertips to rub the butter into the flour until the mixture looks like rough, uneven crumbs with some pea-sized butter pieces still visible.
- Add ice water one tablespoon at a time, stirring with a fork after each addition, until the dough just comes together when you press a handful - it should not be sticky.
- Turn the dough onto a lightly floured surface, press it into a flat disk, wrap tightly in plastic wrap, and refrigerate for at least 30 minutes.
- Pat the peach slices dry with paper towels, then place them in a bowl.
- Add the honey, sugar, cornstarch, thyme leaves, vanilla extract, and lemon juice. Toss gently until the peaches are coated. Set aside for 5 minutes.
- Heat the oven to 200 C / 390 F. Line a large baking sheet with parchment paper.
- On a lightly floured surface, divide the dough into 6 equal pieces. Roll each piece into a rough circle about 14 cm / 5.5 inches wide and 3 mm thick.
- Transfer the dough rounds to the prepared baking sheet, spacing them 2 cm apart.
- Arrange the peach slices in overlapping layers in the center of each dough round, leaving a 4 cm border all the way around. Drizzle any remaining filling juices from the bowl over the fruit.
- Fold the dough edges up over the outer peach slices, pleating as you go to form a rough border. Press the folds lightly so they hold together.
- Brush the folded crust edges with egg wash. Sprinkle coarse sugar generously over the crust and a little over the fruit.
- Refrigerate the assembled galettes on the sheet pan for 15 minutes before baking.
- Bake at 200 C / 390 F for 22 to 25 minutes, rotating the pan once halfway through, until the crust edges are deep golden brown and the peach filling is bubbling.
- Remove from the oven and let the galettes cool on the pan for 10 minutes before serving - the filling sets a little as it cools.
Notes
Tips for Success
- Freeze the diced butter for 10 minutes before mixing to keep the crust extra flaky.
- Pat peach slices dry with paper towels to prevent a soggy galette base.
- Leave a 4 cm border of dough around the peaches before folding – any less and the filling spills.
- Brush the folded crust edges with egg wash and sprinkle with coarse sugar — similar to the honey caramel and sea salt finish used on brittle bars — for a bakery-style result.
- Rotate the sheet pan halfway through baking so the galettes brown evenly on both sides.
Variations
- Swap thyme for cardamom and add a spoonful of mascarpone under the peaches for a creamier filling.
- Use nectarines or apricots instead of peaches – same method, slightly shorter bake time.
- Add a thin layer of frangipane (almond cream) on the pastry base before laying the peach slices.
Storage and Reheating
Store cooled galettes in an airtight container at room temperature for up to 2 days. After that, refrigerate for up to 3 more days – the crust softens slightly but the flavor holds.
To reheat, place on a bare sheet pan in a 175 C / 350 F oven for 8-10 minutes until the crust crisps back up. Avoid the microwave – it makes the pastry chewy.
For freezing, wrap each galette individually in plastic wrap and freeze for up to 2 months. Reheat from frozen at 180 C / 355 F for 15 minutes.
Serving Suggestions
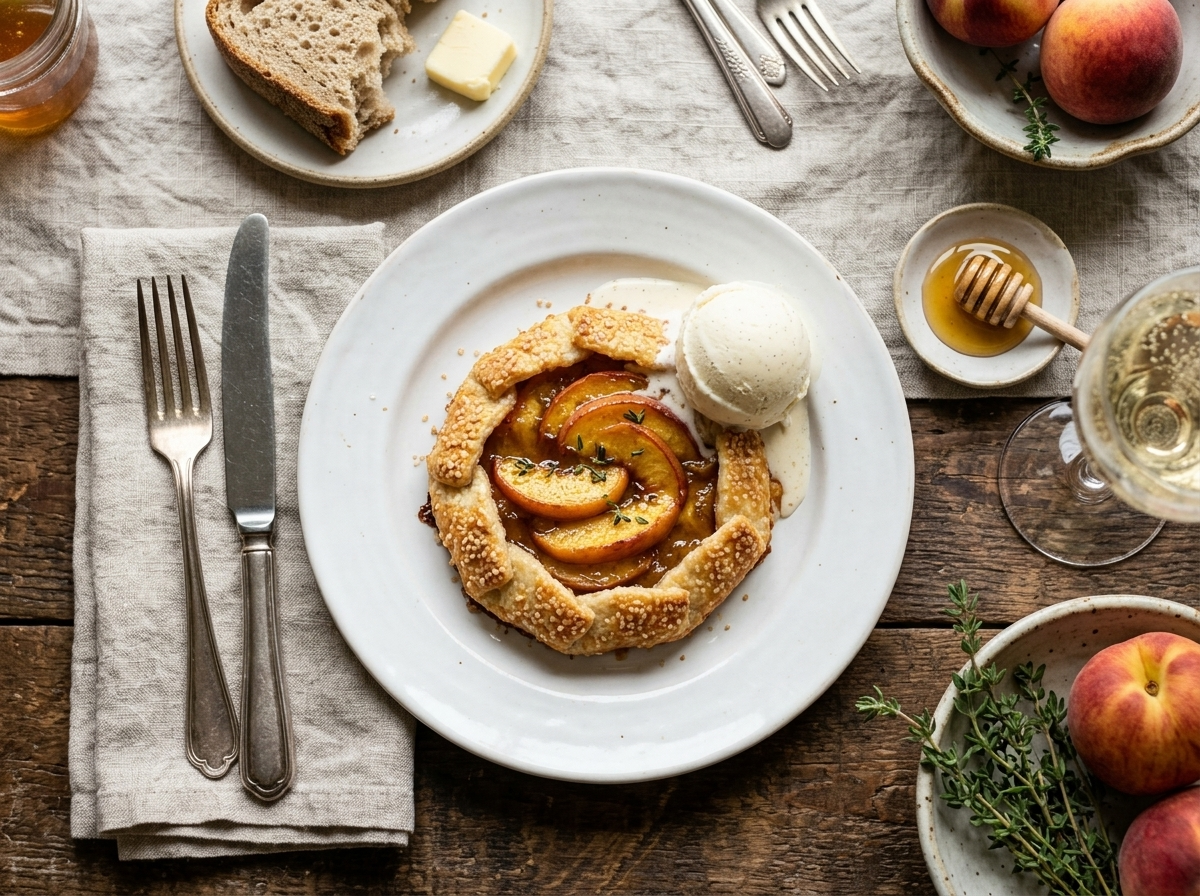
Serve warm with a scoop of vanilla ice cream or a spoonful of thick Greek yogurt, or alongside a silky honey-sweetened panna cotta if you want to stretch the dessert spread. The contrast between hot pastry and cold cream is the best part.
For a low-key dessert spread, plate two or three mini galettes on a wooden board with a small jar of honey on the side. A few fresh thyme sprigs make it look pulled-together with zero effort.
These also work at brunch alongside strong coffee or a glass of prosecco. They’re not too sweet for daytime.
FAQ
Why is my peach galette crust soggy on the bottom?
The most common cause is too much moisture from the peaches. Pat your peach slices dry before adding them to the dough, and make sure you’re baking on a preheated sheet pan or one lined with parchment. Also check that your oven is fully up to temperature before the galettes go in.
Can I use canned peaches instead of fresh for mini galettes?
You can, but drain them well and pat them very dry – canned peaches carry a lot of syrup that will leak into the crust. Fresh or frozen (thawed and dried) peaches give a cleaner result with better texture.
Can I make the galette dough the night before?
Yes, and it actually improves the texture. Wrap the dough disk tightly in plastic wrap and refrigerate overnight – up to 48 hours is fine. Pull it out 10 minutes before rolling so it’s pliable but still cold.
What pairs well with mini peach galettes at a dinner party?
A scoop of vanilla bean ice cream or a maple vanilla bean pudding served alongside is the classic match. For something less rich, a spoonful of creme fraiche with a drizzle of honey keeps things bright and not too heavy.
Are these mini peach galettes vegetarian?
Yes, this recipe is fully vegetarian. It contains butter, flour, and eggs so it’s not vegan, but there are no meat or fish ingredients.
How do I know when the mini galettes are done baking?
Look for deep golden-brown edges on the folded crust and bubbling fruit in the center – that’s the sign the peaches have released their juice and caramelized slightly. The base should feel firm, not soft, when you lift one edge with a spatula.