
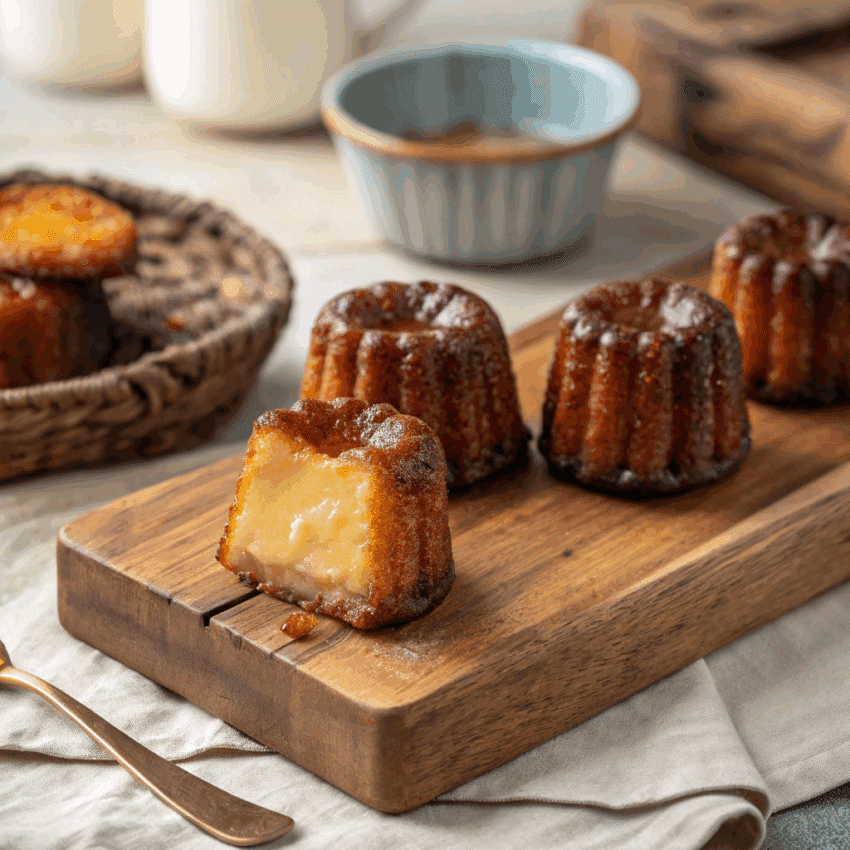
There’s something charming about a French pastry that looks simple on the outside yet hides a custardy interior that feels almost magical. That’s exactly how I’d describe cannelés—those caramelized, ridged little cakes from Bordeaux that seem to tease you with every bite. The first time I tasted one, it reminded me of biting into crème brûlée wrapped in a crisp shell. Ever since, I’ve been hooked.
If you’ve always wanted to try a French cannelés recipe at home but felt a little uncertain, you’re in the right place. These tiny cakes might have a reputation for being temperamental, but with clear steps and realistic expectations, you’ll be pulling off bakery-style results. I’ve made this recipe countless times, experimenting with temperatures, pans, and methods. What follows is the approach that consistently works in my kitchen.
Before we dive in, here’s something I’ll say upfront: making cannelés isn’t fast. The batter rests. The molds heat. The kitchen smells like caramelized heaven. But oh, the payoff.
What Makes Cannelés Special?
A cannelé (or canele, depending on the spelling you prefer) is a small French dessert made from a batter of milk, eggs, vanilla, sugar, and rum. It’s baked at high heat, which gives it that dark, crackly exterior. Inside, though? Pure custard. Soft, silky, almost pudding-like.
They’re quirky little pastries. They don’t behave like cakes. They don’t behave like flans. They live somewhere in between, with character that keeps bakers coming back for more attempts.
And once you get the hang of the process, you’ll wonder why you ever hesitated.
Ingredients for My Favorite French Cannelés Recipe
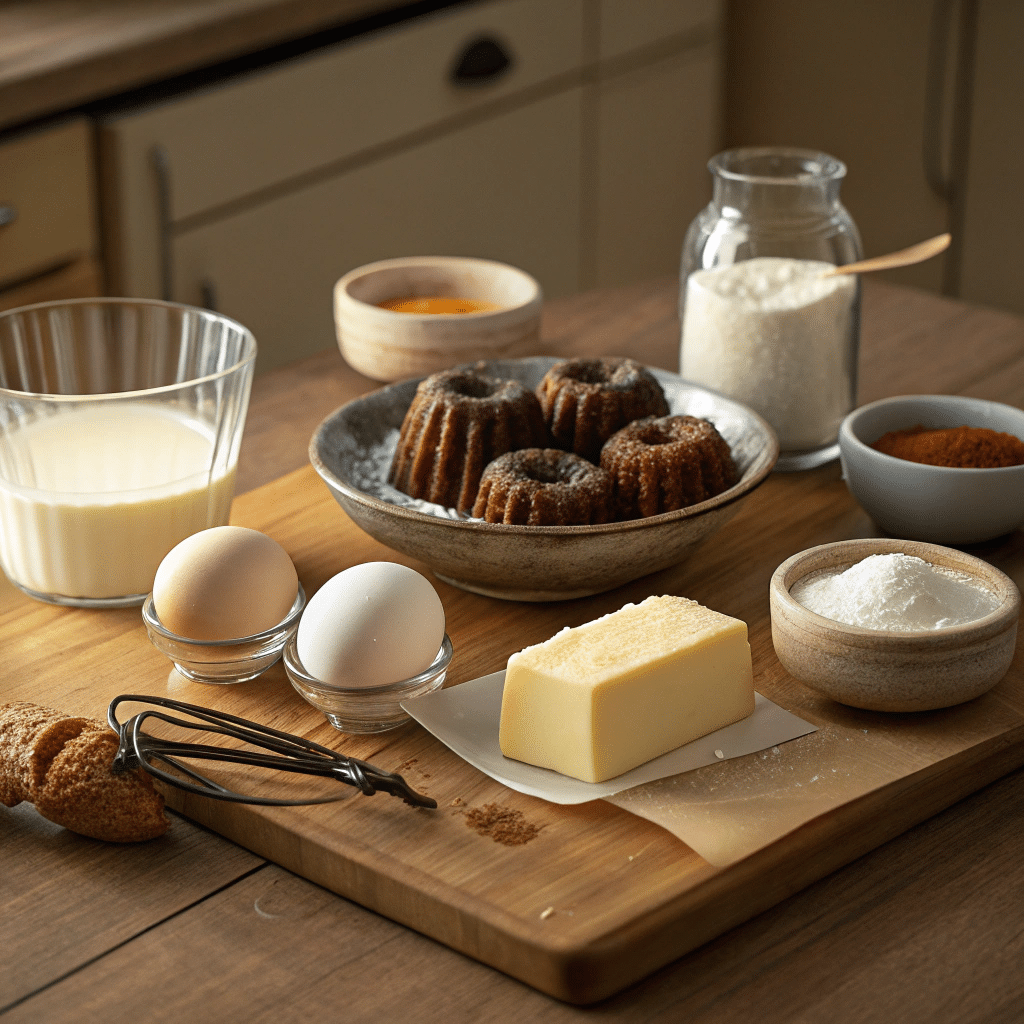
This batch makes 12 cannelés. You can double it, but I recommend mastering one batch first.
- 2 cups whole milk
- 4 tablespoons unsalted butter
- 1 vanilla bean or 2 teaspoons vanilla paste
- 1 cup granulated sugar
- 1 cup all-purpose flour
- 2 eggs
- 2 egg yolks
- 2 tablespoons dark rum
- Pinch of salt
Yep—simple ingredients. The magic is in how you treat them.
How To Make Canele Dessert (Step-By-Step Guide)
You’re about to discover why these French pastries have such a reputation. There’s a rhythm to the process, kind of like waiting for a good sourdough rise or letting brownies cool before cutting. But trust me…it’s worth it.
1. Warm the milk and butter
Heat the milk, butter, and vanilla in a saucepan over medium heat. Stop just before it boils. The butter should melt and the mixture should smell dreamy. Let it cool until warm but not hot.
A too-hot mixture will scramble the eggs later, and nobody wants sweet scrambled egg lumps.
2. Mix sugar, flour, eggs, and yolks
Whisk the sugar, flour, eggs, and yolks in a bowl. Don’t beat it aggressively. Slow and steady gives you a smoother batter and fewer bubbles.
3. Combine everything
Pour the warm milk mixture into the egg bowl in a slow stream. Whisk gently until the batter loosens and becomes silky. Add rum and salt.
At this point, the batter will look thin. Don’t panic. It’s supposed to.
4. Strain the batter
This isn’t optional. Straining removes lumps and gives you that famous smooth custard center.
5. Chill—overnight if possible
Cover the bowl and refrigerate at least 12 hours. Cannelés need rest. Letting the batter sit is what develops that deep flavor that makes people close their eyes mid-bite.
6. Prep your molds
You can use copper molds (traditional) or silicone molds (easier). If copper, coat them with melted beeswax or a beeswax-butter blend. If silicone, lightly brush with butter.
7. Preheat and heat molds
Get the oven really hot—450°F (230°C). Place empty molds inside for a few minutes. A hot mold gives you that crisp exterior.
8. Fill and bake
Fill each mold almost to the top. Bake at 450°F for 15 minutes, then drop the temperature to 375°F (190°C). Bake another 45–50 minutes.
You want them deeply browned. Not golden. Not light brown. Deep. Don’t be afraid of the darker color—that’s the hallmark of a good canelé.
9. Cool and release
Let them cool in the molds for 10 minutes, then pop them out. They should slide right out. The outside should feel firm, almost crackly. Inside? Soft custard heaven.
Canele Baking Tips I Wish I Knew Sooner
I’ve tested so many canele recipes over the years that I could probably write a short novel about my attempts. Instead, here are the essentials that truly matter.
Use very cold, well-rested batter
The contrast between cold batter and hot molds encourages that signature color.
Don’t stir the batter before pouring
The flour settles during chilling. Leave it. Trust the process.
Fill molds almost to the rim
A shy pour leads to squat, uneven pastries.
Expect variety
Cannelés rarely bake identically. One might be a shade darker. One might rise slightly more. That’s part of their charm.
Don’t under-bake
If you think they’re dark enough, give them five more minutes. That deep caramel flavor is the entire point.
How To Bake Canele at Home Without Copper Molds
Copper molds are wonderful, but silicone molds work fine too. They won’t caramelize quite as dramatically, but you’ll still get lovely results.
If you’re using silicone:
- Preheat the molds for a few minutes
- Use butter rather than beeswax
- Bake a little longer for color
I’ve made them this way many times, especially when traveling or testing new ovens.
Why Your Canneles Might Go Wrong (And How To Fix Them)
Since cannelés behave like tiny divas, here are common issues and fixes.
They collapse in the middle
Your oven might be too cool or the batter too warm. Increase the initial heat or rest the batter longer.
They’re pale, not caramelized
Extend baking time. Don’t be shy about darker color.
They stick to the mold
Use a proper coating. Silicone usually releases easily, but copper demands a bit more love.
They taste eggy
That means the batter didn’t rest long enough. Give it the full overnight chill next time.
Flavor Variations (If You Want to Experiment)
Once you master the classic version, try these twists:
- Orange zest
- Almond extract
- Cinnamon vanilla
- Brown sugar-rum
- Espresso-vanilla
Keep the final flavor subtle. Cannelés shine because of their texture, not loud additions.
Serving and Enjoying Your Homemade Cannelés
Once your cannelés have cooled and released from their molds, you’ll notice the contrast immediately: that glossy, caramelized shell and the gentle softness underneath. They’re wonderful as-is, but they also shine when paired with simple sides.
Here are a few pairings I reach for:
- A chilled glass of cold brew
- Warm vanilla-infused milk
- A tiny scoop of coconut ice cream
- Fresh strawberries
- A spoonful of lightly whipped cream
No need for anything fancy. Cannelés already feel special. These pairings just nudge the experience up a notch.
Storing and Reheating Cannelés the Right Way
Cannelés taste their best within hours of baking. The shell eventually softens, which changes the texture, but the flavor stays lovely. If you’re planning to store them, here’s what I recommend:
- Room temperature: Lightly cover them and keep for up to 48 hours
- Freezer: Freeze in a sealed bag up to one month
- Reheat: Warm in a 375°F (190°C) oven for 6–8 minutes to revive the exterior
They won’t be exactly like fresh ones, but they’ll still satisfy any craving.
Why This Canele Recipe Works for Beginners and Pros
I’ve tested so many versions across different ovens that I’ve lost count. What I learned is that cannelés react well to consistency. This recipe holds steady because:
- The batter stays fluid without becoming overly thick
- The long rest develops flavor and texture
- The high initial heat creates that signature shell
- The reduced temperature cooks the interior evenly
- The steps are straightforward, even for first-time bakers
If you’re new to French pastries, this canele dessert recipe gives you a reliable starting point. If you’ve made them before, this method might fix the issues that held you back.
How To Make Canele Cakes for Special Gatherings
If you’re baking for a party, wedding shower, or holiday dinner, cannelés bring that “wow” factor without requiring fancy decorating skills.
You can make:
- Mini cannelés for bite-size servings
- Rum-glazed tops for a glossy finish
- A mixed platter with plain, espresso, and citrus versions
- A dessert board with fresh fruit and small cups of espresso
Tiny details go a long way. Guests always comment on the texture, even if they’ve never heard of cannelés before.
Easy Flavor Variations
Once you get comfortable with the classic version, here are a few flavor ideas that keep things interesting:
- Cardamom and vanilla
- Rum-orange
- Almond and honey
- Espresso and brown sugar
- Maple and cinnamon
Each variation works because the custard filling carries flavor well without overwhelming that caramel shell.
Your Quick Guide to French Canneles (Step-by-Step Recap)
This cheat sheet helps when you don’t want to reread the entire recipe:
- Heat milk, butter, and vanilla
- Mix dry ingredients
- Add eggs and yolks
- Slowly pour warm milk mixture
- Add rum and strain
- Chill overnight
- Preheat molds in a hot oven
- Fill almost to the top
- Bake at high heat, then reduce
- Cool before unmolding
It’s a tidy rhythm once you’ve done it a couple of times.
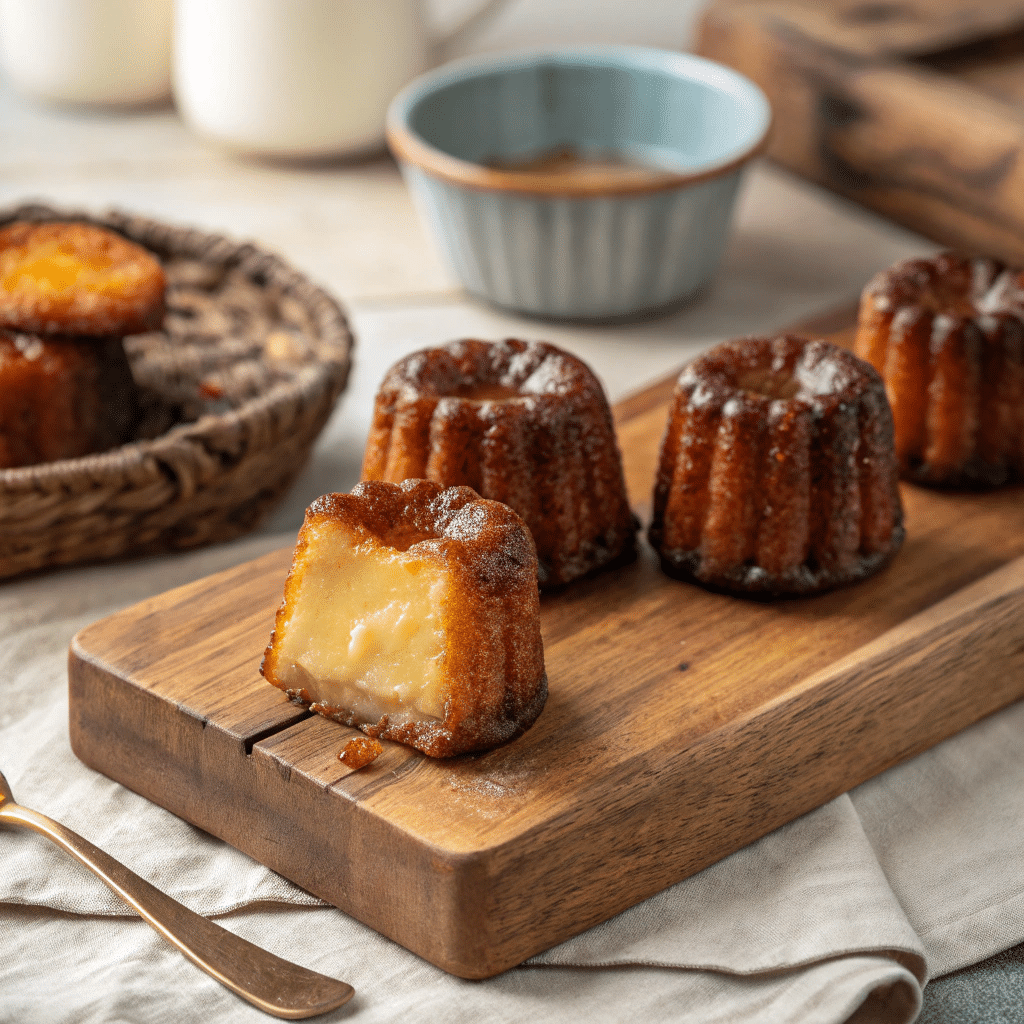
French Cannelés Recipe
Ingredients
Method
- In a saucepan, warm milk, butter, and vanilla over medium heat until butter melts. Do not boil. Let cool to warm temperature.
- In a bowl, whisk sugar, flour, eggs, and yolks gently until smooth. Avoid overmixing.
- Slowly pour the warm milk mixture into the egg mixture, whisking until smooth. Add rum and salt.
- Strain the batter through a fine mesh to remove lumps.
- Cover and refrigerate for at least 12 hours (overnight is best).
- Use either copper or silicone cannelé molds. Brush molds lightly with butter (or beeswax for copper).
- Heat oven to 450°F (230°C). Preheat empty molds in the oven for a few minutes.
- Fill molds almost to the top. Bake at 450°F for 15 minutes, then reduce to 375°F (190°C) and bake 45–50 minutes. Look for deep golden brown, almost dark caramel color.
- Let cool for 10 minutes, then remove from molds. Enjoy warm or at room temperature.
Notes
- Batter must rest overnight to get the best custard texture.
- Don’t worry if some cannelés are slightly darker; caramelized crust is normal.
- Can use silicone molds instead of copper for easier release.
- Best eaten the same day but can be reheated in a 375°F oven for 5–8 minutes.
French Canneles Recipe FAQs
Why strain the batter?
It removes lumps and gives you a smooth custard interior.
Can I skip the rum?
Yes. Vanilla or almond extract works as a substitute.
Why didn’t my cannelés brown enough?
They need high heat. Extend baking time or check oven calibration.
Why is the interior gummy?
The oven temperature may have dropped too fast or the batter didn’t rest long enough.
Do I need copper molds?
No. Copper is traditional, but silicone molds work very well for home baking.
Should the center be custard-like?
Yes. That contrast is what makes this French dessert so loved.
Can I chill the batter for longer than one night?
Up to two days is fine. Some bakers say it deepens the flavor even more.
Do cannelés need beeswax?
Not strictly. Beeswax helps crisp the exterior, but butter alone works.
Final Thoughts
Cannelés might look tiny, but they carry so much personality. The flavor, the texture, the crackle of the shell—it’s the kind of dessert that sticks with you. I hope this guide brings confidence to your kitchen and helps you create a batch you’re proud of.
And if you find yourself making them again the very next weekend, know that you’re definitely not alone.
