
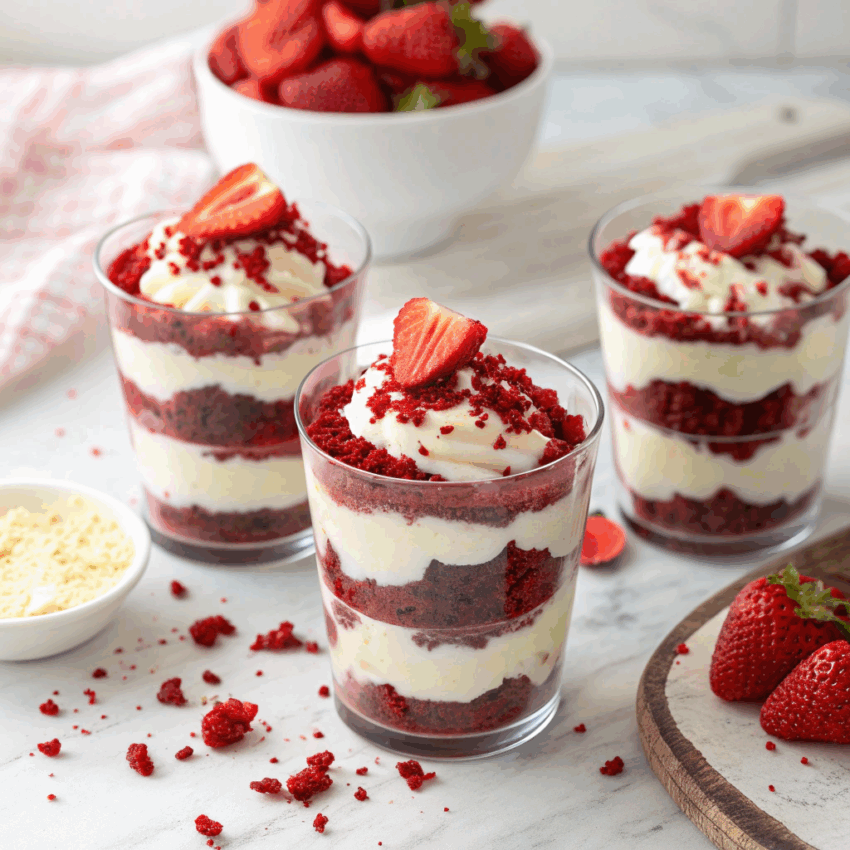
If there’s one dessert that never fails to charm a crowd, it’s red velvet trifle cups. They’re striking, indulgent, and oh-so-easy to love. Imagine layers of moist red velvet cake, fluffy cream cheese mousse, and clouds of whipped cream—all nestled in cute little cups. Whether you’re hosting a party or just craving something fancy without the fuss, these mini trifles are your go-to treat.
I’ve made my fair share of red velvet desserts, but these cups? They’re the perfect balance of elegance and simplicity. Let’s just say they’ve stolen the spotlight at every gathering I’ve brought them to.
Why You’ll Love These Red Velvet Trifle Cups
Think of these as the dessert version of a cozy hug—soft, creamy, and just a bit dramatic with that bold red hue.
Here’s why they’re irresistible:
- Individual servings: Perfect for parties, date nights, or treating yourself.
- Make-ahead friendly: The flavors deepen overnight, making them ideal for planning ahead.
- Versatile layers: You can use homemade red velvet cake, leftover cake scraps, or even boxed mix.
- Customizable: Add berries, drizzle some coffee syrup, or swap the mousse for cheesecake filling.
These mini trifles are proof that impressive desserts don’t need to be complicated.
What You’ll Need
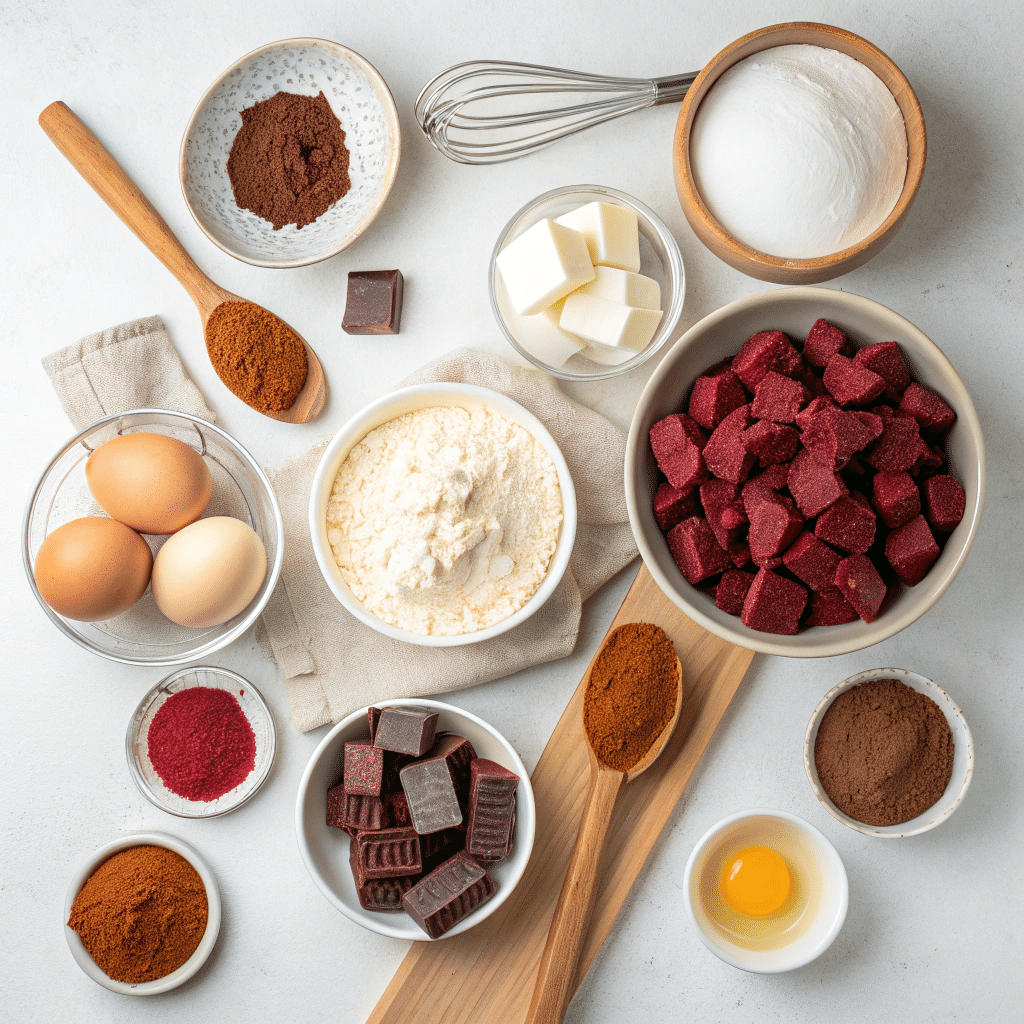
Here’s the lineup for the best red velvet trifle desserts you’ll ever make:
For the Cake Layer
- 1 box red velvet cake mix (or use your favorite homemade red velvet cake recipe)
- Ingredients listed on the box (usually eggs, oil, water)
For the Cream Cheese Layer
- 8 oz cream cheese, softened
- 1 cup powdered sugar
- 1 teaspoon vanilla extract
- 1 cup heavy cream, whipped to soft peaks
For the Whipped Cream Layer
- 1 ½ cups heavy cream
- 2 tablespoons powdered sugar
- ½ teaspoon vanilla extract
Optional Add-ins
- Fresh strawberries, raspberries, or cherries
- Crushed Oreos or chocolate shavings
- Homemade coffee syrup for a tiramisu twist
How to Make Red Velvet Trifle Cups
Step 1: Bake the Cake
Prepare your red velvet cake according to the package (or your homemade version). Once baked, let it cool completely. Then, crumble it gently with your hands or cut it into small cubes. Try not to snack on too many pieces—I’m guilty of that every single time.
Step 2: Whip the Cream Cheese Layer
In a medium bowl, beat cream cheese until smooth. Add powdered sugar and vanilla, mixing until fluffy. Fold in the whipped cream for a light, airy texture. This layer tastes like cheesecake met a cloud.
Step 3: Make the Whipped Cream
In a separate bowl, whip the cream, sugar, and vanilla until soft peaks form. This will be your topping—and trust me, it’s worth whipping from scratch.
Step 4: Assemble the Trifle Cups
Now comes the fun part! In clear dessert cups, layer:
- Red velvet cake cubes
- A spoonful of cream cheese mousse
- Fresh berries (optional)
- Whipped cream
Repeat until your cups are full. Top with more berries, crushed red velvet crumbs, or a drizzle of chocolate.
Pro Tips for Perfect Mini Trifles
- Cool the cake completely before layering, or the cream will melt.
- Use piping bags for neat layers—it makes the dessert look polished.
- Chill for at least 2 hours before serving. This helps the flavors blend beautifully.
- Experiment! Try making a red velvet cheesecake trifle by swapping the mousse for a cheesecake filling, or layer in pudding for a red velvet pudding trifle.
Fun Variations to Try
You don’t have to stop at one version. These desserts are wonderfully adaptable:
1. Red Velvet Cheesecake Trifle
Add a layer of crushed graham crackers between the cake and cream cheese mousse for a cheesecake-style finish.
2. Strawberries ’n’ Cream Trifle
Use fresh strawberries and vanilla pudding for a lighter, fruitier spin. It’s sunshine in a cup.
3. Red Velvet Parfait Desserts
Serve in tall glasses or mason jars for that layered café look. Perfect for gifting or picnics.
4. Red Velvet Dessert Shooters
Make bite-sized versions using shot glasses—tiny, adorable, and gone in two spoonfuls.
5. Red Velvet Raspberry Trifle
Layer in raspberry compote for a tangy twist that balances the sweetness.
6. Tiramisu-Inspired Cups
Brush each cake layer lightly with homemade coffee syrup before assembling for a mocha-red velvet fusion that’s unforgettable.
Storage and Make-Ahead Tips
You can prepare these red velvet trifle cups up to 2 days ahead. Just cover them tightly and keep refrigerated.
Avoid freezing—they lose their creamy texture when thawed.
If you’re prepping for a party, assemble everything except the whipped cream topping, then add it right before serving for that fresh, fluffy look.
Serving Ideas
- Garnish with a sprinkle of cocoa powder or red velvet crumbs for color contrast.
- Add a chocolate heart or wafer on top for Valentine’s Day vibes.
- Layer them in glass jars for a berry trifle dessert in a glass jar—they travel beautifully and look picture-perfect for Pinterest.
Why These Dessert Cups Work Every Time
Here’s the secret: balance. Each layer complements the next—sweet, tangy, creamy, and soft. The cake soaks up the cream’s flavor without turning soggy, and the cream cheese layer brings that signature tangy sweetness.
And because they’re individual red velvet trifles, everyone gets their own dessert. No slicing, no mess, just spoons diving straight into layers of joy.
Common Mistakes (and How to Avoid Them)
- Overmixing the mousse: It’ll lose its airy texture. Fold gently instead.
- Skipping the chill time: You’ll miss out on that perfect creamy consistency.
- Overfilling the cups: Leave room for whipped cream—it’s the crown jewel.
More Red Velvet Dessert Ideas
If you’re as obsessed with red velvet as I am, here are a few more ways to enjoy it:
- Red Velvet Cake Parfait with cream cheese and chocolate curls
- Red Velvet Cake in a Cup for a quick microwave fix
- Mini Trifles with layers of pudding and crushed cookies
- Red Velvet Dessert Cups with berries and mascarpone cream
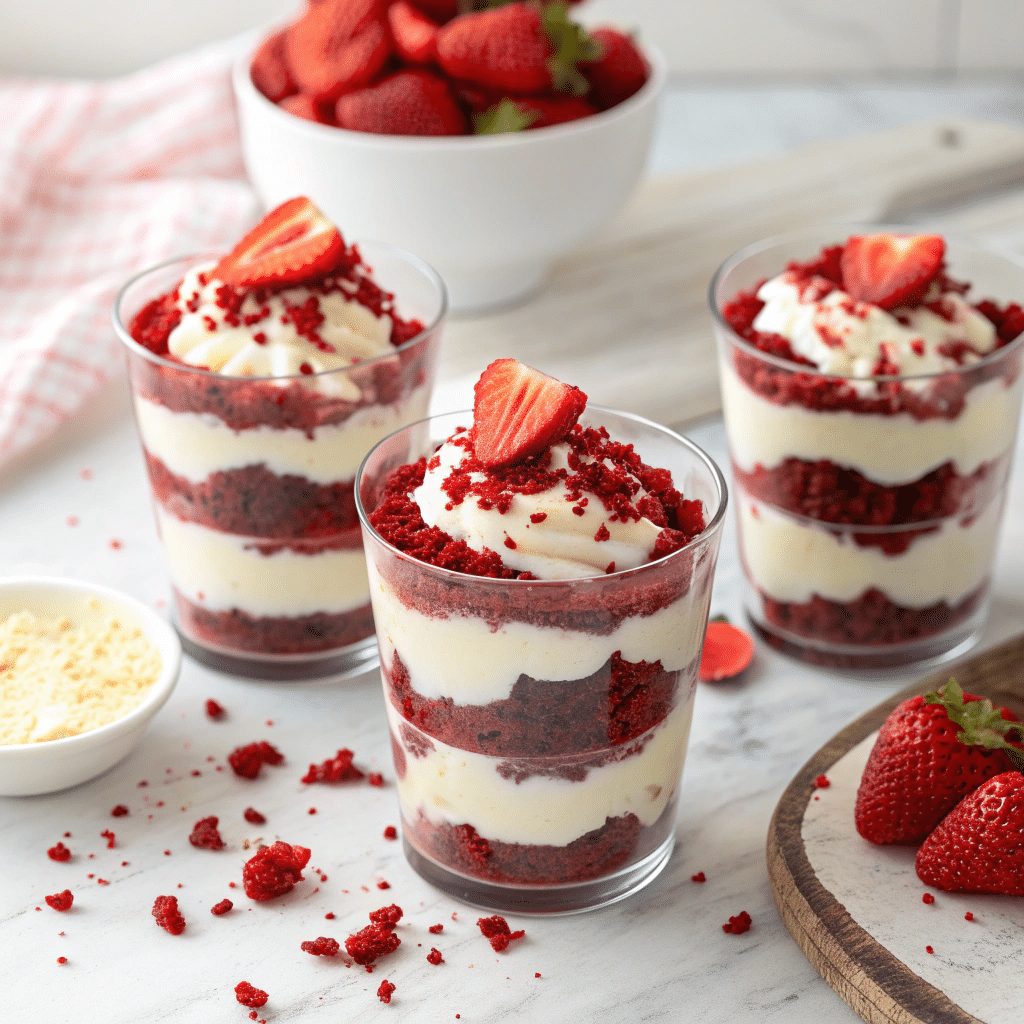
Red Velvet Trifle Cups
Ingredients
Method
- Prepare the red velvet cake according to the box instructions or your homemade recipe. Let it cool completely, then cut into cubes or crumble into bite-size pieces.
- In a bowl, beat the cream cheese until smooth. Add powdered sugar and vanilla, mixing until creamy. Fold in the whipped cream gently until combined. The texture should be fluffy and light.
- Whip the heavy cream with powdered sugar and vanilla until soft peaks form. Don’t overwhip—it should be airy and smooth.
- In clear glass cups, layer red velvet cake cubes, then a spoonful of cream cheese mousse, and a layer of whipped cream. Repeat once or twice until the cup is full.
- Top with more whipped cream, cake crumbs, or fresh berries. Chill the cups in the fridge for at least 2 hours before serving. The layers will set and taste even better.
Notes
- For a stronger red color, add a few drops of red food coloring to the cake batter.
- These trifles taste best when chilled overnight. The flavors blend and the texture gets creamier.
- You can make this recipe in a large trifle dish instead of cups if you’re serving a crowd.
- Add a light drizzle of coffee syrup between layers for a tiramisu-style version.
Frequently Asked Questions
Q1: Can I make red velvet trifle cups without cream cheese?
Absolutely. Swap the cream cheese for mascarpone or even vanilla pudding for a lighter texture.
Q2: Can I use store-bought cake?
Yes! Leftover cake or a bakery loaf works perfectly. Just make sure it’s not overly dry.
Q3: How long can I store them?
They’ll stay fresh for up to 3 days in the fridge. Keep them covered to prevent the cream from absorbing fridge odors.
Q4: Can I make a big trifle instead of cups?
Of course! Just layer everything in a large trifle bowl for a family-style dessert. It looks stunning at parties.
Q5: What fruits go best with red velvet?
Strawberries, raspberries, and cherries all pair beautifully with the tangy cream cheese and chocolatey cake flavor.
Final Thoughts
Red velvet trifle cups might look fancy, but they’re all heart. They’re proof that dessert doesn’t need to be complicated to be delicious. Every spoonful feels like a celebration—a blend of comfort, elegance, and nostalgia.
So next time you want to wow your guests (or yourself), grab a few cups, whip up those layers, and make something sweet together.
