
When it comes to coconut-based sweets, Brazil doesn’t mess around. And Cocada? Oh, it’s got some real staying power—literally. Sticky, chewy, creamy, with toasty edges that almost feel caramelized. It’s the kind of dessert that clings to your fingers and your memory.
I stumbled across Cocada during a trip to Salvador, Bahia. I bought it from a woman selling slices out of a wooden cart near the beach. One bite and I was sold. Since then, it’s been a regular guest in my kitchen—especially when I’ve got a can of sweetened condensed milk begging to be used.
What Is Cocada?
Cocada is a traditional Brazilian coconut dessert that’s part candy, part cookie. Made from grated coconut, sugar (or sweetened condensed milk), and sometimes a splash of coconut milk, it’s a street food classic throughout Brazil.
Some versions are golden brown and chewy. Others are white and soft. And in places like the Dominican Republic, Cocada Dominicana leans more custard-like. But here? We’re making the toasty, sliceable version that holds its shape and satisfies your sweet tooth in a single square.
Ingredients You’ll Need
Here’s the beauty—this recipe is short, sweet, and pantry-friendly:
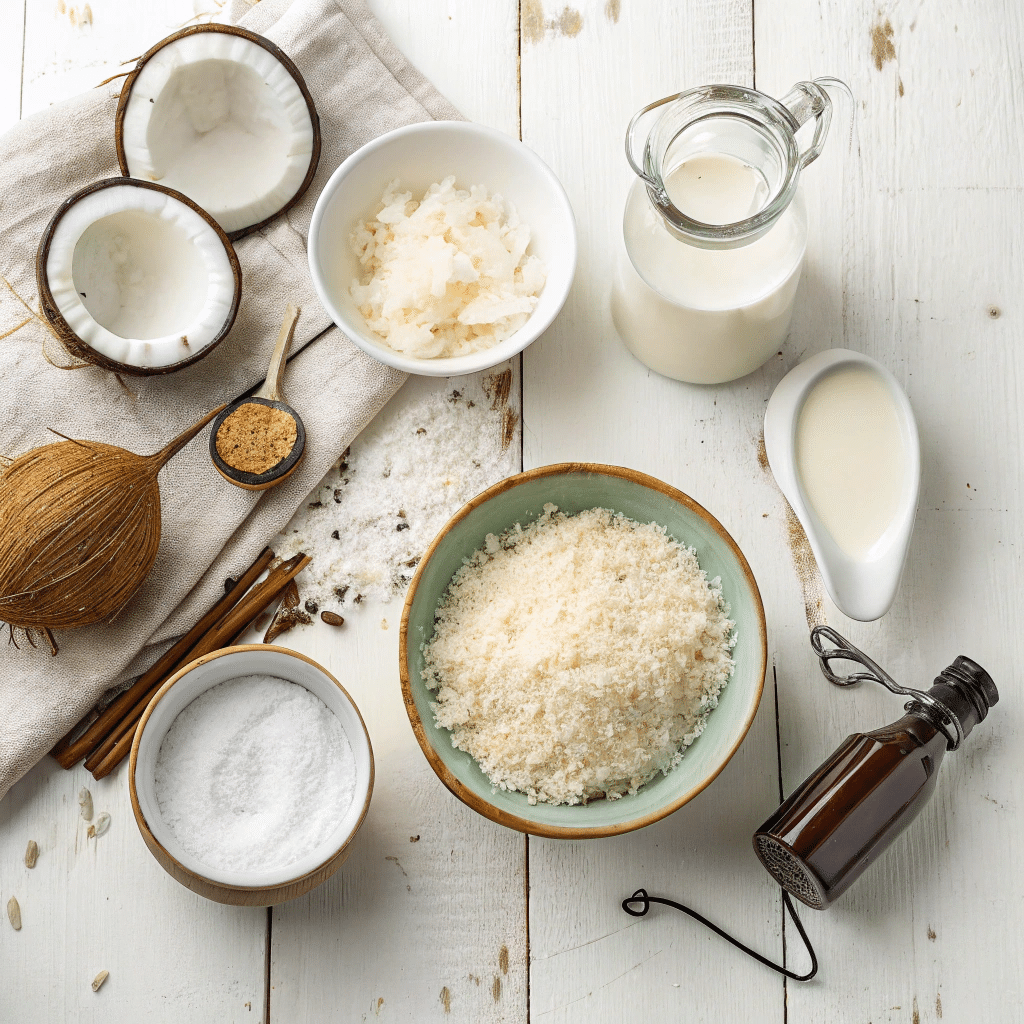
- 2½ cups grated coconut (fresh or unsweetened shredded works great)
- 1 can (14 oz) sweetened condensed milk
- ½ cup coconut milk
- 1 teaspoon vanilla extract
- Pinch of salt
Optional, but highly encouraged:
- ½ teaspoon cinnamon
- ¼ cup sugar (if you want it sweeter or more caramelized)
Jesse’s Tip: Go Low-Sodium
I like using low-sodium or sodium-free coconut milk to keep things on the lighter side. It doesn’t change the flavor much but helps if you’re watching salt intake. If “low sodium recipes” are your thing, Cocada checks that box with ease.
Step-by-Step: How to Make Brazilian Cocada
Let’s get to the good stuff:
1. Preheat and Prep
Line an 8×8 inch baking dish with parchment paper. Grease it slightly. Preheat your oven to 350°F (175°C).
2. Mix the Coconut Magic
In a bowl, mix the grated coconut, sweetened condensed milk, coconut milk, vanilla, salt, and cinnamon (if using). It should look like a sticky, glossy batter.
3. Into the Pan It Goes
Pour the mixture into your prepped baking dish. Use a spatula to smooth it into all the corners. It won’t spread on its own.
4. Bake Until Golden
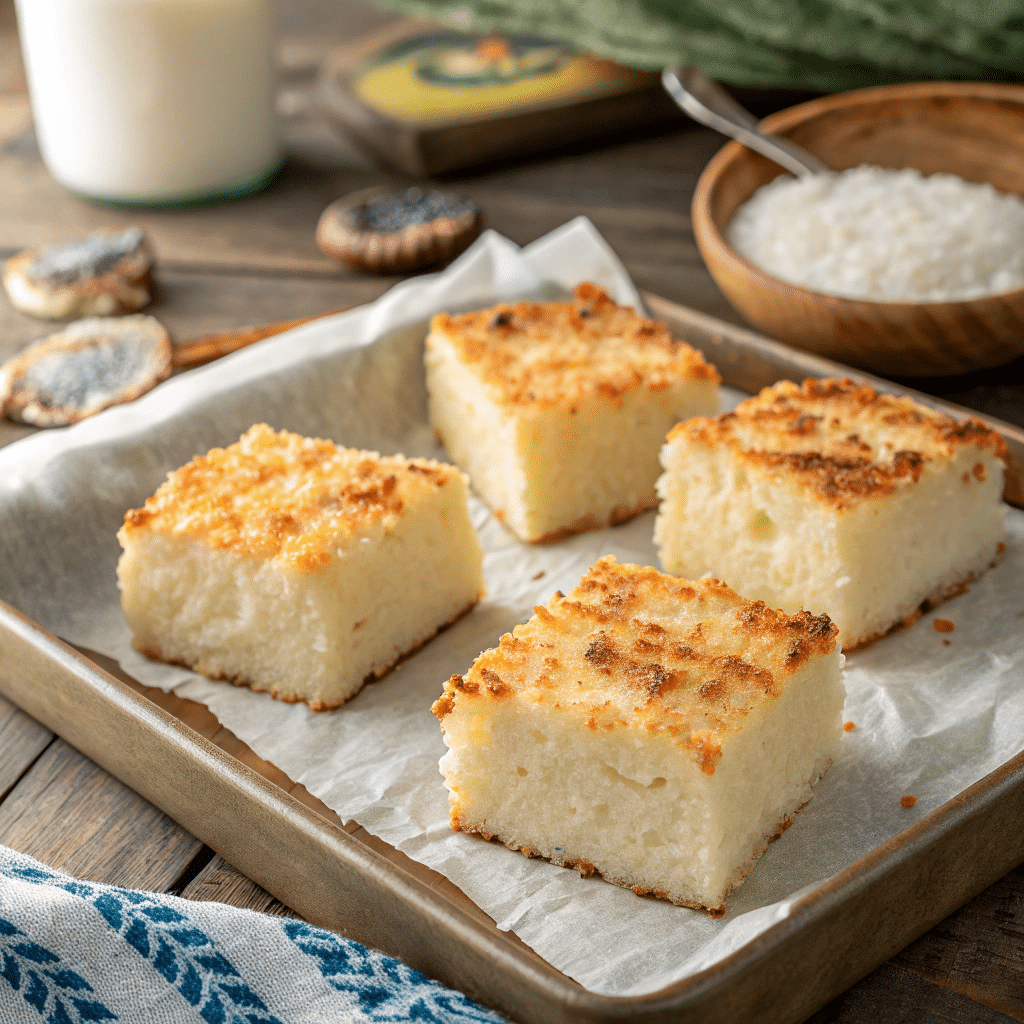
Bake for 25–30 minutes, or until the edges start to turn a warm, golden brown. The center should still be soft but not wet.
5. Let It Cool. Seriously.
This is the hardest part—waiting. Let it cool completely before cutting. It firms up as it rests.
6. Slice and Store
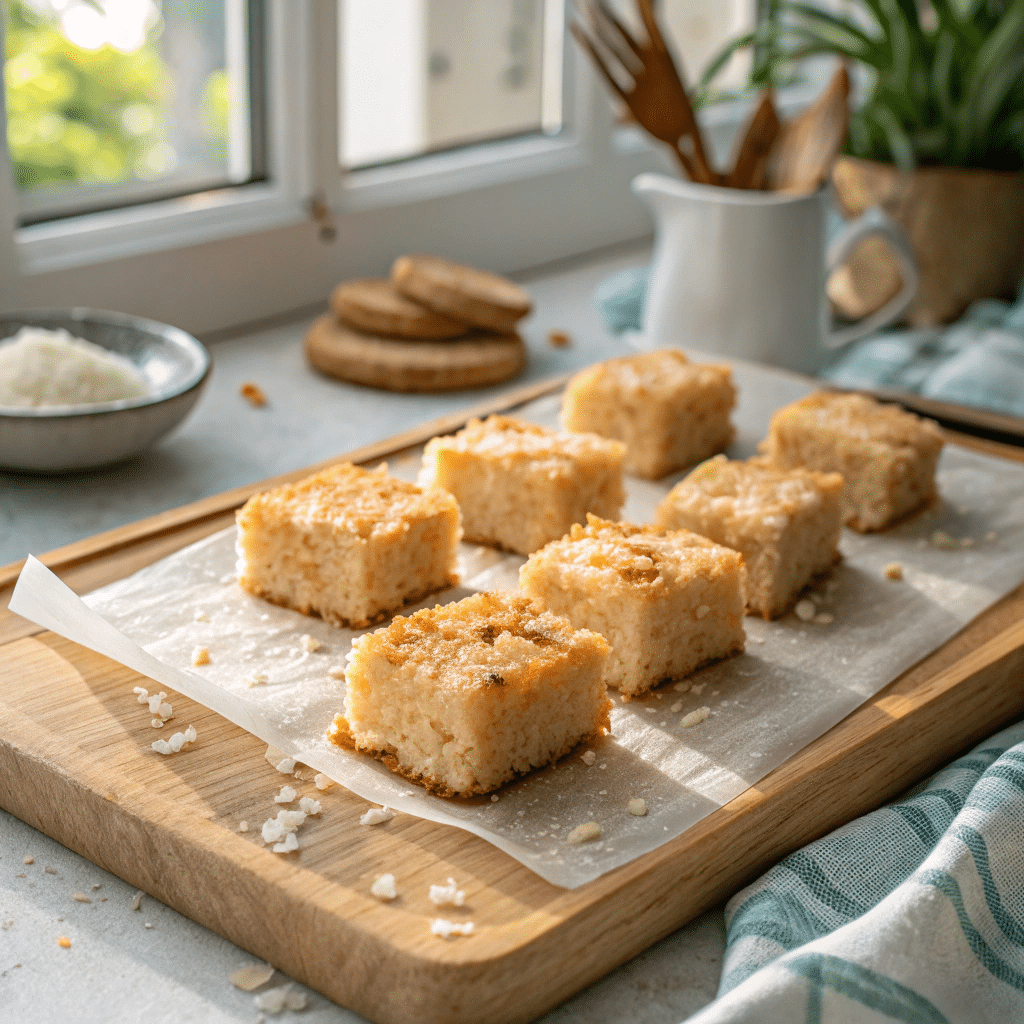
Once set, slice into squares or rectangles. Store in an airtight container for up to 5 days. That’s if they last that long.
Let’s Talk Texture
Cocada walks a fine line between fudge and cookie. The outer edges get that lovely golden crunch, while the inside stays chewy and rich. You don’t need a fork, but you will need a napkin—unless you’re okay with sticky fingers.
Variations to Try
Feeling adventurous? Here’s how you can twist it:
- Chocolate Cocada – Stir in a tablespoon of cocoa powder or drizzle with melted dark chocolate.
- Nutty Upgrade – Add chopped cashews or almonds for crunch.
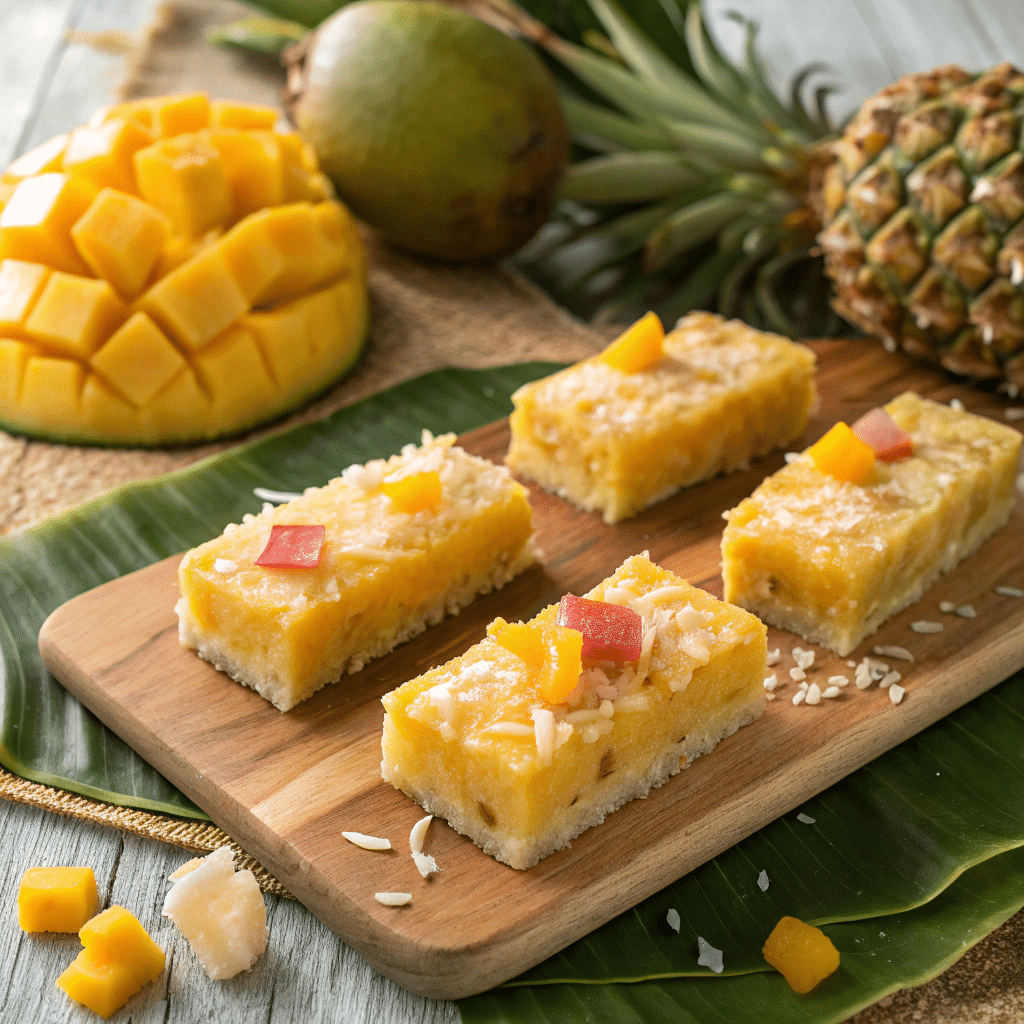
- Tropical Fusion – Mix in diced dried pineapple or mango for a fruit-forward version.
- Dominican Style – Skip the oven and cook it in a saucepan until thick, for a pudding-like texture.
Tips for Trying Cocada
- Use fresh grated coconut if you can. It adds more texture and natural oil, which bumps up flavor.
- Don’t skip the parchment paper. This stuff is sticky, and cleaning a pan afterward isn’t nearly as fun as eating Cocada.
- Let it cool completely. Trying to cut it warm will leave you with a gooey mess.
- Double the batch. If you’re making this for more than two people, trust me—it goes fast.
- Pair it with strong coffee or black tea. The sweetness balances beautifully.
- Make it ahead. It actually tastes even better a day later once the flavors mellow.
Coconut Lovers, This One’s for You
There’s something deeply comforting about coconut desserts. Maybe it’s the creamy texture. Maybe it’s the beachy, sunny vibe it brings. Cocada taps into all of that and delivers in full.
I keep grated coconut in my freezer just for moments like these—when I want something sweet, quick, and straight from the heart of Brazilian food culture.
Cocada – Brazilian Coconut Treat
Ingredients
Method
- Preheat your oven to 350°F (175°C). Line an 8×8 inch baking dish with parchment paper and lightly grease it.
- In a large mixing bowl, combine grated coconut, sweetened condensed milk, coconut milk, vanilla extract, salt, and (if using) cinnamon and sugar. Mix until it forms a sticky, creamy batter.
- Pour the mixture into your prepared baking dish. Spread evenly with a spatula so it reaches all corners and edges.
- Bake for 25–30 minutes, or until the top is lightly golden and the edges look toasty and caramelized.
- Let it cool completely at room temperature. The texture will firm up as it sits.
- Once cooled, cut into squares or rectangles. Store in an airtight container at room temperature for up to 5 days.
Notes
- Use fresh grated coconut for the best flavor, but unsweetened shredded coconut works just fine.
- Letting it cool completely is key for clean slices. If you cut too soon, it’ll fall apart.
- Feel free to add chopped nuts or dried fruit if you want to switch it up.
- Best served slightly warm or at room temp with tea or coffee
FAQs About Cocada
Q: Can I use sweetened shredded coconut instead of unsweetened?
A: You can, but it’ll be sweeter—maybe too sweet if you’re already using condensed milk. Adjust the sugar or leave it out.
Q: Is this similar to coconut candy?
A: Yes! Cocada is basically Brazil’s version of coconut candy. Rich, chewy, and full of coco flavor.
Q: Can I make it vegan?
A: Yep! Swap the condensed milk with a vegan version (like oat- or coconut-based) and make sure the coconut milk is dairy-free.
Q: What’s the difference between Cocada and Cocada Dominicana?
A: Cocada Dominicana is usually made stovetop and ends up creamier—almost like a coconut pudding. Still delicious, just a different vibe.
Q: Can I freeze Cocada?
A: Technically, yes. But the texture gets a little weird. It’s better fresh or stored at room temp in a sealed container.