If there’s one recipe that never fails to bring out smiles, it’s chocolate cereal nests. They’re crunchy, sweet, and ridiculously easy to make. Think of them as the lovechild of a childhood snack and a Pinterest-worthy dessert. The best part? They don’t require turning on the oven. Just chocolate, cereal, and a little creativity.
I first made these during springtime when I wanted something festive but fuss-free. Since then, they’ve become my go-to no-bake treat for birthdays, Easter, and even those late-night snack attacks when a plain chocolate bar just won’t cut it.
What Are Chocolate Cereal Nests?
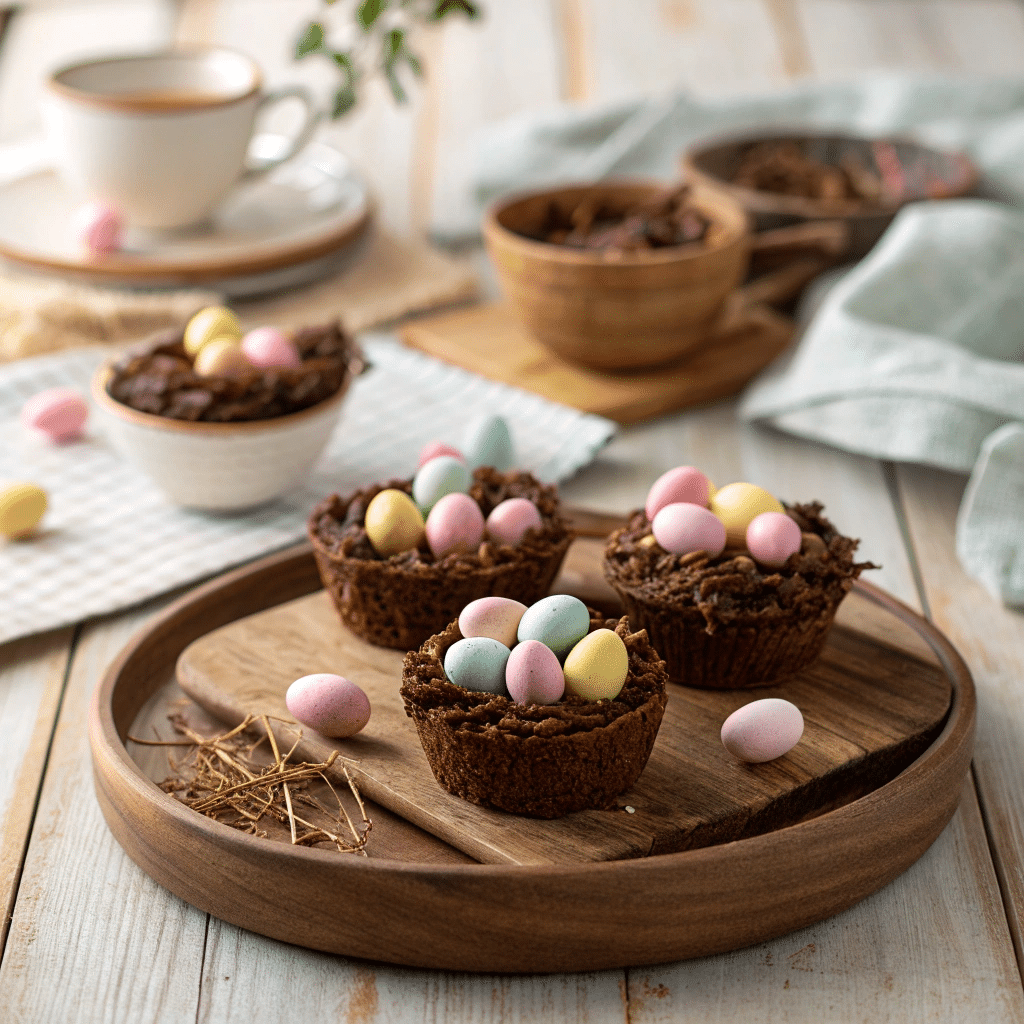
Chocolate cereal nests are bite-sized clusters made by coating cereal with melted chocolate, then shaping them to look like little bird nests. Traditionally, they’re topped with mini eggs or candy, but you can swap that for fruits, nuts, or even more chocolate (because there’s no such thing as too much chocolate).
The idea is simple: use your favorite cereal, bind it together with chocolate, and let it set. Some people use cornflakes, others swear by rice krispies, and I’ve even seen them made with crunchy chocolate pebbles cereal. Every variation gives a different texture, so you can experiment until you find your favorite.
Ingredients You’ll Need

Here’s the beauty of this recipe: the ingredients list is short and flexible.
- Cereal – Rice Krispies, cornflakes, Chocokrispis cereal, or even Count Chocula cereal work. Each gives its own crunch.
- Chocolate – Dark chocolate for a richer flavor, milk chocolate for a sweeter vibe, or a mix of both. I usually melt dark chocolate because it balances out the sugar in the cereal.
- Toppings – Mini eggs, M&M’s, fruit, or even a drizzle of white chocolate for that cereal bowl aesthetic.
Optional add-ins: a spoonful of peanut butter, shredded coconut, or chopped nuts.
Step-by-Step Recipe for Chocolate Cereal Nests
Step 1: Melt the Chocolate
Break your chocolate into pieces and melt it in a heatproof bowl over simmering water. Stir until smooth. If you’re short on time, the microwave works too—just zap in short bursts and stir in between so it doesn’t burn.
Step 2: Mix in the Cereal
Pour your cereal into the melted chocolate and fold gently. Make sure every piece gets coated. This is where the fun happens. The glossy mix is oddly satisfying to stir—I’d compare it to watching chocolate rice krispies commercials where everything looks perfect and shiny.
Step 3: Shape the Nests
Line a baking tray with parchment paper. Scoop spoonfuls of the mixture and drop them onto the tray. Use the back of the spoon to create a little dip in the center, like a nest. This is where your toppings will sit.
Step 4: Chill
Place the tray in the fridge for about 30 minutes, or until the nests are firm. Don’t rush this step—otherwise you’ll end up with wobbly nests that collapse when touched.
Step 5: Decorate
Once set, top with mini eggs, nuts, or fruit. I once used chopped strawberries, and they looked like tiny eggs in the nest—adorable and tasty.
Why You’ll Love This Recipe
- No-bake – Forget preheating ovens. This recipe is all about melt, mix, and chill.
- Versatile – Use any cereal: rice krispie cakes, crunch cereal, or even chocolate cereal with milk close-up vibes if you drizzle milk over them before eating.
- Kid-friendly – Perfect for little hands to help with mixing and decorating.
- Quick – You can prep these in under 20 minutes. The fridge does the rest.
Fun Variations to Try
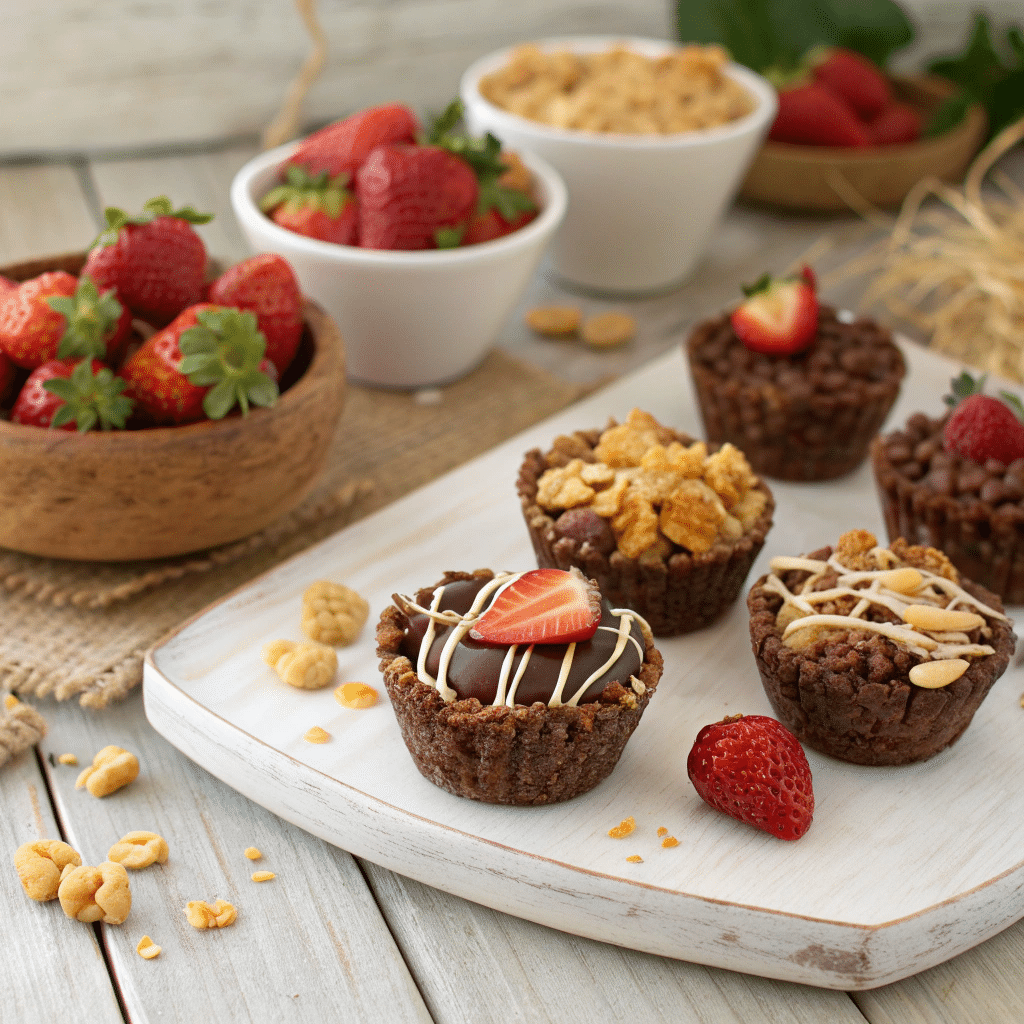
- Dark Chocolate Cereal Snack: Use 70% cocoa dark chocolate and top with sea salt. It’s the grown-up version of a childhood favorite.
- Chocolate Pebbles Cereal Nests: For extra crunch, mix cocoa pebbles cereal with melted chocolate. Double chocolate, double fun.
- Nutty Nests: Stir in almonds or hazelnuts for added bite.
- Fruit Topped: Fresh berries give them a vibrant pop of color and balance the sweetness.
- White Chocolate Swirl: Melt a bit of white chocolate and drizzle over the top for that cereal bowl aesthetic you see on Pinterest.
Storage Tips
These chocolate nests store well in an airtight container in the fridge for up to a week. They also freeze beautifully—just pop them in a freezer-safe bag and thaw at room temperature when you’re ready for a snack.
Pro tip: If you live in a warm climate, keep them refrigerated so the chocolate doesn’t melt.
Serving Ideas
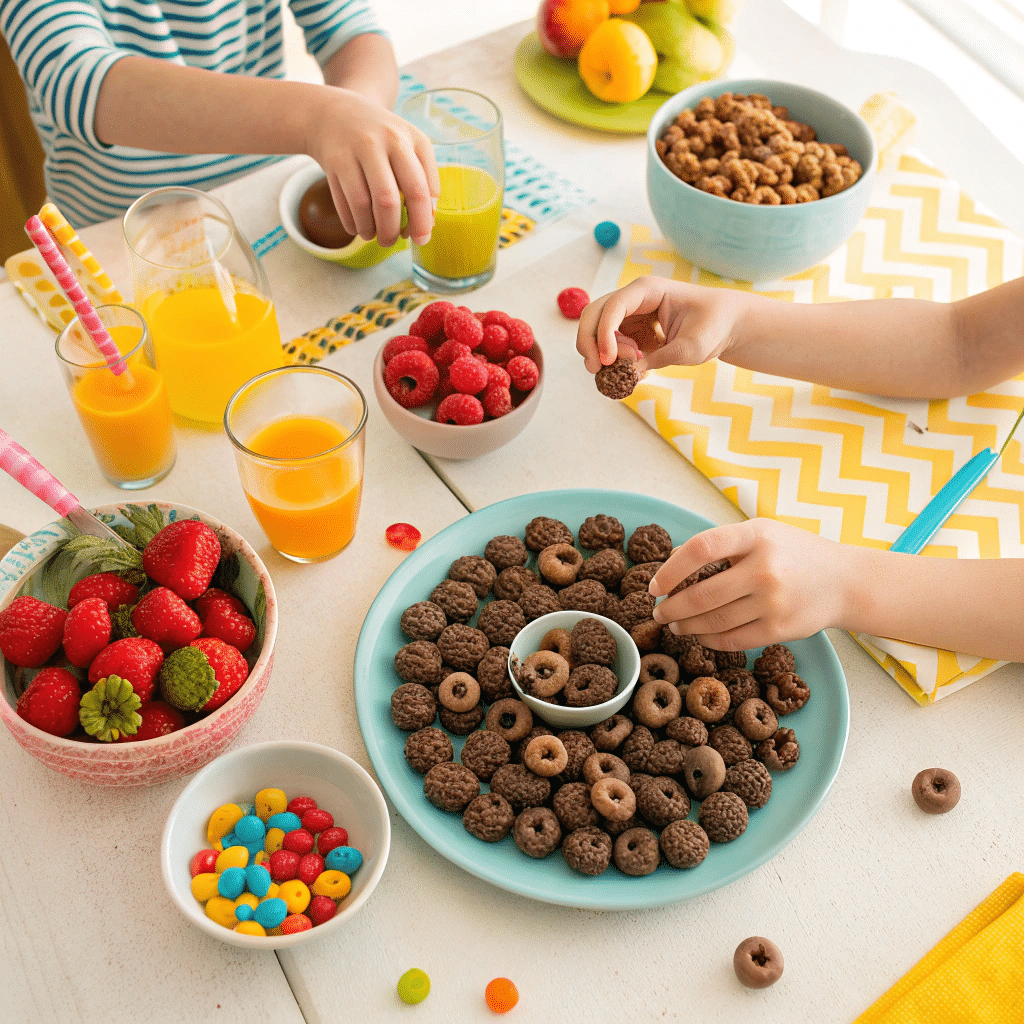
Chocolate cereal nests aren’t just for Easter. Serve them at kids’ birthday parties, pack them for road trips, or keep a stash in your fridge for movie nights. I’ve even made them as edible party favors. Trust me—people light up when they see these bite-sized nests on the table.
Final Thoughts
Chocolate cereal nests are proof that simple recipes can still wow a crowd. With just cereal and chocolate, you get a crunchy, chocolaty snack that looks adorable and tastes even better. Whether you’re making them with kids or sneaking a midnight batch for yourself, these little nests never disappoint.
So grab your favorite cereal, melt some chocolate, and give this recipe a try. Sweet, simple, and absolutely worth it.
Chocolate Cereal Nests
Ingredients
Method
- Break the chocolate into small chunks. Place it in a heatproof bowl over simmering water (double boiler) and stir until smooth. You can also melt it in the microwave in short bursts, stirring between each.
- Add the cereal into the melted chocolate. Stir gently with a spoon until all the cereal is coated in chocolate.
- Line a baking tray with parchment paper. Drop spoonfuls of the mixture onto the tray and use the back of a spoon to create a small dip in the center, like a bird’s nest.
- Place the tray in the refrigerator for about 30 minutes, or until the nests are firm.
- Once firm, add mini eggs, fruit, or nuts in the center of each nest. Serve chilled or at room temperature.
Notes
- You can swap cereals (cornflakes, Count Chocula cereal, or crunch cereal work great).
- For softer texture, stir 1 tbsp of butter into the melted chocolate.
- Always line your tray with parchment paper to avoid sticking.
- Store in an airtight container in the fridge for up to 7 days.
Frequently Asked Questions
1. Can I make chocolate cereal nests without chocolate?
Technically, no. Chocolate is the glue that holds the cereal together. But if you’re avoiding chocolate, try binding with peanut butter and honey instead.
2. What’s the best cereal to use?
It depends on the texture you like. Rice krispies make them light and airy, while crunch cereal gives them more bite. I’ve tried chocokrispis cereal for a double chocolate effect, and it was a hit.
3. Can I make them ahead of time?
Yes! They stay fresh for about a week in the fridge. If you’re planning for a party, make them a day or two in advance.
4. Are they gluten-free?
That depends on the cereal. Many brands now offer gluten-free rice krispies or cornflakes. Just check the box before using.
5. How do I keep the nests from sticking to the tray?
Always line your tray with parchment paper. Otherwise, you’ll be prying chocolate off metal, and that’s no fun.

