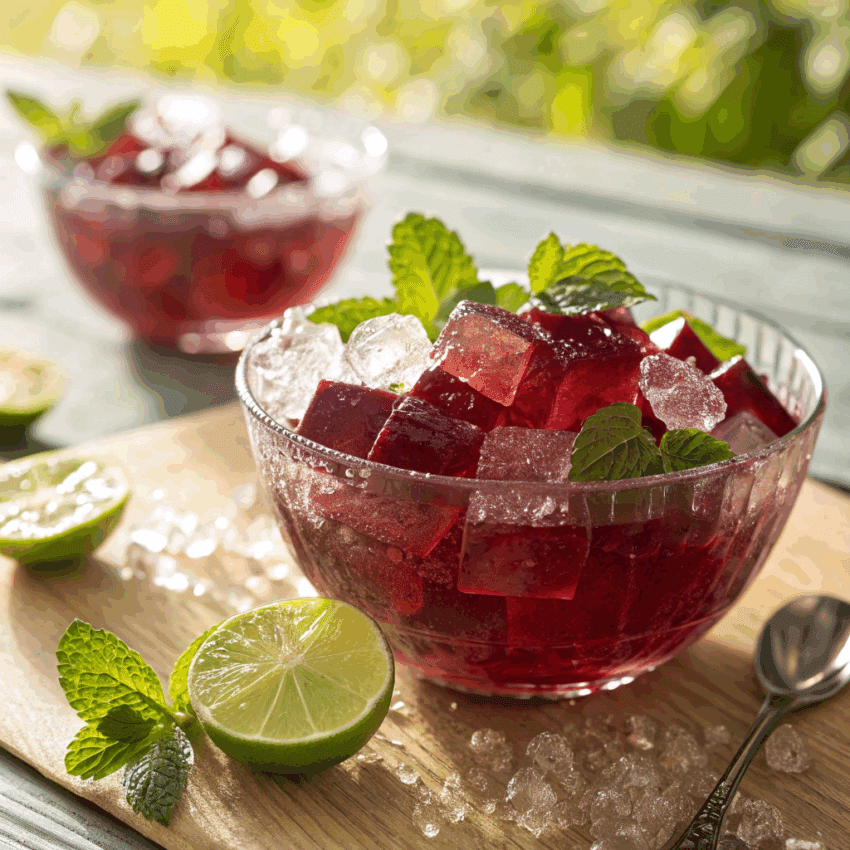
Bright, tangy, and refreshingly floral — hibiscus iced jelly dessert is the kind of treat that makes you forget about plain old lemonade on a hot day. The vibrant crimson hue pulls you in, but the cool, lightly sweet, tea-infused jelly keeps you coming back for more. If you’ve got dried hibiscus flowers and a little sugar, you’re halfway there.
In this recipe, I’ll walk you through how to make a perfectly set hibiscus jelly that’s served chilled with ice and fresh fruit for an extra summer punch. It’s simple enough for a weekday treat but striking enough to impress guests at your next gathering.
Why Hibiscus Works for Desserts
Hibiscus has a tangy flavor, a bit like cranberries, with a floral twist that makes it perfect for light, cold desserts. You’ve probably had it as hibiscus tea before — in Mexico, it’s called agua de jamaica. When you turn it into jelly, it’s like bottling summer in a dessert bowl.
Beyond flavor, hibiscus gives your jelly a gorgeous ruby-red color without food coloring. That makes it a natural choice for anyone who loves recipes that are both beautiful and delicious.
Ingredients You’ll Need
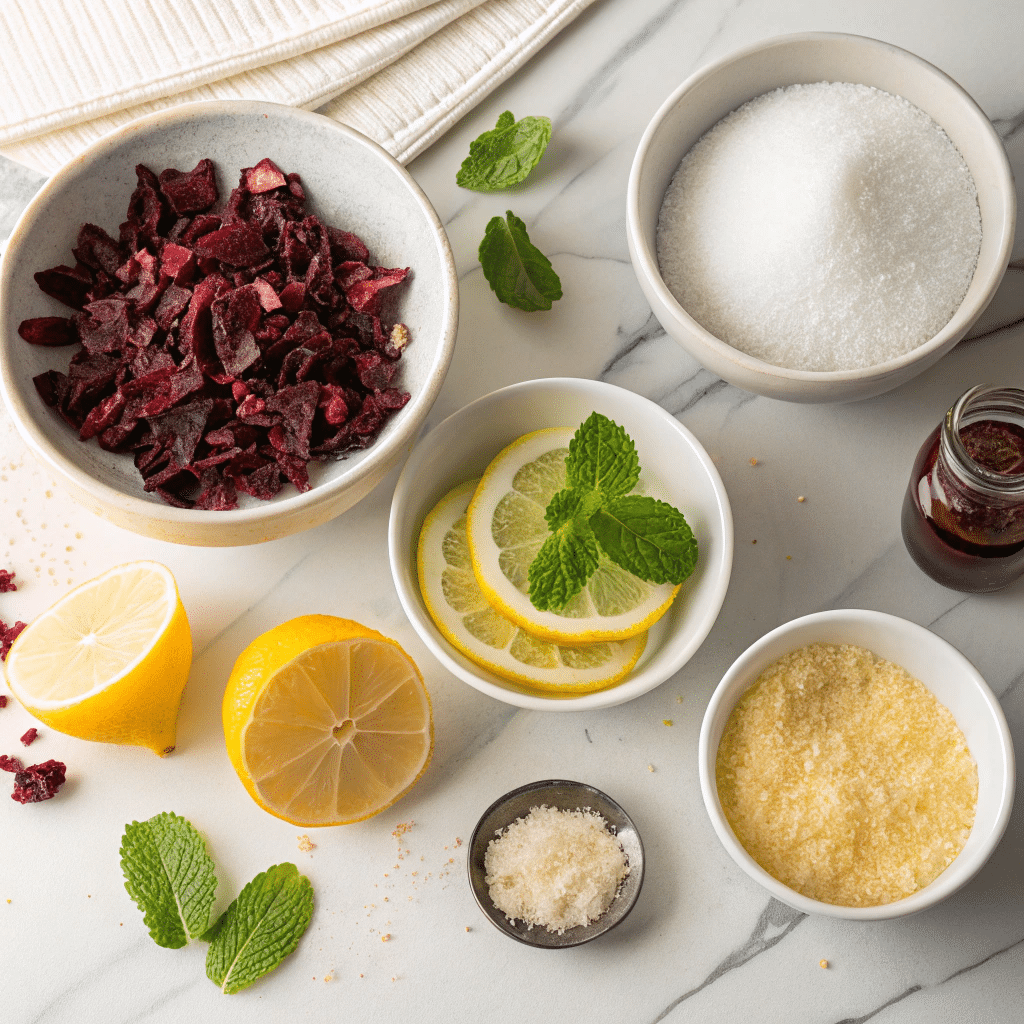
For the Hibiscus Jelly:
- 4 cups water
- ½ cup dried hibiscus flowers
- ½ cup sugar (adjust to taste)
- 1 tablespoon lemon juice
- 2 tablespoons hibiscus syrup (optional for deeper flavor)
- 3 teaspoons powdered gelatin (or agar-agar for a plant-based version)
- ¼ cup cold water (for blooming gelatin)
For Serving:
- Crushed ice or ice cubes
- Fresh berries, mint, or thin citrus slices
- A drizzle of honey or extra hibiscus syrup if desired
Step-by-Step Instructions
Step 1 – Brew the hibiscus tea
Bring 4 cups of water to a boil in a medium pot. Add the dried hibiscus flowers and sugar, then stir. Let it simmer for 5 minutes, then remove from heat. Add lemon juice and hibiscus syrup (if using). Let it steep for another 10 minutes.
Step 2 – Strain and set aside
Strain the mixture through a fine mesh sieve to remove the petals. Pour the liquid back into the pot and keep it warm on low heat.
Step 3 – Bloom the gelatin
In a small bowl, sprinkle gelatin over ¼ cup cold water. Let it sit for about 5 minutes until it swells and becomes spongey.
Step 4 – Combine and dissolve
Add the bloomed gelatin to the warm hibiscus tea. Stir gently until the gelatin dissolves completely.
Step 5 – Pour and chill
Pour the mixture into a large glass dish or small molds. Let it cool to room temperature, then cover and refrigerate for at least 4 hours or until set.
Step 6 – Serve cold with ice
Cut the jelly into cubes or scoop it out with a spoon. Serve over crushed ice, topped with fruit and mint for a refreshing finish.
Variations to Try
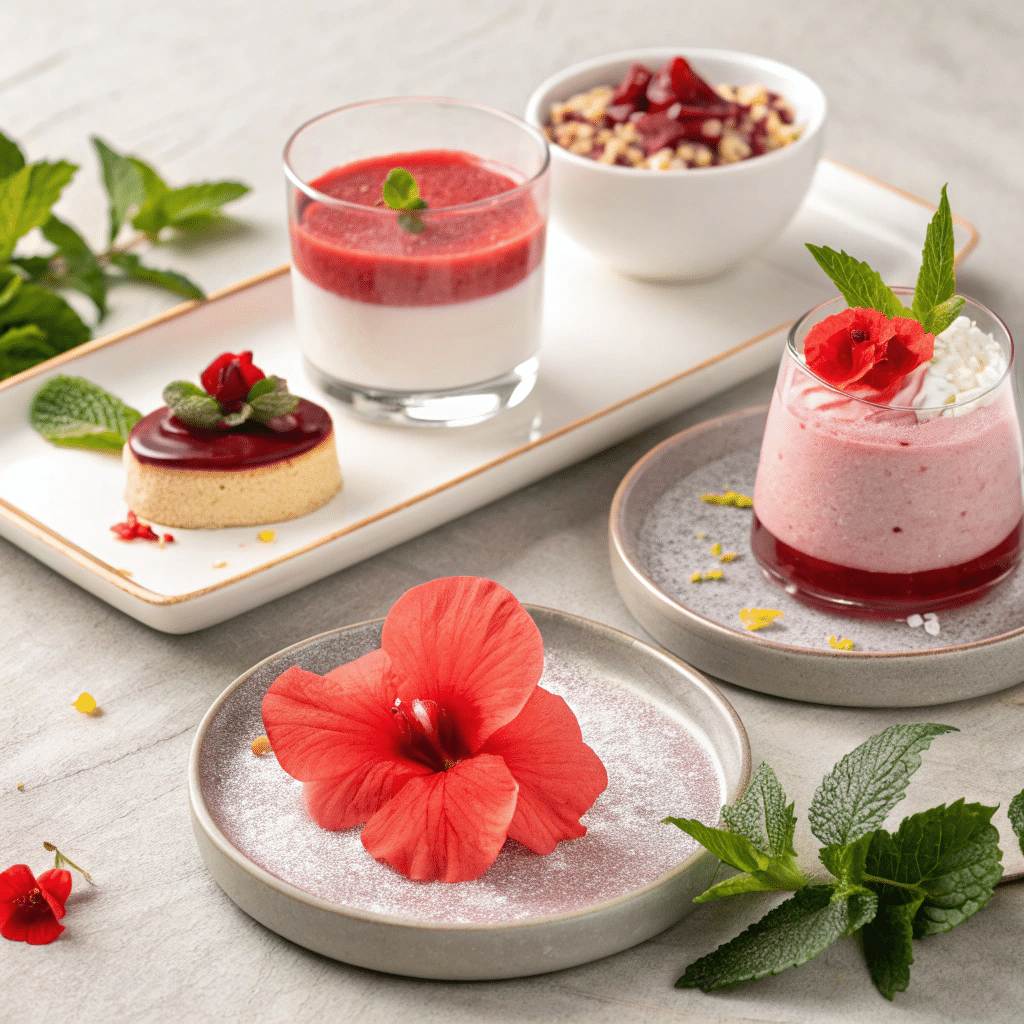
Hibiscus Mousse – Fold whipped cream into cooled (but still unset) hibiscus jelly mixture for a light, airy version.
Hibiscus Sorbet – Freeze sweetened hibiscus tea in an ice cream maker for a smooth sorbet that melts in your mouth.
Layered Jelly – Alternate hibiscus jelly with coconut milk jelly for a striking two-tone dessert.
Spiced Hibiscus – Add cinnamon sticks or star anise while brewing the tea for a warm depth of flavor.
Tips for Getting It Right
- Taste before setting – Hibiscus can be naturally tart. Sweeten to your liking while the liquid is still warm.
- Don’t rush the chill time – If you try to unmold the jelly too soon, it will slump. Four hours minimum, overnight for the best texture.
- Use filtered water – Since hibiscus is delicate, clean-tasting water makes a difference.
- Experiment with sweeteners – Honey, agave, or even stevia can work if you want to avoid refined sugar.
- Make ahead – This dessert keeps well for up to 3 days in the fridge, making it perfect for prepping before guests arrive.
- Try before the party – Make a small test batch the day before if you’re serving it to others. You’ll be able to tweak sweetness, acidity, and firmness without stress.
Final Thoughts
Hibiscus iced jelly dessert is proof that you don’t need elaborate techniques to create something memorable. With a handful of ingredients and a bit of patience, you can turn hibiscus tea into a cooling, jewel-toned treat that’s as beautiful as it is refreshing. Whether you make it for a backyard barbecue, a summer picnic, or just because the afternoon is sweltering, this dessert is your shortcut to instant cool-down bliss.

Hibiscus Iced Jelly Dessert
Ingredients
Method
- Bring 4 cups of water to a boil. Add dried hibiscus flowers and sugar. Simmer for 5 minutes, then remove from heat. Stir in lemon juice and hibiscus syrup if using. Let steep 10 minutes.
- Strain the liquid through a fine sieve to remove petals. Return liquid to the pot and keep warm on low heat.
- Sprinkle gelatin over ¼ cup cold water. Let it sit for 5 minutes until it thickens.
- Stir the bloomed gelatin into the warm hibiscus tea until fully dissolved.
- Pour into molds or a dish. Let it cool to room temp, then refrigerate at least 4 hours until set.
- Cut into cubes or scoop into bowls. Serve over crushed ice with mint, fruit, or a drizzle of hibiscus syrup.
Notes
- Adjust sweetness before setting the jelly — hibiscus is naturally tart.
- Agar-agar works instead of gelatin if you prefer a vegan option, but it will set firmer.
- Make ahead — this jelly keeps in the fridge up to 3 days.
- Garnish right before serving so the fruit and herbs stay fresh.
FAQs
1. Can I use fresh hibiscus flowers instead of dried?
Yes, but fresh petals have a milder flavor. You’ll need to use about three times the volume to match the intensity of dried hibiscus.
2. Is hibiscus safe for everyone?
Hibiscus can lower blood pressure. If you’re pregnant, nursing, or on medication for blood pressure, check with your doctor before indulging.
3. Can I use agar-agar instead of gelatin?
Absolutely. Agar-agar sets more firmly and is plant-based. Use the package instructions for converting gelatin measurements.
4. How do I store leftovers?
Keep hibiscus jelly covered in the fridge. Avoid freezing — it changes the texture.
5. Can I skip the lemon juice?
You can, but a touch of acidity brightens the flavor and balances sweetness.