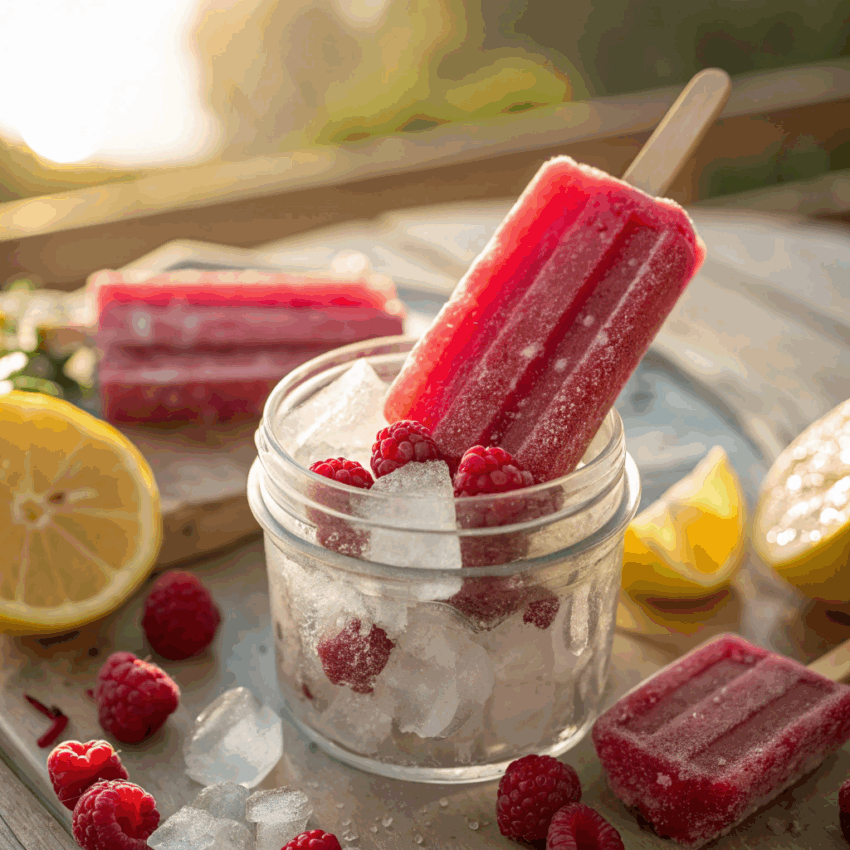
Sweet, tangy, and oh-so-refreshing — raspberry lemonade pops are the ultimate frozen treat for warm days. These colorful pops pack the punch of tart raspberries with the zing of fresh lemonade, making them both satisfying and invigorating. Whether you’re reaching for a healthy raspberry lemonade ice pop, a creamy version, or a vegan-friendly twist, this recipe delivers a pop for every preference.
They’re easy to make at home, require minimal prep, and are far better than store-bought versions. Plus, you get to control the ingredients, meaning you can whip up dairy-free raspberry lemonade popsicles, sugar-free raspberry lemonade pops, or even a layered raspberry lemonade pops masterpiece without breaking a sweat.
Why You’ll Love These Pops
- Quick Prep – Just blend, pour, and freeze.
- Customizable – Switch up the sweetener, make them vegan, or swirl in yogurt for raspberry lemonade yogurt popsicles.
- Kid-Approved – Sweet enough for little taste buds but with real fruit goodness.
- Pinterest-Perfect – They look as good as they taste.
Ingredients You’ll Need
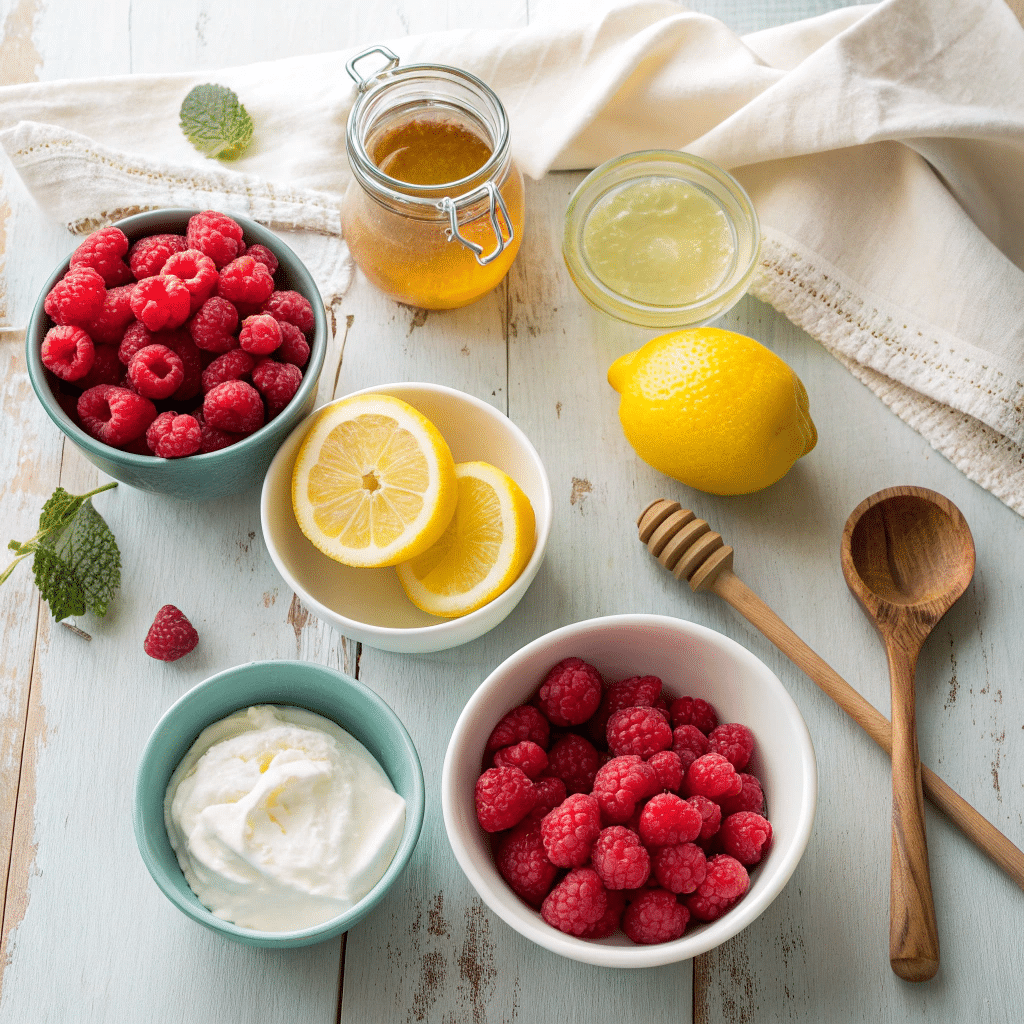
This recipe makes 8 pops.
- 1 ½ cups fresh or frozen raspberries (if frozen, thaw first)
- ¾ cup fresh lemon juice (about 3–4 lemons)
- ½ cup honey, agave, or maple syrup (adjust for sweetness)
- 1 cup water
- Optional: ½ cup Greek yogurt or coconut yogurt for creamy raspberry lemonade pops
- Optional for layering: Extra raspberries and lemon slices
Step-by-Step Recipe: Raspberry Lemonade Popsicles
Step 1 – Blend the Base
In a blender, combine raspberries, lemon juice, sweetener, and water. Blend until smooth. If you prefer a seed-free pop, strain the mixture through a fine mesh sieve.
Step 2 – Make it Creamy (Optional)
For creamy raspberry lemonade pops, mix equal parts of your raspberry lemonade base with yogurt in a separate bowl. You can swirl the two mixtures together in the molds for a marbled look.
Step 3 – Go for Layers (Optional)
For layered raspberry lemonade pops, pour a small amount of raspberry mixture into each mold, freeze for 30 minutes, then add a yogurt layer, freeze again, and repeat until full.
Step 4 – Freeze
Pour your chosen mixture into popsicle molds, leaving a little room at the top for expansion. Insert sticks and freeze for at least 4–6 hours, or until solid.
Step 5 – Unmold and Enjoy
Run the molds under warm water for a few seconds to release the pops. Serve immediately or store in a freezer bag for up to 3 weeks.
Flavor Variations

- Sugar-Free Raspberry Lemonade Pops – Use a natural sugar substitute like monk fruit or stevia.
- Vegan Raspberry Lemonade Popsicles – Use maple syrup or agave and plant-based yogurt if making them creamy.
- Berry Blast – Add strawberries or blueberries for a mixed berry twist.
- Citrus Upgrade – Replace half the lemon juice with lime or orange juice for an unexpected tang.
- Herbal Infusion – Steep fresh mint or basil leaves in the water before blending for an extra layer of flavor.
Tips for Best Results
- Taste Before You Freeze – Raspberry tartness can vary, so taste the mixture and adjust the sweetener before pouring into molds.
- Use Ripe Raspberries – They’ll make your pops naturally sweeter and more vibrant.
- Freeze Upright – This helps layered pops stay clean and defined.
- Don’t Overfill – Leave a bit of space at the top so the liquid can expand while freezing.
- Release Gently – Warm water on the outside of the mold is your friend.
Try This Before You Commit to a Full Batch
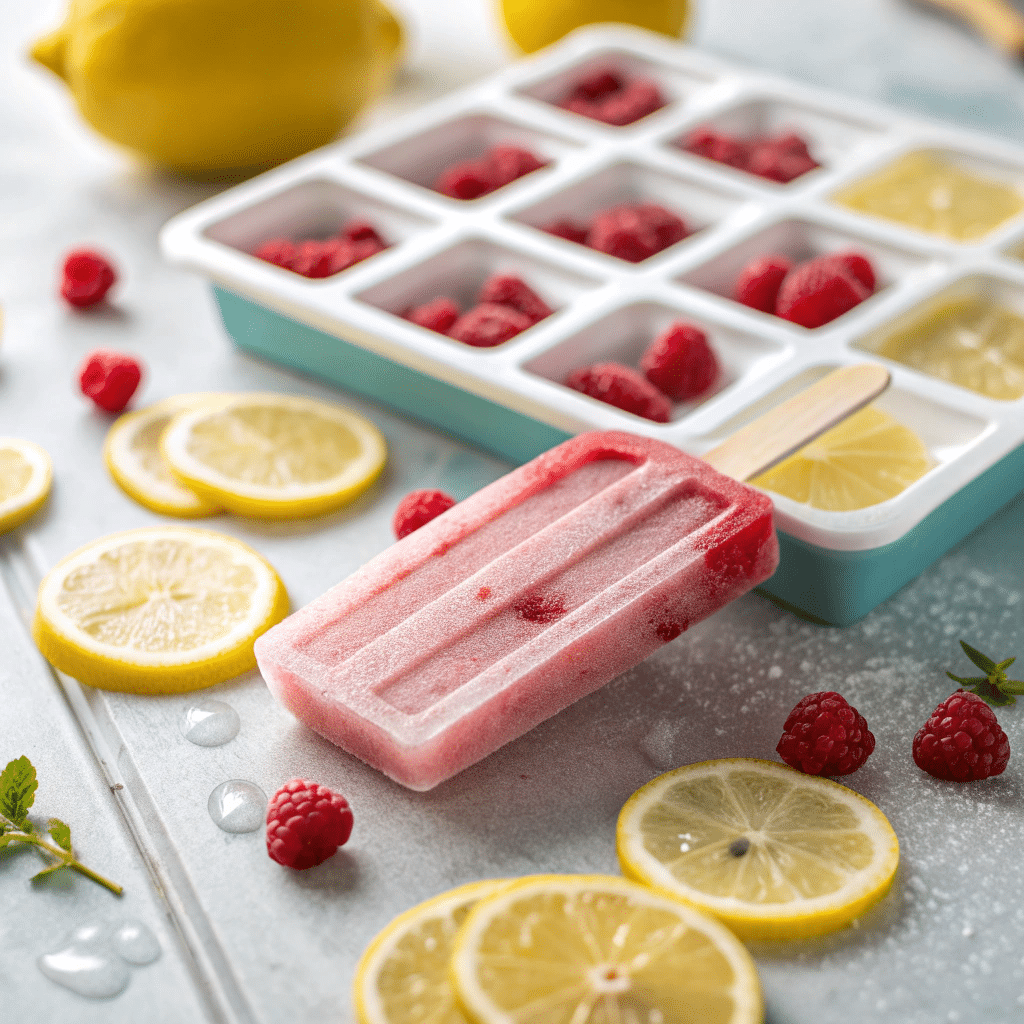
If you’re experimenting with flavors or sweeteners, make a small “test pop” in an ice cube tray first. That way, you’ll know if you want more sweetness, tang, or creaminess before committing all your ingredients to the freezer. Think of it as a dress rehearsal for your taste buds.
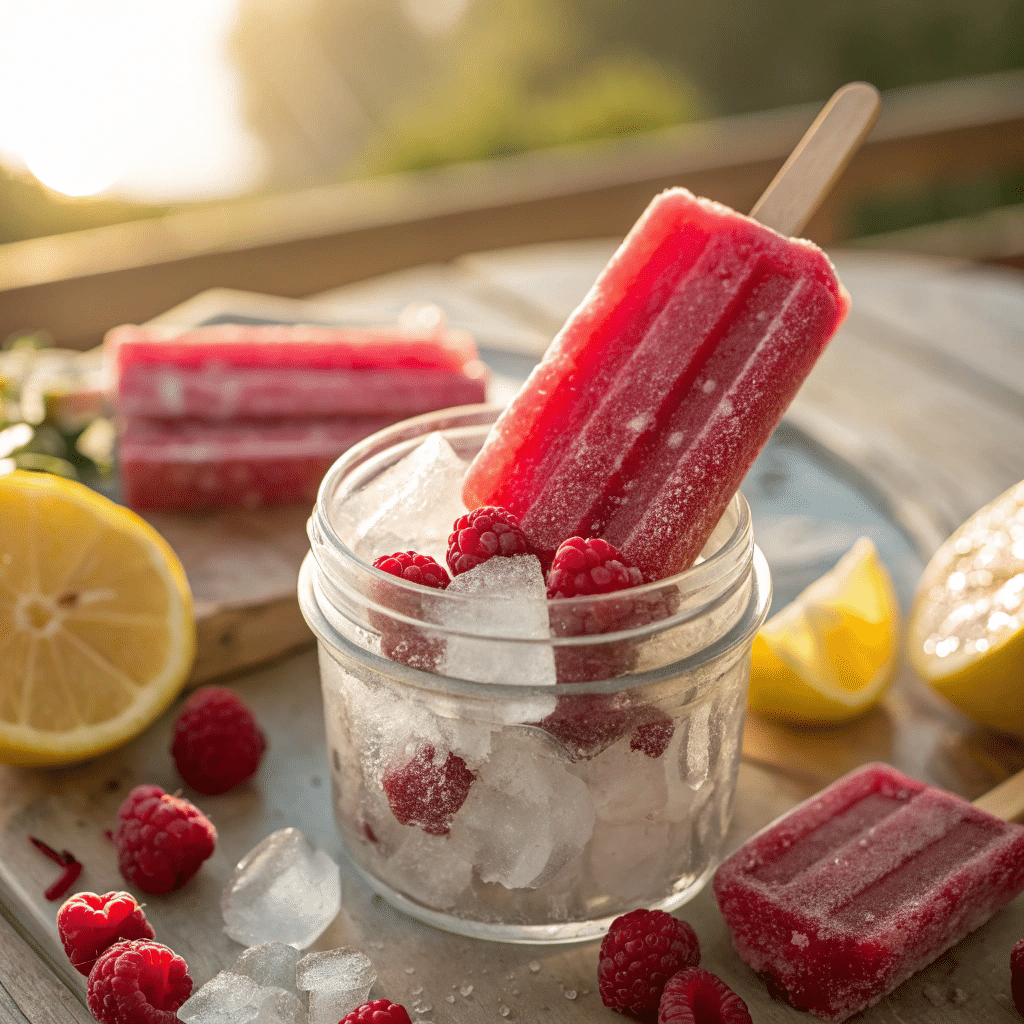
Final Thoughts
Raspberry lemonade pops are the kind of treat that turns a hot afternoon into a mini celebration. They’re bright, tangy, and endlessly adaptable — perfect for summer gatherings, after-school snacks, or simply when you need something refreshing from the freezer. Whether you keep them classic, creamy, layered, vegan, or sugar-free, they’ll quickly become a household favorite.
So, grab those raspberries, squeeze those lemons, and let’s get freezing — your next batch of the best raspberry lemonade frozen treats is just a few hours away.
Raspberry Lemonade Pops
Ingredients
Method
- Blend the base – Add raspberries, lemon juice, sweetener, and water to a blender. Blend until smooth. If you don’t like seeds, strain the mixture through a fine mesh sieve.
- Make it creamy (optional) – For a creamy pop, mix half of the base with yogurt in a separate bowl.
- Layer if you want – For a layered look, pour a little raspberry mix into the molds, freeze 30 minutes, then add a creamy layer, and repeat until full.
- Fill the molds – Pour the mixture into popsicle molds, leaving a small gap at the top.
- Freeze – Insert sticks and freeze for 4–6 hours or until firm.
- Unmold – Run warm water over the outside of the mold for a few seconds, then gently remove the pops. Serve right away or store in a freezer bag for up to 3 weeks.
Notes
- Taste the mix before freezing — raspberries vary in tartness, so you may need more or less sweetener.
- If you don’t have molds, small paper cups work well; just cover with foil and poke sticks through before freezing.
- For extra flavor, steep fresh mint or basil leaves in the water before blending.
FAQs
Q: Can I use frozen raspberries for this recipe?
Yes! Just thaw them first so they blend smoothly.
Q: How long do raspberry lemonade pops last in the freezer?
Up to 3 weeks for best flavor and texture.
Q: Can I make them without a popsicle mold?
Absolutely. Use small paper cups or even ice cube trays with toothpicks.
Q: How do I make them less tart?
Use slightly less lemon juice or add more sweetener until you reach your preferred taste.
Q: Are these pops kid-friendly?
Yes — especially if you go easy on the tartness and add a bit more sweetness.