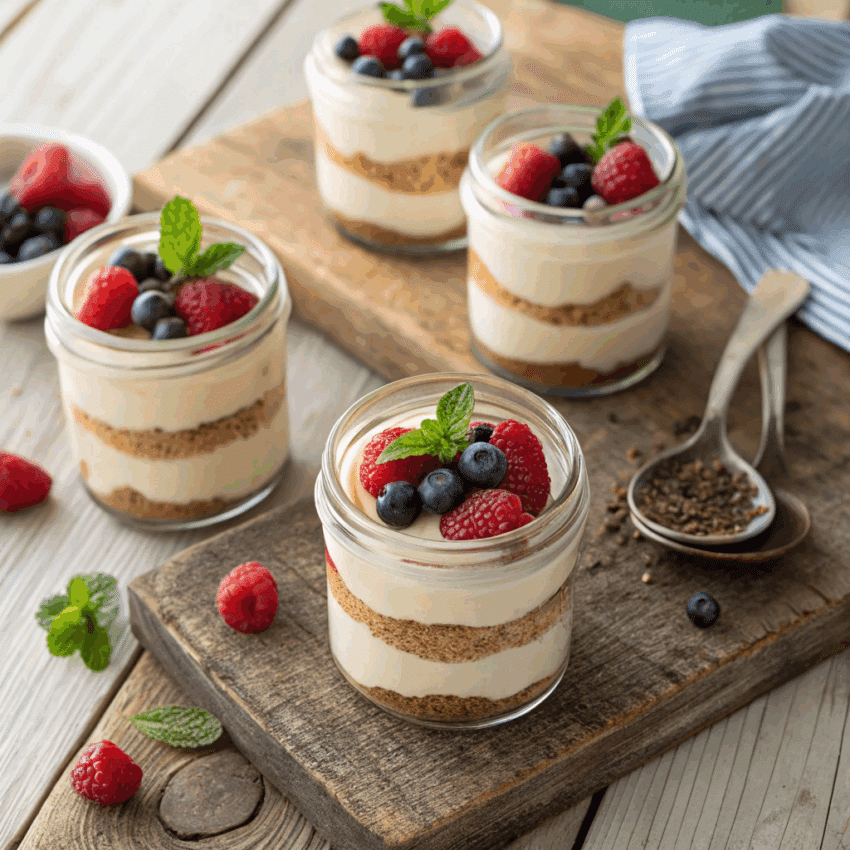
If you’ve ever wished cheesecake could magically appear without turning on the oven, you’re in the right place. These No Bake Vegan Cheesecake Cups are silky, rich, and surprisingly easy to whip up. No tofu. No fancy equipment. And best of all—no waiting hours for a baked crust to cool.
Whether you’re making dessert for a dinner party, meal-prepping sweet treats for the week, or just craving a midnight indulgence, these vegan dessert cups will hit the spot.
Why You’ll Love These Vegan Cheesecake Cups
I’ll be honest—traditional cheesecake is delicious, but sometimes I want something lighter, quicker, and dairy-free. That’s where these cups shine. They’re:
- No-bake – No oven drama.
- Individual portions – Easy to serve and store.
- Customizable – From pumpkin spice cheesecake to rainbow no-bake vegan cheesecake, the flavor possibilities are endless.
- Creamy without dairy – Coconut cream does the heavy lifting here, and it doesn’t disappoint.
Ingredients You’ll Need for Cheesecake Cups
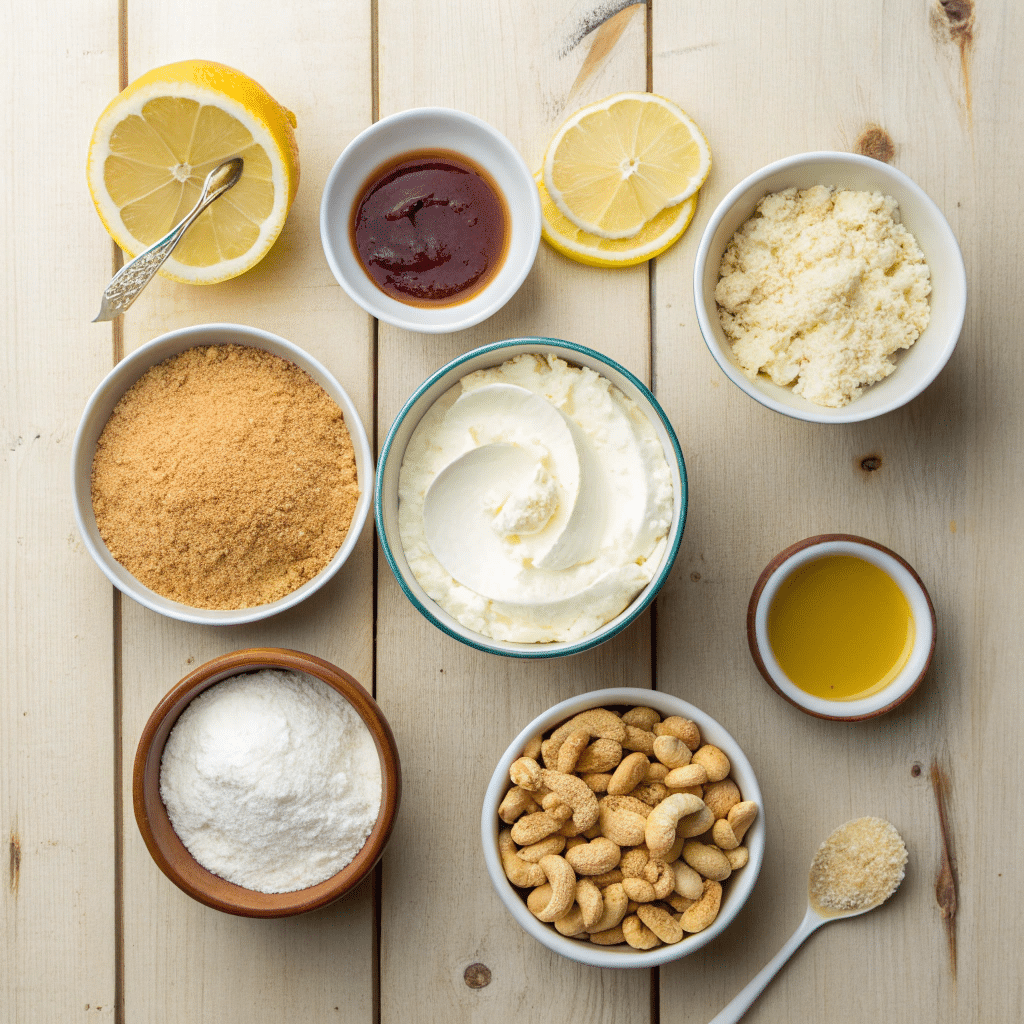
Here’s what goes into my classic base recipe. Feel free to jazz it up depending on your mood (and pantry situation).
For the crust:
- 1 cup vegan graham cracker crumbs (or crushed vegan cookies)
- 3 tbsp melted coconut oil
- 1 tbsp maple syrup
For the filling:
- 1 ½ cups soaked cashews (soak in hot water for at least 1 hour)
- ¾ cup coconut cream (thick part from a chilled can)
- ½ cup maple syrup or agave nectar
- ¼ cup fresh lemon juice
- 1 tsp pure vanilla extract
- Pinch of salt
How to Make No Bake Vegan Cheesecake Cups
Step 1: Prepare the crust
Mix graham cracker crumbs, melted coconut oil, and maple syrup in a bowl until they resemble wet sand. Spoon about 2 tablespoons into each cup or jar. Press down gently with the back of a spoon.
Step 2: Blend the filling
Drain and rinse cashews. Add them to a high-speed blender along with coconut cream, maple syrup, lemon juice, vanilla, and salt. Blend until completely smooth.
Step 3: Assemble the cups
Spoon the filling over the crusts. Smooth the tops with a spatula.
Step 4: Chill
Cover and refrigerate for at least 3 hours, or until firm.
Step 5: Garnish and enjoy
Top with fresh berries, vegan chocolate shavings, or a drizzle of fruit sauce before serving.
Flavor Variations to Try
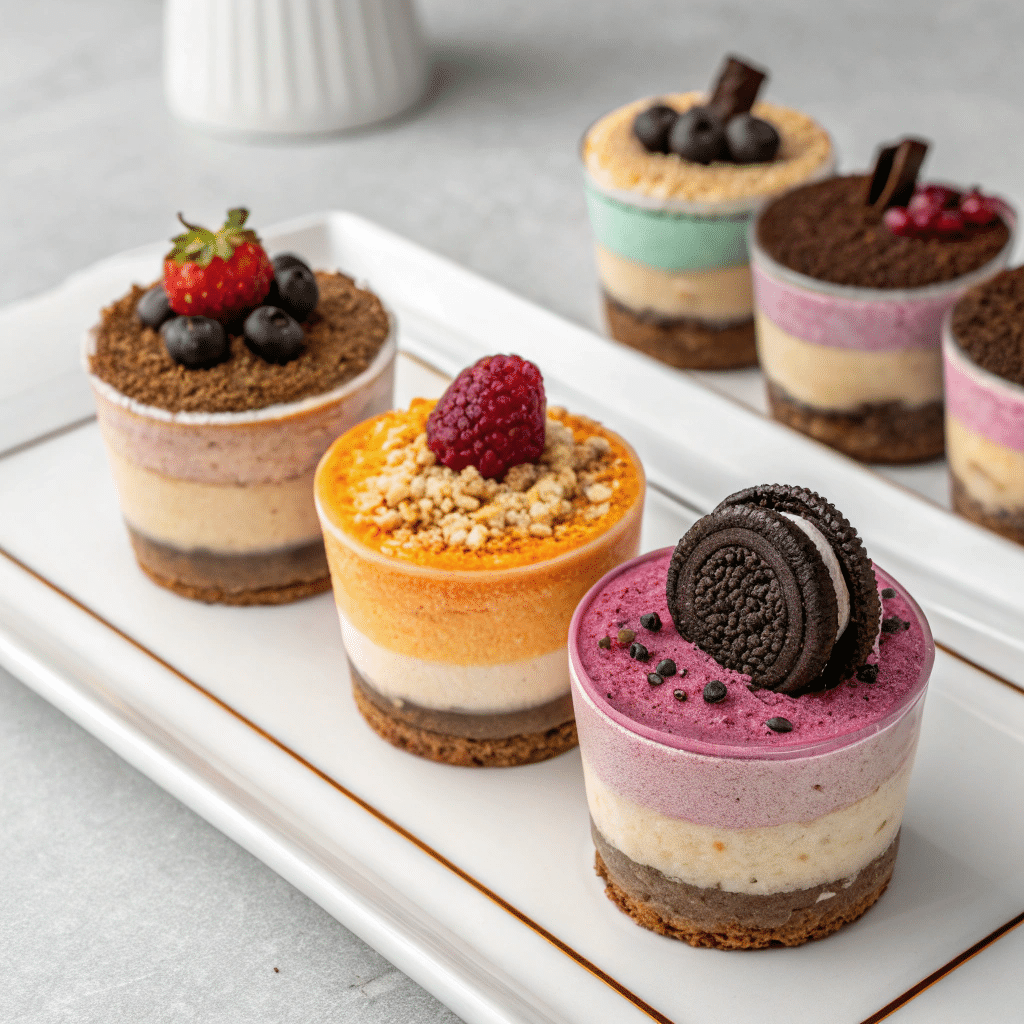
Because one cheesecake flavor is never enough.
- Pumpkin Spice Cheesecake – Add ½ cup pumpkin puree and 1 tsp pumpkin pie spice to the filling before blending.
- Vegan Oreo Cheesecake No Bake – Crush vegan Oreos into the crust and sprinkle more between filling layers.
- Rainbow No-Bake Vegan Cheesecake – Divide the filling into separate bowls and mix each with a different natural food coloring, then layer them for a bright treat.
- Vegan Cheesecake Bites – Make them in mini silicone molds for perfect poppable treats.
Storage Tips
These cheesecake cups keep well covered in the fridge for up to 5 days. You can also freeze them for up to 2 months—just thaw in the fridge overnight before serving.
Why Coconut Cream Works So Well
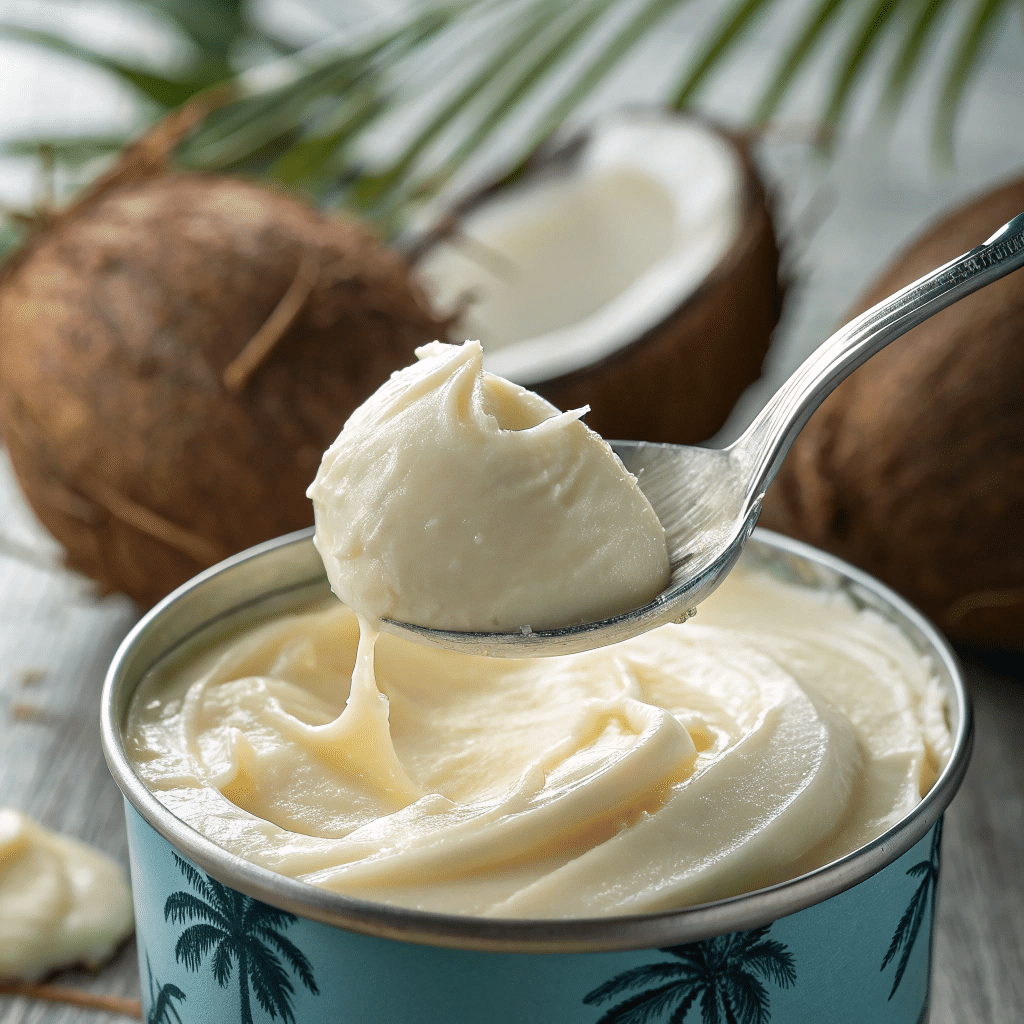
Coconut cream is the secret to that rich, melt-in-your-mouth texture. It mimics the smoothness of dairy cream cheese without the heaviness. Plus, it adds a subtle sweetness that pairs beautifully with tart lemon juice.
Tips for Perfect No Bake Vegan Cheesecake Cups
- Use a high-speed blender for the smoothest filling.
- Don’t skip the lemon juice—it balances sweetness and adds tang.
- Taste before chilling so you can adjust sweetness or flavoring.
- If making vegan dessert shooters for parties, use small shot glasses for an elegant presentation.
- For a healthy no bake cheesecake cups option, swap the graham crackers for blended oats and dates.
Final Thoughts
These no bake vegan cheesecake cups are proof that dessert doesn’t have to be complicated to be downright amazing. You can stick with the classic version or get creative with flavors—either way, you’ll end up with a creamy, indulgent treat that’s perfect for sharing (or not sharing, no judgment here).
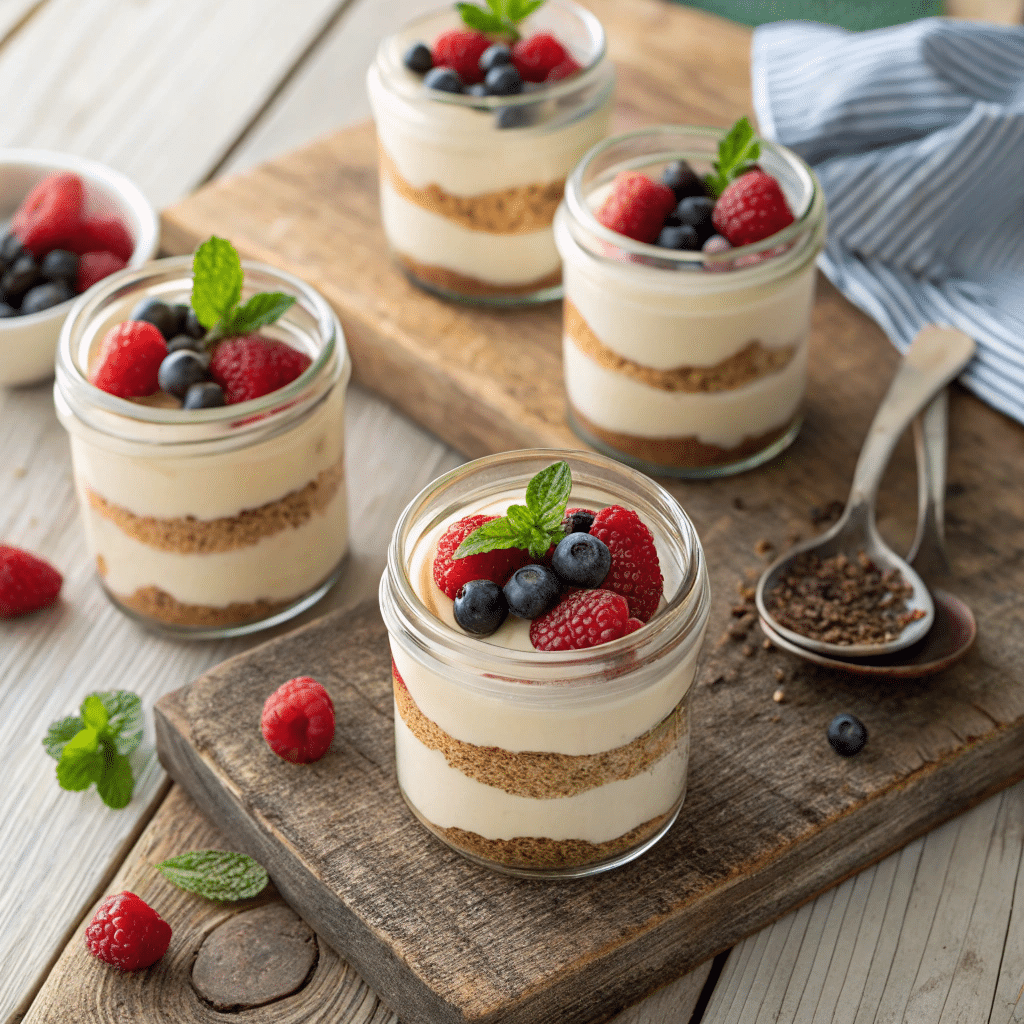
No Bake Vegan Cheesecake Cups
Ingredients
Method
- Mix graham cracker crumbs, melted coconut oil, and maple syrup in a medium bowl until it looks like wet sand.
- Spoon about 2 tablespoons into each serving cup or jar. Press it down gently with the back of a spoon.
- Drain and rinse the soaked cashews.
- Put cashews, coconut cream, maple syrup, lemon juice, vanilla, and salt into a high-speed blender.
- Blend until smooth and creamy.
- Spoon the filling over the crusts.
- Smooth the tops with a spatula or the back of a spoon.
- Cover the cups and place them in the fridge for at least 3 hours until firm.
- Add fresh berries, chocolate shavings, or fruit sauce on top before serving.
Notes
- Make sure your coconut cream is cold so it thickens the filling.
- If you don’t have a high-speed blender, blend longer and scrape down the sides for the smoothest texture.
- You can freeze these cups for up to 2 months—just thaw them in the fridge overnight before eating.
FAQs
Q: Can I make these without cashews?
A: Yes! Substitute raw sunflower seeds or soaked macadamia nuts for a similar texture.
Q: Can I use coconut milk instead of coconut cream?
A: Coconut milk won’t set as firmly, so stick with coconut cream for the best texture.
Q: How do I make them sugar-free?
A: Use sugar-free vegan cookies for the crust and swap maple syrup for a sugar-free liquid sweetener like monk fruit syrup.
Q: Can I make a large cheesecake instead of cups?
A: Absolutely. Press the crust into an 8-inch springform pan, pour in the filling, and chill overnight.

