
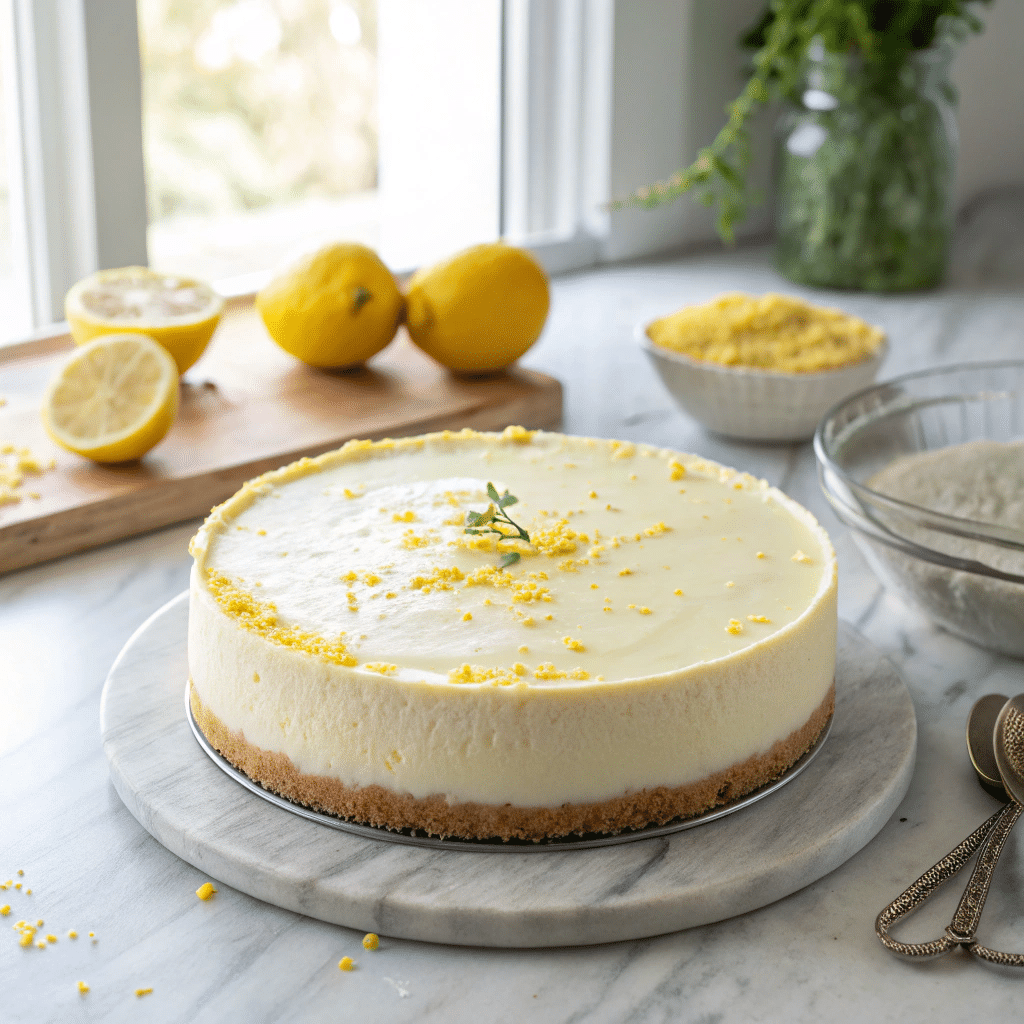
Cheesecake without the oven? Yes, please. This no bake lemon cheesecake is as fuss-free as it is fabulous. It’s bright, creamy, tangy, and perfect for those days when you crave something sweet but don’t want to heat up the kitchen.
Whether you’re prepping for a backyard picnic, a family gathering, or just treating yourself (because why not?), these lemon cheesecake bars are a refreshing dessert you’ll want on repeat.
Ingredients You’ll Need
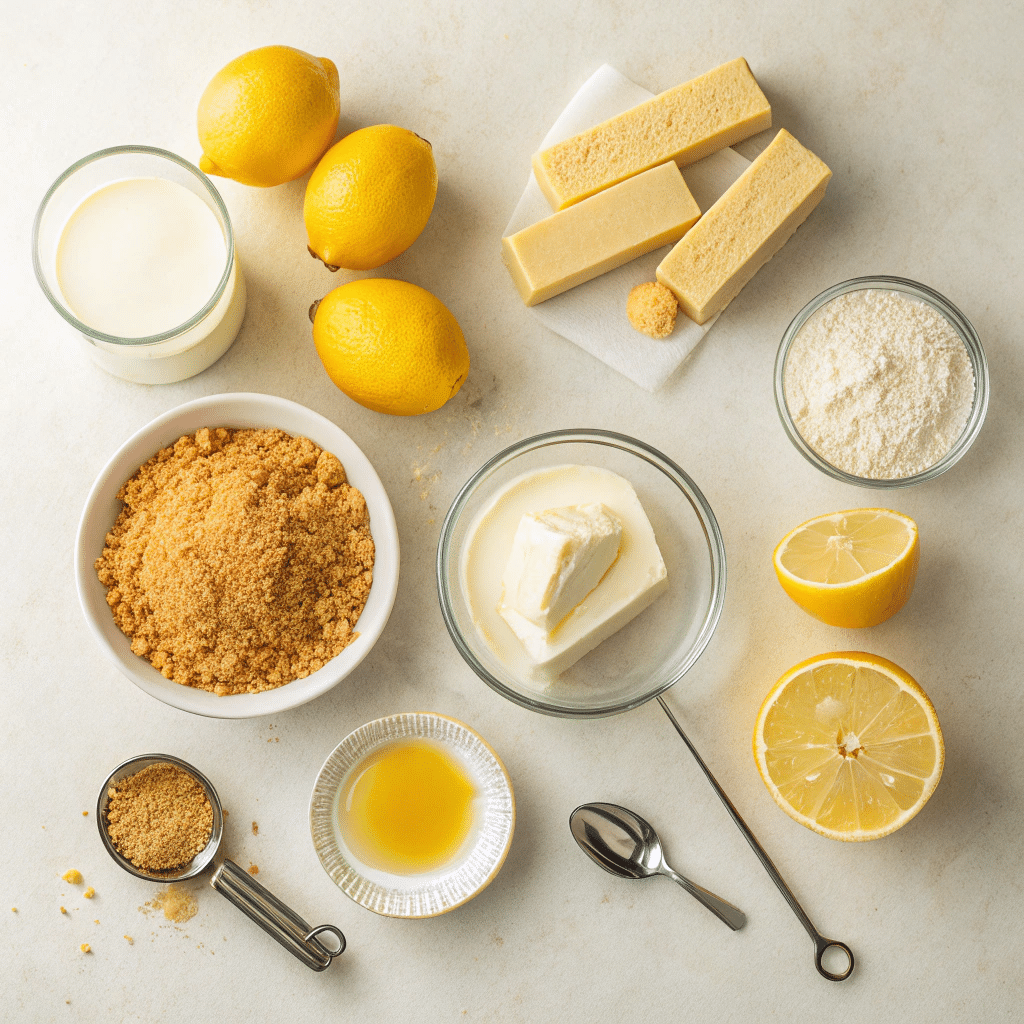
For the Crust:
- 1 ½ cups graham cracker crumbs
- ¼ cup granulated sugar
- ½ cup unsalted butter, melted
For the Filling:
- 2 (8 oz) blocks cream cheese, softened
- 1 (14 oz) can sweetened condensed milk
- ½ cup fresh lemon juice (about 2-3 lemons)
- 1 tablespoon lemon zest
- 1 teaspoon vanilla extract
For Garnish (Optional but Recommended):
- Thin lemon slices
- Whipped cream
- Extra lemon zest
Step-by-Step Guide
Step 1: Prep the Crust
Grab a medium bowl. Toss in the graham cracker crumbs, sugar, and melted butter. Stir until the crumbs are well coated and the mixture feels like wet sand.
Press this mixture into an 8×8-inch square pan lined with parchment paper. Use the back of a spoon or your fingers to press it down firmly and evenly.
Slide the pan into the fridge while you make the filling. Let that crust chill out.
Step 2: Make the Lemon Filling
In a large mixing bowl, beat the softened cream cheese until smooth and fluffy—no lumps allowed.
Add the sweetened condensed milk and keep mixing until silky. Pour in the fresh lemon juice, lemon zest, and vanilla extract. Blend until everything’s combined. The filling should be thick, creamy, and just a little tangy.
Give it a taste. Add a touch more zest if you want an extra zing. (I usually do.)
Step 3: Assemble and Chill
Pull out the crust from the fridge. Pour the filling over it, spreading evenly with a spatula.
Pop it back in the fridge and let it set for at least 4-6 hours, or overnight for best results. Patience pays off here.
Step 4: Slice and Serve
Once the cheesecake is firm, lift it out using the parchment paper. Slice into neat bars (or triangles, or wonky squares—it’s dessert, not geometry class).
Top with whipped cream, lemon slices, or extra zest if you’re feeling fancy.
Why You’ll Love This Recipe
- No oven? No problem. Ideal for hot days or when you’re short on time.
- Simple pantry ingredients. Nothing obscure or hard to find.
- Make-ahead friendly. Set it and forget it. Let the fridge do the work.
- Bright lemon flavor. It’s like sunshine on a plate.
Helpful Tips Before You Dig In
1. Use fresh lemon juice
Bottled stuff won’t do this dessert justice. Fresh juice + zest = unmatched flavor.
2. Don’t skip the chill time
It may be tempting to dive in early, but the bars need to firm up. Give them the full chill window.
3. Line your pan with parchment
It’ll make slicing and lifting so much easier. No sticking, no crumbling.
4. Want thicker bars?
Use a smaller pan like a loaf pan for extra-thick layers. Just expect a bit more chill time.
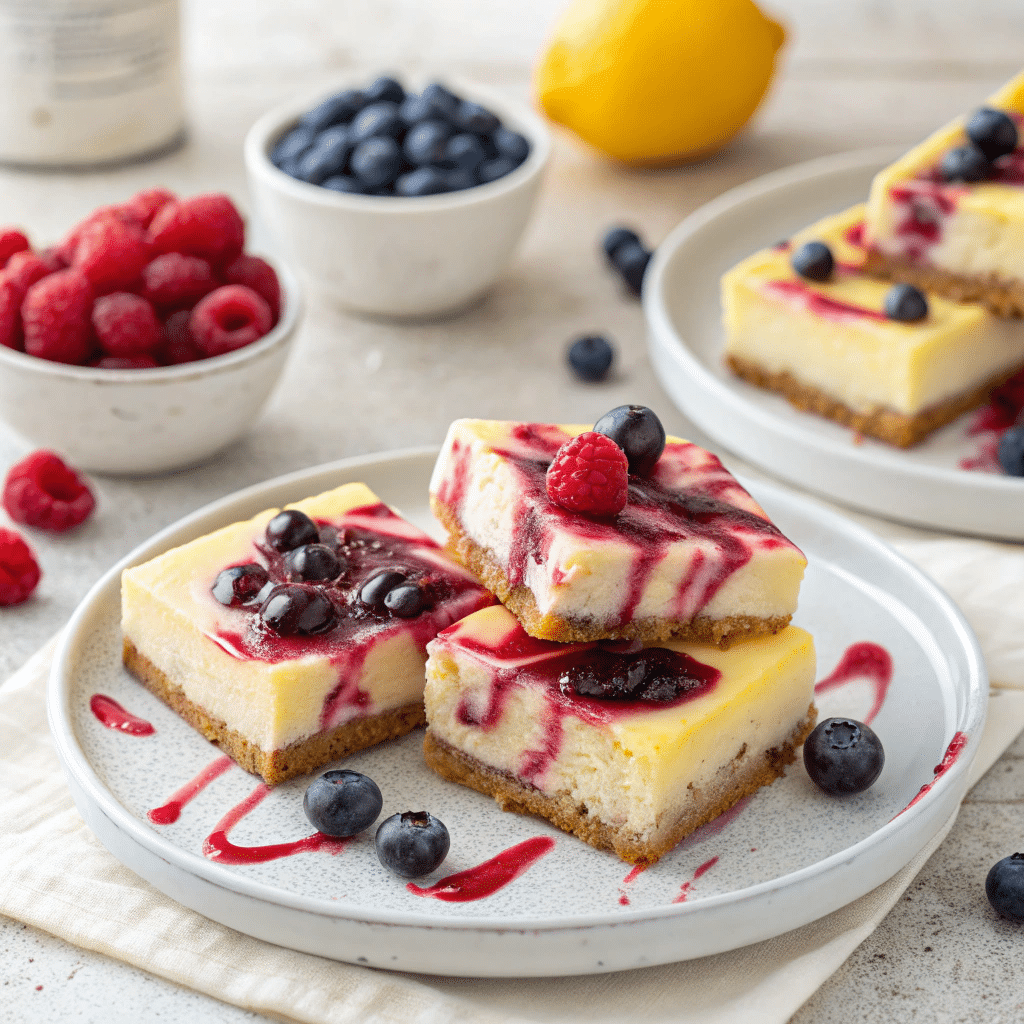
5. Make it yours
Add a handful of crushed raspberries into the filling or drizzle with blueberry sauce before serving. The lemon base pairs beautifully with berries.
Final Thoughts
No bake lemon cheesecake bars are the kind of dessert that feels fancy but couldn’t be easier to make. Zippy lemon flavor, creamy texture, and a buttery graham cracker base—what more could you want?
They’re summer on a plate, but honestly? I make them year-round. Because when something tastes this good, why wait?
Whip them up, chill them down, and enjoy every citrusy bite.

No Bake Lemon Cheesecake Bars
Ingredients
Method
- In a medium bowl, mix the graham cracker crumbs, sugar, and melted butter until it looks like wet sand.
- Line an 8×8-inch square pan with parchment paper. Press the crust mix evenly into the bottom. Put it in the fridge to chill.
- In a large bowl, beat the softened cream cheese until smooth. Add the sweetened condensed milk, lemon juice, lemon zest, and vanilla extract. Mix until creamy and smooth.
- Pour the filling over the chilled crust. Smooth it out with a spatula. Chill in the fridge for at least 4–6 hours, or overnight.
- Once set, lift out using the parchment paper. Cut into squares or bars. Top with whipped cream, lemon zest, or thin lemon slices if you like.
Notes
- Don’t skip the chilling time—these bars need time to set properly.
- Always use fresh lemon juice, not bottled. It makes a huge difference in flavor.
- Want a thicker cheesecake? Use a smaller pan like 6×6 inches, and let it chill longer.
- These bars freeze well. Just wrap tightly and store up to 2 months.
FAQs
Q: Can I use bottled lemon juice?
Technically, yes—but fresh is strongly recommended for the brightest flavor.
Q: Can I freeze these bars?
Absolutely! Freeze in an airtight container for up to 2 months. Thaw in the fridge before serving.
Q: Can I use low-fat cream cheese?
You can, but the filling won’t be as rich or set quite as firmly.
Q: Do these taste more sweet or tart?
Right in the middle! The condensed milk brings sweetness while the lemon gives it a zing. It’s a great balance.
Q: Can I double the recipe?
Yes! Use a 9×13-inch pan if doubling.