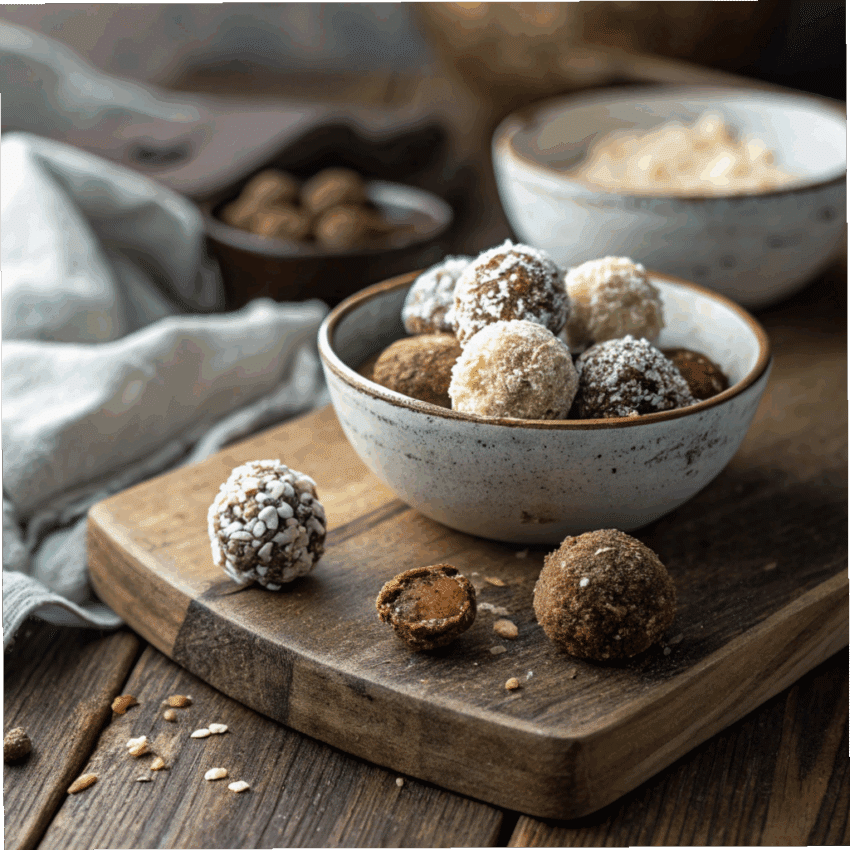
Love desserts but hate turning on the oven? Same here. These No Bake Granola Truffles are the ultimate treat when you need something sweet, simple, and satisfying. Whether you’re craving an easy snack, a quick dessert for guests, or a healthier option to curb your sweet tooth, this truffle recipe is a game-changer.
They’re chewy, creamy, a little crunchy, and packed with flavor. Think of them as the sweet cousin of energy bites, but dressed up as elegant homemade candies. No fancy tools. No long ingredient lists. Just real ingredients and big flavor.
Why You’ll Love These No Bake Granola Truffles
- Zero baking needed (yes, even in summer!)
- Kid-friendly and adult-approved
- Great way to use pantry staples
- Totally customizable with flavors like lemon or blueberry
- Perfect for gifting, snacking, or meal prep treats
These easy truffles are your shortcut to looking like a kitchen pro without all the fuss. Let’s dive into it!
Ingredients You’ll Need
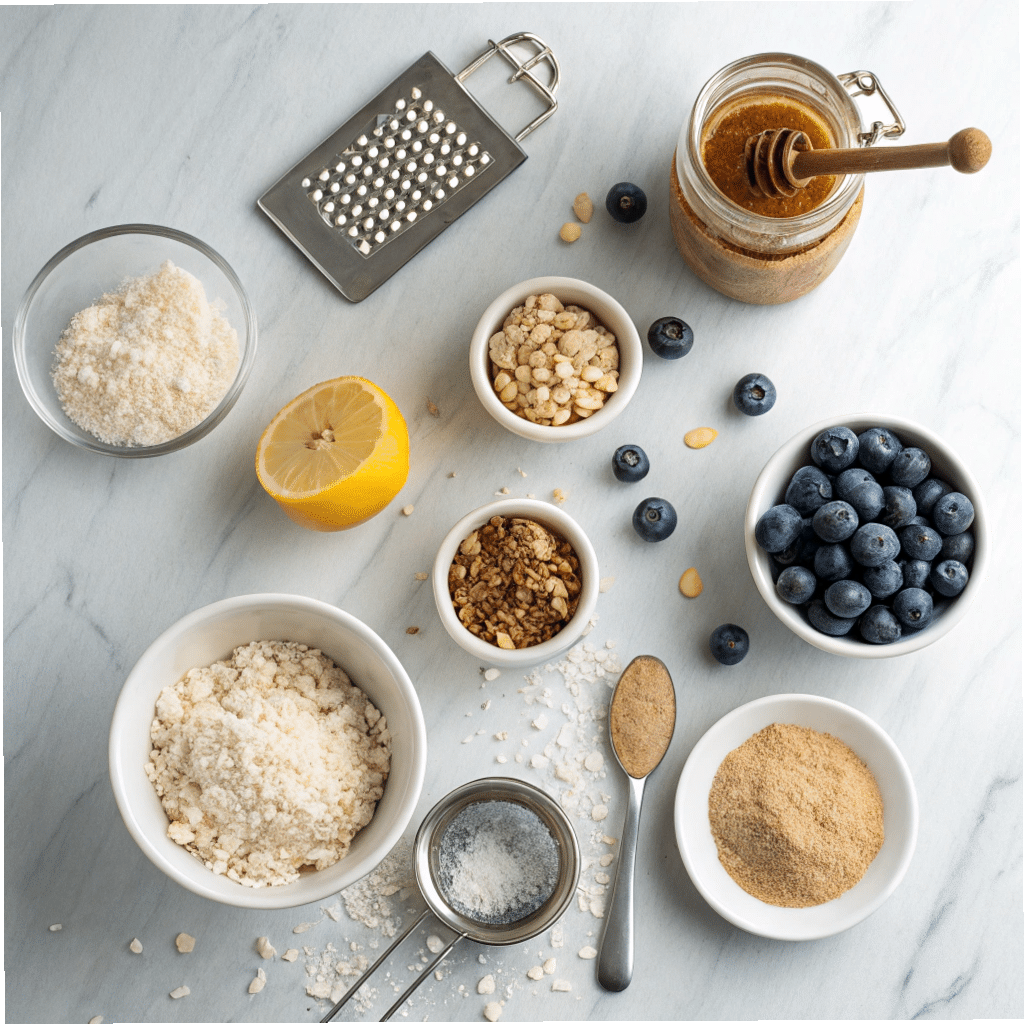
Here’s what you’ll need to get rolling:
- 1 cup rolled oats (quick oats work too)
- 1/2 cup almond or peanut butter (creamy preferred)
- 1/4 cup honey or maple syrup
- 1/2 tsp vanilla extract
- 1/2 tsp lemon zest (optional for lemon truffles)
- 1/4 cup dried blueberries or mini chocolate chips (your choice)
- Pinch of sea salt
- 1/4 cup shredded coconut (for coating, optional)
How To Make No Bake Granola Truffles
Step 1: Toast Your Oats (Optional)
If you want a nutty flavor, lightly toast your oats in a dry skillet for 2–3 minutes until they smell toasty. Let them cool.
Step 2: Mix the Wet Ingredients
In a medium bowl, stir together nut butter, honey (or maple syrup), vanilla extract, and lemon zest.
Step 3: Combine Everything
Add the oats, dried blueberries or chocolate chips, and a pinch of salt to the wet mixture. Stir until well mixed. It should be thick and slightly sticky.
Step 4: Chill The Mixture
Refrigerate the mixture for about 15 minutes to firm it up. This makes rolling easier.
Step 5: Roll ‘Em Up
Scoop out a tablespoon of the mixture and roll it between your palms to form a ball. Repeat.
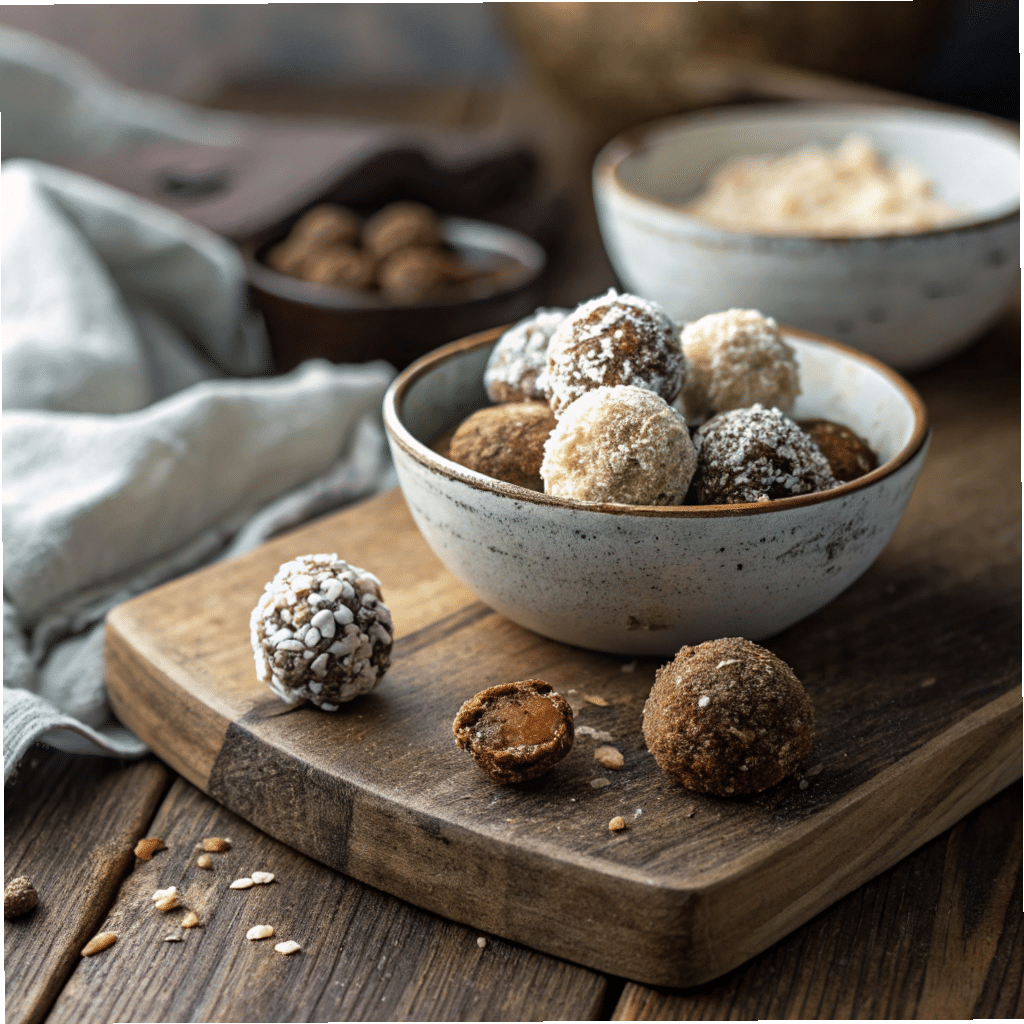
Step 6: Coat or Leave Plain
Roll truffles in shredded coconut, crushed freeze-dried berries, or just leave them as they are.
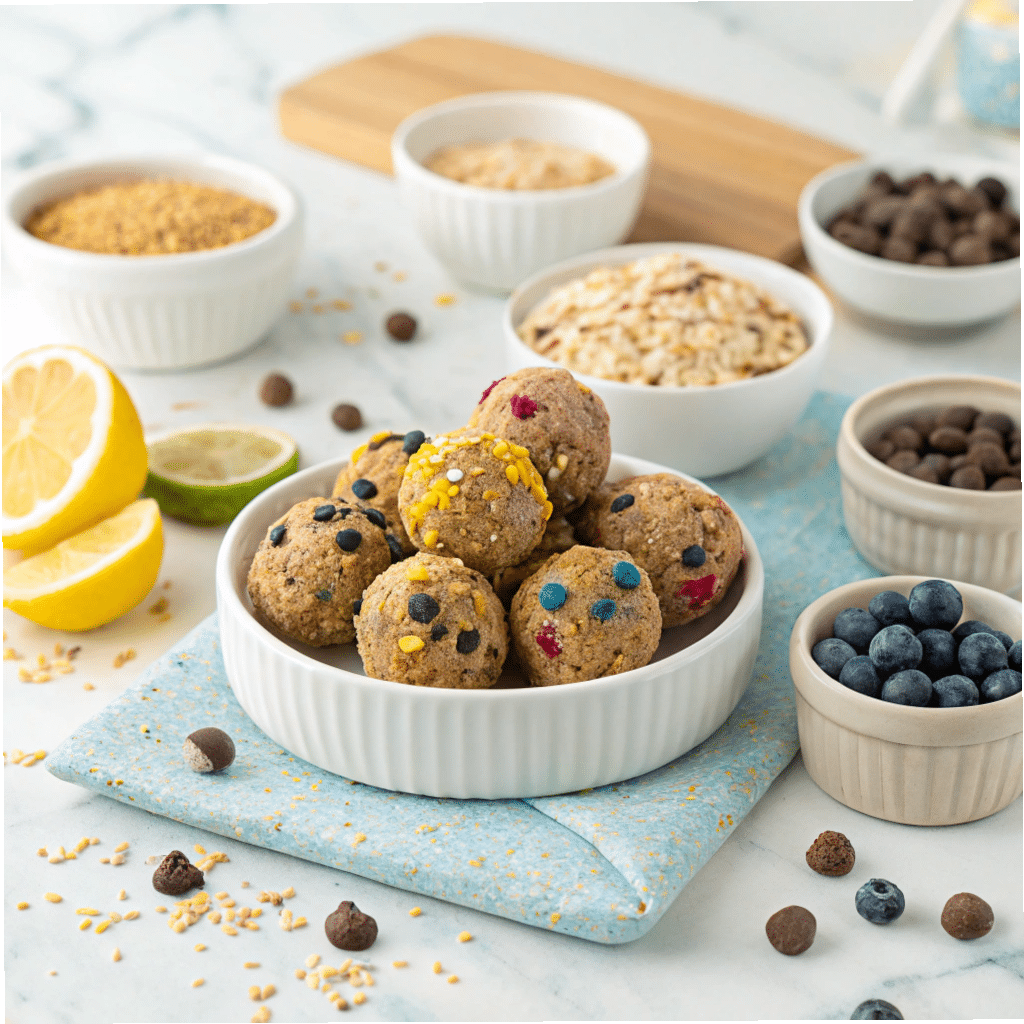
Flavor Variations To Try

These easy treats are a blank canvas. Here are a few spins to try:
- Lemon Truffles: Add extra zest and roll in powdered coconut.
- Blueberry Dessert Balls: Use dried blueberries and a touch of cinnamon.
- Chocolate Drizzle: Melt some dark chocolate and drizzle over the top.
- Nut Crunch: Toss in crushed almonds or walnuts.
Want them a little extra? Add a sprinkle of flaky salt on top. It gives that fancy dessert vibe.
Storage Tips
These truffles are fuss-free and freezer-friendly.
- Store in an airtight container in the fridge for up to 7 days.
- Freeze them for up to a month. Just let them thaw a bit before serving.
Perfect for meal prepping or late-night snacking when cravings hit hard.
Tips To Nail It On The First Try
- Too sticky? Add more oats.
- Too dry? Drizzle in a bit more nut butter or honey.
- Want smoother truffles? Pulse oats briefly in a blender before mixing.
- Need kid-approval? Skip lemon and double the chocolate chips.
- Going for gifts? Pop them in mini cupcake liners.
Make them your own. That’s the whole point.
Final Thoughts
No Bake Granola Truffles are one of those recipes that make you wonder why you ever bought store-made treats in the first place. They’re simple, versatile, and undeniably delicious. The kind of thing you whip up in under 30 minutes and end up making again next week.
Go ahead, try your own flavor combo. There’s no wrong turn here.
No Bake Granola Truffles
Ingredients
Method
- Heat a dry pan on low and toast oats for 2–3 minutes until lightly golden and fragrant. Let them cool.
- In a mixing bowl, stir together almond or peanut butter, honey, vanilla, and lemon zest.
- Add oats, dried blueberries or chocolate chips, and a pinch of sea salt. Mix everything until it forms a sticky dough.
- Put the bowl in the fridge for 15 minutes so the mixture firms up. This helps with rolling.
- Scoop out about a tablespoon and roll into smooth truffles using your hands.
- Roll each truffle in shredded coconut or crushed freeze-dried fruit, or leave them plain.
- Eat right away or store in the fridge in an airtight container.
Notes
- If the dough feels too sticky, add more oats.
- If it’s too dry, add a spoon of nut butter.
- For extra flavor, try drizzling some melted dark chocolate on top.
- They also make a great lunchbox snack—just skip the coconut if your kid’s not into it.
- You can freeze them and thaw for 5–10 minutes when needed.
FAQs
Q: Can I make these without nut butter?
Yes! Try sunflower seed butter or tahini for a nut-free version.
Q: Are these good for kids’ lunchboxes?
Absolutely. Just make sure they’re nut-safe for school policies.
Q: What if I don’t like coconut?
Skip it. Roll them in cocoa powder, crushed graham crackers, or nothing at all.
Q: Can I use steel-cut oats?
Not ideal—they’re too tough and chewy. Stick to rolled or quick oats.
Q: Can I add protein powder?
Sure! Sub 2–3 tablespoons of oats with your favorite protein powder.
Q: How long do they last outside the fridge?
A few hours, depending on room temp. Best kept cool to hold shape.