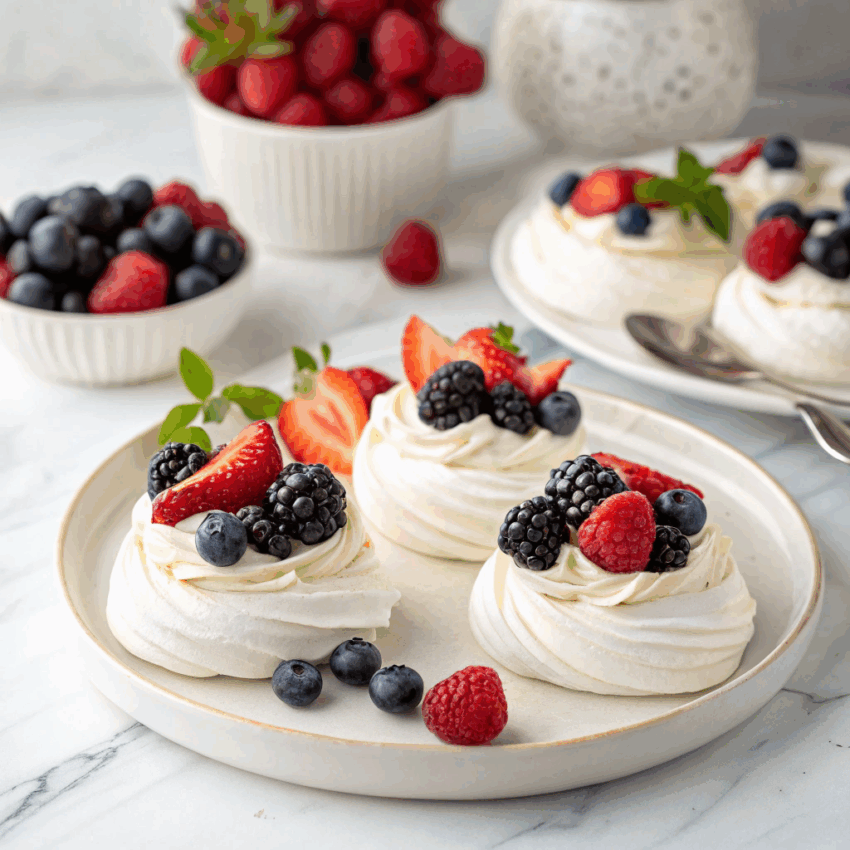
If you’ve ever wanted a dessert that’s as pretty as it is delicious, mini meringue pavlovas are the way to go. Crisp on the outside, marshmallowy soft inside, and finished with clouds of cream and fresh fruit—they’re the showstoppers of any table.
The best part? They look elegant but aren’t as tricky as you might think. I’ll walk you through every step, share a few flavor twists, and sprinkle in some tips I’ve learned (sometimes the hard way!) so your pavlovas turn out picture-perfect every time.
What Exactly Is a Pavlova Dessert?
A pavlova is a meringue-based dessert named after the Russian ballerina Anna Pavlova. It’s crisp on the outside, pillowy in the center, and usually topped with whipped cream and fruit. The large pavlova is perfect for gatherings, but I have a soft spot for mini pavlovas. They’re dainty, easy to serve, and everyone gets their own little masterpiece.
Mini pavlovas are also less intimidating than one giant pavlova. If one cracks, no one will notice because you’ll have plenty of others to serve. Think of them as the cupcakes of the meringue desserts world—small, charming, and endlessly customizable.
Ingredients for Mini Pavlovas
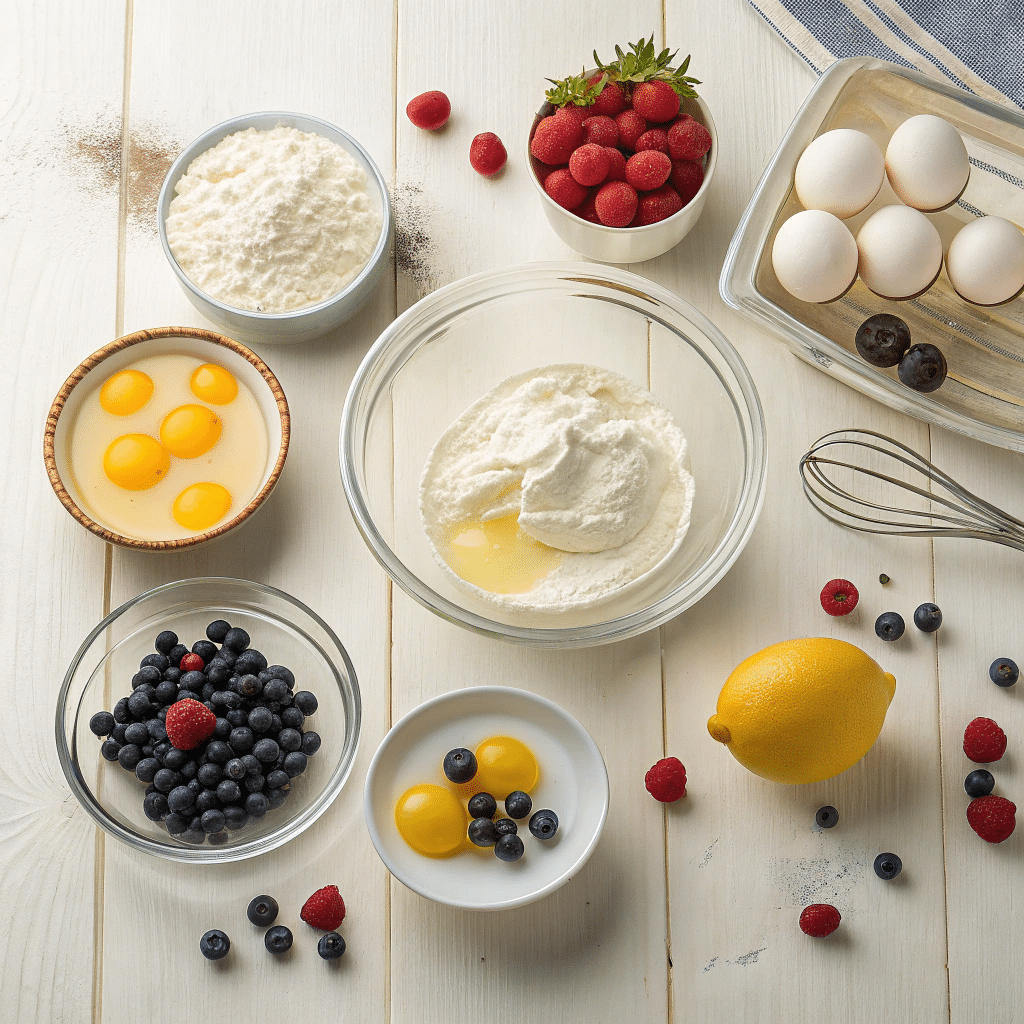
You don’t need anything fancy to make these, but the technique matters. Here’s what you’ll need for the base recipe:
For the meringues:
- 4 large egg whites (room temperature)
- 1 cup granulated sugar (superfine if possible)
- 1 teaspoon cornstarch
- 1 teaspoon white vinegar or lemon juice
- 1 teaspoon vanilla extract
For the toppings:
- 1 cup heavy cream
- 2 tablespoons powdered sugar
- 1 teaspoon vanilla extract
- Fresh fruit (strawberries, raspberries, blueberries, blackberries, or whatever’s in season)
Optional flavor extras: lemon curd, passionfruit pulp, honey drizzle, or even chai-poached plums for a fall twist.
How to Make Mini Pavlovas
I’ll break it down step by step, because meringues can be moody. But once you get the hang of it, they’re a breeze.
Step 1: Preheat and Prep
Set your oven to 250°F (120°C). Line a baking sheet with parchment paper. You can trace 3-inch circles as a guide, then flip the paper over so the pencil doesn’t transfer to the meringue.
Step 2: Whip the Egg Whites
Place your egg whites in a clean, grease-free bowl. Start whisking on medium until soft peaks form. Slowly add sugar, about a tablespoon at a time, while whipping. Keep going until the meringue is glossy and holds stiff peaks.
Step 3: Stabilize the Meringue
Gently fold in cornstarch, vinegar, and vanilla. This gives your pavlovas that dreamy marshmallow center instead of collapsing into crispy shells.
Step 4: Shape the Pavlovas
Scoop meringue onto your parchment paper circles. Use the back of a spoon to make a little well in the center of each—this will hold the cream and fruit later.
Step 5: Bake Low and Slow
Bake for 60–70 minutes. Then turn off the oven, crack the door slightly, and let them cool completely inside. Don’t rush this—sudden temperature changes cause cracks. (Although, cracks aren’t the end of the world. They just make the pavlova look rustic.)
Step 6: Add the Good Stuff
Right before serving, whip your cream with powdered sugar and vanilla until soft peaks form. Spoon it into the wells of each pavlova and top with fresh fruit.
Flavor Variations You’ll Love
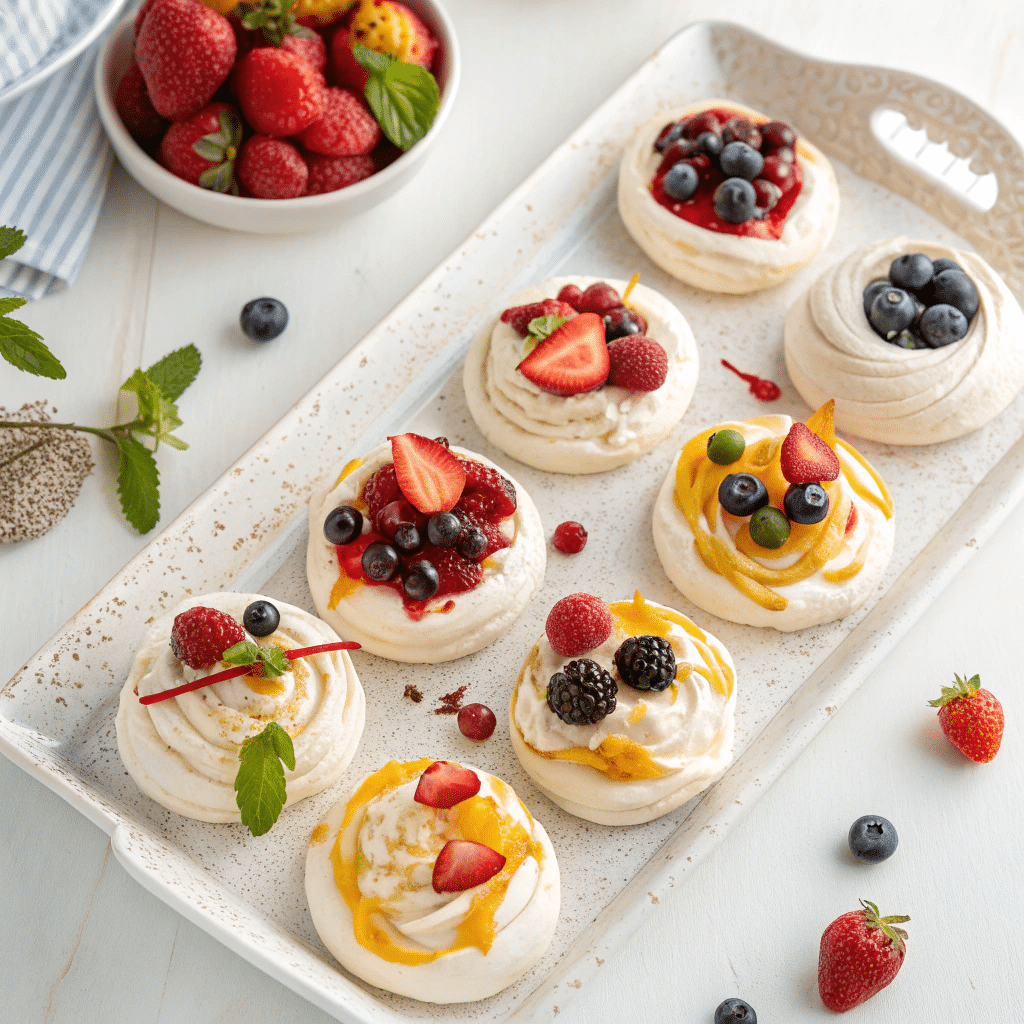
Mini pavlovas are basically edible canvases. You can swap toppings based on the season, the occasion, or your cravings. Here are some favorites:
- Mini Strawberry Pavlova Recipe: Classic and crowd-pleasing. Fresh strawberries and a drizzle of strawberry syrup.
- Mixed Berry Pavlova Recipe: A mix of blueberries, raspberries, and blackberries for balance and color.
- Mini Pavlova With Lemon Curd: Tart lemon curd against the sweet meringue? Chef’s kiss.
- Honey Pavlova With Chai-Poached Plums: Cozy and fragrant, perfect for autumn or winter.
- Mini Pavlovas With Summer Fresh Fruit: Think peaches, cherries, or even mango.
- Mini Pavlova Desserts With Blueberries: Blueberries and a sprinkle of lemon zest brighten everything up.
Tips for Perfect Mini Pavlovas
- Use room-temperature egg whites. They whip up with better volume.
- Add sugar slowly. Dumping it in all at once deflates the meringue.
- Don’t overbake. You want crisp outsides but soft, marshmallowy centers.
- Wait to decorate. Add cream and fruit just before serving so the pavlovas don’t get soggy.
- Store carefully. Keep unfilled meringues in an airtight container for up to 3 days.
Why Mini Pavlovas Are the Perfect Elegant Dessert
They’re light but satisfying, simple but sophisticated. Each person gets their own little pavlova dessert, which makes dinner parties less stressful (no messy slicing!). They also photograph beautifully—hello, Pinterest-worthy!
Plus, mini pavlovas fit every mood. Want something refreshing? Go with mixed berries. Feeling cozy? Add spiced fruit. Craving indulgence? Top with chocolate shavings and caramel.
Final Thoughts
Mini pavlovas may look delicate, but they’re actually forgiving once you know the basics. They’re versatile, beautiful, and downright delicious. Whether you’re making a mini strawberry pavlova recipe for a summer barbecue or trying honey pavlova with chai-poached plums in winter, this dessert never disappoints.
Next time you want to impress without the fuss, skip the layer cake and whip up a batch of these mini meringue pavlovas instead. Your guests (and your taste buds) will thank you.

Mini Meringue Pavlovas with Fresh Berries
Ingredients
Method
- Preheat oven to 250°F (120°C). Line a baking sheet with parchment paper. Draw 3-inch circles as guides if you want even sizes, then flip the paper over.
- Whip egg whites in a clean, dry bowl until soft peaks form.
- Add sugar slowly—1 tablespoon at a time—while whipping until the meringue is glossy and forms stiff peaks.
- Stabilize mixture by folding in cornstarch, vinegar (or lemon juice), and vanilla.
- Shape pavlovas by spooning meringue onto the parchment circles. Use the back of a spoon to make a shallow well in the center of each.
- Bake low and slow for 60–70 minutes until dry and crisp on the outside.
- Cool in oven with the door slightly open until completely cooled. Don’t rush this step.
- Whip cream with powdered sugar and vanilla until soft peaks form.
- Assemble pavlovas just before serving. Spoon whipped cream into the wells and top with fresh berries.
Notes
- Don’t add the whipped cream until right before serving. Otherwise, the meringues will get soft.
- If you don’t have superfine sugar, just pulse regular sugar in a blender for a few seconds.
- Cracks in the meringue aren’t a disaster—just call them rustic and top with extra cream.
Frequently Asked Questions
1. Can I make mini pavlovas ahead of time?
Yes. Bake the meringues a day or two in advance and store them in an airtight container. Add cream and fruit just before serving.
2. Why did my pavlovas crack?
Cracks usually happen if the oven temperature is too high or if you cool them too quickly. Don’t worry—just call them “rustic” and carry on.
3. Can I freeze mini pavlovas?
You can freeze baked meringues, but they may lose some crispness when thawed. Fresh is always best.
4. What’s the difference between pavlova and meringue?
Meringue is the base mixture of whipped egg whites and sugar. Pavlova is a type of meringue dessert that’s baked to have a crisp shell and soft interior.
5. How do I keep the whipped cream stable?
Add a spoonful of cornstarch or use stabilized whipped cream if you’re worried about it weeping.
6. Can I make a large pavlova instead of minis?
Absolutely. Just bake the meringue in one large circle and increase baking time to about 90 minutes.