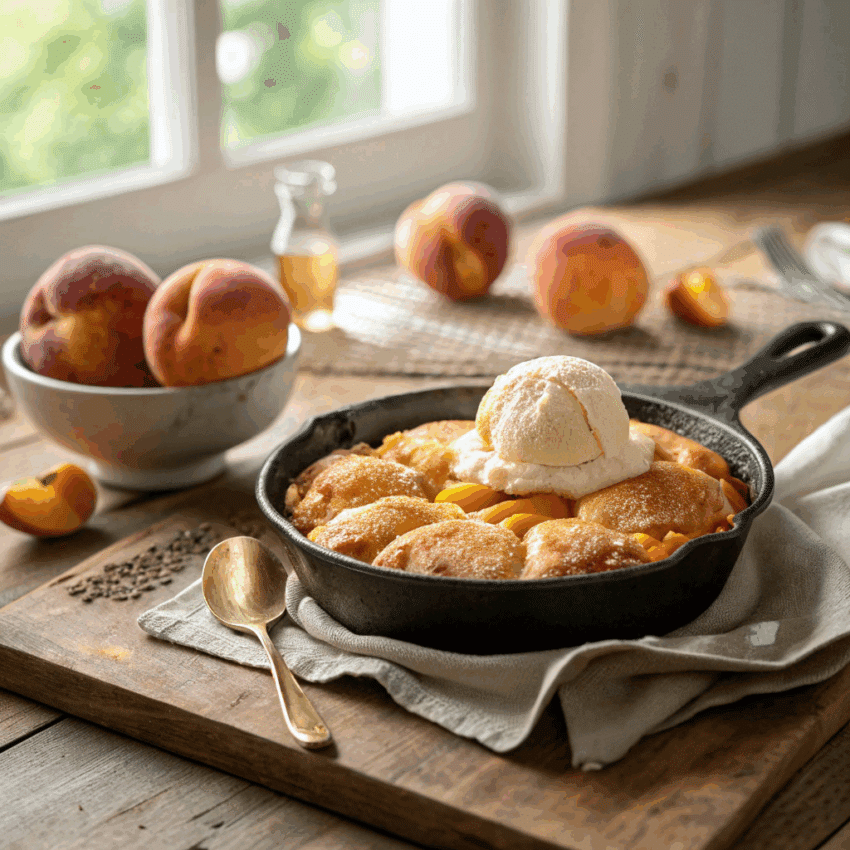
Few things say “comfort” quite like a warm cast iron peach cobbler. The bubbling peaches, golden biscuit topping, and that buttery aroma filling the kitchen — it’s pure magic. Whether you’re using fresh, frozen, or canned peaches, this simple skillet dessert turns ordinary ingredients into something that feels straight out of a Southern kitchen.
This recipe is one of my go-to’s when I want something sweet without spending hours baking. The best part? It all comes together in one pan — your trusty cast iron skillet. So, grab your peaches and let’s get baking!
Why Make Peach Cobbler in a Cast Iron Skillet?
There’s something special about desserts baked in cast iron. The even heat gives you that perfectly crisp, caramelized edge while keeping the inside soft and gooey. It’s the kind of rustic baking that feels homey and relaxed — no fancy equipment, no complicated steps.
And because cast iron retains heat so well, your cobbler stays warm long after it comes out of the oven. Perfect for serving with a scoop of vanilla ice cream (which, let’s be honest, is non-negotiable).
Ingredients You’ll Need

Here’s what goes into this peach cobbler recipe. You probably already have most of these on hand:
For the peach filling:
- 6 cups sliced peaches (fresh or canned; if canned, drain well)
- ¾ cup granulated sugar
- 1 tsp cinnamon
- ½ tsp nutmeg
- 1 tsp vanilla extract
- 1 tbsp lemon juice
- 2 tsp cornstarch (for thickening)
- Pinch of salt
For the cobbler topping:
- 1 cup all-purpose flour
- ¾ cup sugar
- 1 ½ tsp baking powder
- ¼ tsp salt
- ¾ cup milk
- ½ cup (1 stick) unsalted butter, melted
Optional but highly recommended: a sprinkle of raw sugar over the top for that sweet crunch.
How to Make Cast Iron Peach Cobbler
Step 1: Preheat and prep.
Set your oven to 375°F (190°C). Place your 10-inch cast iron skillet on the stove over medium heat and melt the butter directly in it. This saves you a dish and gives your cobbler a richer flavor base.
Step 2: Make the peach filling.
In a medium bowl, toss your peaches with sugar, cinnamon, nutmeg, vanilla, lemon juice, cornstarch, and salt. If you’re using canned peaches, go easy on the sugar — they’re already sweet enough. Stir gently until the peaches are evenly coated.
Step 3: Mix the batter.
In another bowl, whisk together the flour, sugar, baking powder, and salt. Add milk and stir until smooth. The batter will be pourable — not too thick, not too runny.
Step 4: Layer it up.
Pour the batter right over the melted butter in your skillet. Don’t stir! Then spoon the peach mixture evenly over the batter. As it bakes, the batter will rise around the peaches, creating that beautiful cobbled look.
Step 5: Bake to golden perfection.
Slide your skillet into the oven and bake for 40–45 minutes, or until the top is golden brown and the filling is bubbly around the edges. Let it cool for at least 10 minutes before serving.
Tips for the Best Skillet Peach Cobbler
- Canned vs. Fresh Peaches:
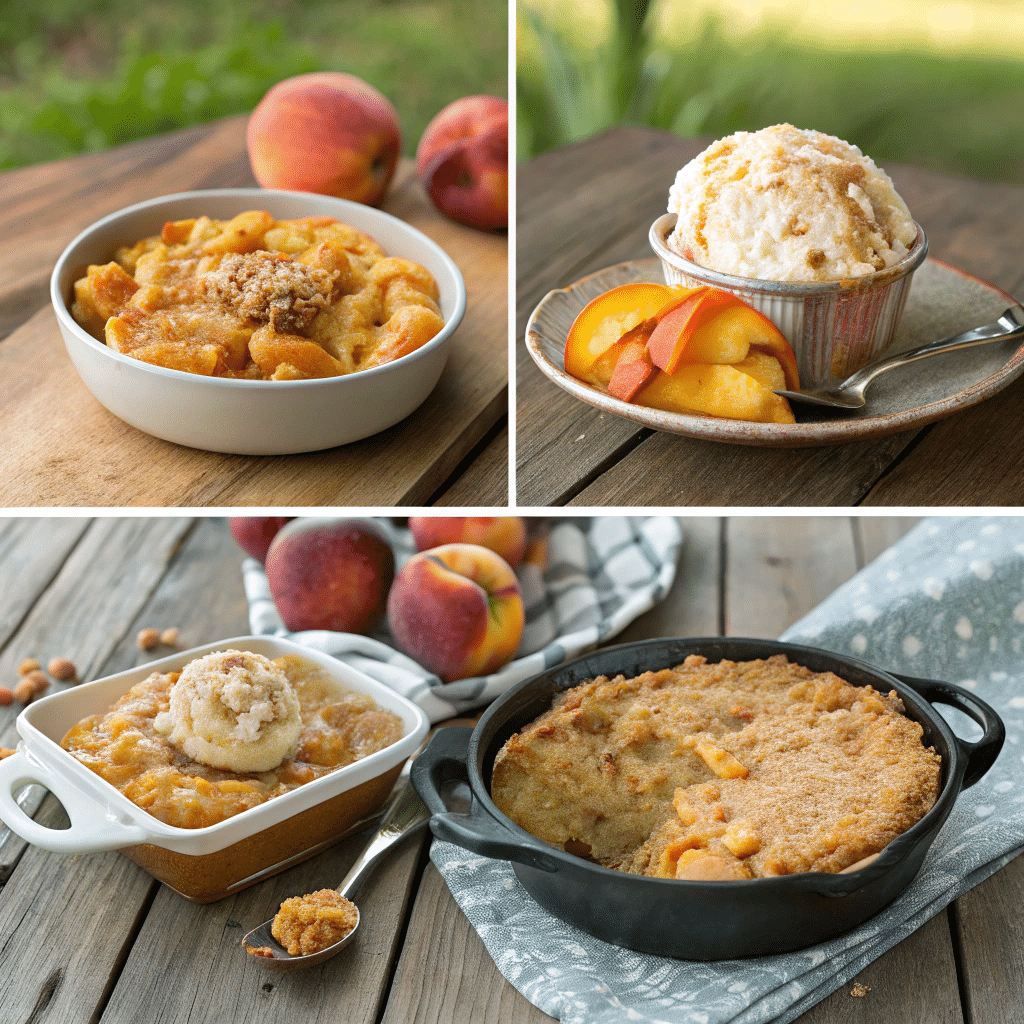
Both work beautifully. Fresh peaches give you that natural tang and texture, while canned ones save time (especially when peaches aren’t in season). Just remember to drain the syrup completely. - Mini Cast Iron Skillet Peach Cobblers:
If you have smaller skillets, divide the batter and peaches among them. They make adorable individual desserts for dinner parties or cozy nights in. - Add a twist:
A splash of bourbon or rum adds depth to the filling. Or toss in a handful of raspberries for a burst of color and flavor. - Cobbler Topping Tip:
For extra crunch, sprinkle coarse sugar over the batter before baking. It gives you that satisfying crisp top every cobbler deserves.
Serving Ideas
This cast iron peach cobbler is pure comfort as-is, but you can dress it up too:
- Top with vanilla ice cream or fresh whipped cream
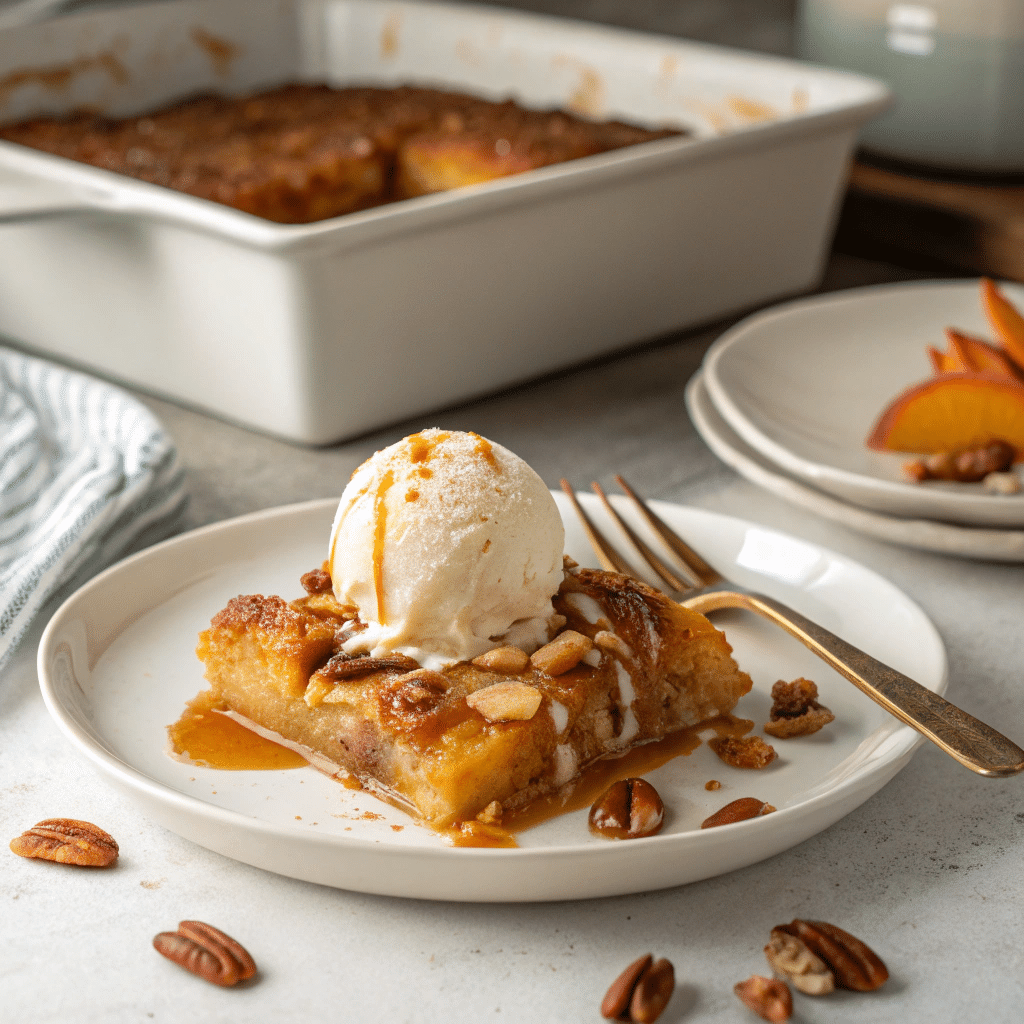
- Drizzle with caramel sauce for extra indulgence
- Sprinkle with toasted pecans for crunch
Leftovers (if you somehow have any) can be reheated right in the skillet. Just pop it back into a warm oven for 10 minutes, and it’s as good as new.
Why I Love This Recipe
There’s a reason I keep coming back to this one. It’s simple, adaptable, and always a crowd-pleaser. The cast iron gives it that nostalgic “campfire” feel, while the peaches bring sunshine to your table — even in the middle of winter.
Sometimes I’ll make it on a lazy Sunday afternoon, and the whole house smells like cinnamon and butter. It’s the kind of dessert that makes everyone wander into the kitchen asking, “What’s baking?”
And that’s what I love most — it brings people together. Dessert has a funny way of doing that, doesn’t it?
Variations to Try
- Dutch Oven Peach Cobbler:
If you’re cooking outdoors, this recipe adapts perfectly to a Dutch oven over hot coals. Just layer the batter and fruit the same way. - Peach Cobbler Crumble Topping:
Want a crunchier topping? Swap half the flour for rolled oats and add a tablespoon of brown sugar. You’ll get that crumble texture that pairs so well with juicy peaches. - Savory Twist:
Sounds crazy, but a tiny pinch of sea salt on top (after baking) enhances the flavor like magic.
Storage and Reheating
Let your cobbler cool completely before covering. Store it at room temperature for a day, or refrigerate up to 4 days. To reheat, place it back in a 350°F oven for 10–15 minutes — the topping crisps right back up.
More Cast Iron Recipes to Try
If you love this one, you’ll probably enjoy:
- Cast Iron Skillet Brownies
- Skillet Apple Crisp
- Mini Skillet Chocolate Chip Cookies
- Cast Iron Recipes for Easy Weeknight Dinners
Your skillet is more versatile than you think — from hearty dinners to cozy skillet desserts, it’s the workhorse every home baker needs.
Final Thoughts
If you’re craving something that feels like a warm hug in dessert form, this cast iron peach cobbler is it. Sweet, simple, and soul-satisfying — exactly what dessert should be.
Next time peaches are in season (or even if they’re not), grab your skillet and give this recipe a try. I promise, one bite and you’ll understand why this cobbler has a permanent spot in my kitchen rotation.

Cast Iron Peach Cobbler
Ingredients
Method
- Preheat your oven to 375°F (190°C). Place your 10-inch cast iron skillet on the stove and melt the butter over medium heat. Once melted, remove it from heat.
- In a mixing bowl, combine peaches, sugar, cinnamon, nutmeg, vanilla extract, lemon juice, cornstarch, and salt. Gently toss until everything is coated evenly.
- In a separate bowl, whisk together flour, sugar, baking powder, and salt. Add milk and stir until you have a smooth batter.
- Pour the batter into the skillet right over the melted butter. Don’t stir. Spoon the peach mixture evenly over the batter. As it bakes, the batter will rise around the peaches.
- Bake in the preheated oven for 40–45 minutes, until the top is golden brown and the peach filling is bubbling around the edges.
- Let the cobbler rest for about 10 minutes before serving. Serve warm with vanilla ice cream or whipped cream.
Notes
- Peach choice: Fresh peaches are best when in season, but canned or frozen work perfectly too. Just drain the syrup before using canned.
- Batter tip: Don’t stir the butter and batter together — that’s what gives the cobbler its signature “cobbled” top.
- Storage: Store leftovers covered at room temp for one day or refrigerate up to 4 days. Reheat in the oven for 10–15 minutes before serving.
- Make it mini: Divide the recipe into small cast iron pans for individual servings — adorable for dinner parties.
Frequently Asked Questions
Q: Can I make this cobbler ahead of time?
Yes! Bake it a few hours before serving. Reheat in the oven for 10 minutes before adding ice cream or whipped cream.
Q: What if I don’t have a cast iron skillet?
You can use any oven-safe baking dish, but the edges won’t caramelize quite the same way. If you ever needed a reason to get a cast iron — this recipe is it.
Q: Can I use frozen peaches?
Absolutely. Just thaw and drain them before mixing with sugar and spices.
Q: How do I keep my cobbler topping from getting soggy?
Let it rest for 10–15 minutes after baking. That allows the filling to thicken and keeps the top crisp.
Q: Can I double this recipe?
Yes, just use a larger skillet or a baking dish. The baking time will increase slightly.