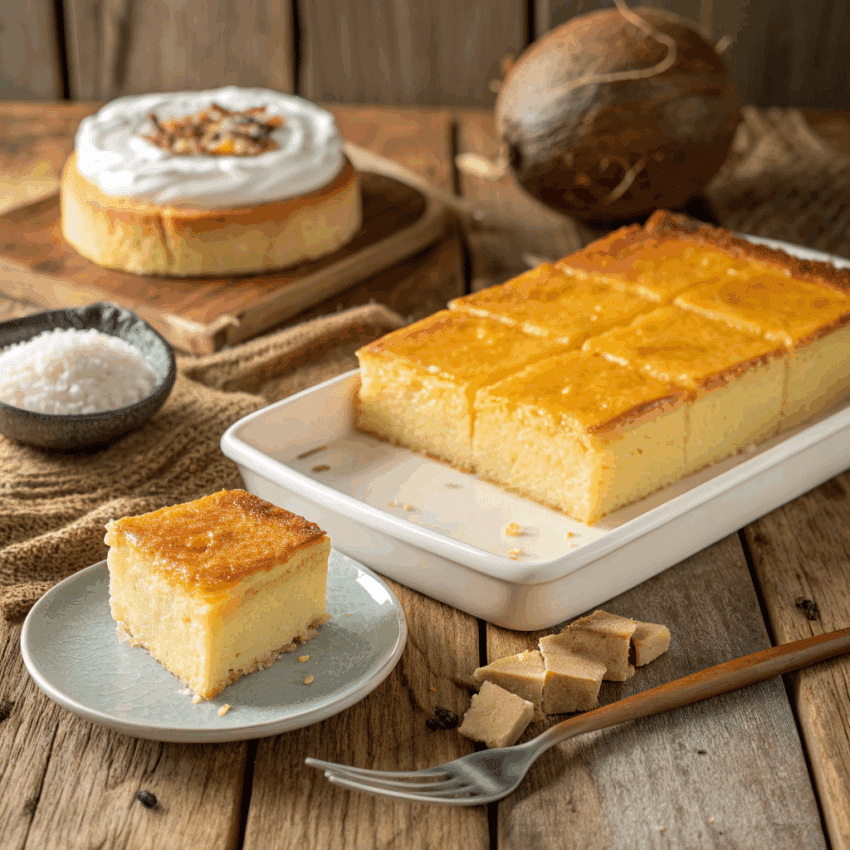
Cassava cake is one of those Filipino desserts that instantly transports you home, even if you’ve never set foot in the Philippines. It’s rich, chewy, slightly custardy, and loaded with tropical flavors. If you’re a dessert lover looking for something sweet, comforting, and a little different from your usual cake recipes, this cassava cake Filipino dessert might just become your new favorite.
I still remember the first time I tried it at a friend’s gathering. Everyone was buzzing around the dessert table, but the cassava cake disappeared the fastest. I thought, what’s the big deal about cassava?—until I had my first bite. Creamy coconut custard on top, chewy golden cake below, and that distinct tropical taste that’s both cozy and exotic at the same time.
Today, I’ll walk you through a simple cassava cake recipe Filipino style, with tips and variations so you can make it your own.
What Is Cassava Cake?
Cassava cake is a popular Filipino food dessert made with grated cassava (sometimes called yuca or manioc), coconut milk, condensed milk, and eggs. It’s usually topped with a rich custard layer, baked until golden, then sliced into squares for serving.
Cassava itself is a root vegetable widely used across Asia, Africa, and South America. In Filipino recipes, it shines in both savory and sweet dishes—but cassava cake is hands down the star when it comes to desserts.
It’s one of those tropical desserts that feels both familiar and new. Imagine the chewiness of mochi, the creaminess of pudding, and the comfort of cake tasting—all rolled into one bite.
Why You’ll Love This Pinoy Dessert
- Simple ingredients: You don’t need anything fancy—most items are pantry staples or easy to find at Asian stores.
- Gluten-free goodness: Cassava is naturally gluten-free, making it a great option if you or your guests have gluten sensitivity.
- Perfect for sharing: Filipino desserts are all about gatherings. This one bakes in a tray, ready to slice up for parties, potlucks, or just because.
- Versatile: Serve it warm, chilled, plain, or with add-ons like macapuno (coconut sport strips).
Ingredients You’ll Need
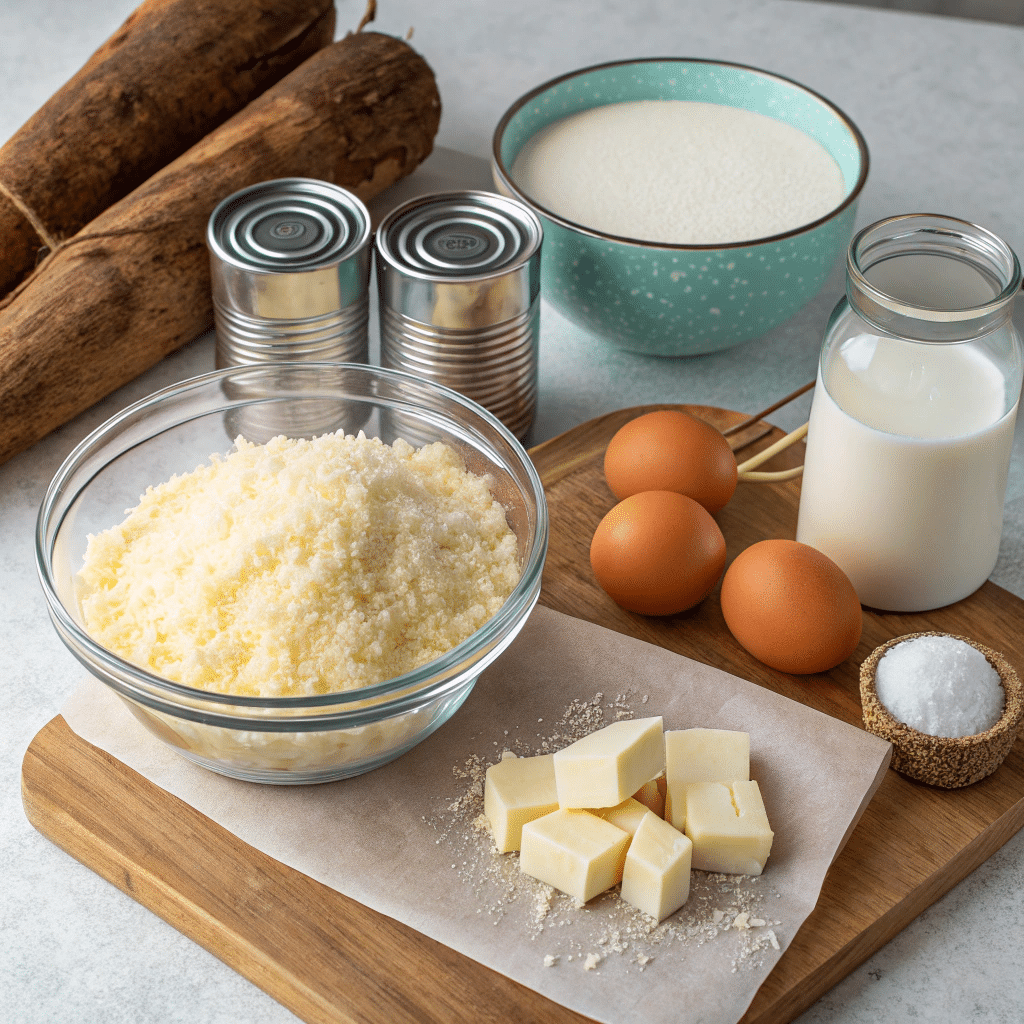
Here’s what goes into a traditional cassava cake recipe Filipino households swear by:
For the cake:
- 2 packs (about 4 cups) grated cassava (frozen is fine—just thaw first)
- 1 can coconut milk
- 1 can sweetened condensed milk
- ½ can evaporated milk (or fresh milk)
- 2 large eggs
- 1 cup sugar (adjust to taste)
- ½ cup melted butter
- 1 tsp vanilla extract
For the custard topping:
- 1 can condensed milk
- 1 can evaporated milk
- 2 egg yolks
- 1 tbsp flour (optional, for thicker texture)
Optional add-ins: macapuno, shredded young coconut, or grated cheese for a salty-sweet finish.
Step-By-Step Instructions
1. Prep the batter
In a big mixing bowl, combine the grated cassava, coconut milk, condensed milk, evaporated milk, eggs, sugar, melted butter, and vanilla. Stir until smooth. The mixture will be slightly runny—don’t worry, it firms up as it bakes.
2. Bake the base
Grease a 9×13-inch baking dish. Pour in the batter and bake at 350°F (175°C) for about 45–50 minutes, or until the cake is firm and the edges are lightly golden.
3. Make the custard
While the cake bakes, whisk together condensed milk, evaporated milk, egg yolks, and flour in a saucepan. Cook over low heat, stirring constantly, until thickened (around 10 minutes).
4. Add the topping
Remove the cake from the oven. Spread the custard topping evenly over the baked cassava base.
5. Bake again
Return the cake to the oven and bake for another 15–20 minutes, until the topping is golden brown.
6. Cool and slice
Let the cassava cake cool before slicing. You can serve it warm for gooey comfort or chilled for a firmer, chewier bite.
Tips and Variations
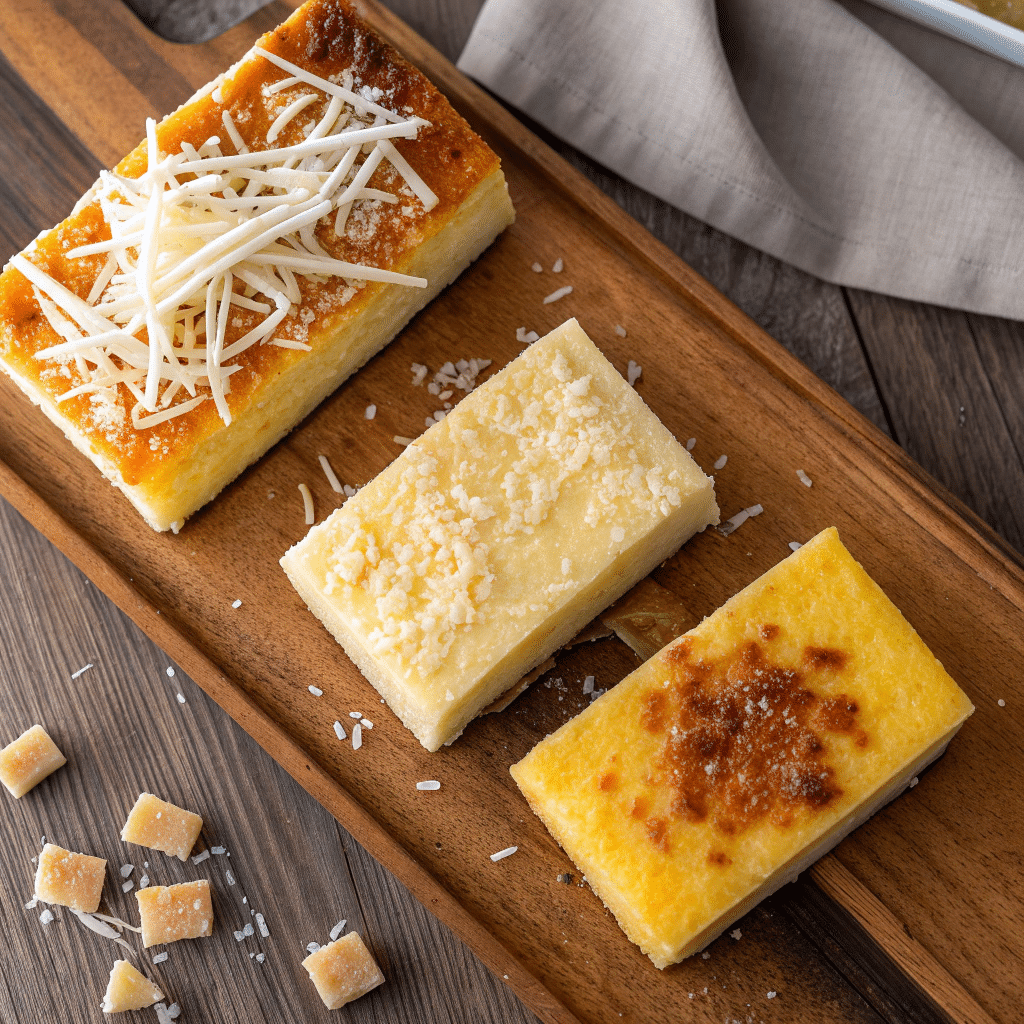
- Cassava cake with macapuno: Add 1 cup of macapuno to the batter for extra coconut flavor and a stringy, chewy texture.
- Cheese topping: Filipinos love cheese on desserts—sprinkle grated cheddar on top before baking the custard layer.
- Make it lighter: Swap condensed milk for coconut cream plus sugar if you prefer less sweetness.
- Shortcut version: Skip the custard topping if you’re in a rush. The base alone still makes a quick dessert.
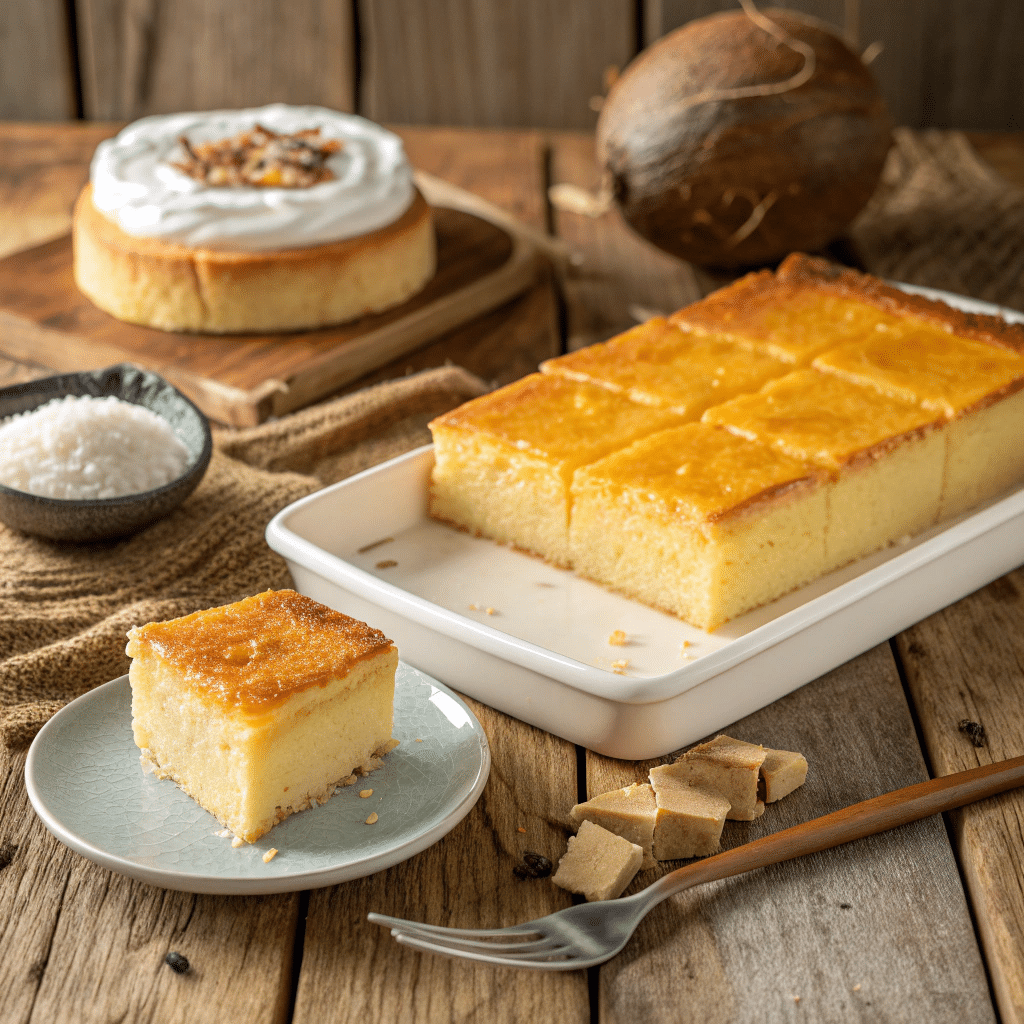
What Does Cassava Cake Taste Like?
Imagine biting into something that’s part cake, part flan, part pudding. The cassava gives it a chewy texture, while the coconut milk adds richness. The custard topping makes it creamy and indulgent.
Some people say it reminds them of rice cake. Others compare it to mochi. But really, cassava cake stands on its own—it’s one of those Asian desserts that’s hard to pin down, yet unforgettable once you’ve tried it.
Serving Ideas
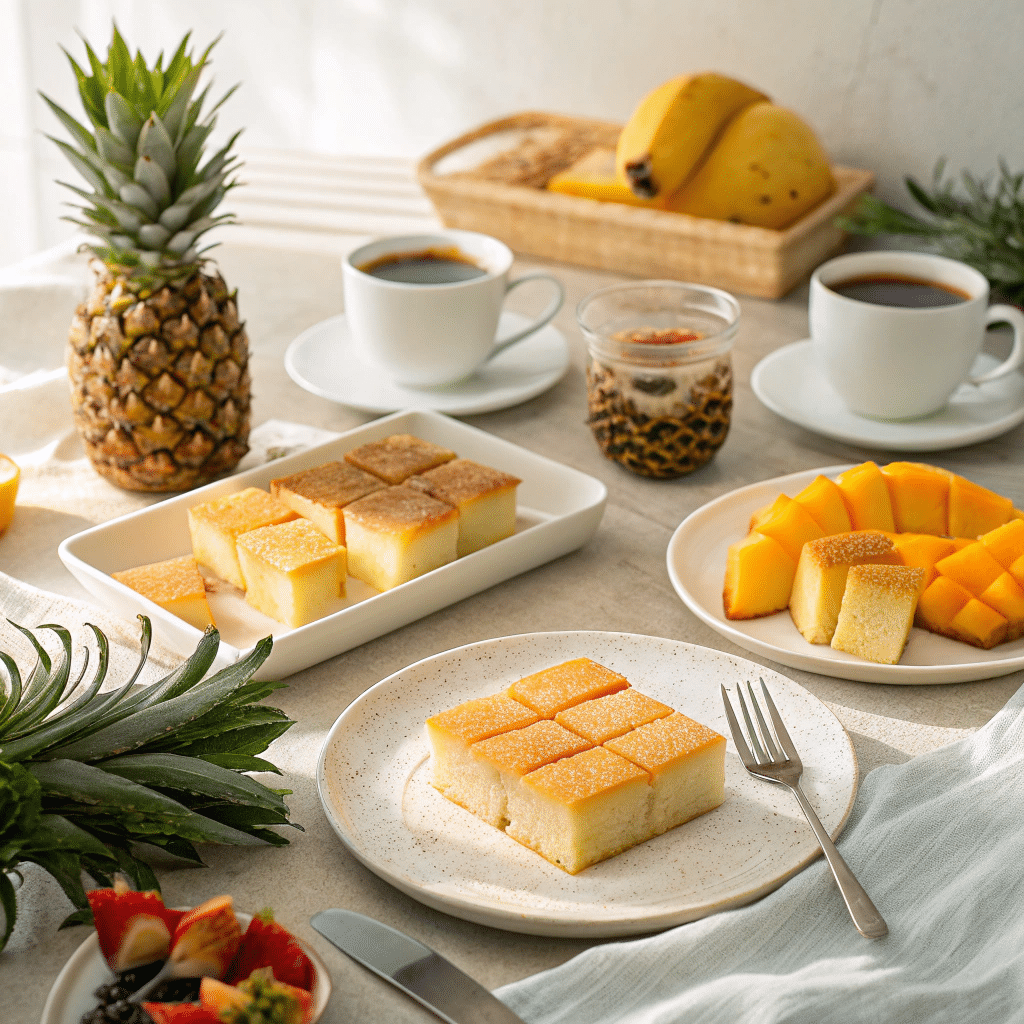
- Serve small squares at tea time with coffee or hot chocolate.
- Pair with tropical fruits like mango or pineapple for a refreshing twist.
- Add it to your spread of Filipino recipes for fiestas and family gatherings.
- Wrap slices individually for a thoughtful homemade gift.
Why This Dessert Matters
For many, cassava cake isn’t just food. It’s memory, tradition, and family. Every Filipino household has its own take—some sweeter, some creamier, some with more coconut.
When I baked it for the first time, I was nervous. Would it turn out like the one I tried at my friend’s party? The smell that filled my kitchen answered before the cake even came out of the oven. Sweet, nutty, rich—the kind of aroma that makes neighbors curious. And when I finally sliced it, I understood why this Pinoy dessert holds such a special place in Filipino culture.
Final Thoughts
Cassava cake Filipino dessert is comfort food at its best—simple, satisfying, and full of flavor. Whether you make it the traditional way or play around with add-ins, it’s one of those easy Filipino recipes that’ll win over any crowd.
So, if you’ve been hunting for coconut desserts, tropical desserts, or just easy desserts to impress your family, give this cassava recipe a go. Sometimes, the sweetest memories are baked right in a tray.
Cassava Cake (Filipino Dessert)
Ingredients
Method
- Preheat oven to 350°F (175°C). Grease a 9×13-inch baking dish.
- Mix the batter: In a large bowl, combine grated cassava, coconut milk, condensed milk, evaporated milk, eggs, sugar, melted butter, and vanilla. Stir well until smooth.
- Bake the cake base: Pour mixture into the prepared dish and bake for 45–50 minutes, or until the cake is firm and slightly golden at the edges.
- Cook the custard topping: In a saucepan, whisk condensed milk, evaporated milk, egg yolks, and flour. Cook on low heat, stirring constantly, until thickened (about 8–10 minutes).
- Add the topping: Spread custard evenly over the baked cassava base.
- Bake again: Return to oven for 15–20 minutes, until the top is golden brown.
- Cool and serve: Let the cake cool before slicing. Serve warm for gooey texture, or chilled for a firmer bite.
Notes
- Frozen grated cassava is the easiest to use and safe because it’s pre-processed. If using fresh cassava, peel and grate carefully, then soak briefly in water before using.
- Cassava cake tastes even better the next day after chilling in the fridge.
- Add cheese on top if you want that salty-sweet Filipino twist.
FAQ About Cassava Cake
1. Is cassava safe to eat?
Yes—as long as it’s cooked properly. Raw cassava contains compounds that can be harmful, but the grated frozen cassava sold in stores is safe and ready for baking.
2. Can I make this ahead?
Definitely. Cassava cake actually tastes better the next day after chilling in the fridge.
3. How long does it last?
Stored in an airtight container, it lasts up to 5 days in the fridge. You can also freeze slices for up to a month.
4. Is this dessert gluten-free?
Yes! Cassava is naturally gluten-free, so it’s perfect for anyone with gluten sensitivity.
5. Can I use fresh cassava instead of frozen?
Of course. Just peel, grate, and soak it in water briefly to remove excess starch before using.